
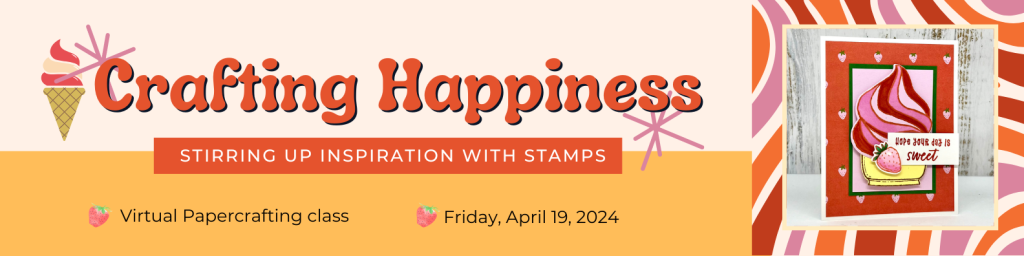
By nature, I enjoy the season I’m currently living in. However, I can affirmatively claim that FALL is my favorite!
The new “Changing Leaves” bundle was sitting on my craft desk (freshly upacked from a pre-order for new Online Exclusives coming July 2nd) when I saw the TGIF Sketch Challenge – so here we are:
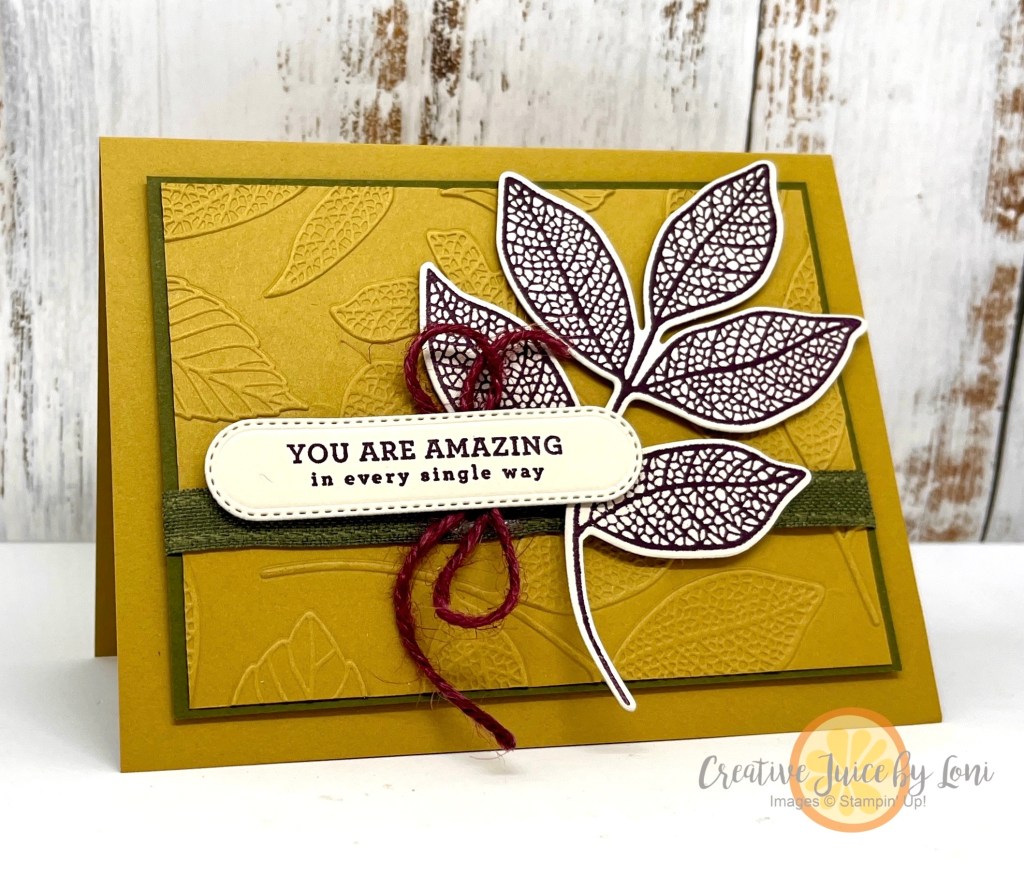

The simplicity of this sketch allows the details of the stamped image and the hybrid embossing folder to take center stage:

These are the colors I chose for my card:

Clever crafters may be asking, “Does Stampin’ Up! have Mossy Meadow ribbon? Or Blackberry Bliss jute twine?” and the answer is NO! But you CAN color the Basic Beige ribbon with the dark Mossy Meadow Stampin’ Blend Marker and the Moody Mauve jute trim with the Blackberry Bliss Stampin’ Blend Marker! Because the blends markers are alcohol-based, it doesn’t take long for the trims to dry before adding them to your paper creations.

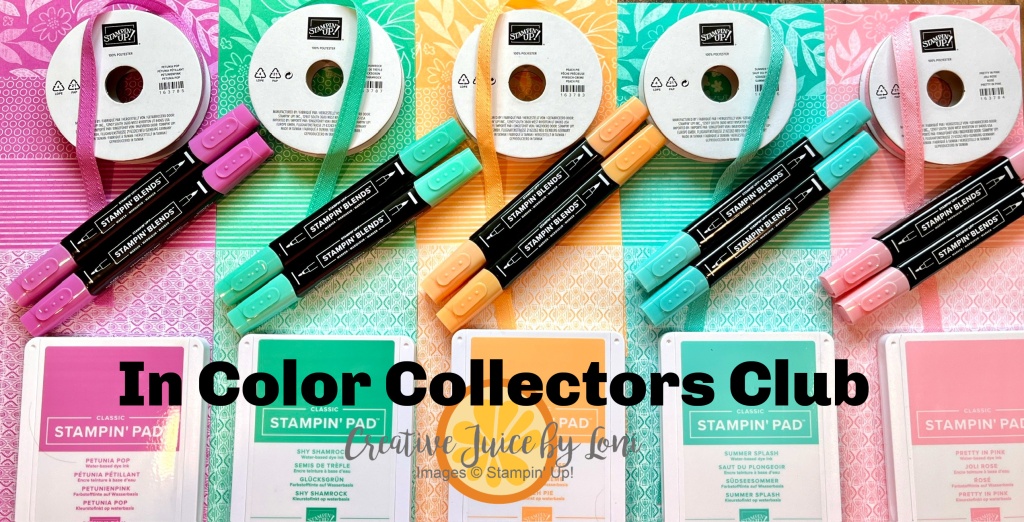
Being able to order new products EARLY is one of the perks of being a demonstrator! Don’t suffer from FOMO…you can join my Sprinkled Ink team of demonstrators whenever you are ready.
POST UPDATED JULY 3, 2024: Changing Leaves Bundle NOW AVAILABLE!


")


 Bordered Ribbon")


")


 Designer Series Paper")
 Glimmer Specialty Paper")


 Circle Punch")
 Circle Punch")


")


")
 Designer Series Paper")


")

 Designer Series Paper")


")
 Designer Series Paper")


 Gingham Ribbon")


 Designer Series Paper")


")
")


 Designer Series Paper")


