
Happy to see you hopping through here! Our New at SU! global group of demonstrators have ALL the Sale-a-Bration products here for you this month, and trust me: You want them ALL. Whether you are ending here, or just starting, don’t miss a single post!

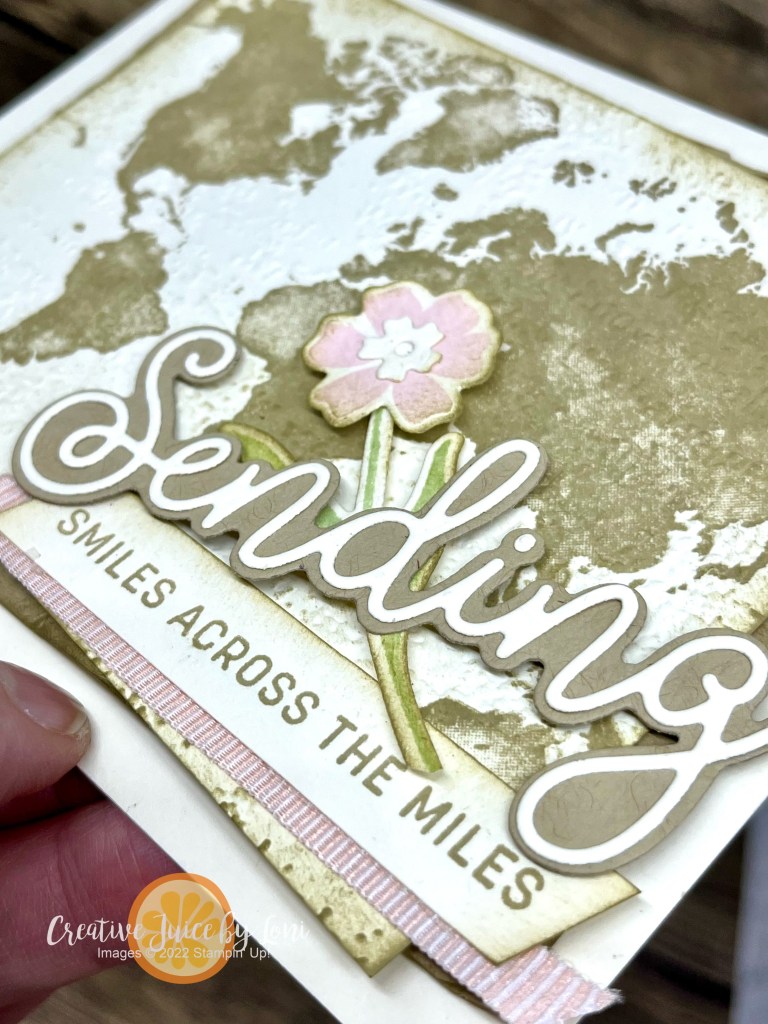
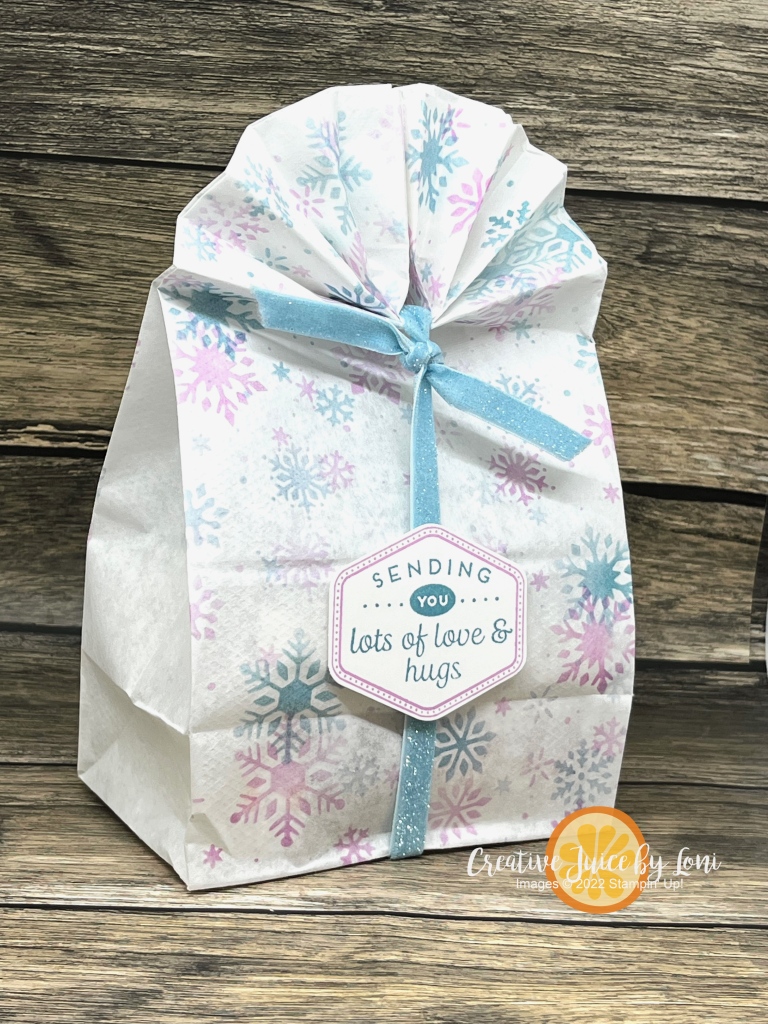
I get to showcase the Softly Sophisticated bundle that you could choose free through February 29th with a qualifying order in your country (in the US, it’s free with a $100 order) and it comes with a stamp set AND an embossing folder:
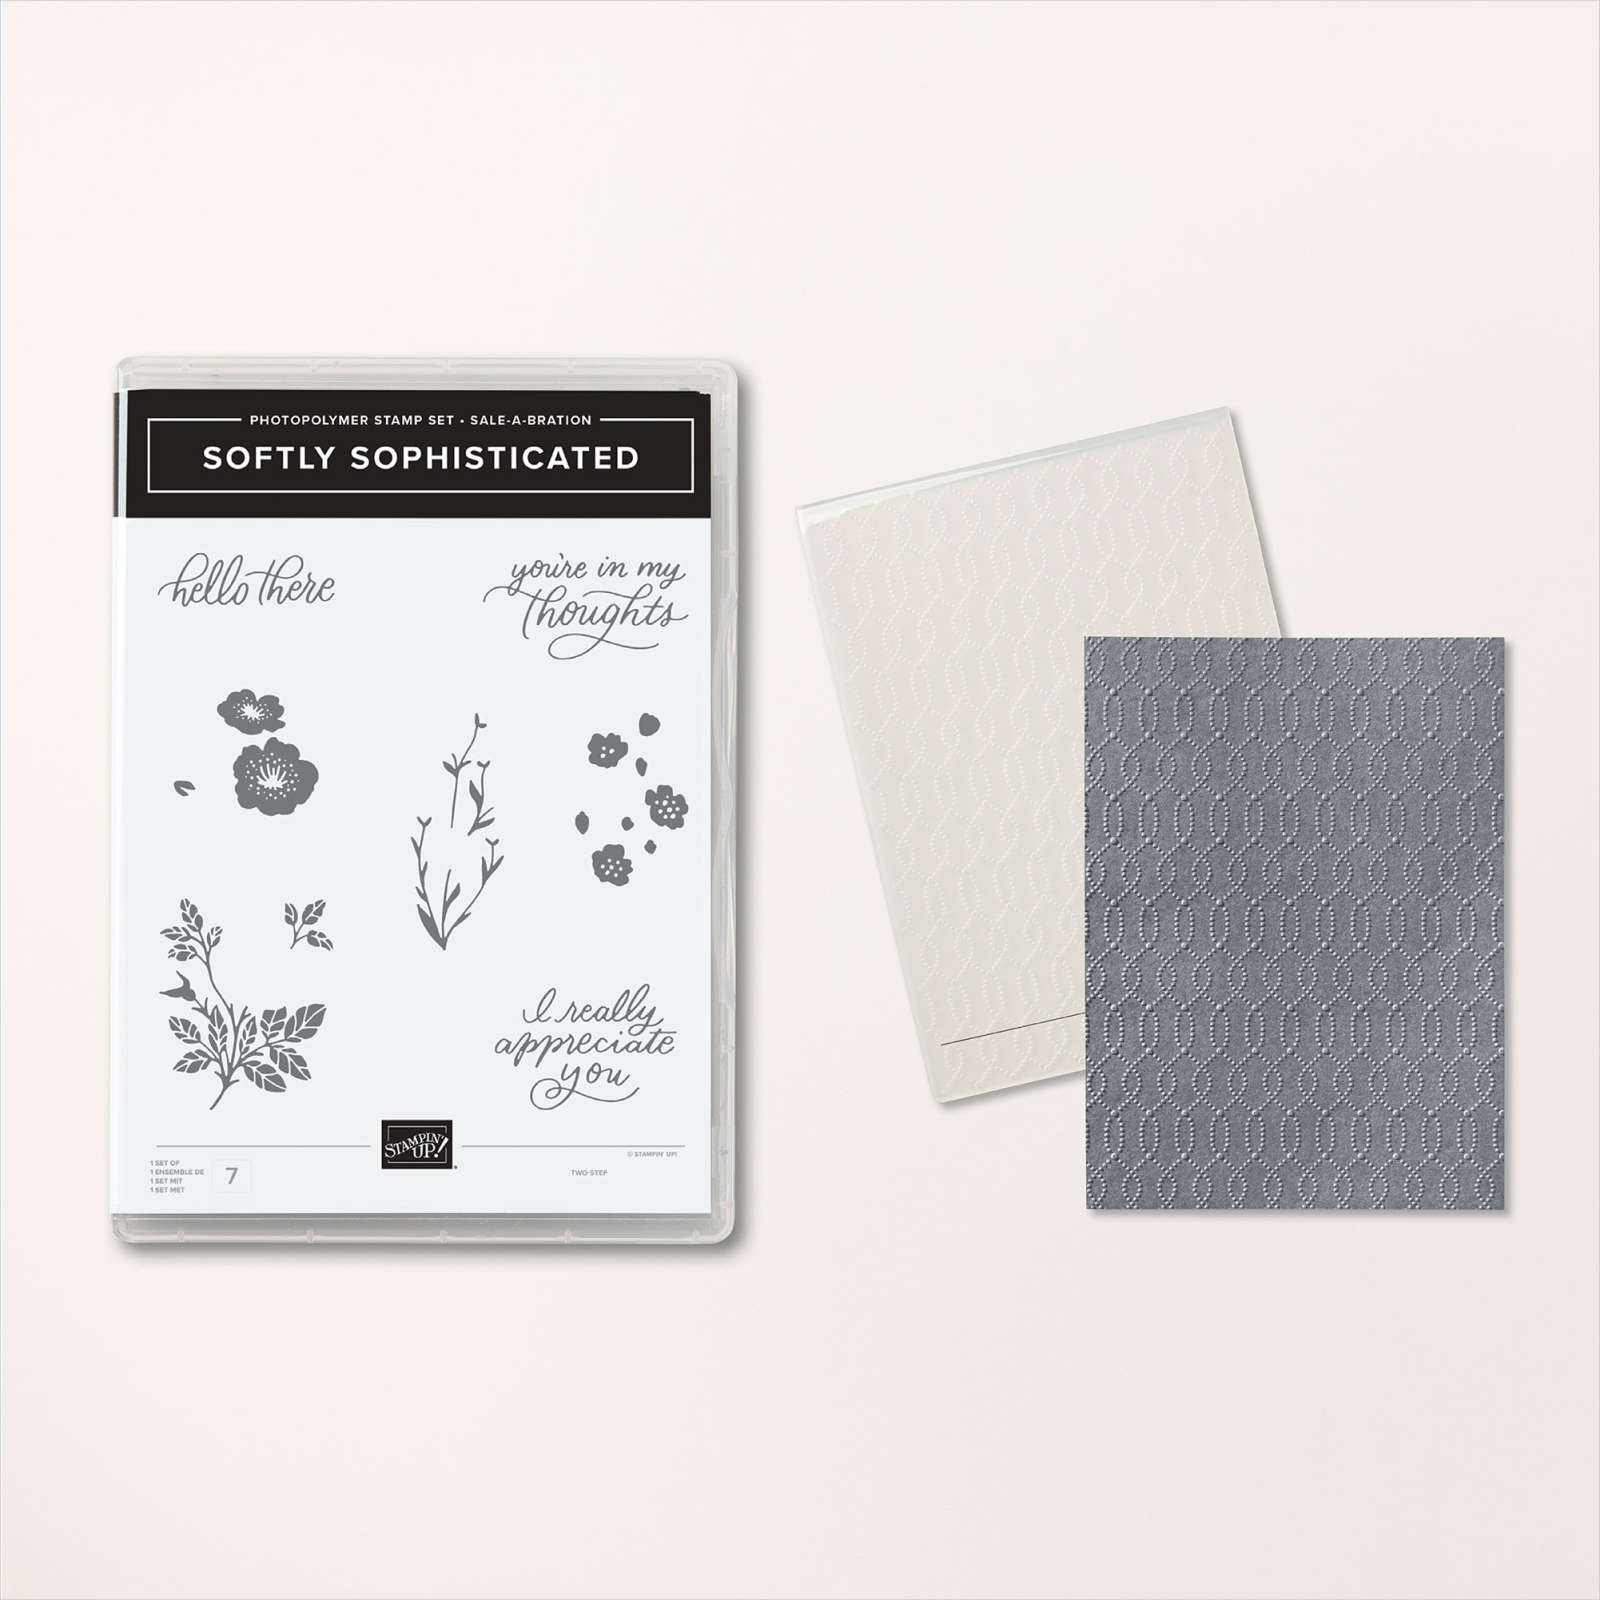
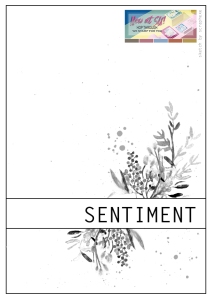
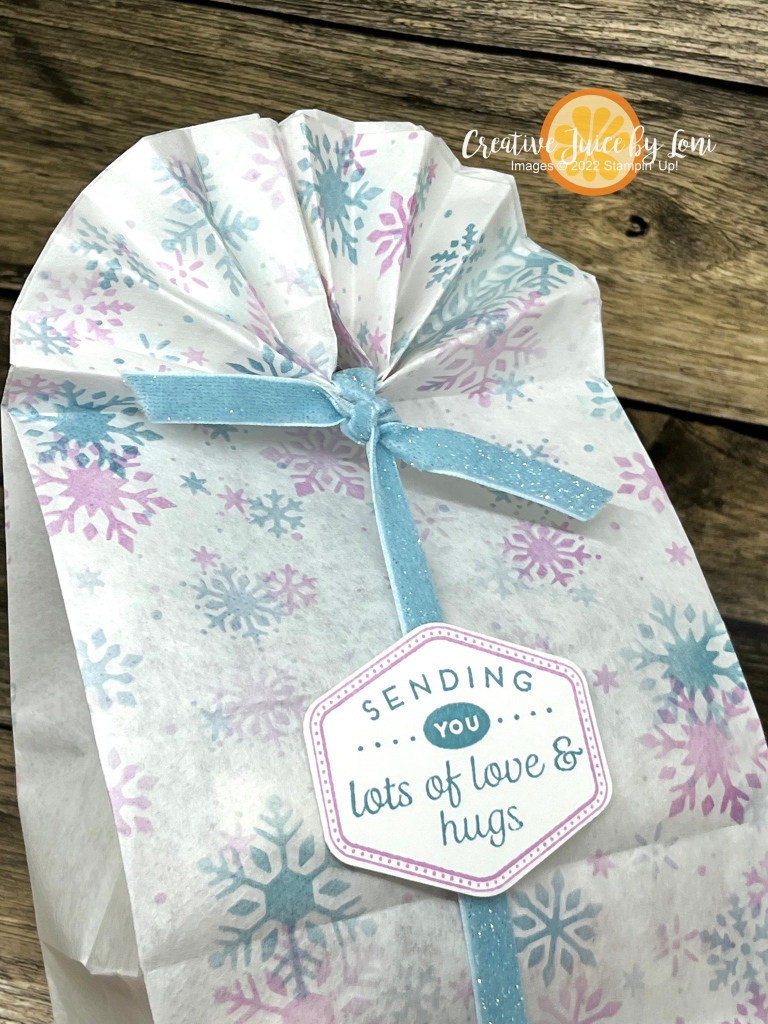
It feels so elegant in Very Vanilla and I used the Perennial Postage dies for this first card to show how a simple layout can be “next level” when you add a little embossed texture.

Only one little problem: The small die with the postage cancellation wasn’t long enough! So here’s HOW TO STRETCH a die!
Leave me a comment and tell me what you think of this project, or which SAB item is next on your wish list, then visit these posts to help you celebrate creativity during Stampin’ Up! Sale-a-Bration – remember to save or PIN your favorites!
January New at SU! Hop: Sale-a-Bration
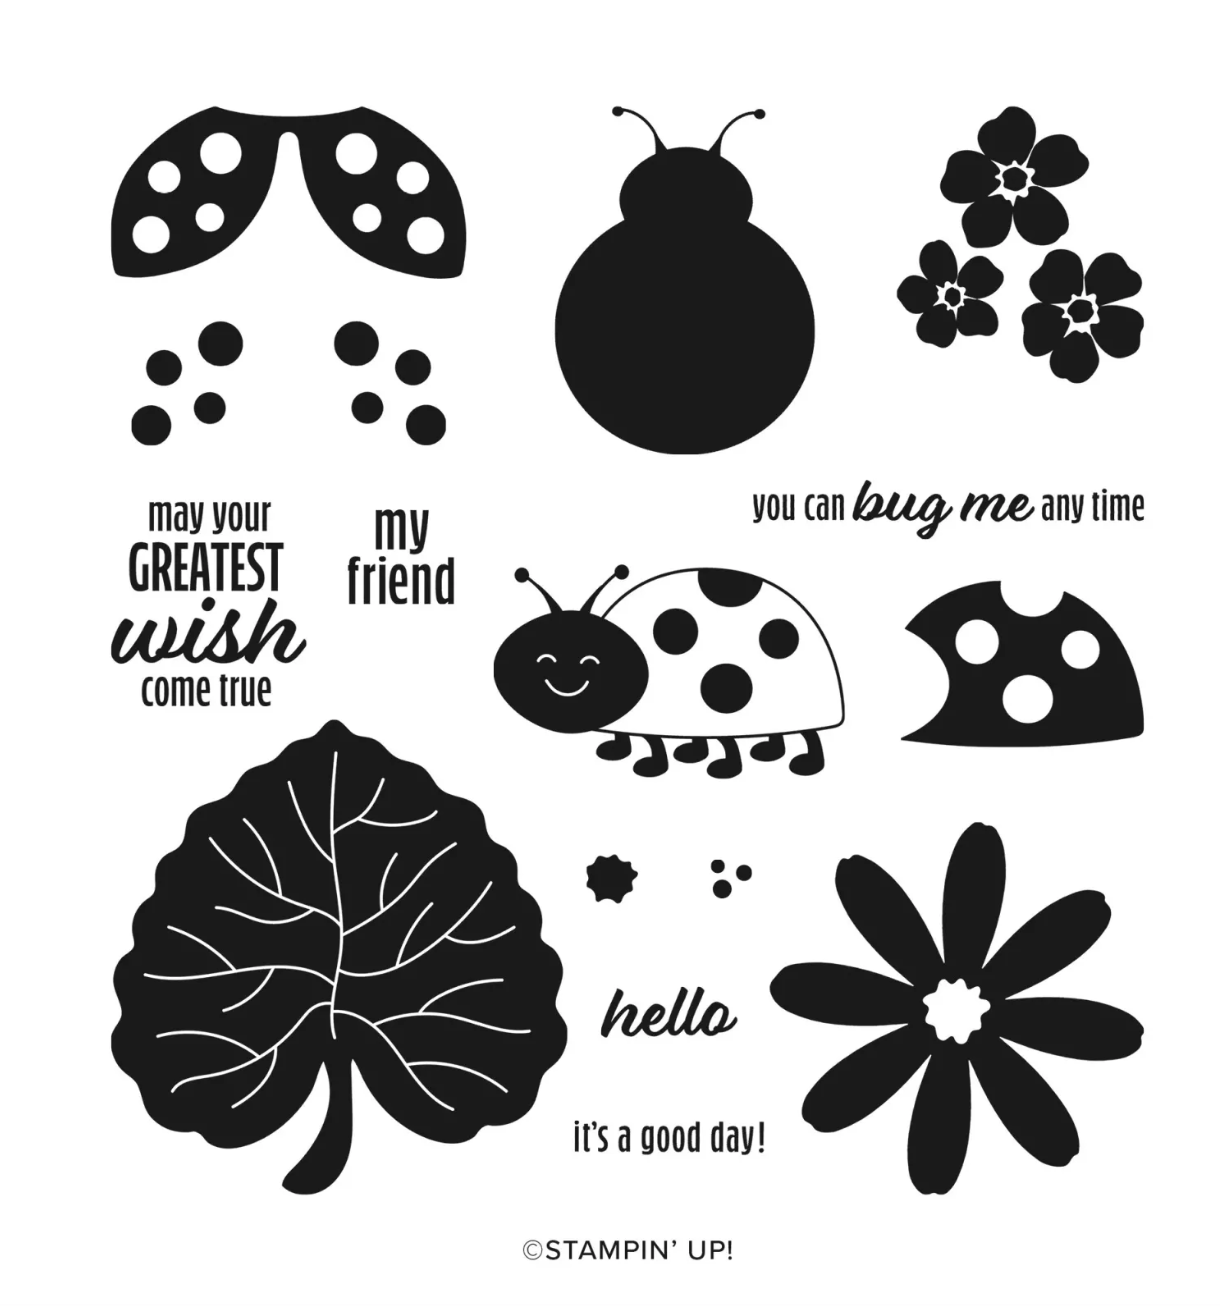
I’ll be spotlighting the Sale-a-Bration Watercolor Melon stamp set on Saturday, January 20th, so drop in for another visit!
Powered by blogcarousel.com
Product List")


")


")

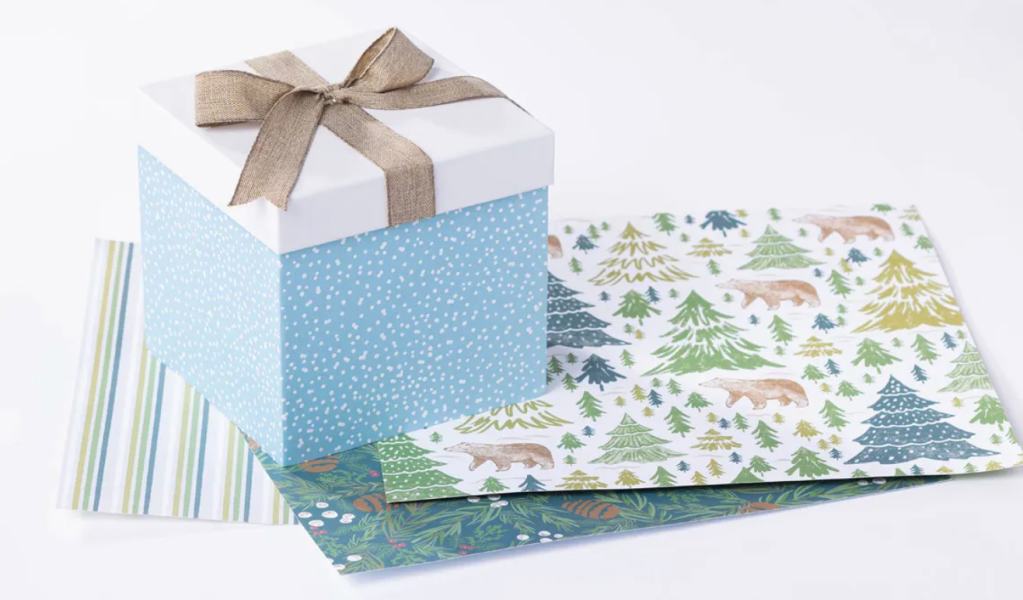
 Designer Series Paper")
 Specialty Paper")


")
")


 Designer Series Paper")


")


")


 Circle Punch")
 Circle Punch")


 Designer Series Paper")
 Cardstock")
 Glittered Ribbon")
")
")
 Specialty Paper")


")
 Designer Series Paper")


 Specialty Designer Series Paper")

")


")
 Sparkle Ribbon")


")


