The temperature fell almost 30 degrees overnight on Thursday night, with the arrival of a beautiful thunder/lightning show and rivers of rain! When you live in the desert, you don’t complain about water, and the cooler temperature is also welcome.
I’ve also been traveling a LOT, so I needed some time in my Stamp Studio and the Global Design Project #gdp409 challenge was the excuse I needed to bring a rainbow to a rainy day:

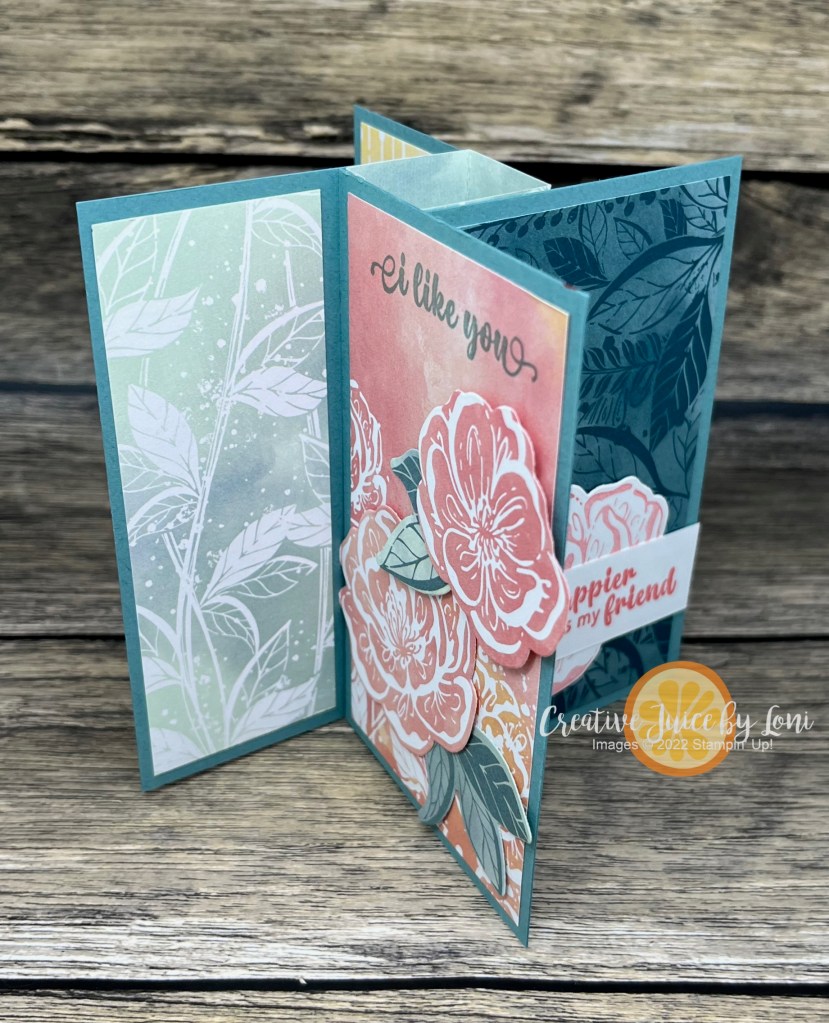
Roy G. Biv is the name to remember when you are putting colors in rainbow order (Red, Orange, Yellow, Green, Blue, Indigo, Violet) but they can circle back around on a card (not so much on a rainbow in the sky)…feel free to start ANYWHERE in the lineup!
My colors were (in ROYGBIV order, not the order on the first card) Sweet Sorbet, Calypso Coral, Daffodil Delight, Parakeet Party, Tahitian Tide and Orchid Oasis (allowing Orchid Oasis to be both Indigo and Violet).
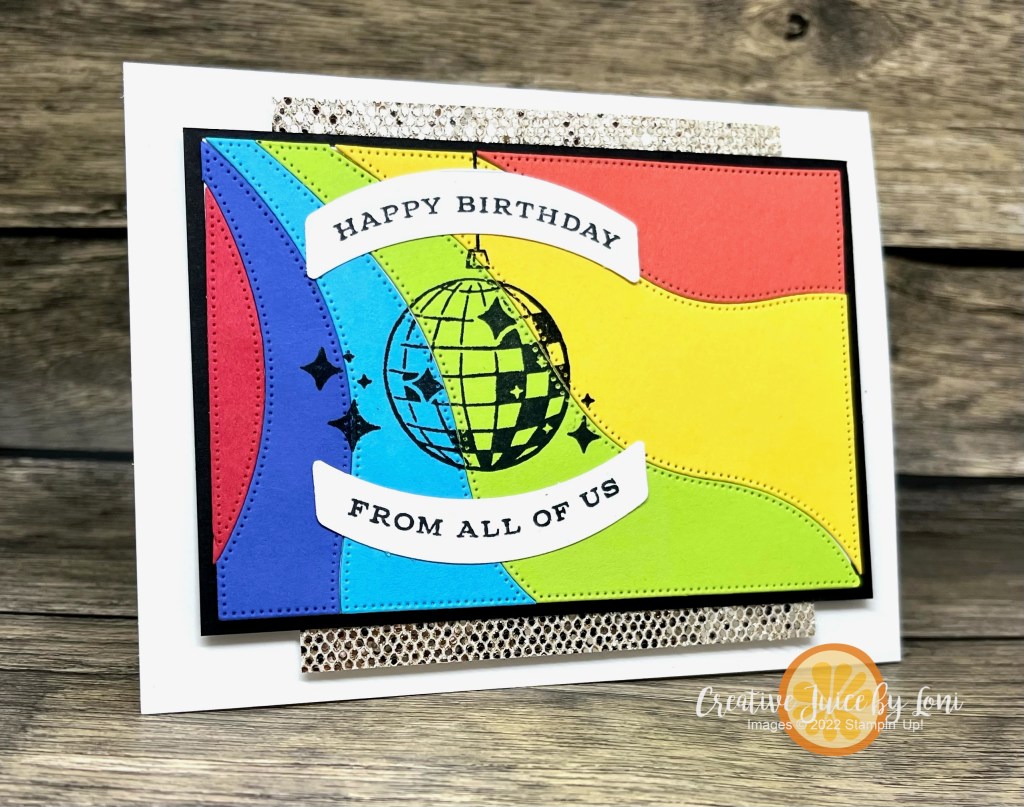
The disco ball is from a new bundle coming September 6th called Curved Occasions in black. OF COURSE, it needed bling! The champagne More Dazzle specialty paper is JUST like a disco ball, and a little strip on the top and bottom catches the light and gets the party started.
I cut the wave pattern using the Patchwork Pieces dies from all the colors and laid them out to line them up on 6 backgrounds:

SHHH…Don’t tell anyone, but I was so excited with the first one I tried, I ended up going in a backward order, and then got a bit befuddled on a few that didn’t survive…a complete paper crafter predicament. That’s the way the card crumples.
There is also a roller skate in the set, so I stamped it on the second card, just to see if I liked it.

What do you think? With – or without – the skate?
Seems fitting to post this card today to remember my brother, Mike (1977-2022) on his birthday (September 2), with such iconic images from the 1970s. Speaking of a spectrum of colors, this photo is of my siblings in 2004 and you can see how genetics can produce light and dark skin! Mike is second from the right, and I’m on the other end. Grateful to know I will see him again after this life and was blessed to have a short time with him here. Be intentional and loving in your time with your family!


")


")
 Textured Ribbon")


")


 Textured Ribbon")


")


 Bordered Ribbon")


 Designer Series Paper")


 Designer Series Paper")
")


 Bordered Ribbon")


 Designer Series Paper")
")