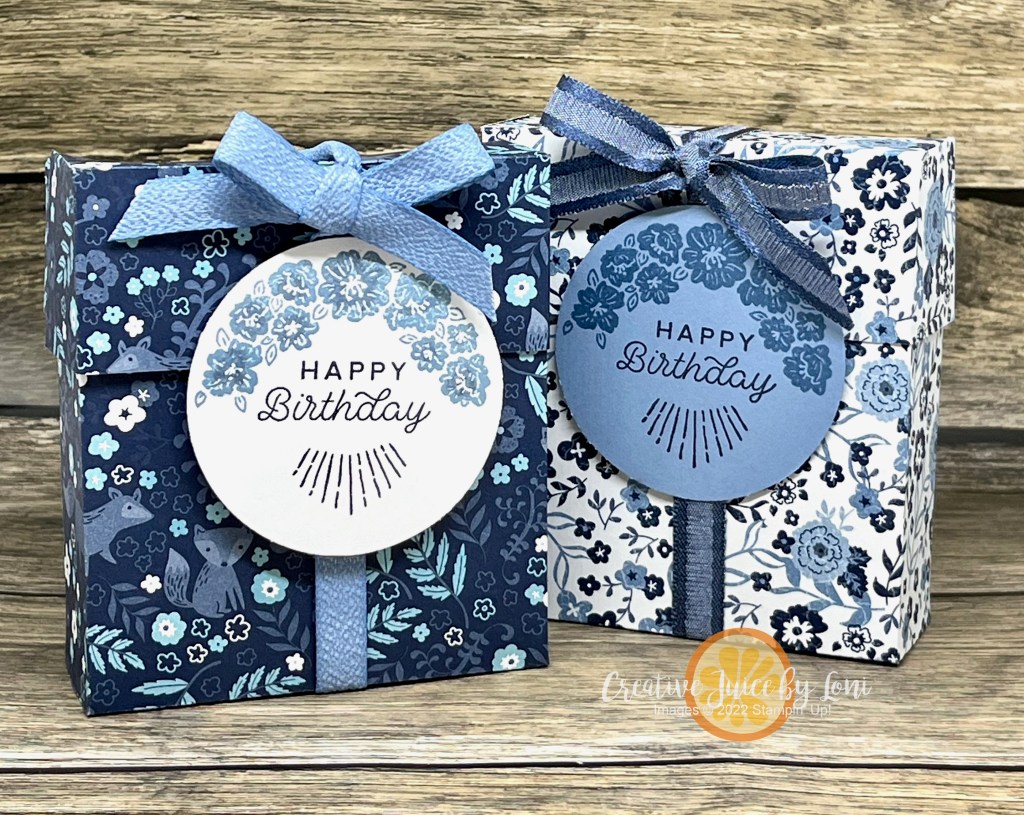
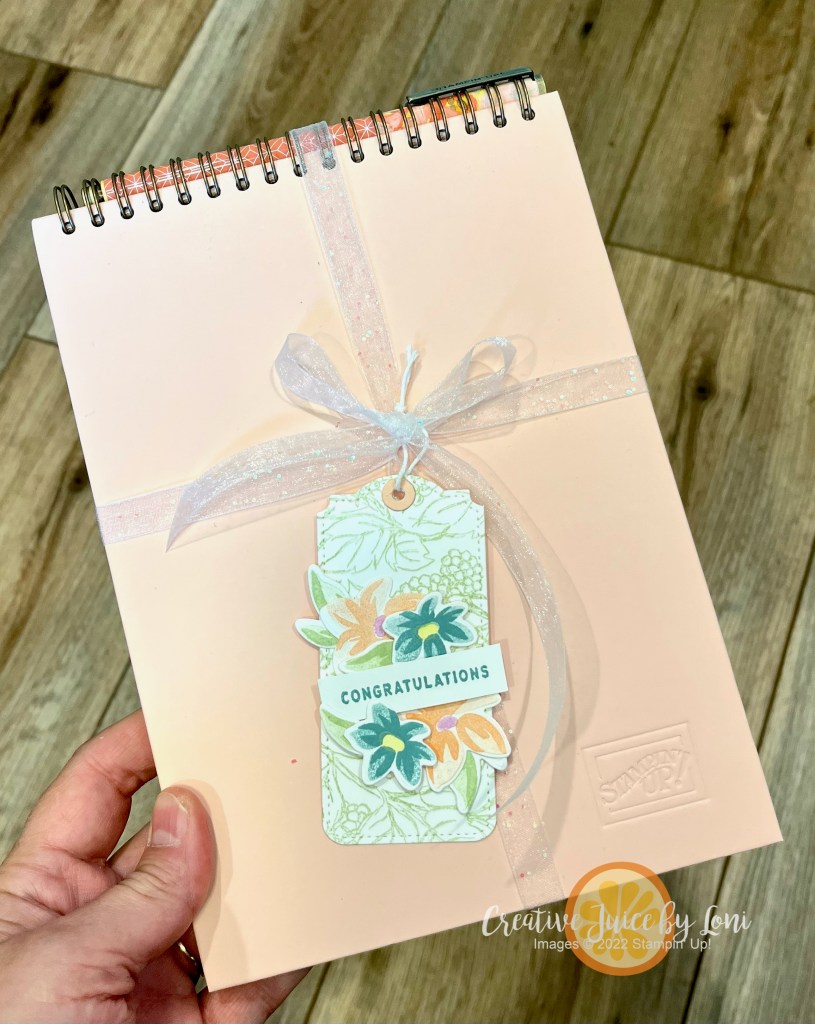
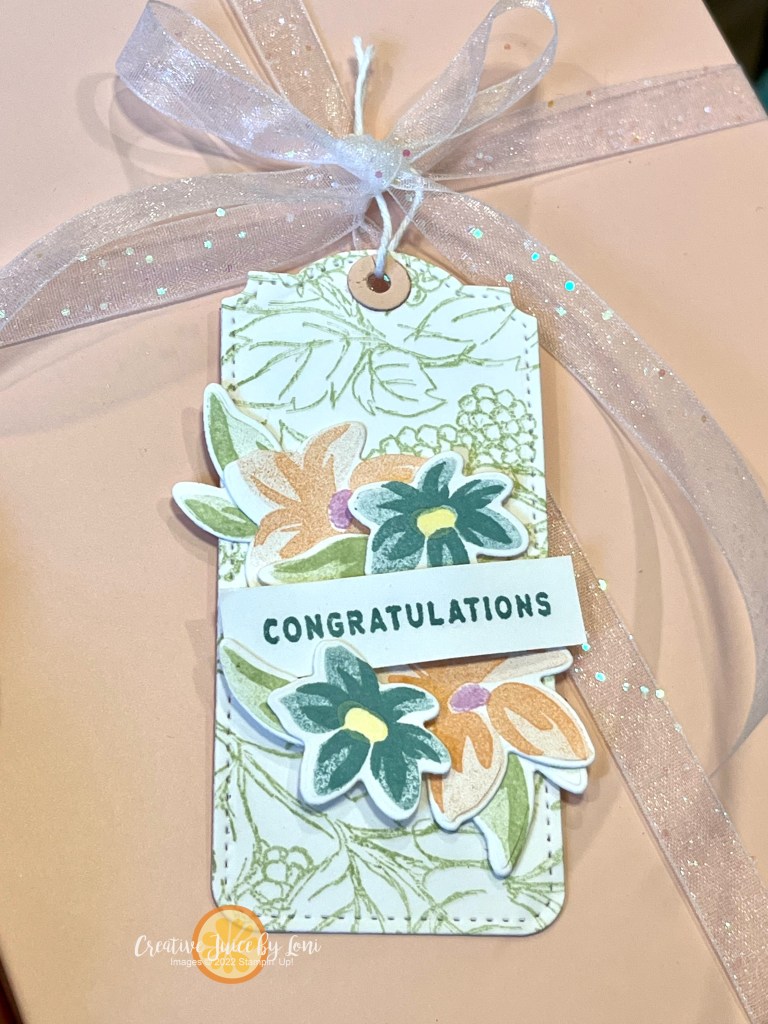
I wanted to give the leaders in my Sprinkled Ink team a special gift when we attended BackStage last weekend. My Kit.sch pillowcase is one of my favorite things, so I knew it would be a special gift, but I needed a way to wrap them, so I came up with a gift bag/box that closes at the top with a TAG.

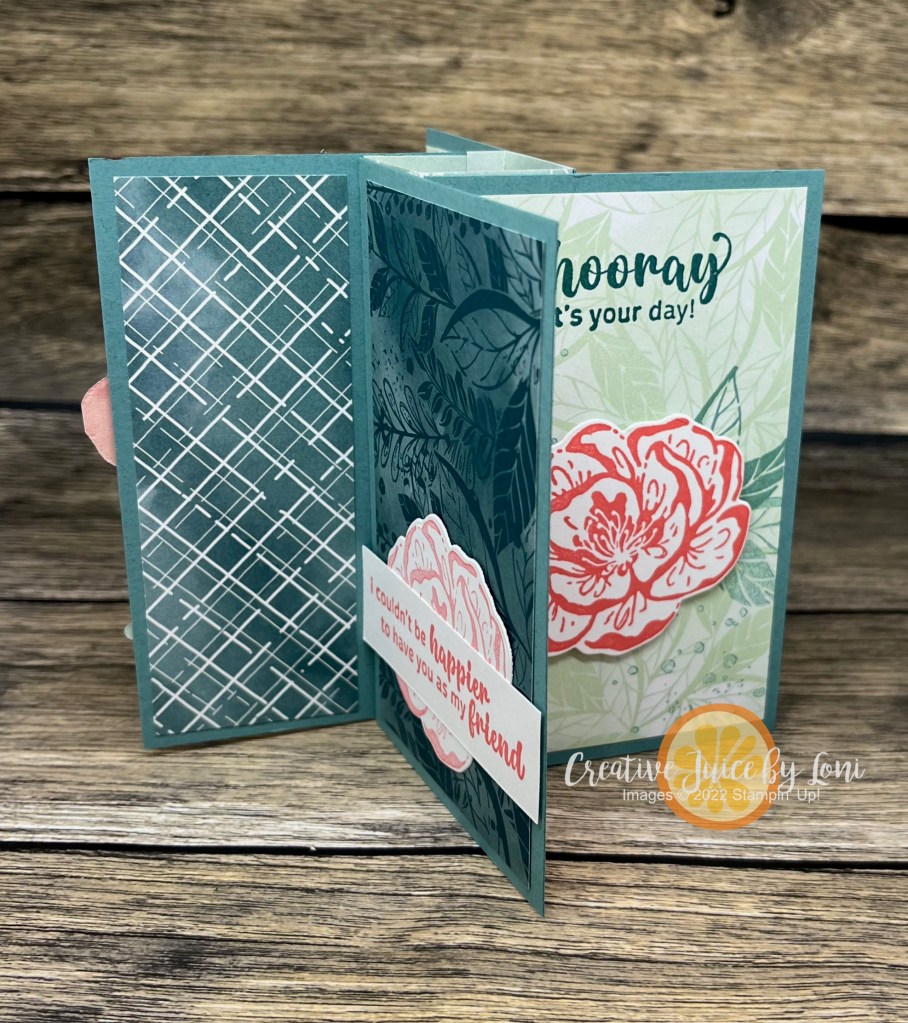
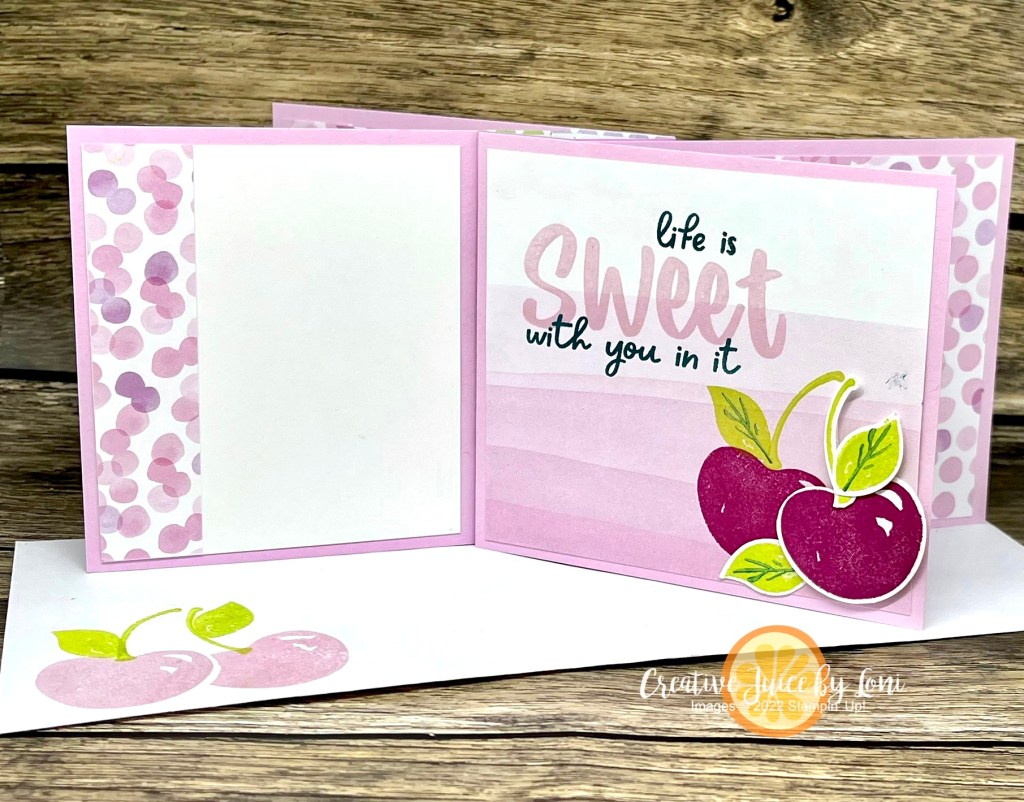
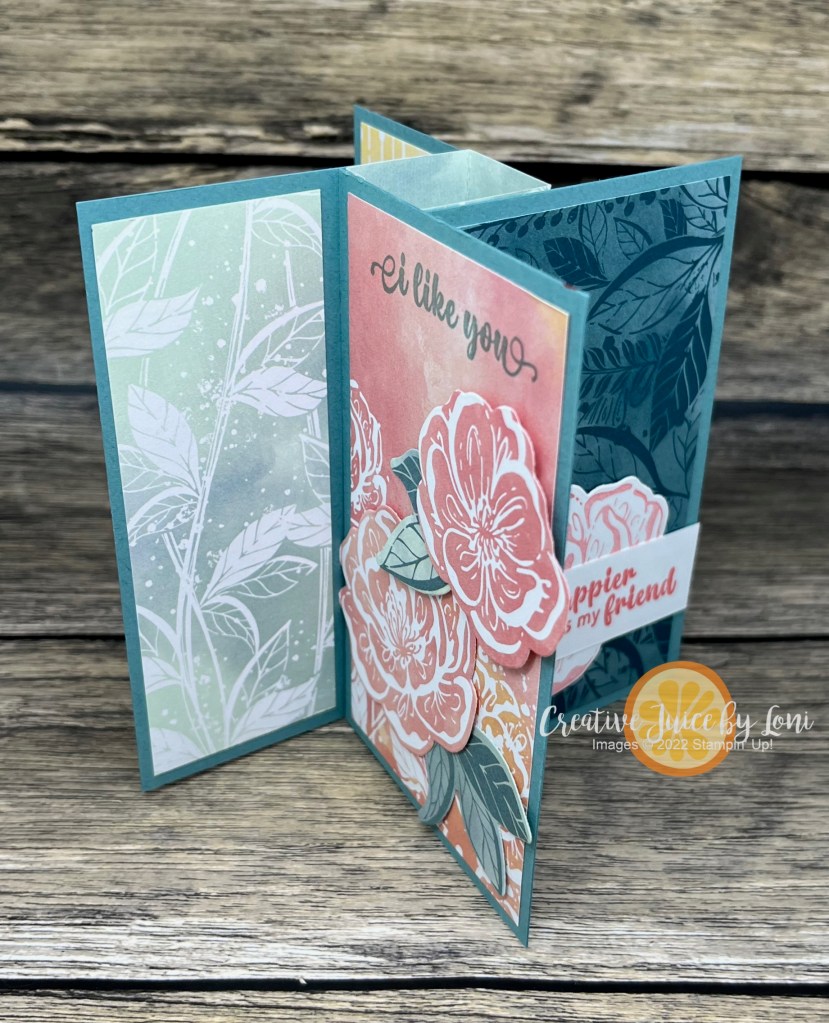
Both Sue and Kristi LOVE purple, so I used a piece of the Delighfully Eclectic Designer Series Paper to create the bag for them, but today I demonstrated it with a sneak peek piece of the Walk in the Forest Designer Series Paper that will be available beginning September 6, 2023:

It’s super simple to create and you can also slip a hand-stamped card inside along with a pillowcase (or any other gift about the same size). The finished bag is 1-1/4″ x 4-1/4″ x 7″
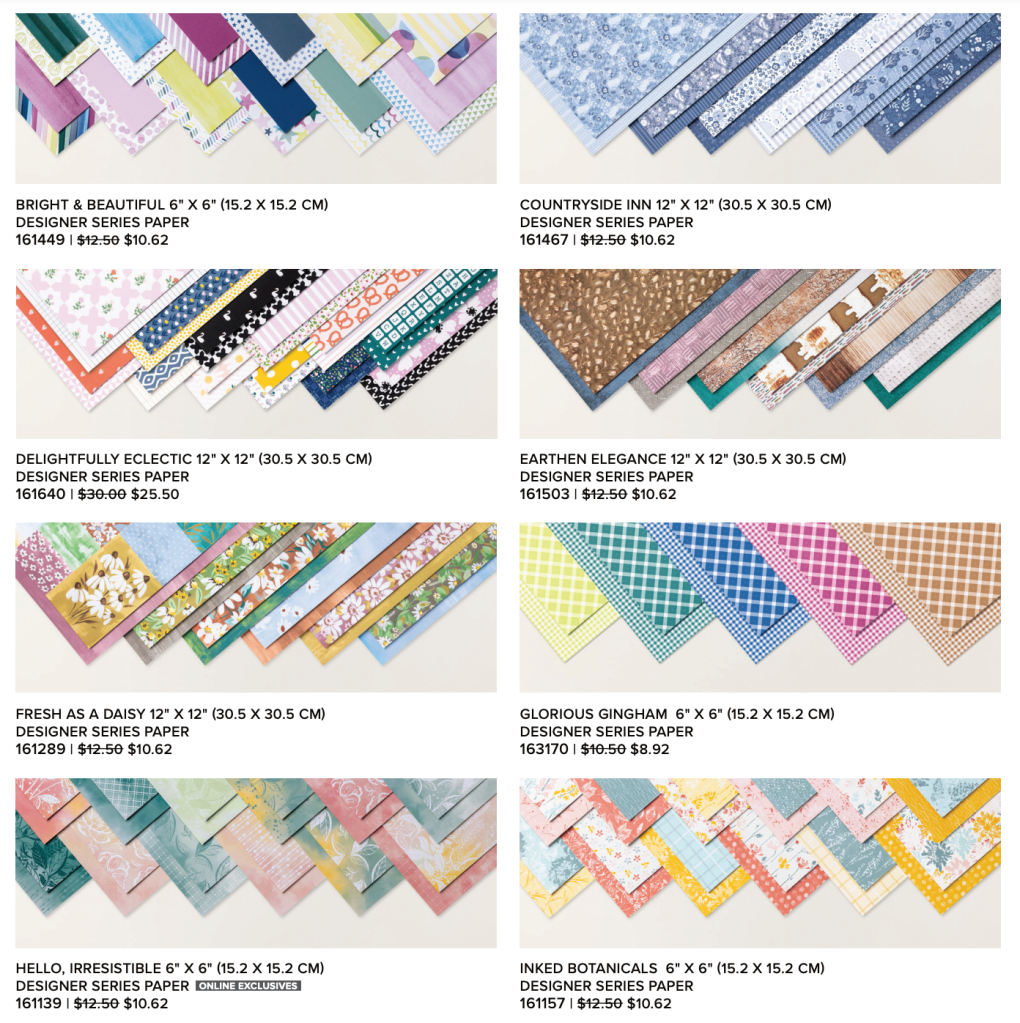
Grab a piece of Designer Series Paper and watch the video below to craft along, then reserve your paper share at the link after the video!
Would you like a 6″ x 6″ piece of every pretty patterned paper in the upcoming September-December Mini catalog? Reserve your share by September 5th (or inquire if I have any extra after the 6th).

NOTE: The Walk in the Forest Designer Series Paper is our “giveback” product and when you purchase a package, $3 will be donated to the Marine Toys for Tots program to deliver hope to economically disadvantaged children.

Last (but not least), on Wednesday, September 6th, make sure you check out the SPECIAL RELEASE of additional Designer Series Papers that are NOT in the mini catalog – but COORDINATE with select products in the mini catalog – which are available WHILE SUPPLIES LAST! Self-adhesive gold and silver glimmer paper? YES, PLEASE! And that’s just one of the papers…


 Designer Series Paper")


 Designer Series Paper")


")


 Bordered Ribbon")


")


 Textured Ribbon")


 Designer Series Paper")
")


")
")

 Specialty Designer Series Paper")


")


 Gingham Ribbon")


