Our family loves to play games together- from board games to video games! A few of our favorites are:
- Killer Uno (card game)
- Perpetual Commotion (some call it Nertz)
- Splendor (strategy)
- Anything Mario (video)
- Overcooked (video)

Seeing the “Level Complete” stamp set on my shelf reminded me that my son (an avid gamer) is adding an extra (year to his) life this month, so that’s where my imagination went when I saw today’s #tgifc463 Sketch Challenge.

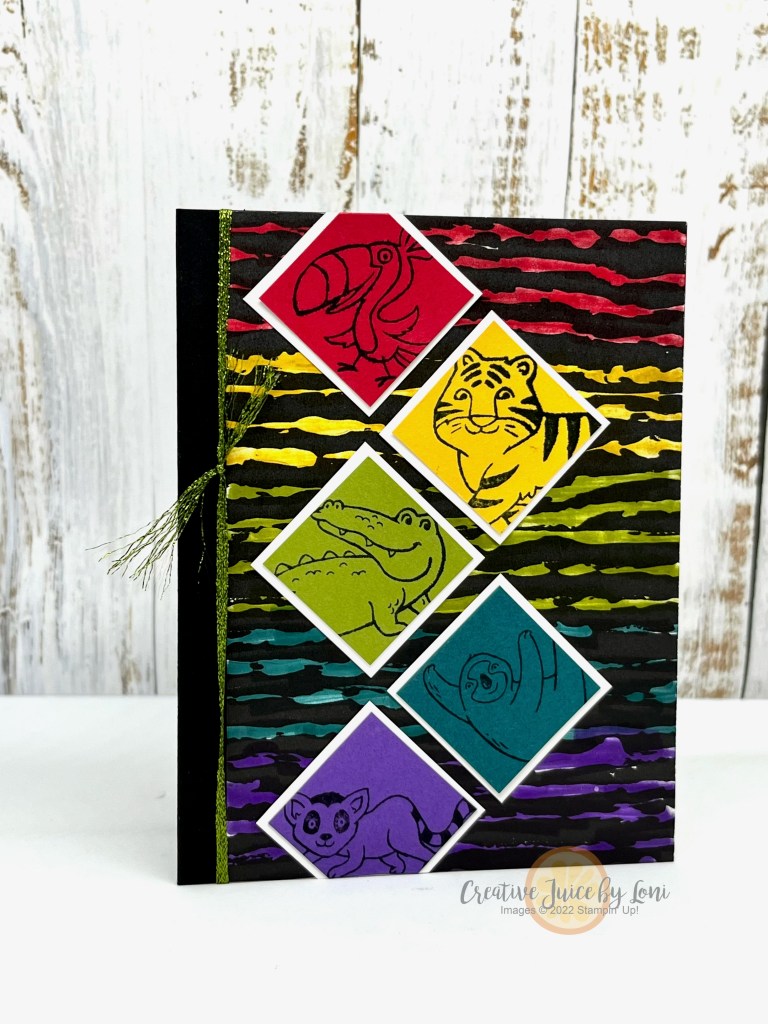
I turned the sketch sideways and used the game controllers as the focal point:

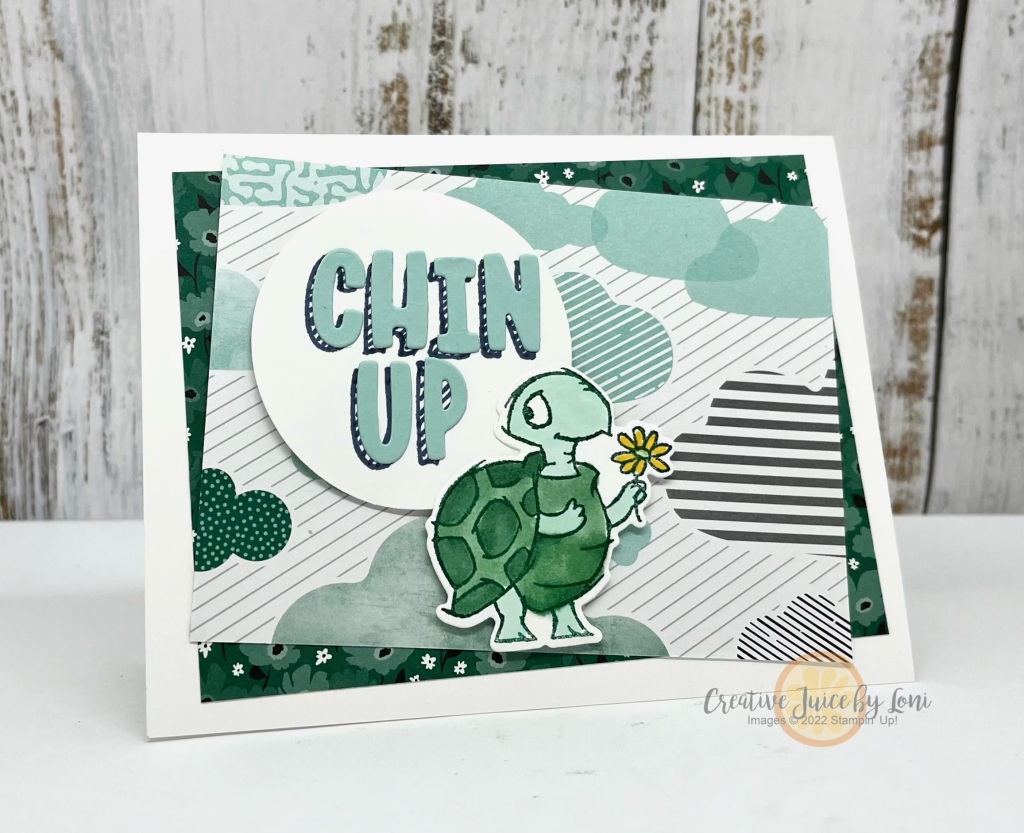
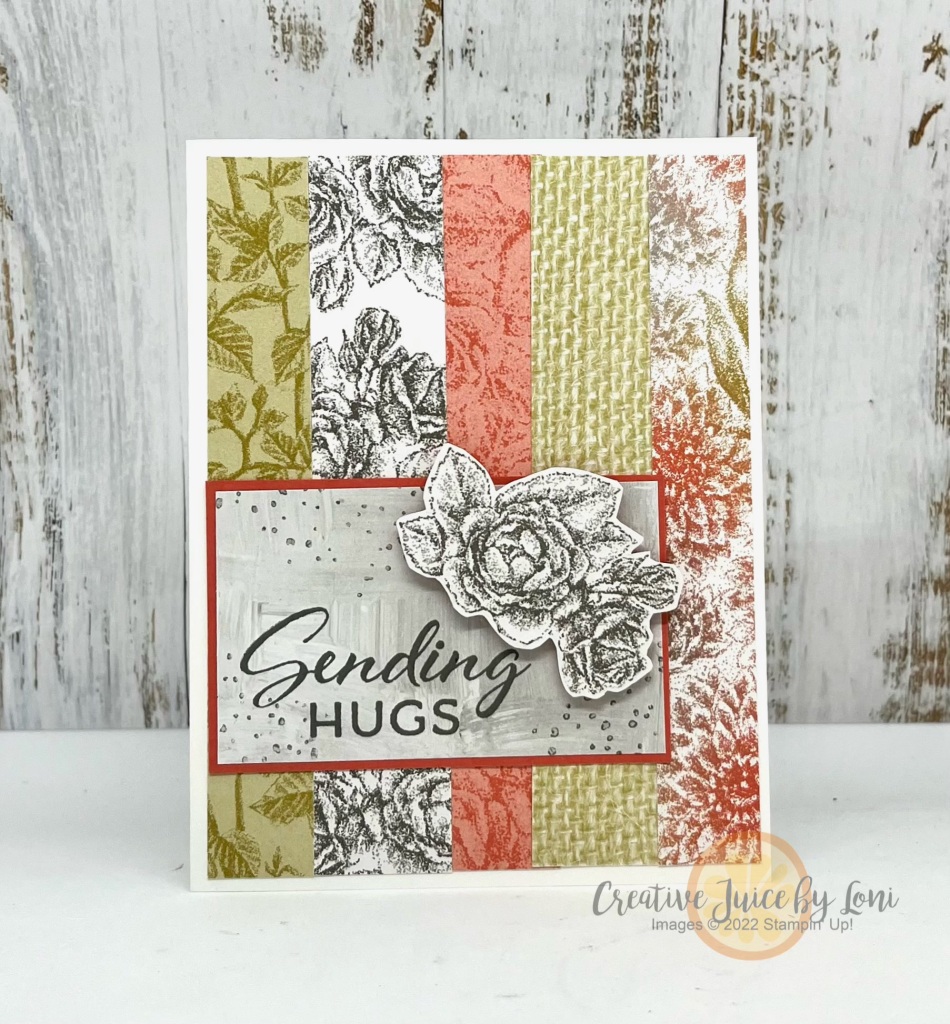
The black & white designs on the Rock & Roll Designer Series Paper are truly awesome whenever you need a masculine background!
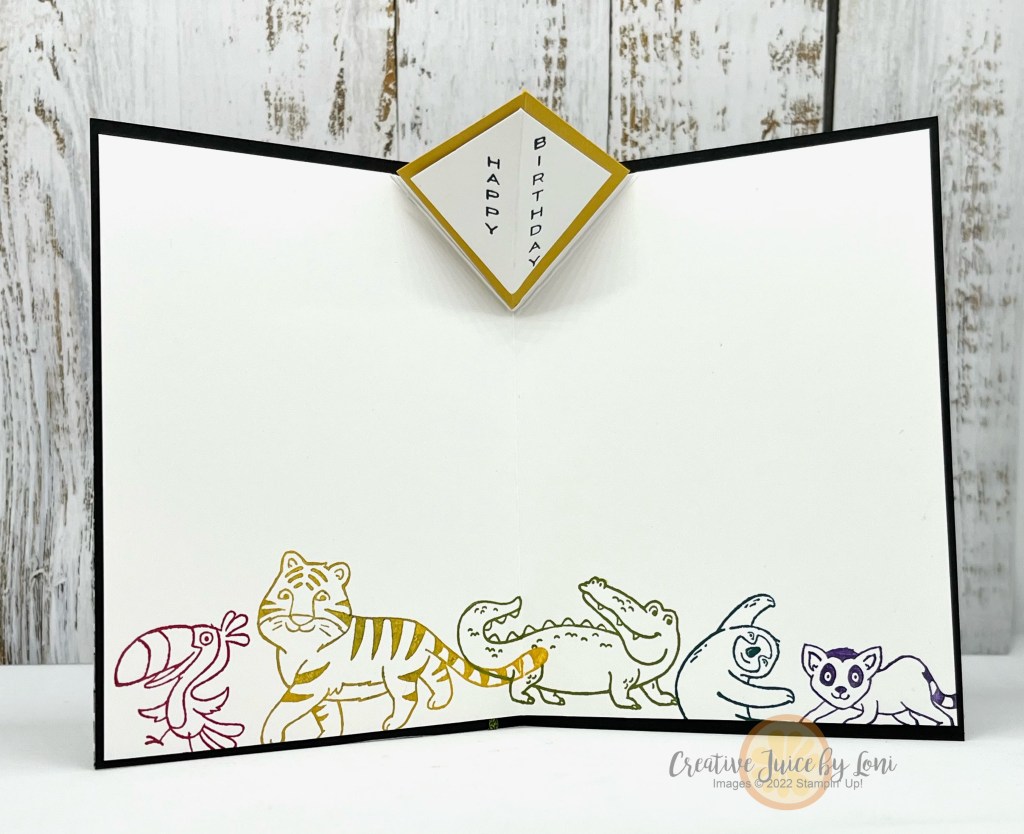
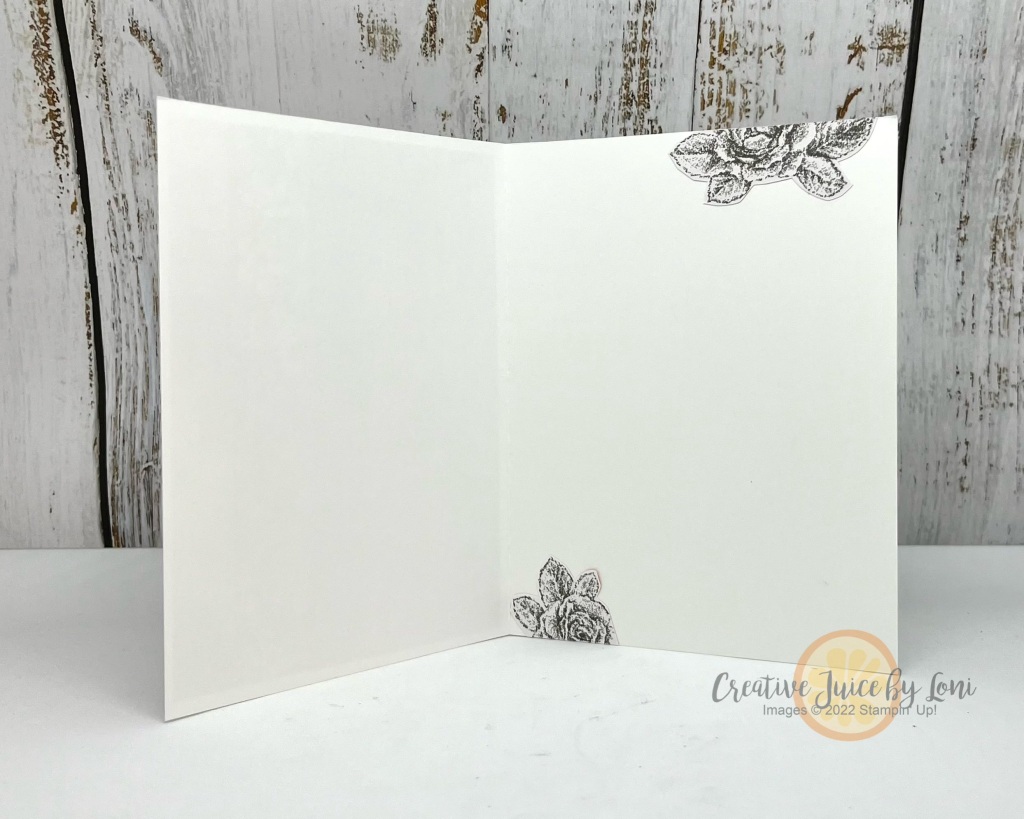
A black card is striking with Daffodil Delight and Tahitian Tide, just remember to add a white layer on the inside to write on.

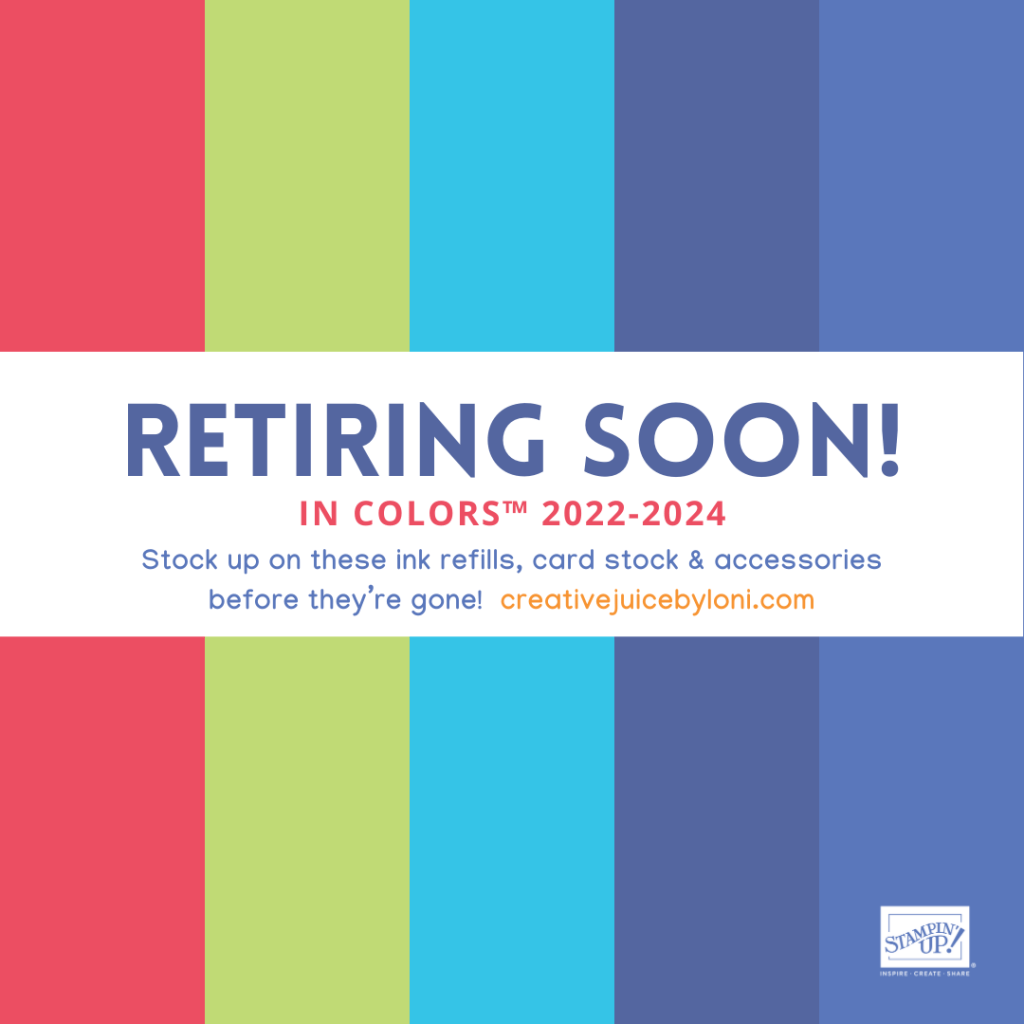
While we are the subject of Tahitian Tide (a 2022-2024 In Color), remember that it’s one of these bright hues retiring at the end of April, 2024, and we don’t really have any bright turquoise to replace it right now, so order an ink refill for your ink pads and card stock of the same color for coordination!
Does your family have a favorite game to play together? Tell me!

To re-create this card, you can click on the supplies listed and order from my Stampin’ Store- that helps me so I can continue to bring you great ideas you are welcome to copy. or spark your own imagination!
Product List")
 Designer Series Paper")


")


 Designer Series Paper")
 Designer Series Paper")


")


 Designer Series Paper")


 Metallic Woven Ribbon")

 Designer Series Paper")

")


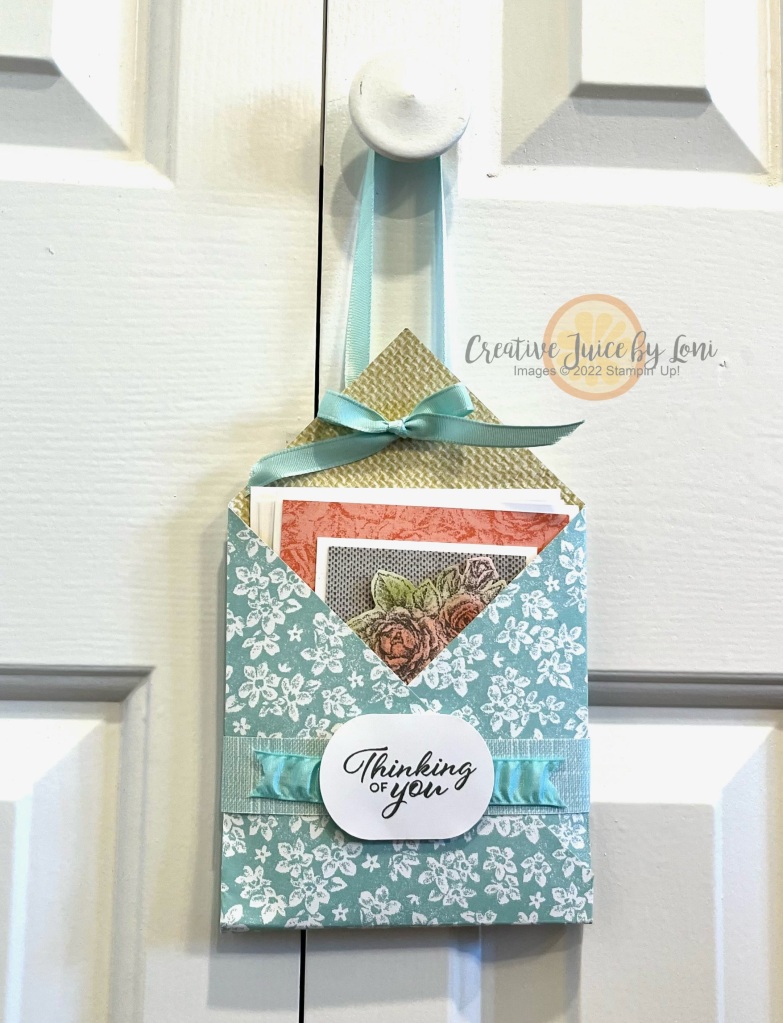
 Grosgrain Ribbon")
 Crinkle Ribbon")


")
 Designer Series Paper")


 Designer Series Paper")


")
")


 Designer Series Paper")
")


