Paper Florist & Doing Good in July

I’d reckon you didn’t see the Paper Florist dies that are new to the Stampin’ Up! catalog, did you?

You’ll have them on your radar now~ they’ll make you into a flower arranger extraordinaire!

This project started with a wood cut-out from Dollar Tree and layered Designer Series Paper, spelled out m motto and adorned it with these gorgeous card stock blooms.

Enjoy a how-to video with a few helpful hints:

July is my birthday month! It always feels like a party, and I am content with all that I’ve been blessed with, so it’s an opportunity to glorify God by sharing my bounty. That’s why I’m supporting my personal charitable passion, Operation Underground Railroad by donating 10% of my sales in July (plus 10% to another organization chosen by YOU).

With more than 40 million victims of human trafficking worldwide (25% reported to be children), my heart hurts for every child who doesn’t have the freedom to be innocent. And it’s happening here.

You are welcome to add to my #riseupforfreedom fundraiser. Family and friends- in lieu of birthday gifts, please consider a donation!

Add the Paper Florist Dies to your next order and I’ll donate $3.70 to both OUR and the other organization (once it’s decided by vote).

Product List

Home Decor SU! Dollar Tree Style (+ Stamp Clubs!)

It’s hard to resist wandering the aisles of the dollar store…it’s a treasure hunt, and the find of these decor pieces stirred up my creative juice:

You can paint them -or leave them natural- and use your favorite Designer Series Paper to put inside the circle! My version is painted white and I used the Hues of Happiness paper (now sold out on the Last Chance Sale).

Then I used the Alphabet a la Mode Dies to spell out a favorite quote (or ” ________’s Stampin’ Studio” if you are decorating your craft space). If you adhere Adhesive Sheets to the back of a piece of black craft foam, you’ll be able to cut out the letters on your Cut & Emboss machine and attach them to your sign easier. Foam doesn’t keep as rigid a shape as paper, but a TIP is to lay a ruler or straight edge down on your paper to line the letters up on BEFORE you adhere the paper inside the frame!

It’s nice to have dimensional letters that are black on all edges with the craft foam.

This was a project we made at our last Stamp Club in April– We start a NEW CLUB in June (meeting every other month) and if you are in Southern Utah, you can sign up to be part of the club or learn more here:

NOT IN SOUTHERN UTAH? I’ve got you!

You can host your own virtual party, join my team and start your own club OR be a part of my IN COLOR CLUB from ANYWHERE!

Each month from May 2023 through September 2023, you will receive one of the new IN COLOR:

  • Classic Ink Pad
  • Classic Ink Refill
  • Stampin’ Blends Combo Pack
  • 5 sheets of Card Stock
  • Two 6″x6″ pieces of Designer Series Paper
  • 2 yards of ribbon

PLUS a bonus embellishment each month!

PLUS an exclusive project tutorial (supplies for the project will be included FREE, you’ll use your own ink and any stamp set to complete the project)

PLUS each month a member of the club will receive a set of the five 2023-2025 In Color Stampin’ Write Markers FREE until everyone has a set!

This will be the order in which the colors will arrive: May- Boho Blue, June- Copper Clay, July- Wild Wheat, August- Moody Mauve and September- Pebbled Path

Monthly Cost: $35 each month (plus $6 for shipping to you if you can’t pick up from Loni’s house in Hurricane, UT).

Click the image above to join the In Color Club by May 15th!

Yes, you can be a member of BOTH CLUBS

Santa’s Delivery: Holiday Decor

Over the weekend, I participated in the First Annual Kane County Crafter’s Convention in Kanab, Utah and had so much fun playing in the “Location for Creation”, as my friend Seana Johnson coined it! Seana coordinated a wickedly wonderful 1st event with Create Room, Stampin’ Up! and the Kane County Office of Tourism as sponsors, and it was an dream escape for all who attended:

My teammate Sue Stratton and I designed and prepared 8 paper crafting projects for the guests, and this was the Holiday Decor piece I created as a project for the event participants:

You can find the tray at Dollar Tree, and it makes the ideal frame for a holiday scene! Because the Santa’s Train dies can die cut the stamped images OR the images from the Santa’s Express Designer Series Paper, I demonstrated a slightly different version in my video today:

While I’m still working to get the WHOLE video to post correctly on YouTube, you can catch a second version on my Facebook Page Video, if needed.

It’s just as cute when using the Designer Series Paper:

If you choose to create this version, here’s what you’ll need (and thanks for letting me supply your creative needs!):

Product List

We All Scream for Ice Cream

I’m so pleased that you like the Ice Cream Corner Suite as much as I do! I’m all-in for any rubber stamps with a coordinating punch: It makes paper crafting so easy.

This is the last week to order the bundle or suite and receive my April 3-for-Free kit:

While the stamp set and punch will be in the 2021-22 Annual catalog, they won’t be bundled together with the 10% discount like they are right now, and the coordinating Designer Series Paper will be retiring by the end of June!

This is a card we created at our last Stamp Club…and by the way, Stamp Club begins again in MAY, and we’d love to have you JOIN THE CLUB!

Don’t limit your creativity to cards…I even used the supplies to create this with a Rusch clock from Ikea:

Here’s the video tutorial taken from my Facebook Live demonstration:

Year-Round Home Frame


The August–December 2020 Mini Catalog Inspiration

PLAID TIDINGS SUITE

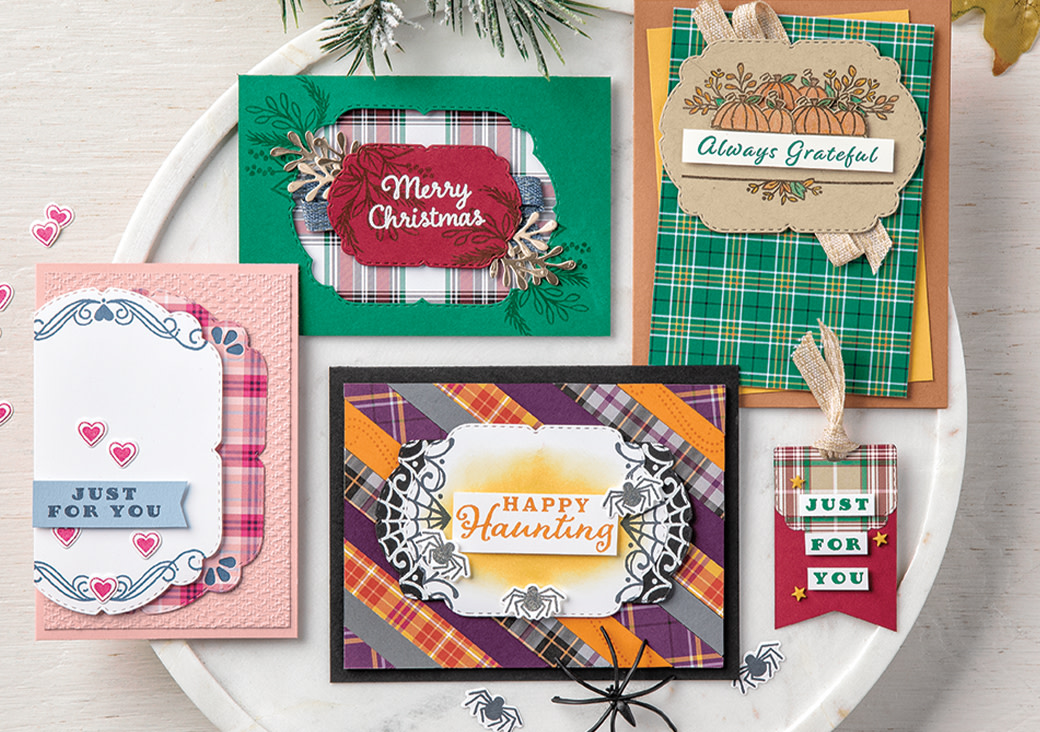
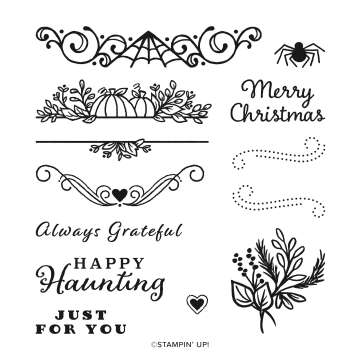
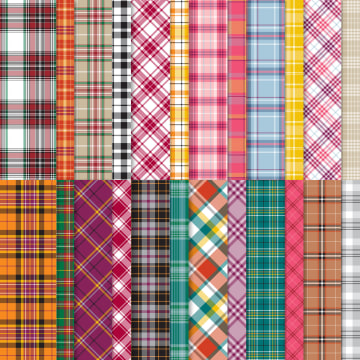
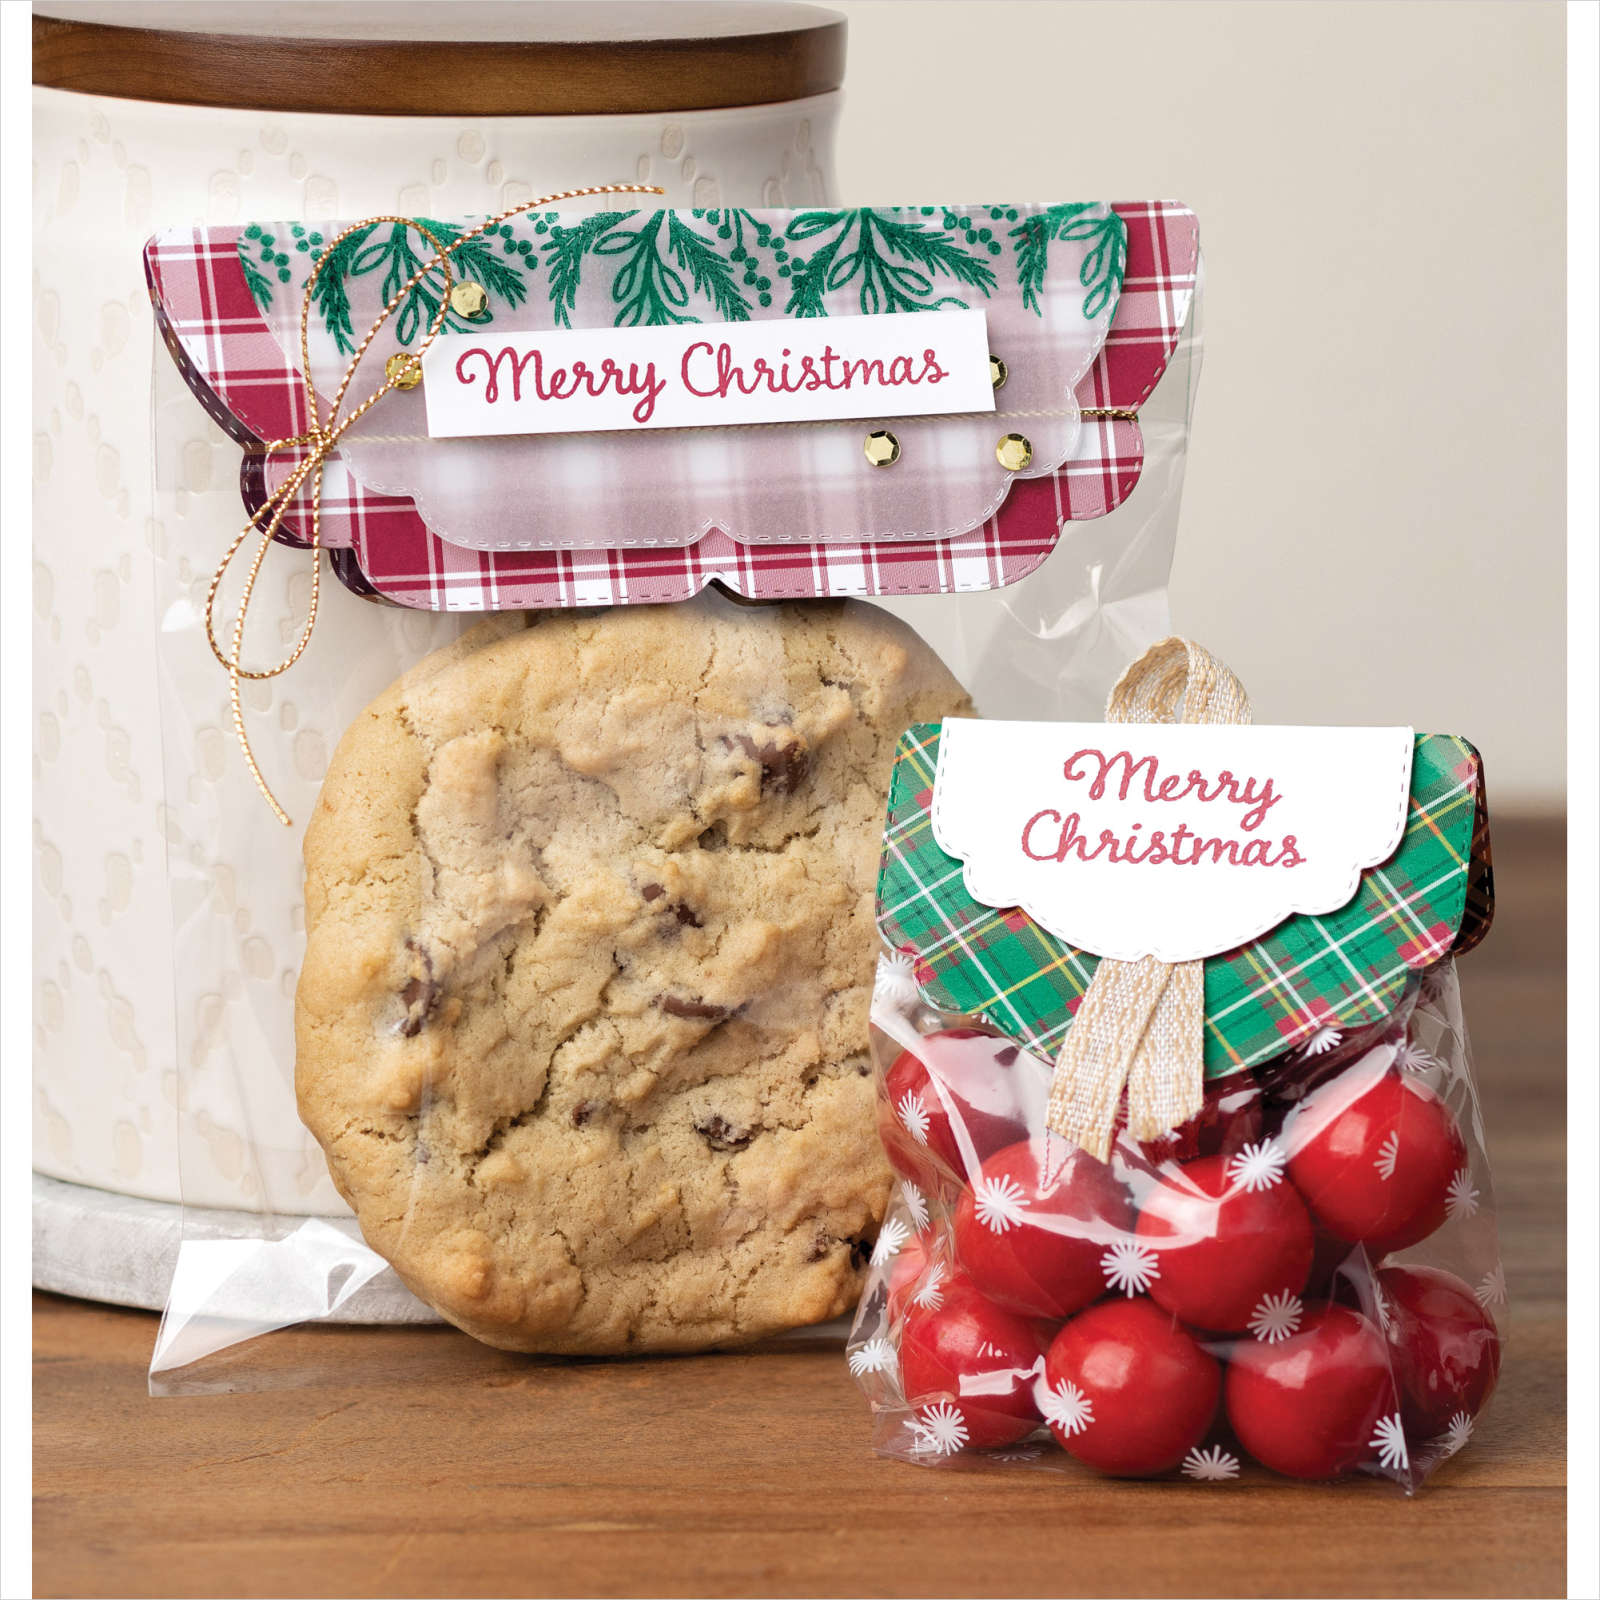
Following up from my last post: The Celebration Tidings stamp set is part of the Plaid Tidings Suite in the August-December Mini Catalog and I think you need to see MORE of it because it covers so many things!

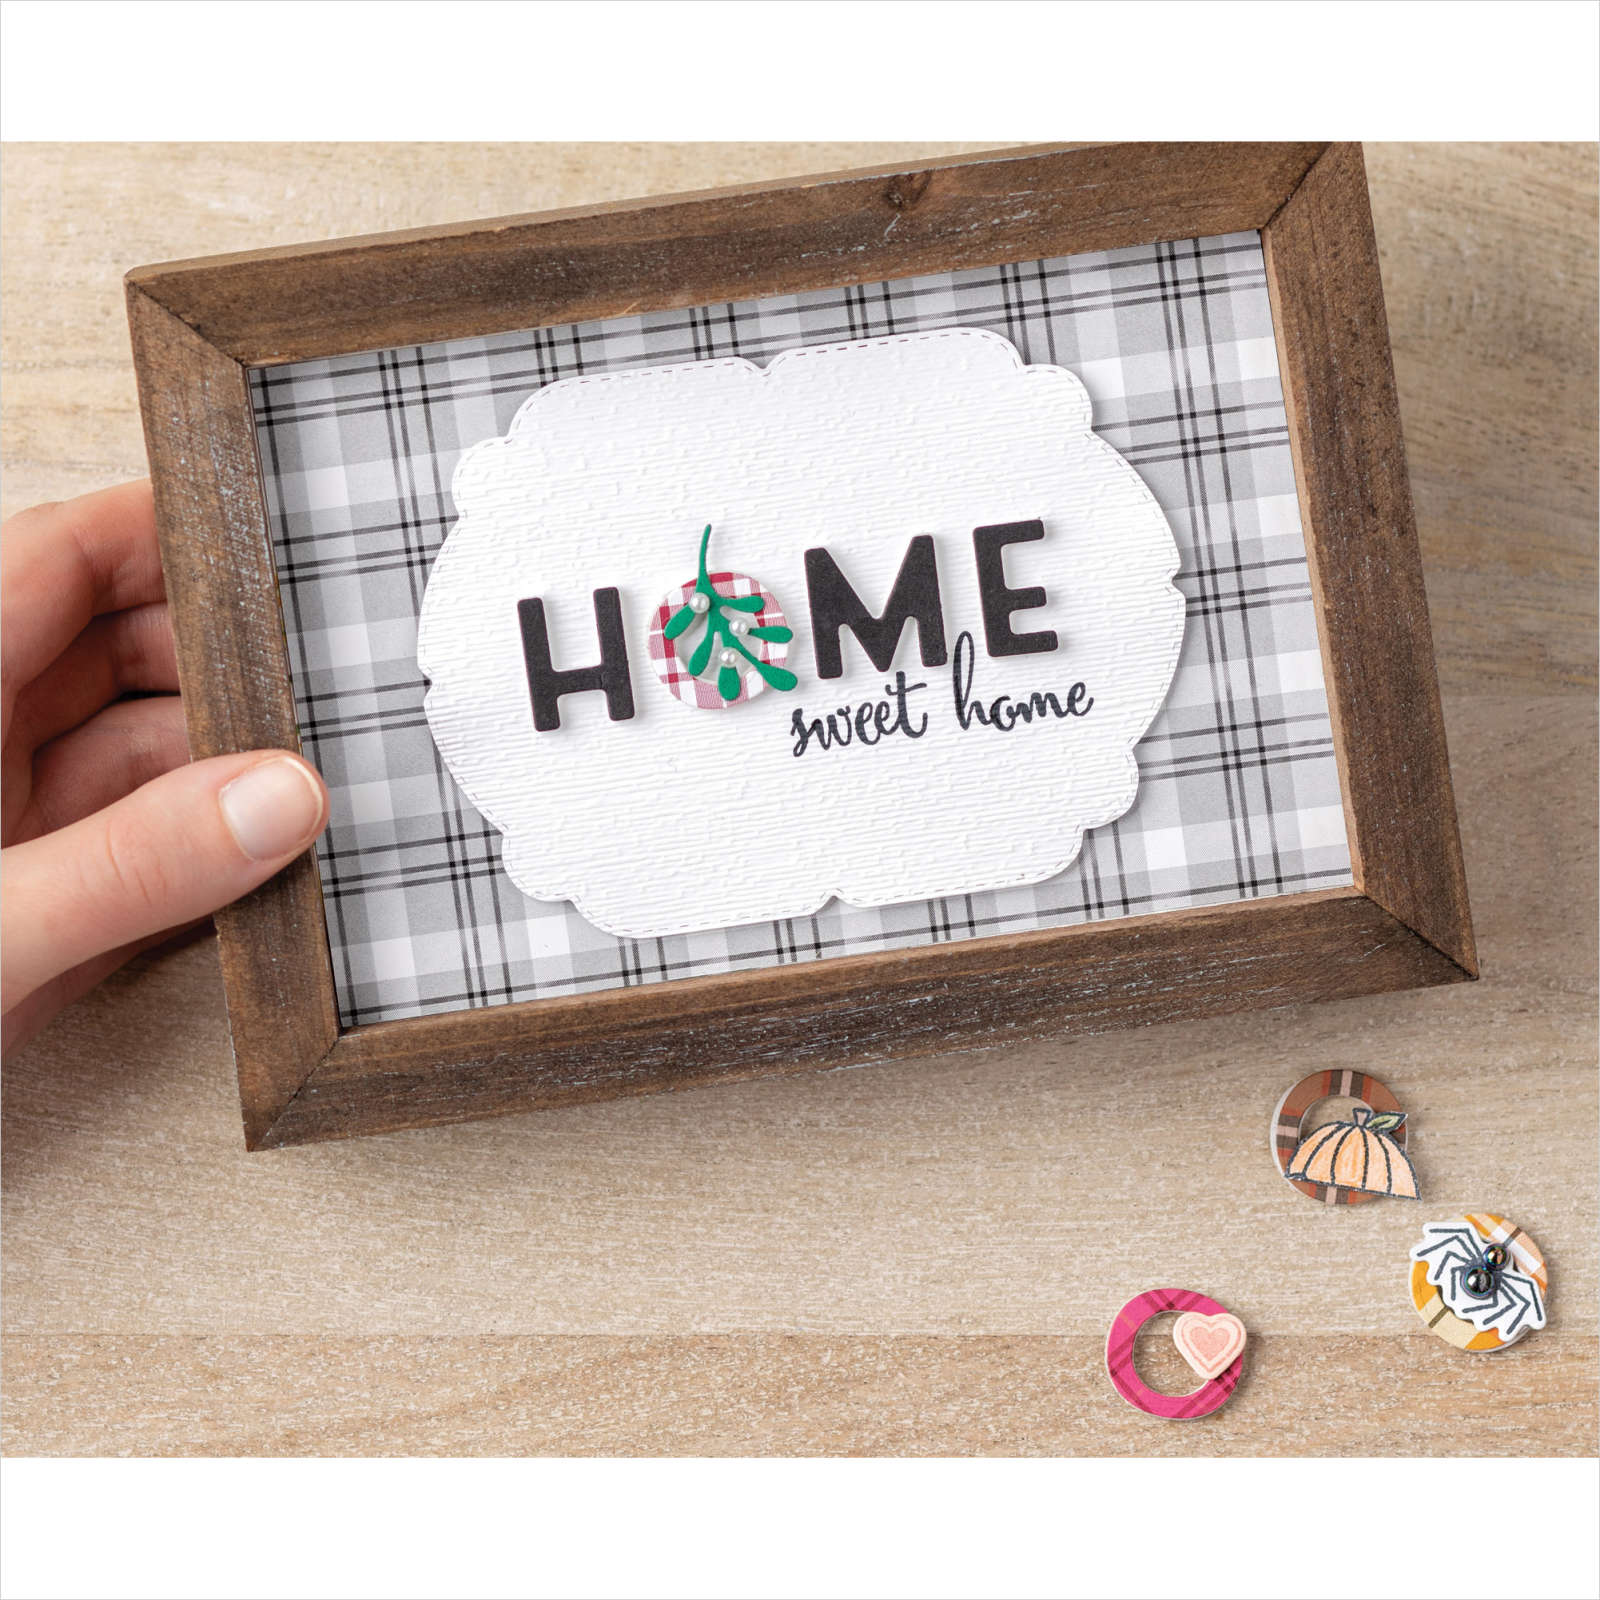
Use the products for bag toppers (see last post), greeting cards and home decor like this interchangeable, multi-season, decor frame. With an interchangeable “O” for each season, wouldn’t it be a lovely gift to enjoy all year round?

Multi-Season Decor Frame:
Multi-Season Decor Frame

Product List

OTHER

4″ x 6″ picture frame or larger with a mat to 4″ x 6″, small strong magnets or hook and loop dots

TIP: Grab some scrap paper and practice stamping the script words (“sweet home”) that use the individual Make a Difference alphabet stamps or use the Stamparatus for more precise placement.

Coordinating Products

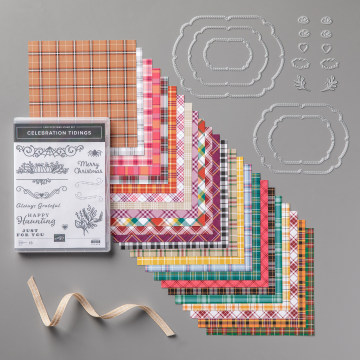
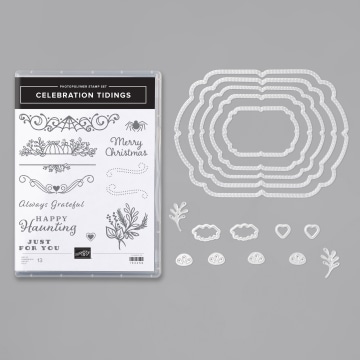
PLAID TIDINGS SUITE COLLECTION (ENGLISH) CELEBRATION TIDINGS BUNDLE (ENGLISH) CELEBRATION TIDINGS PHOTOPOLYMER STAMP SET (ENGLISH) PLAID TIDINGS DESIGNER SERIES PAPER CELEBRATION LABELS DIES 3/8

Plaid Tiding Suite

VIEW OUR SUITES ONLINE

DOWNLOAD OUR LATEST CATALOG

The August–December 2020 Mini Catalog

What’s New at SU! Fall Crafting

Thanks for hopping along with the What’s New at SU! blog hop. Our group of demonstrators from around the globe always inspire creativity with their projects and today we are focusing on FALL.

My husband grew over 200 stalks of Indian corn this year, so we have a LOT of beautiful ears and colorful kernels with which to decorate for all things Autumn:

IMG_3435-(W)We dried some of the corn and I put them into a small mason jar and pushed a battery-operated tea light into them. All it needed was a little ribbon and a tag to dress it up, and I will make a few more to decorate our Thanksgiving table.

When was the last time you colored directly on your stamp with Stampin’ Write Markers? I love doing this on words to achieve a rainbow effect.

IMG_3429-(W)This technique is easily done on a red rubber stamp (like our cling mount sets), but this saying was from a photopolymer set: When I colored and stamped it the first time, the colors pooled on the photopolymer, making the stamped image blotchy. So I cleaned it off with Stampin’ Mist cleaner on the Stampin’ Scrub and tried again~ the result the second time was MUCH better!

Before you hop on to Diane’s projects (or back to Heather’s), I’d love to hear from you in the comments!

PREVIOUSNEXT

Product List

IMG_3417-(W)

A Bright Welcome to Magnolia Lane

There are iconic sights all over the world: The Eiffel Tower in Paris, the pyramids of Egypt, a great wall in China and now, the Magnolia Lane Suite by Stampin’ Up!

cm101003b

This collection of products has made such a mark on the crafting world that it’s becoming instantly recognizable on the shelves of discerning makers around the world! It’s certainly one of my all-time favorites.

I wanted to use the dies to create something a little different: A piece of home decor that is bright, animated and welcoming!

IMG_2345 (W)

This was also a masterpiece we created at my Stamp Club in July. It was worth all the cutting (and the fact that I finished season 6 of “Call the Midwife” as I was cutting out hundreds of flowers for my club members).

IMG_2666 (W)

If you want to make your own, you’ll need to cut two of the large and medium flower pieces for each of the flowers and one of the smallest flower pieces from the Magnolia Memory Dies, then simply curly them with your bone folder and layer using multipurpose liquid glue (the best adhesive for these flowers). The leaves are punched using the crafters essential Leaf Punch and the Stampin’ Up! card stock colors used are: Lovely Lipstick, Pumpkin Pie, Daffodil Delight, Coastal Cabana and Granny Apple Green I finished it off with two of the center starburst die cuts and a “welcome” from the Well Written Dies 

We put the flowers in a frame with a 4″x7″ opening so it bursts forth with joy:  I’m setting it on my piano by the front door for the rest of the summer!

Thanks for ordering the supplies for this project from my Stampin’ Store~ I appreciate your support of my business and hope I’ve inspired you to make one of your own.