You are going to want to make this card, believe me!
Since most of our Designer Series Paper is discounted through June 30th, I’ll be demonstrating some projects to inspire you to pull out your patterned paper and use every last scrap. You can set an alarm for Mondays and join me live on my Facebook Page or YouTube Channel at 12:30 pm MT, or watch the replay at your convenience.

Without further adieu, here is the fabulous Pinwheel Tower Card I taught today:
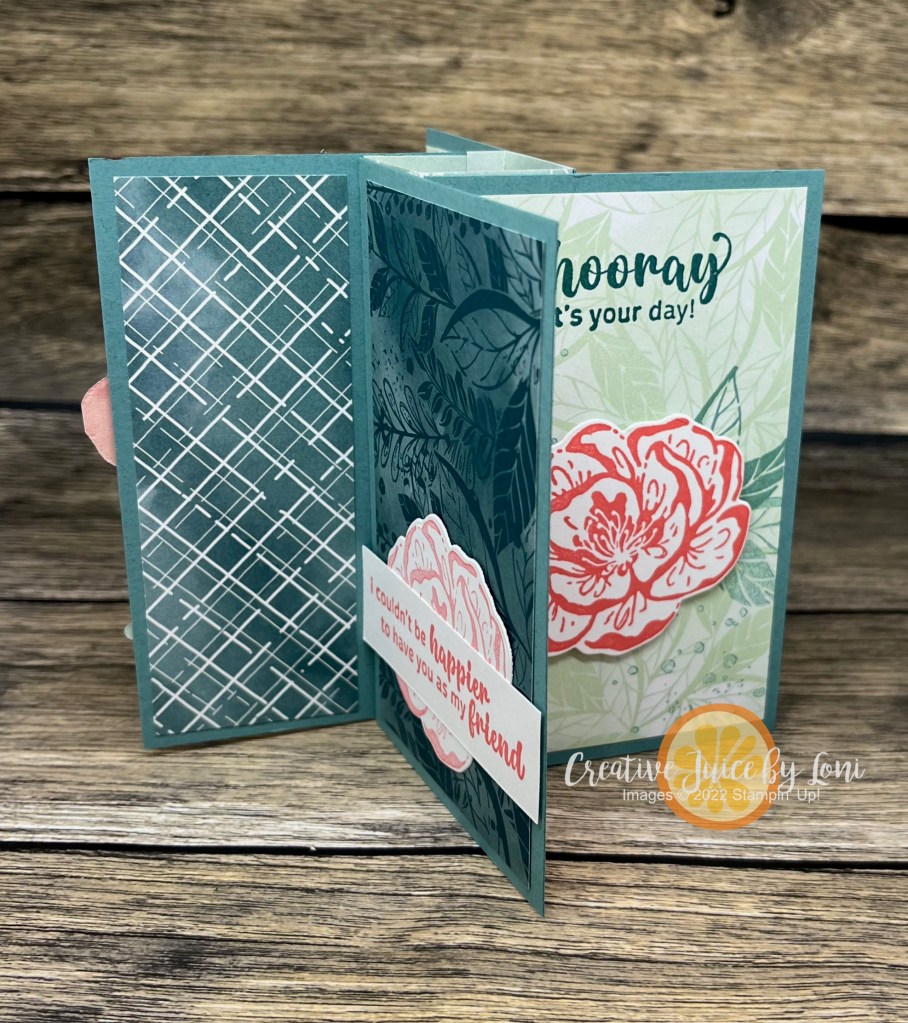
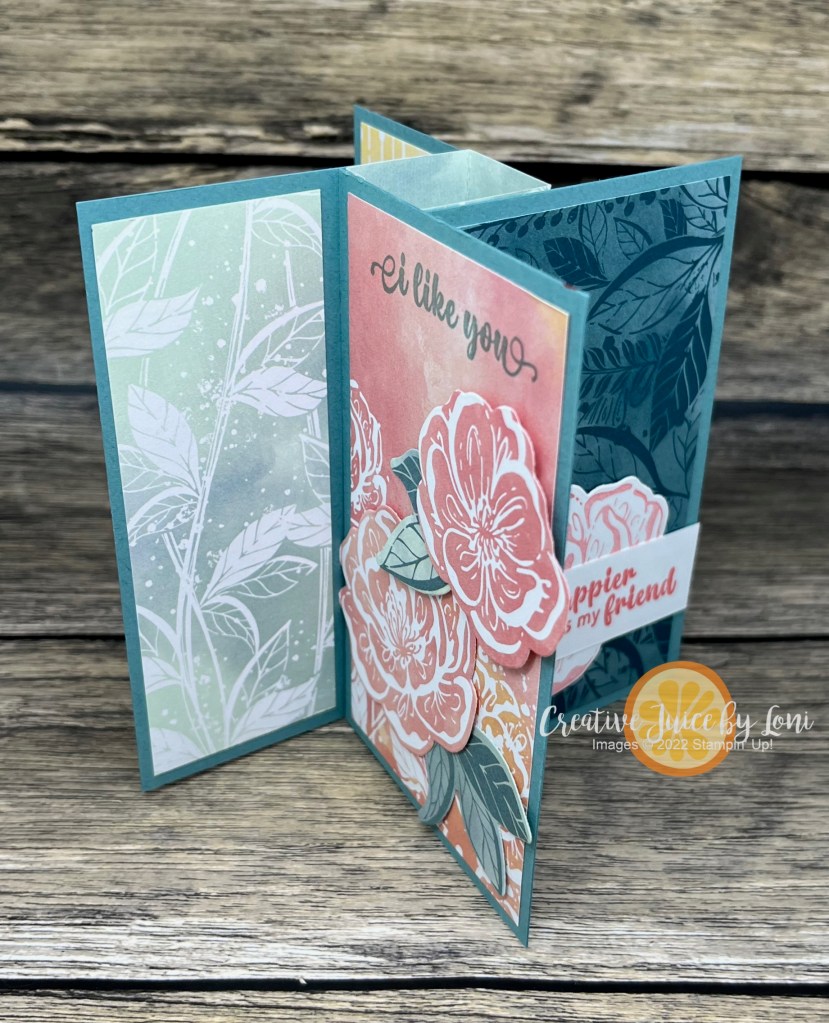
It opens up to stand and displays 4 panels! This card is best created in landscape orientation, giving you plenty of area on each panel to decorate or write a message. The finished size of this card (laying flat) is 4.25″ x 5.5″, so it fits into our Basic Medium Stampin’ Up! envelopes perfectly.


You’ll be delighted at how EASY this fancy card is to create and if you want to craft along with my video below, gather these supplies:
- One 4-1/4″ x 4-1/4″ piece of Designer Series Paper
- Four pieces of 2-1/2″ x 4″ Designer Series Paper that coordinate (don’t have to be the same pattern, but from the same pack) with another four 1-1/2″ x 4″ pieces of Designer Series Paper.
- Four 2-3/4″ x 4-1/4″ panels of card stock that match one of the colors from your Designer Series Paper
- Simply Scored Board (or paper trimmer with scoring blade)
- Adhesive
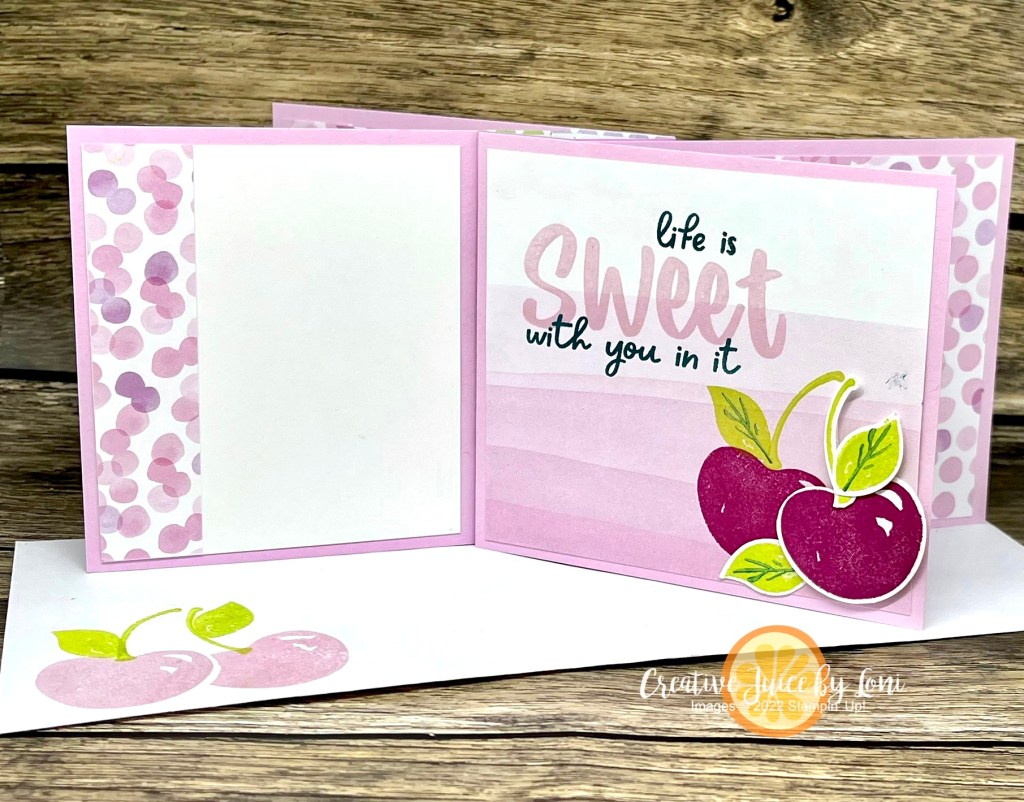
Once you’ve made a Pinwheel Tower Card, you may want to make a larger version in a slimline card, which could also be a “mini album” if you add photos to some of the panels!

This version is 9″ x 4″ when flat, so it fits into a legal envelope (don’t forget to stamp your envelope, too).

For this larger version, here are the supplies you’ll need (and adjusted measurements):
- One 4″ x 4-1/4″ piece of Designer Series Paper (still score along the longest side at each inch)
- Four pieces of 3-3/4″ x 4-1/4″ Designer Series Paper (or cardstock) with another four 3-1/4″ x 3-3/4″ pieces of Designer Series Paper (or cardstock and scraps of Designer Series Paper, as shown)
- Four 4-1/2″ x 4″ panels of card stock that match one of the colors from your Designer Series Paper
- Simply Scored Board (or paper trimmer with scoring blade)
- Adhesive
I used the BRIGHT & BEAUTIFUL Designer Series Paper along with the Sweetest Cherries stamps and Cherry builder punch on the Slimline version, and will list the supplies for the Hello, Irresistible original card below.
REMEMBER THE PAPER IS ON SALE THROUGH JUNE 30, 2023 – SAVE 15%!
Product List Designer Series Paper")
")


")
")


