Greeting card crafters know how similar their art is to quilting: Matching patterns, colors and textures of little pieces of paper gives us a quicker satisfaction on a smaller scale than a quilt!

This card not only patchworks paper together, it ALSO HAS A QUILTED TEXTURE!

I paired the Softly Sophisticated Sale-a-Bration bundle with the Softly Stippled Sale-a-Bration Designer Series Paper for this card.
INSTRUCTIONS & MEASUREMENTS: Stamp images & sentiment on the Wild Wheat textile patterned paper (2″ x 3-1/4″) then adhere it to the center of a 5-1/4″ x 4″ piece of Wild Wheat card stock, with two 3/4″ x 3-7/8″ pieces of Designer Series Paper on the top and bottom and two 3/4″ x 4-1/8″ pieces of Designer Series Paper on the sides (adjusted measurement from the video). Emboss all the layers with the Softly Sophisticated 3-D Embossing folder before mounting it to the card base.
Follow along and craft with me- you can pause as you stamp & assemble:
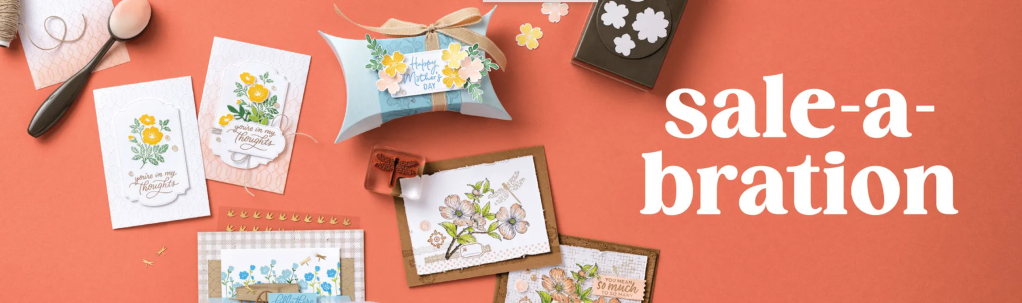
The Softly Sophisticated Bundle is a set of stamps & embossing folder you can choose FREE with a $100 order before 2/29/24 for Sale-a-Bration!
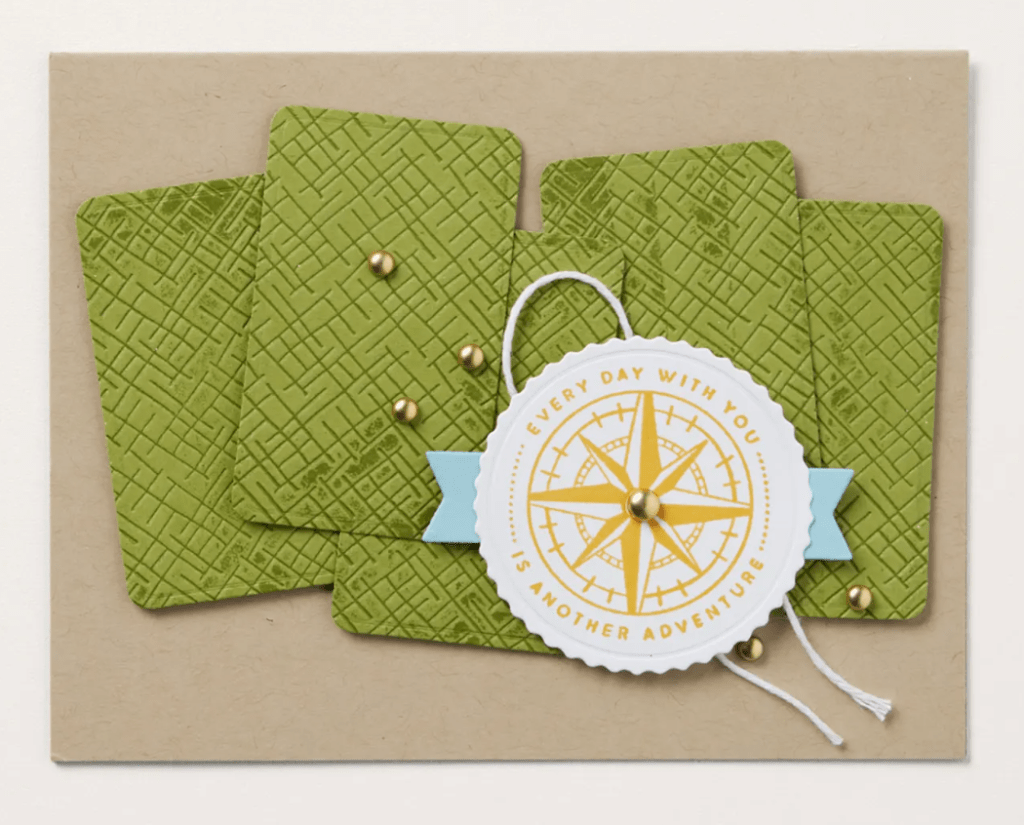
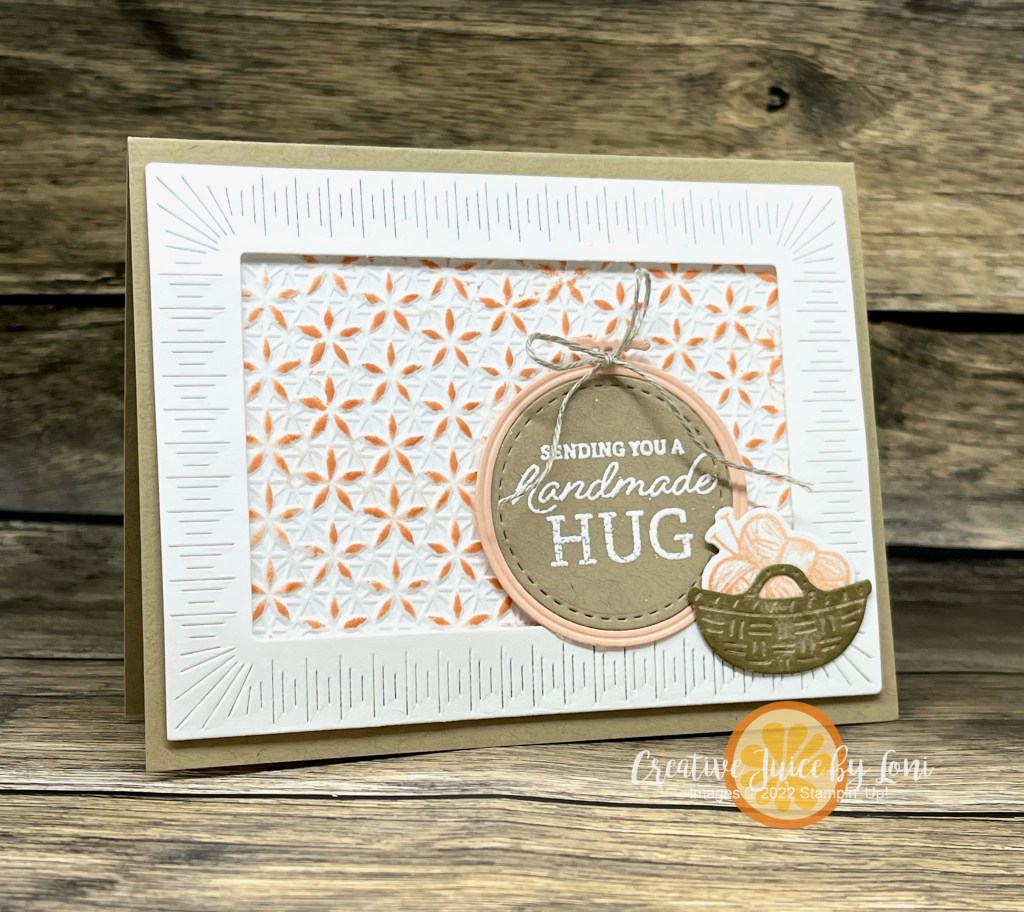
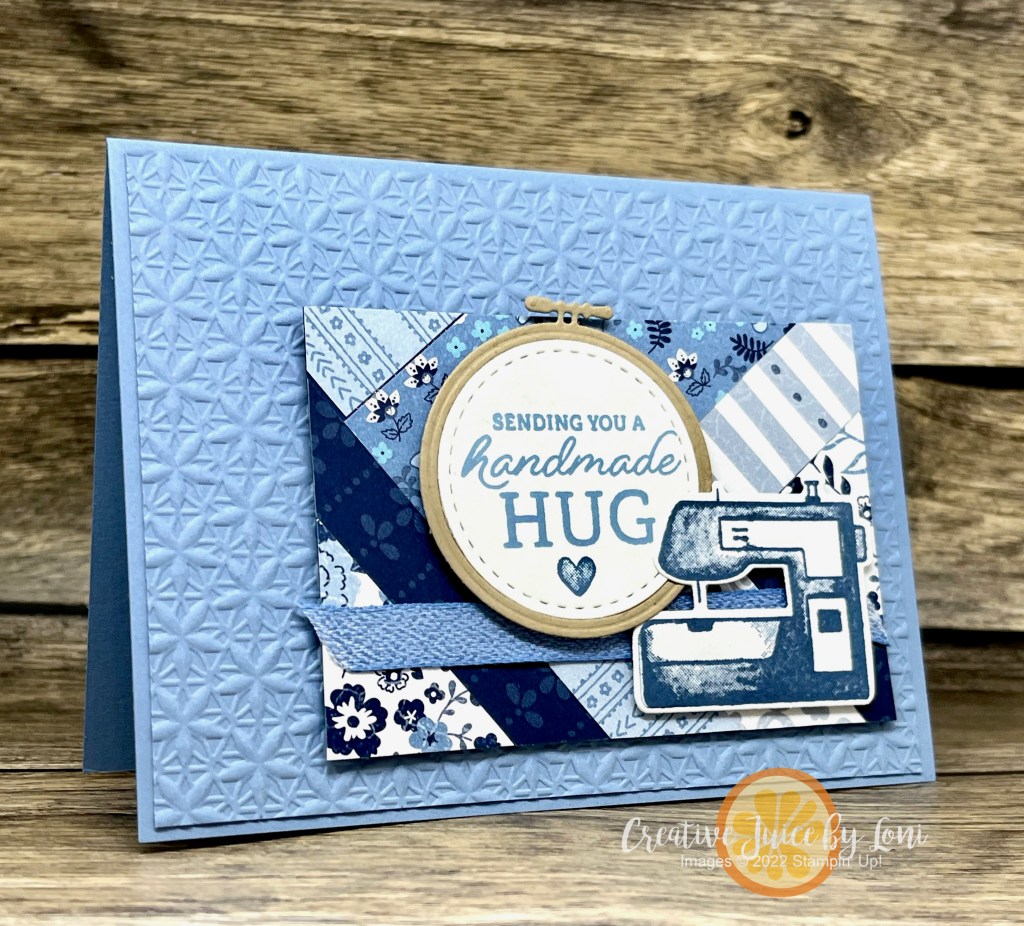
I didn’t stop with the first card, but pulled out some supplies from the Annual Catalog to make a few handmade hugs (gatefold cards):

TIPS FOR THIS CARD: Cut a 3-1/4″ x 4-3/4″ piece of each pattern in the Countryside Inn Designer Series Paper. You can cut two sheets at a time with the Sunburst die, but you may want to go forward and back through the Cut & Emboss machine. You can flip pieces over, since the top and bottom of the design are the same size/shape and get ALL 12 designs in the starburst!
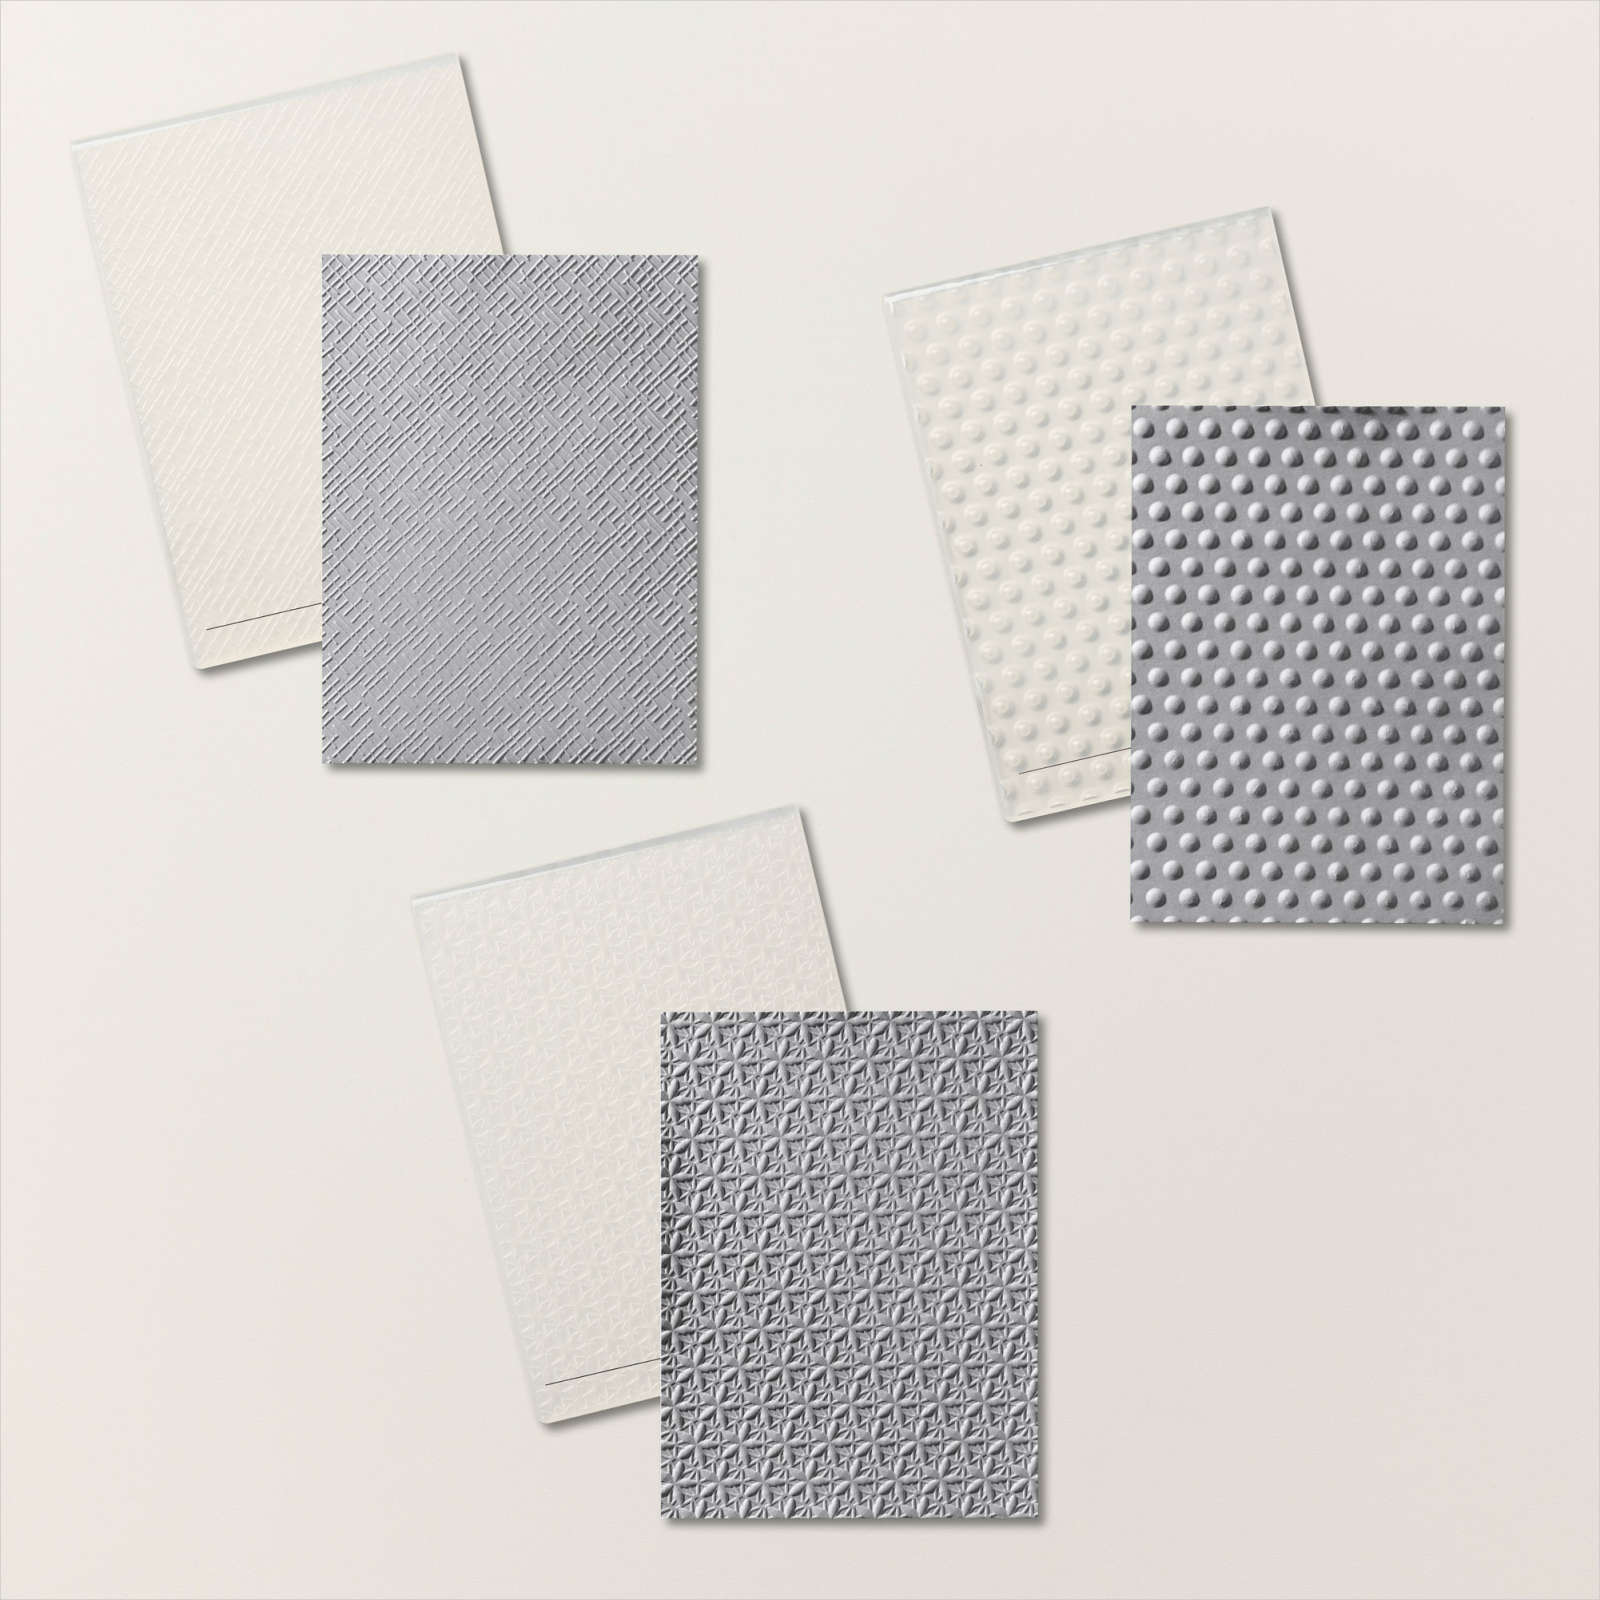
This card also used the Softly Sophisticated 3-D Embossing Folder, then I tried a few other textures:


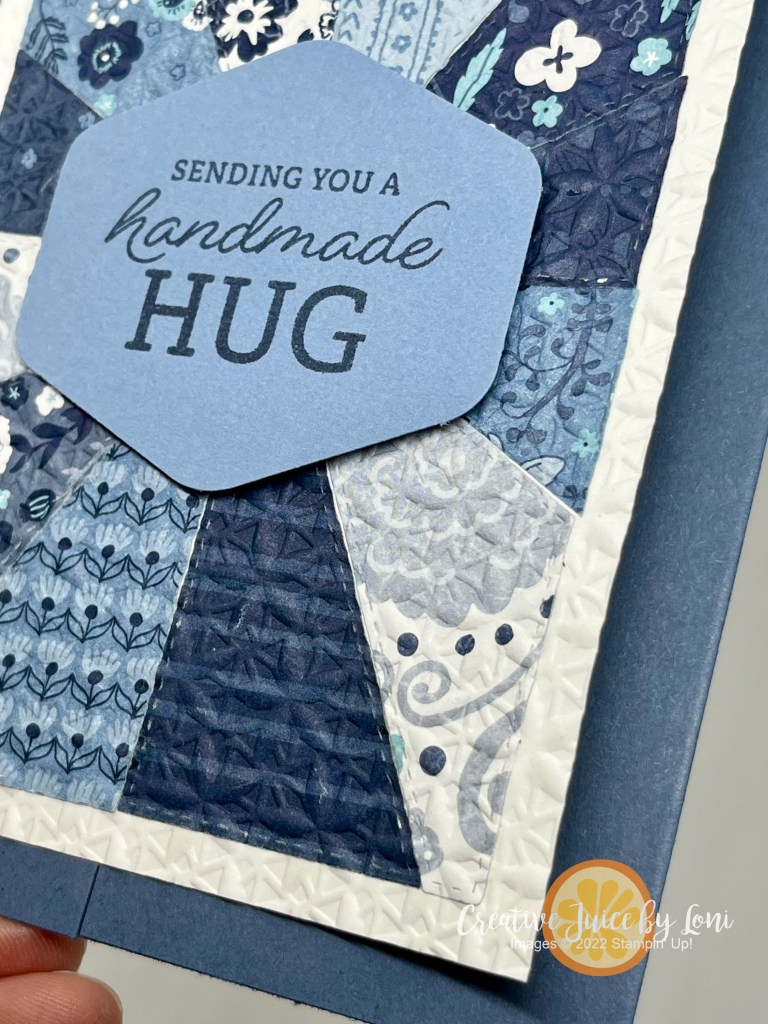
3-D Embossing folders used left to right: Softly Sophisticated, Layered Florals, Basics Floral
These are the supplies I used for the blue sunburst hug cards:
Product List Designer Series Paper")


")
")


I’ll be sharing some of these cards with new team members during Sale-a-Bration – if you would like to start a crafty adventure with Stampin’ Up! I’m here to help. There are two bonus options if you choose to give it a try before the end of February, and the Glass Mat Studio is one of them!


")


 Designer Series Paper")
 Specialty Paper")


")

")


 Designer Series Paper")


")


 Satin Edged Ribbon")


")


")


 Bordered Ribbon")


 Textured Ribbon")


")
 Designer Series Paper")


 Seam Binding Ribbon")


