Since the Bough Punch is on backorder, I promised to demonstrate card using Layering Leaves (featured as my August 3 for FREE stamp set) that DOESN’T need the punch, and I’ll be using this design as thank you cards this month because it’s quick to create.
The “Reverse Masking” technique is made even easier with the new Masking Paper from Stampin’ Up! and it was magic to demonstrate HOW to use it in this quick video:
The card layout was inspired by one of my Sprinkled Ink team members, Beverly Benson. We made a similar card at our June Retreat shoebox swap and I knew it would work with this fabulous set.
You’ll be happy to learn – or remember! – this classic stamping technique.
Add the Layering Leaves to any $50+ order from my Stampin’ Store in August and receive 3 free tutorials via email plus the consumable supples from me in the mail!
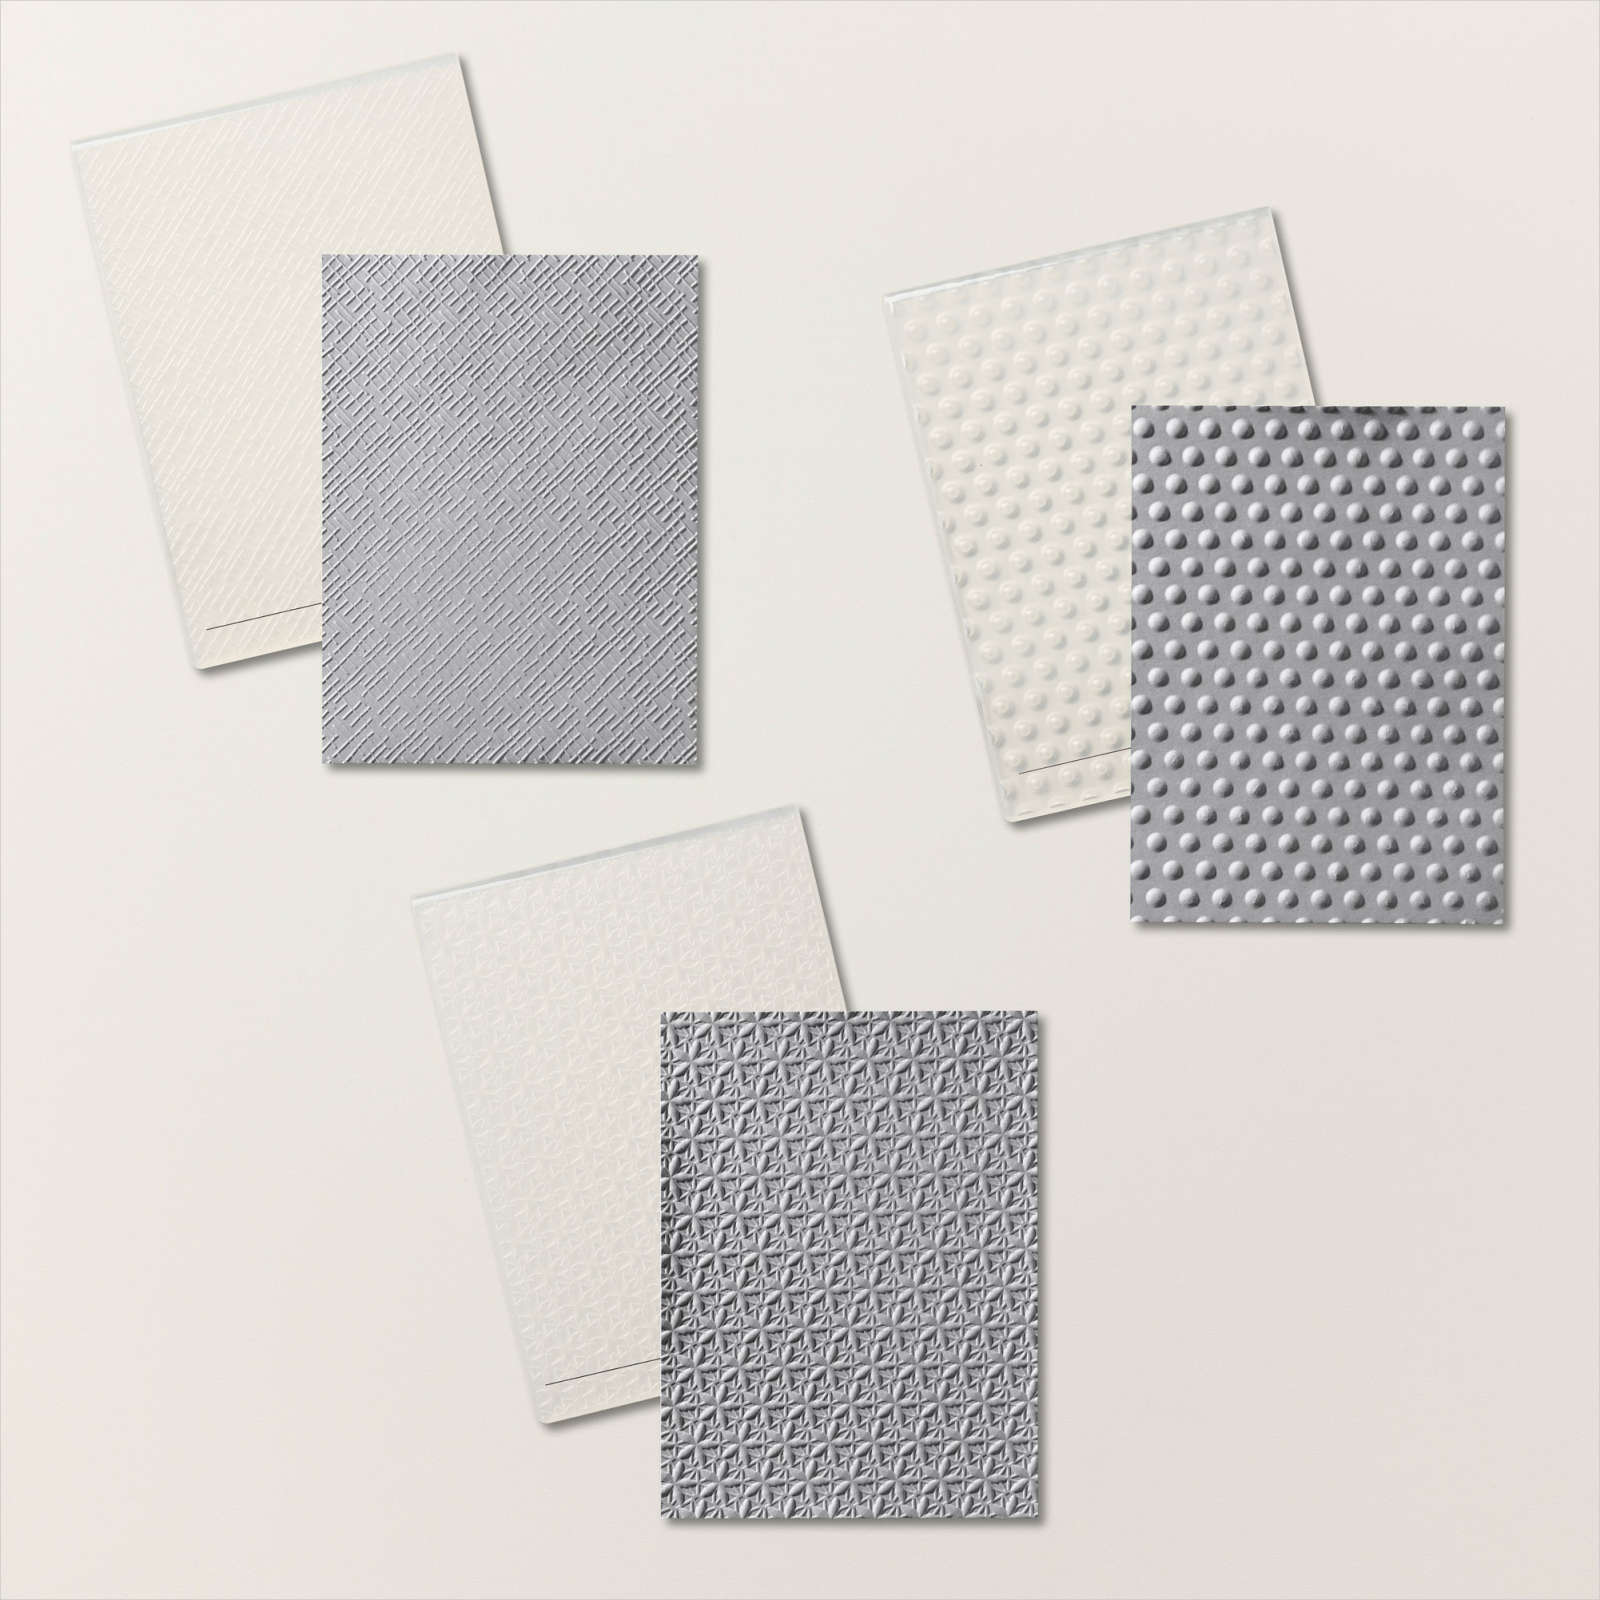
Hey! It’s good to see you here and know you’ll like the next 3-D embossed card idea. Are you pinning these ideas for inspiration when you want some texture on your cards and paper crafts?!
Stampin’ Up! has an embossing folder that matches the Countryside Inn Designer Series Paper – The Countryside Blossoms E.F. matches one of the patterns perfectly! – but you don’t have to have a matching design to emboss on Designer Series Paper. For this card, I debossed the 3-D Dots into a striped citrus pattern from the Delightfully Eclectic mega-pack:
You CAN combine dots & stripes!
I appreciate that the pattern on the paper hearkens back to my signature “Sweet Citrus” bundle, and in my Tips & Technique video, I used the HYBRID 3-D embossing folder to show you how that one CUTS & EMBOSSES at the SAME TIME!
That’s the third embossing folder from the Basics 3-D Embossing Folder Trio in the Online Exclusives section of my store, but I do have another card to share with you tomorrow.
Make your own ZESTY birthday card with the supplies listed below, and remember to save your BONUS DAYS coupons from July in a folder in your email so you can easily find them to SPEND in August!
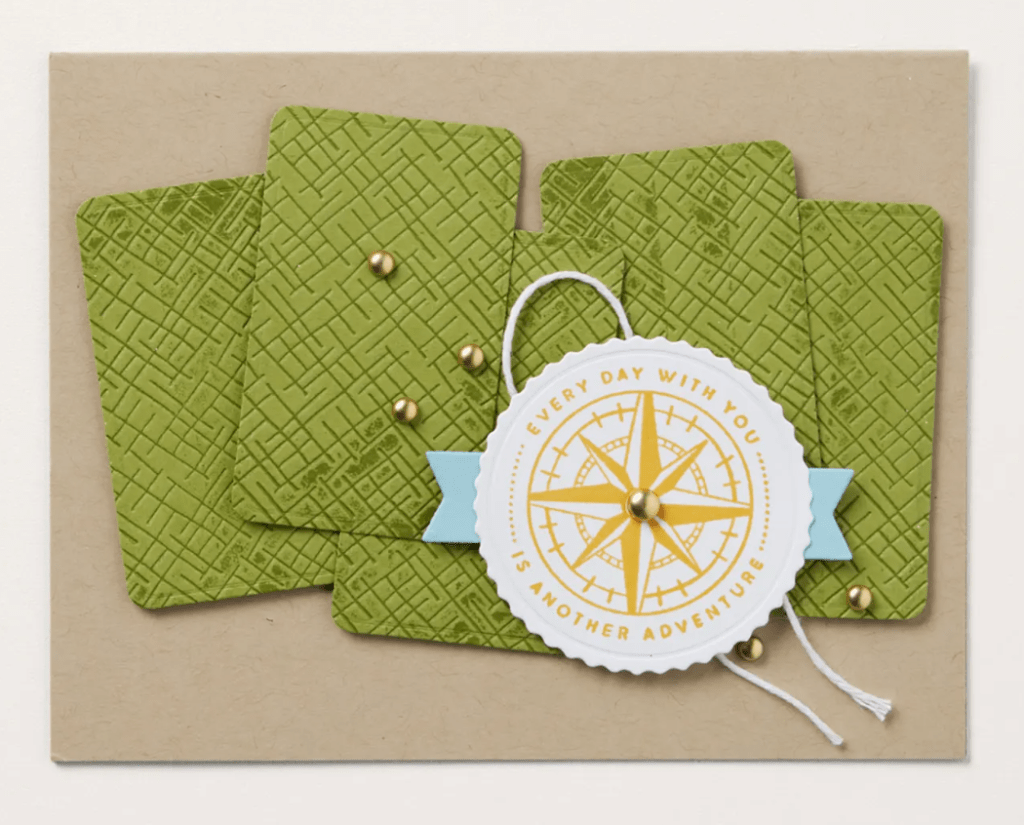
Welcome back to day 2 of my embossing folder series! Today we are looking closer at the Crosshatch 3-D Basic embossing folder (one of a trio in my online store).
For a textured background like this, stamp your images first, then run it through the embossing folder. I used the texture OUTDENTED (it’s a real word) on my floral background, but you can also turn your paper over to get an INDENTED texture like this as an alternative:
If you missed the video teaching TIPS & TECHNIQUES for embossing folders, you can watch it here!
This texture is extremely versatile and you’ll be reaching for it often. I’ve listed the supplies for my “You Inspire Me” card below, and please visit tomorrow for the third 3-D Basics embossed card!
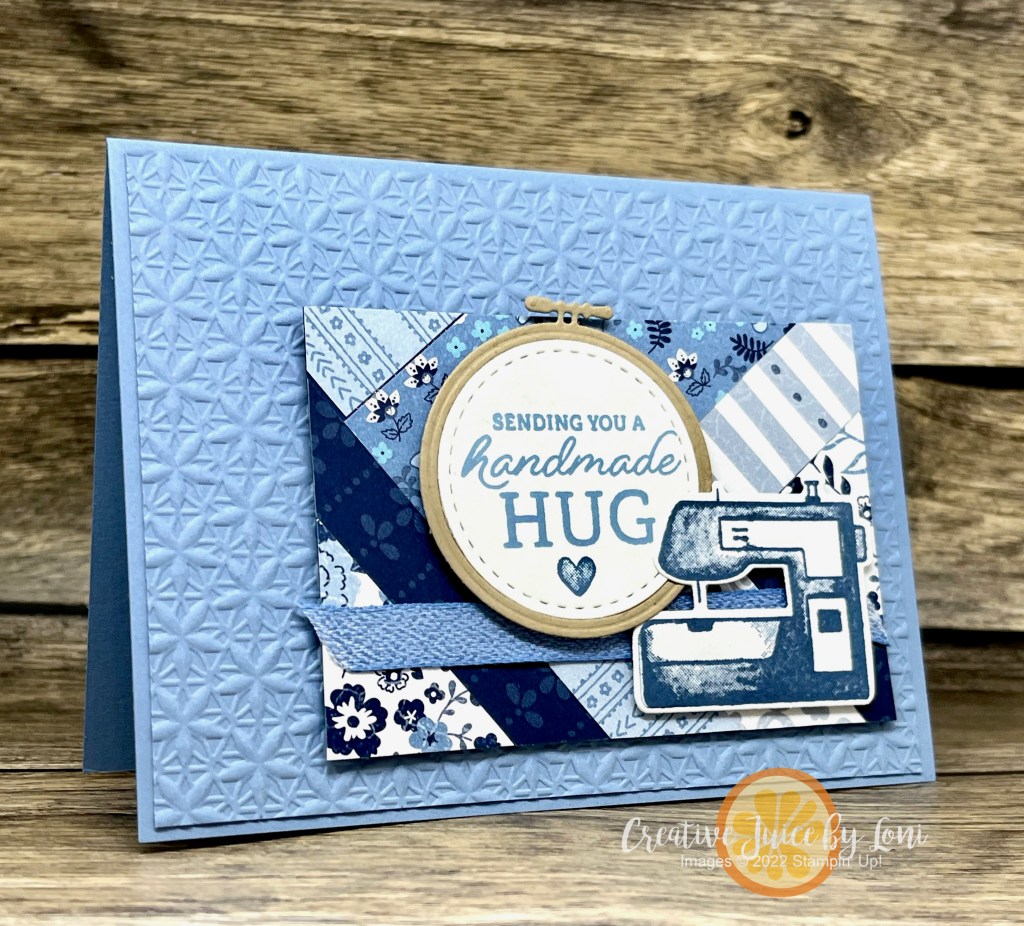
And because I couldn’t decide which I liked best, I made TWO versions, one for “paper-piecers” and the other for “fabric-piecers”!
Which version do you like best? I really want to know!
I can see a quilter including the second card with a comforter they would gift to a loved one!
My scraps were pieces of the Countryside Inn Designer Series Paper (15% off during June!) and I paired my paper quilts with the Basics Floral 3D Embossing Folder…have you seen this bundle of *indispensible* textures? Only available in my online store, they are the ones I reach for the most because one of them will go with [almost] anything I’m creating!
And can we take a minute to admire the Boho Blue Limited Edition Mini Cut & Emboss Machine I stamped on my card and the actual one in my Stampin’ Store? I really did stamp it in Boho Blue for my card, but the lighting at night doesn’t look quite right. I love the mini machine for quick cutting and it’s the one that sits on my desk, but remember; the regular size embossing folders only fit in the regular Cut & Emboss Machine.
Use up your Designer Series Paper scraps with this technique: Glue pieces next to each other on a piece of card stock (in line or randomly), then cut to desired size and use it like you would a regular piece of patterned paper!
Split-front cards are trending in paper crafting, and the Sending Smiles bundle makes today’s card a sunny one!
I’d been seeing these pretty cards and knew it was time to jump in, so today I taught you how with a video. Will you try this unique style of a split-front card?
If you are wanting the best deal to gain CREATIVE CONFIDENCE, add $125 worth of these items to a STARTER KIT (and only pay $99)…then you’ll be part of my Sprinkled Ink team and connected to other creative people sharing what they love! It’s my job to help you learn and grow your business, and we’ll have a fun time doing it together.
Crafter Problems #763: When you haven’t had time to play with a stamp set & die bundle before it’s about to be retired!
Today I showed how to use the dies from the Conversation Bubbles bundle (about to retire from the Jan-April mini catalog) to create a stencil for the background of a card:
Inspired by Cathy Zielke‘s concept on Youtube, I figured I could make my OWN stencil, and it worked beautifully! What other dies would you try to make your own stencil with?
My problem is YOUR opportunity: Starting tomorrow (April 4th), you can shop the LAST CHANCE SALE in my Stampin’ Store to collect the Conversation Bubbles stamp set and Conversation Bubbles dies at a discount! The bundle was $46.75 originally, but if you purchase them separately, the total will be just $32 (while supplies last)!
Watch the video here (feel free to speed it up on YouTube to make it quick and easy):
I hope I’ll have time to spotlight this playful bundle one more time before they are gone for good.
Meanwhile, set an alarm to remind you to shop my Stampin’ Store tomorrow for the Last Chance Sale!
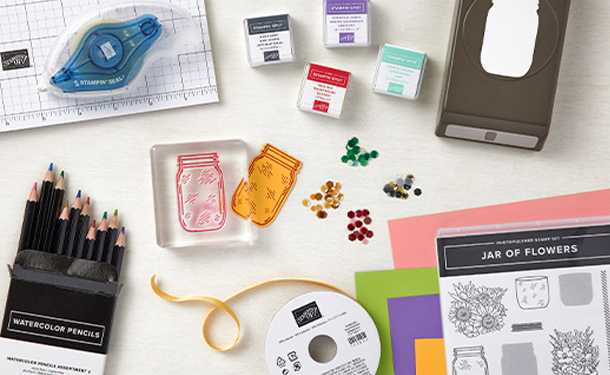
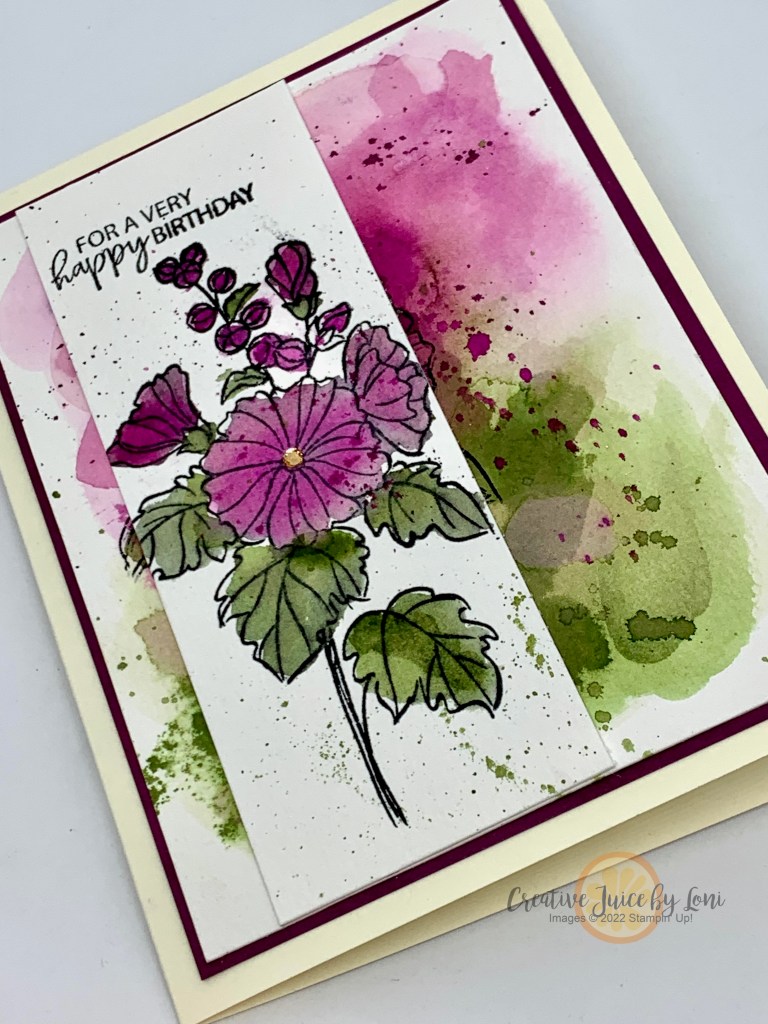
After a decade of drought, Southern Utah is enjoying an unbelievable amount of rain, so on this wet day, it just feels like I should be creating with WATERcolor!
In my Live crafting video, I demonstrated how to make a unique background in two ways for the Beautifully Happy Sale-a-Bration stamp set, and it’s easier than you may think:
I’m not a professional…it just amazes me what can be made with paper, ink and a bit of water! Which one appeals most to you, left or right?
Remember to check your ink refills and card stock supply when you place an order, and you could choose the Beautifully Happy set FREE during Sale-a-Bration!
Woof! means “Welcome” to the October New at SU! Blog Hop. We really stretched our creativity to bring you not one, but THREE projects this month~ all using the same stamps, but ranging from simple to sensational!
Perhaps you are just starting to stamp, or you need an easy card in a hurry? Or you are ready to add a little “extra” to your card? Don’t worry, avid stampers, I’ve got something for you to make this card “over the top” too!
I’m using the Christmas Scottie bundle (stamps & punch) but with a non-holiday card concept…it could easily be adapted for a Christmas Card just by changing the colors and greeting.
Simple Card: 3″ x 5″ banner (use a 3″ x 1/2″ strip of the other side of the Designer Series Paper for the top), stamp and punch out dog, bow and add greeting. TIP: Remember to stamp your envelope(s) at the same time as you are stamping the card!
Step it up to a Casual Card: Add a 4″ x 5-1/2″ piece of Soft Suede Designer Series Paper to the card background, tie a ribbon around the top of the banner and emboss the greeting on Soft Suede. Tip: Add a 1/2″ wide piece of card stock punched with the Banners Pick-a-Punch behind the heat-embossed sentiment to make it look like a banner:
To step it up to an Avid Card: Score 1-1/4″ from the right edge of the card and fold it back. Add 1″ strips of Designer Series Paper to the flap and inside right edge of card and 2-3/4″ 5-1/4″ panels of Designer Series Paper and basic white card stock to front left side and inside card. Banner: 3-3/4″ x 3″ (DSP) and 3-1/4″ x 4″ Soft Suede. Add Iridescent Rhinestones.
TIP: Only adhere banner to the front flap so it can open like this:
Wherever you are on the Stamping Spectrum, you’ll discover multiple ways to keep it simple OR step it up at all these amazing posts along our October Hop…Pin your favorites to remember them!
When you have thin strips of Designer Series Paper you don’t want to throw away, just glue them to a window sheet and die cut a “floating circle”! Want to see more? Watch my Facebook Live video from 10/17/22 and see how easy this card was to create!
We stampers love a little shine and shimmer, and that’s just what you’ll get in the Splendid Day Specialty Designer Series Paper pack…this angle shows how each double-sided paper has one metallic side and one pretty printed side, and you really can’t bear to let any go to waste:
Pick a small sentiment to stamp on one of your non-metallic strips. Mini Stampin’ Dimensionals are easy to hide behind the strips, and lift your circle off the card to make it look like it’s floating! Add a floral image and you have a simply sensational card.
While this DSP was created to coordinate stunningly with the Splendid Thoughts bundle (see my original card below the supply list), I used the Sending Smiles bundle for my video demonstration – the sentiments in the Sending Smiles stamps fit on the strips perfectly.
This is one to try immediately in your stamp studio!
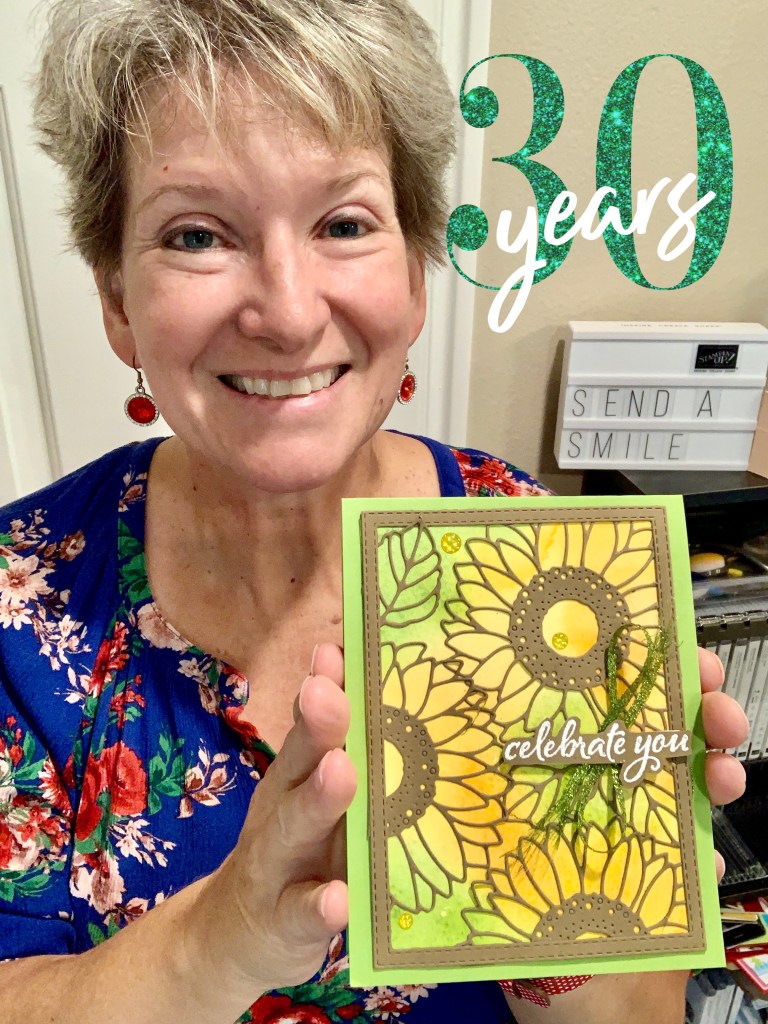
It’s a BIG milestone to commemorate: Today is my 30th Stampaversary!
That’s a looonnggg time to have a hobby AND a career that I love, and every day has been a joy!
I had just given birth to my second child when I joined Stampin’ Up! in 1992 and while I strongly feel Motherhood is a noble calling, I REALLY needed some adult conversation and a talent that made me feel validated. My babies were wonderful, but they never said, “Good job! You are so awesome!” (until they grew into adults).
That’s why I started… and I stayed because I found a family of other creative people who loved making and sharing pretty things: Some are part of my team and others are life-long customers, and some go back-and-forth from one to the other. It’s a privilege to help others discover their inner artist, and to find validation and joy in their talents.
What makes YOU happy and brings you satisfaction? If you are looking for a purpose and passion which spreads sunshine to others as well, there is a place for you with Stampin’ Up! Come sit by me.
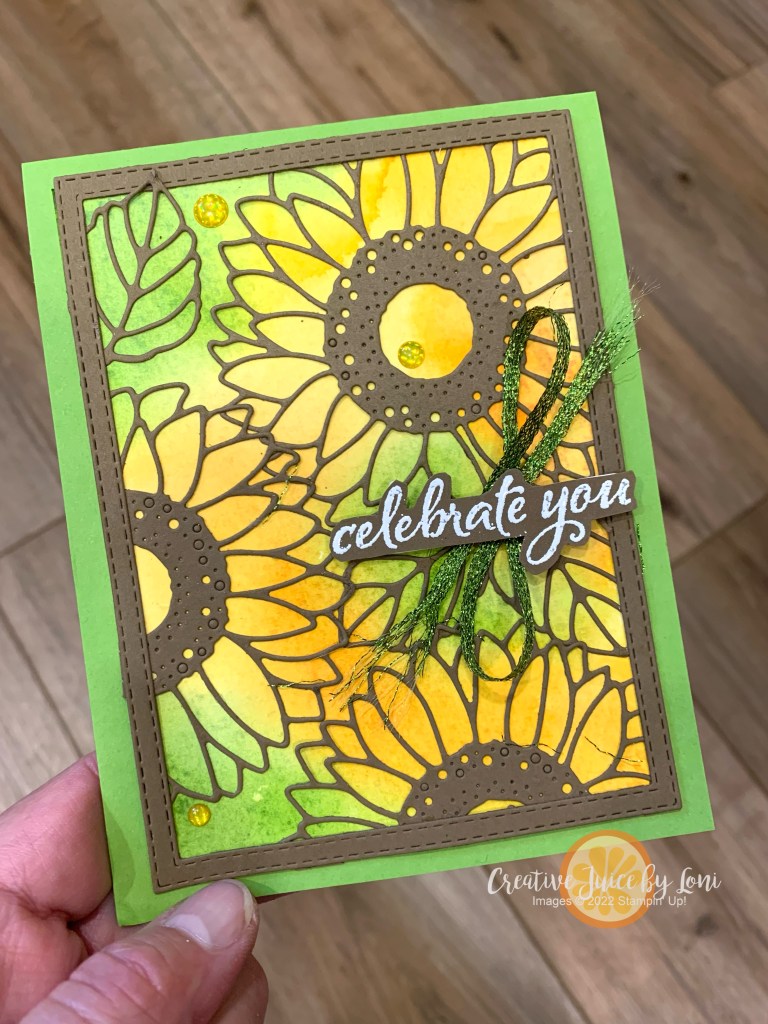
Now, about that “Celebrate You” card… I gave my team a challenge to make a project inspired by sunflowers, and this was mine. The supplies will be listed below, and to make the background, I spritzed a piece of Fluid 100 watercolor paper with water, then used my clear blocks to pick up ink from my stamp pads and rubbed onto the wet paper. Once it was dry, I cut out the sunflowers and frame from Soft Suede card stock that I had pre-adhered adhesive sheets to, then they stuck to the front of the watercolored background. Trim around the edges and adhere it to a card base!
I’d like to think it’s because of my Stampaversary that SU! is having a 24-hour SALE on all stamps excluding hostess sets) in the Annual Catalog tomorrow (9/15/22)
If you choose to take advantage of this and add your favorite stamp sets to your cart, don’t forget to:
Stack on the savings by including some of the September Weekly Deals to your order (new deals arrive on Thursday)
Add your Perfect Partners bundle or dies to match a set you already have ~ these exclusive dies are only available in September (while supplies last).
Want to craft with us on World Card Making Day? You can add the Warm Welcome bundle (or one of the other suggested sets) to the same order. It’s a brand new set that will be in the 2023 Jan-June mini catalog!


")


")

 Designer Series Paper")


")


 Bordered Ribbon")


 Designer Series Paper")


 Textured Ribbon")


")


")


")


")


")


 Designer Series Paper")
 Designer Series Paper")

 Crinkled Seam Binding Ribbon")


 Specialty Designer Series Paper")


")


 Metallic Woven Ribbon")

