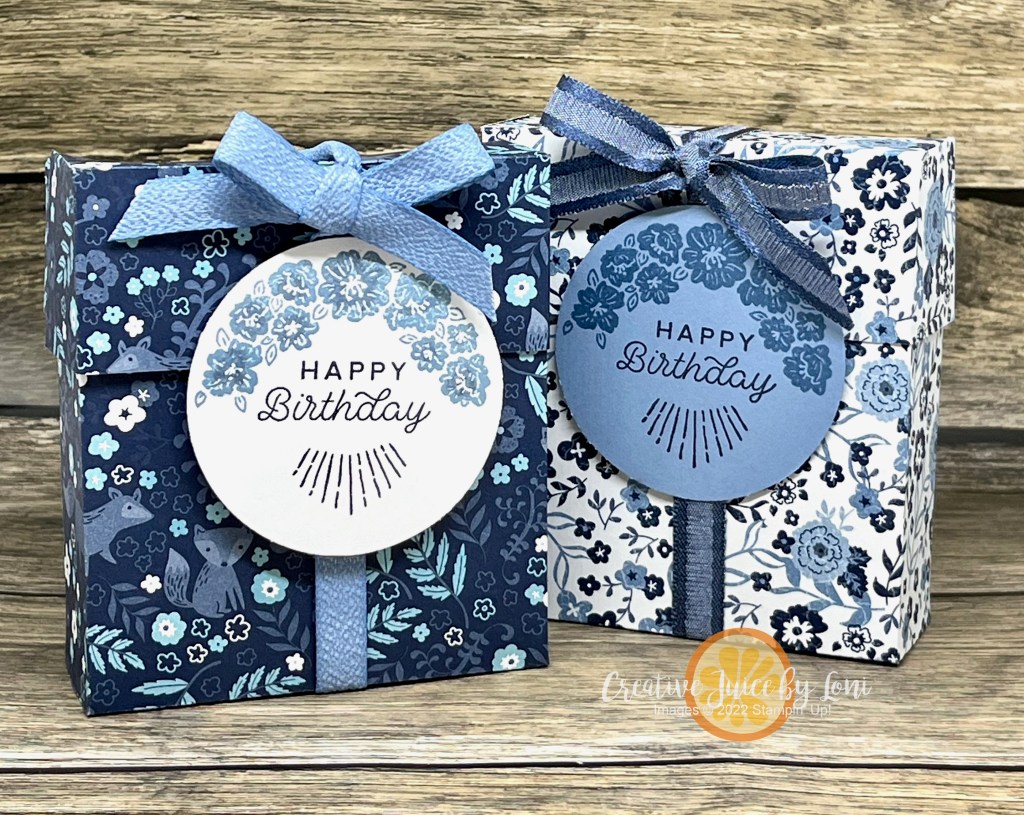
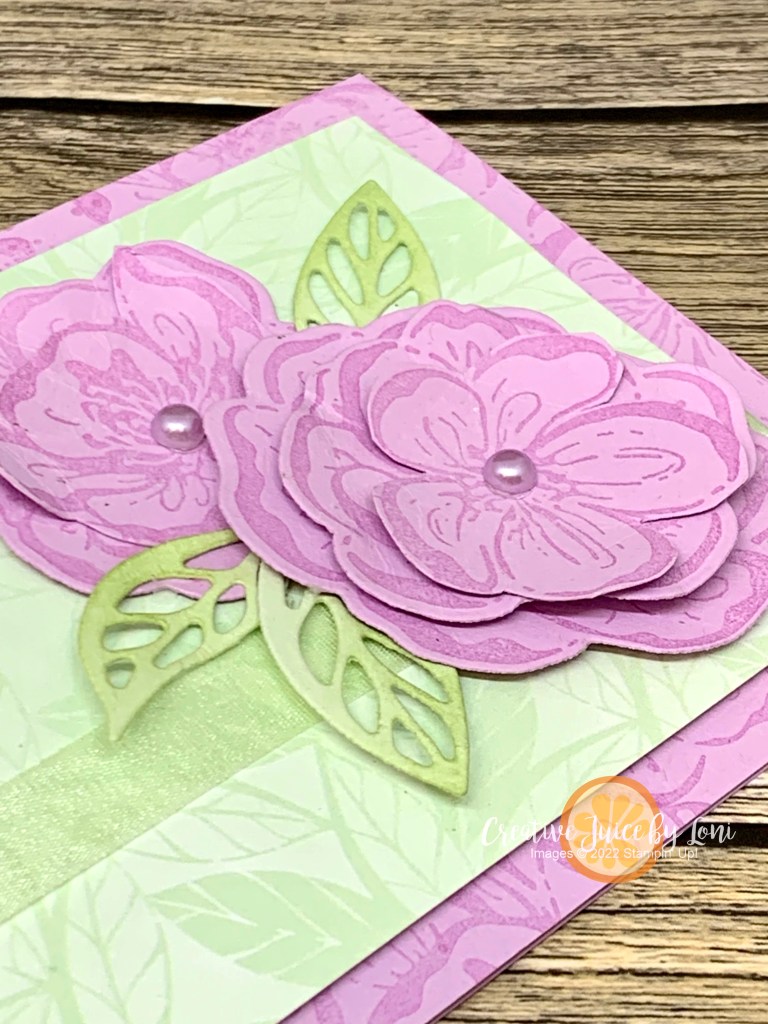
Today’s project encourages you to USE THAT PRETTY PAPER- Don’t hoard it! This hinge-lidded gift box (3.5″ x 4″ x 1-1/4″ finished size) is speedy to make, and begins with a 6″ x 12″ piece of Designer Series Paper.

Score along each long size at 1-1/4″ in (or if you are using a Simply Scored board, put the short end at the top and score at 1-1/4″ and 4-3/4″)
Turn the 12″ side of the paper along the top of your trimmer or Simply Scored, then score at 4″, 5-1/4″, 9-1/4″ and 10-1/2″. You’ll trim at each of these score lines from the long edges just into the intersecting 1-1/4″ score line.
**If your paper is DIRECTIONAL (meaning there is a top and bottom to the pattern), watch the video to see instructions- or make sure that the top of your design is at the left when you make the first 4″ score along the long side.
This box is ideal for 2 bolts of Stampin’ Up! ribbon (or one large bolt, like the Boho Blue one I showed in the video), and it’s tight, but will work for 2 classic ink pads, or a myriad of other small gifts!
Three things to note if you are reading this in June 2023:

Most of the Designer Series Paper in the Stampin’ Up! Annual Catalog is 15% off during June only!

You CAN add discounted paper to the Starter Kit+ Special Offer in June! It’s the best VALUE for anyone with a long wishlist or who wants to try a new adventure- no obligation to try it out.

The Circle Sayings 3-for-Free offer ends June 15th!
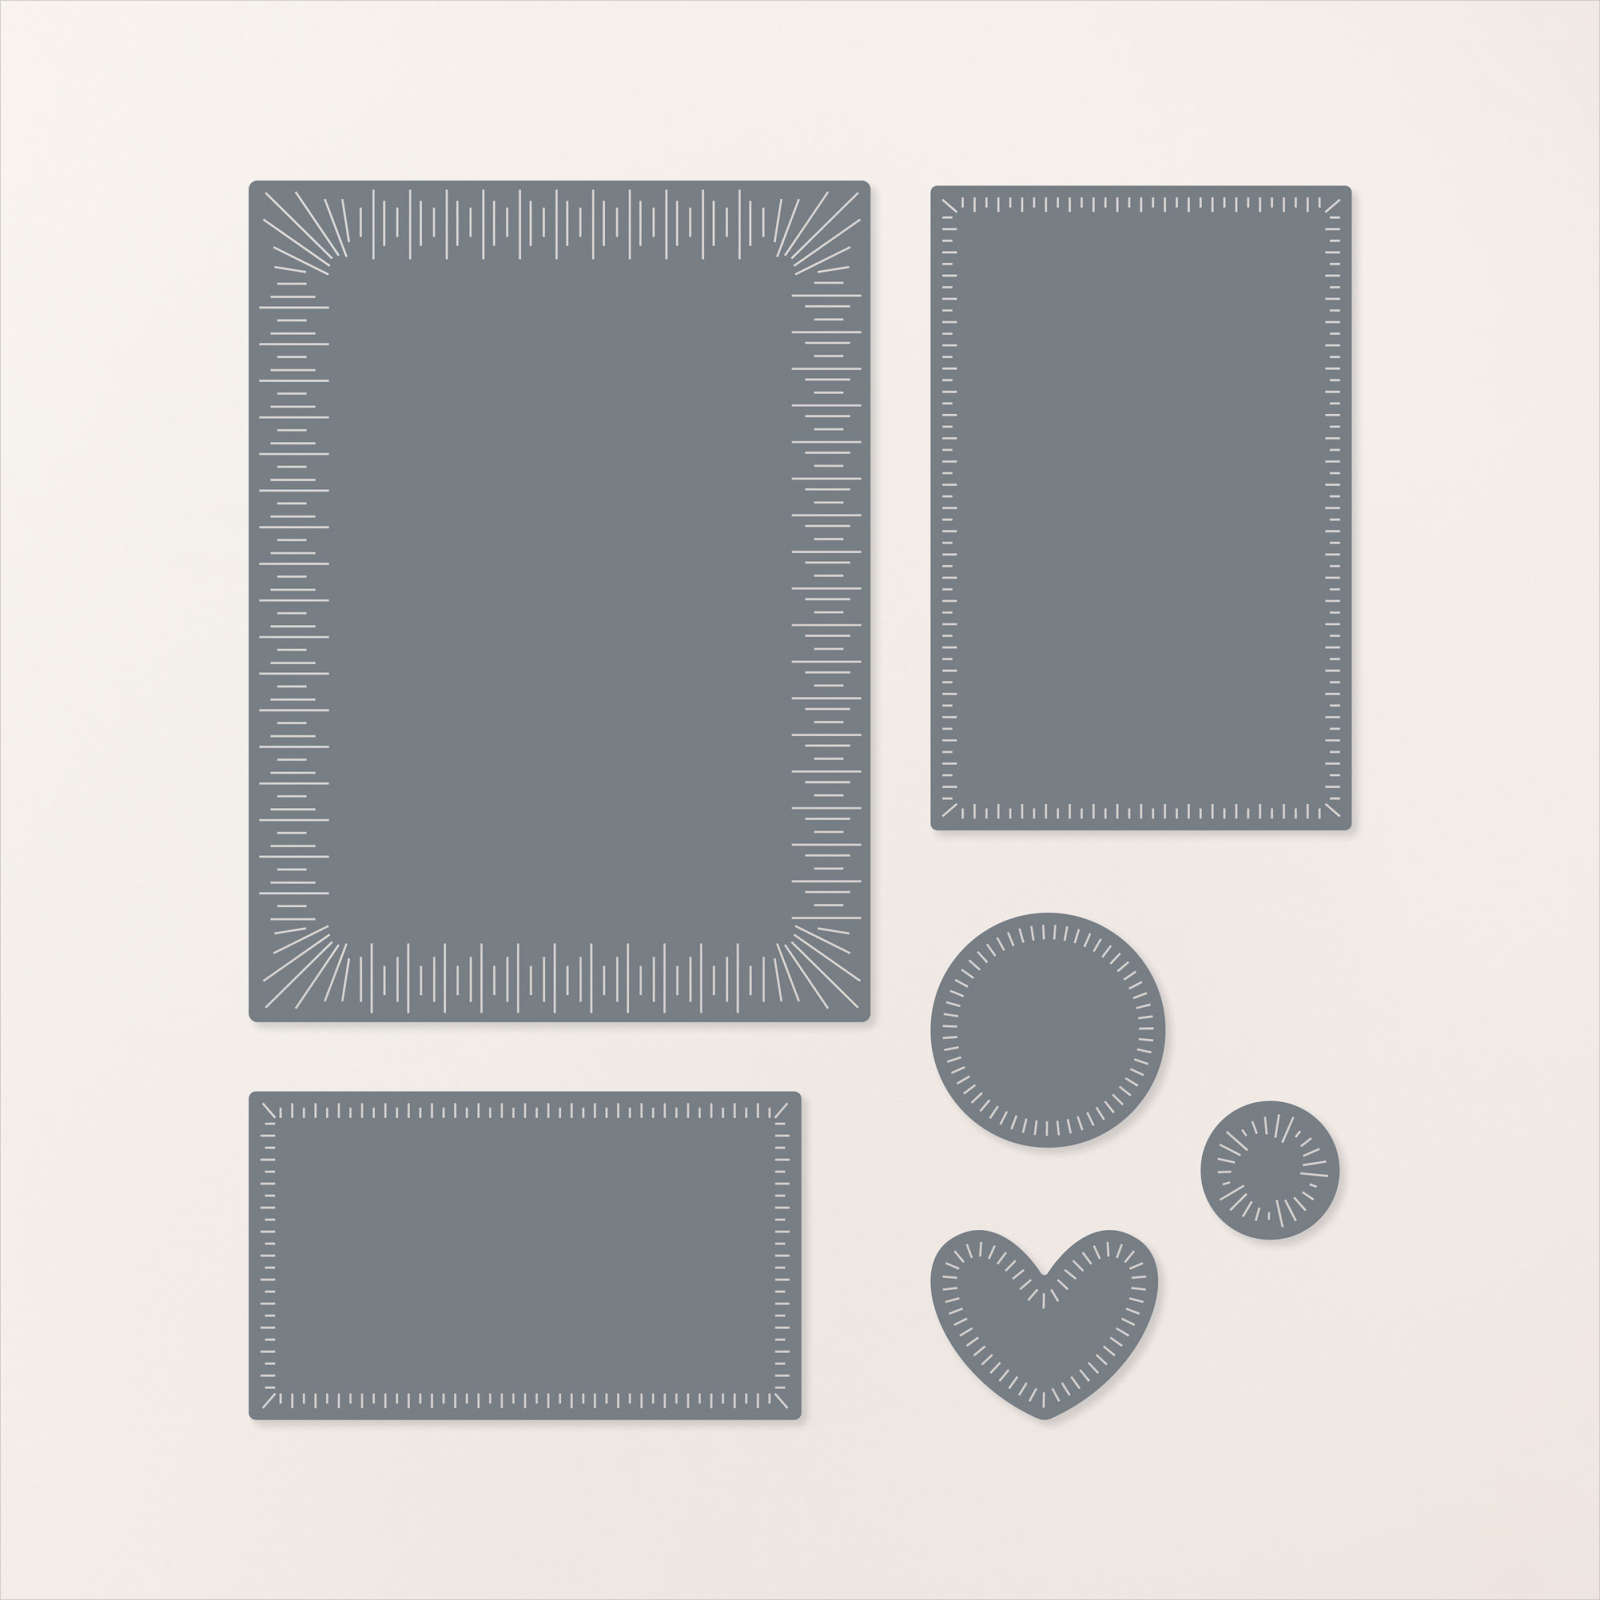
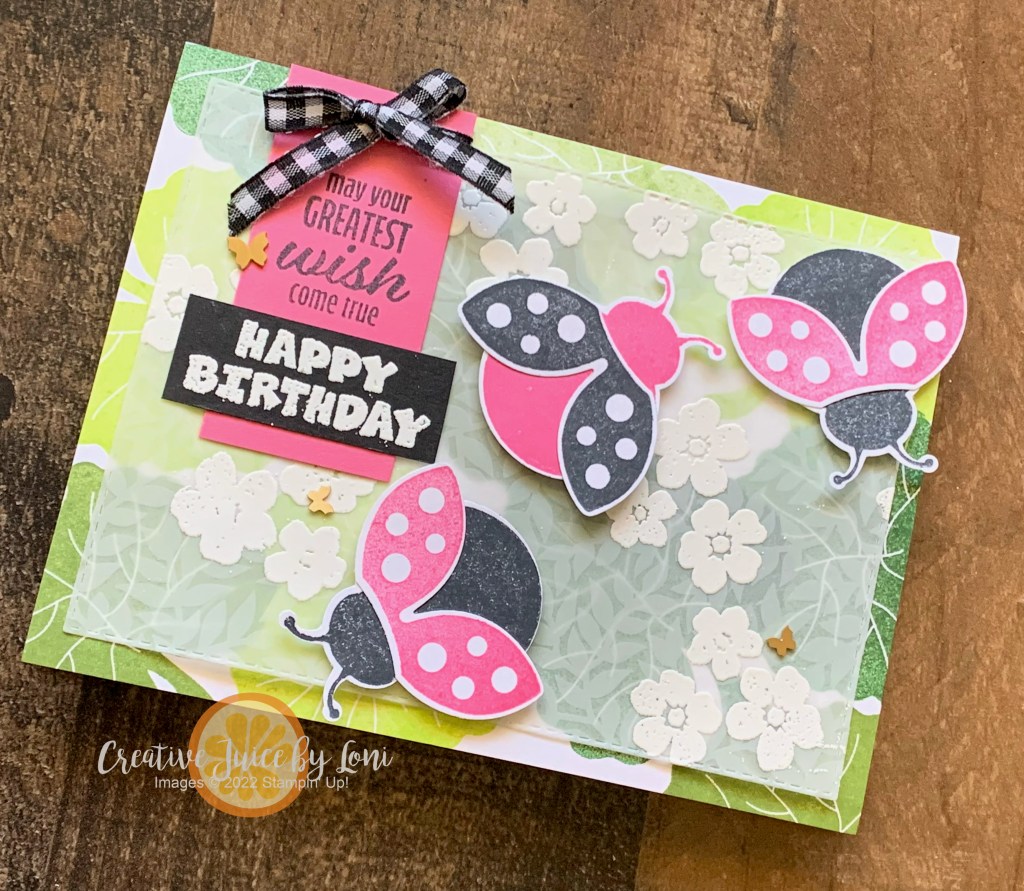
When you purchase the Circle Sayings bundle from my Stampin’ Store by 6/15/23, I’ll email you a tutorial for 3 exclusive cards you won’t find anywhere else PLUS I send you the supplies (card stock, ribbon, paper, etc) to make those three cards with your new stamp set and coordinating punch! This is the bundle I used on my box today:

PIN or save this post to try soon, if not today!
Product List Designer Series Paper")

")


 Bordered Ribbon")


 Designer Series Paper")
")


")

 Seam Binding Ribbon")


")


")


")
")

 Specialty Designer Series Paper")


 Gingham Ribbon")