We are in the “Dog Days of Summer”, but do you know what that means?
It refers to a period of particularly hot and humid weather occurring during the summer months of July and August. In ancient Greece and Rome, the Dog Days were believed to be a time of drought, bad luck, and unrest, when dogs and men alike would be driven mad by the extreme heat. This heat wave coincides with the rising of Sirius, the Dog Star toward dawn. The name “Sirius” even stems from Ancient Greek seírios, meaning “scorching.”
For the ancient Egyptians, the dawn rising of Sirius (known to them as “Sothis”) also coincided the Nile River’s flood season. They used the star as a “watchdog” for that event.
Of course, the appearance of Sirius does not actually affect seasonal weather, but because it rises near dawn during the hottest part of summer, the star lends it’s lore to the hot and humid season.
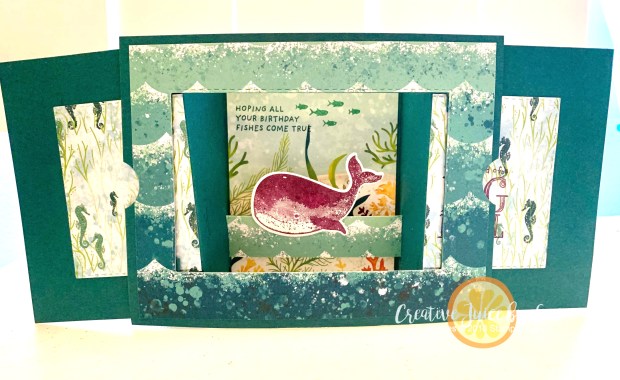
Now you know the history, let’s make a fast and simple card using the Dog Builder punch!

Download the Tutorial Here
Order the Dog Builder Punch here
The best way to stay cool during these “Dog Days of Summer” is to craft in your air-conditioned craft room. Take my advice and make something to mail to a friend 🙂

")
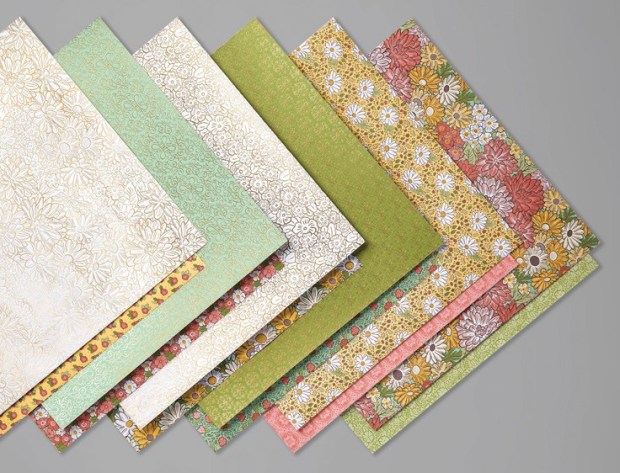
 Designer Series Paper")


 Designer Series Paper")


")


 I
I


")


")