
Usually, I’m a bit more timely in posting my finished project from my Monday Lunchtime Live crafting videos, but we were focused on tending the grandkids. I’m just now getting settled back at home and sharing this (late Saturday night)…better late than never!

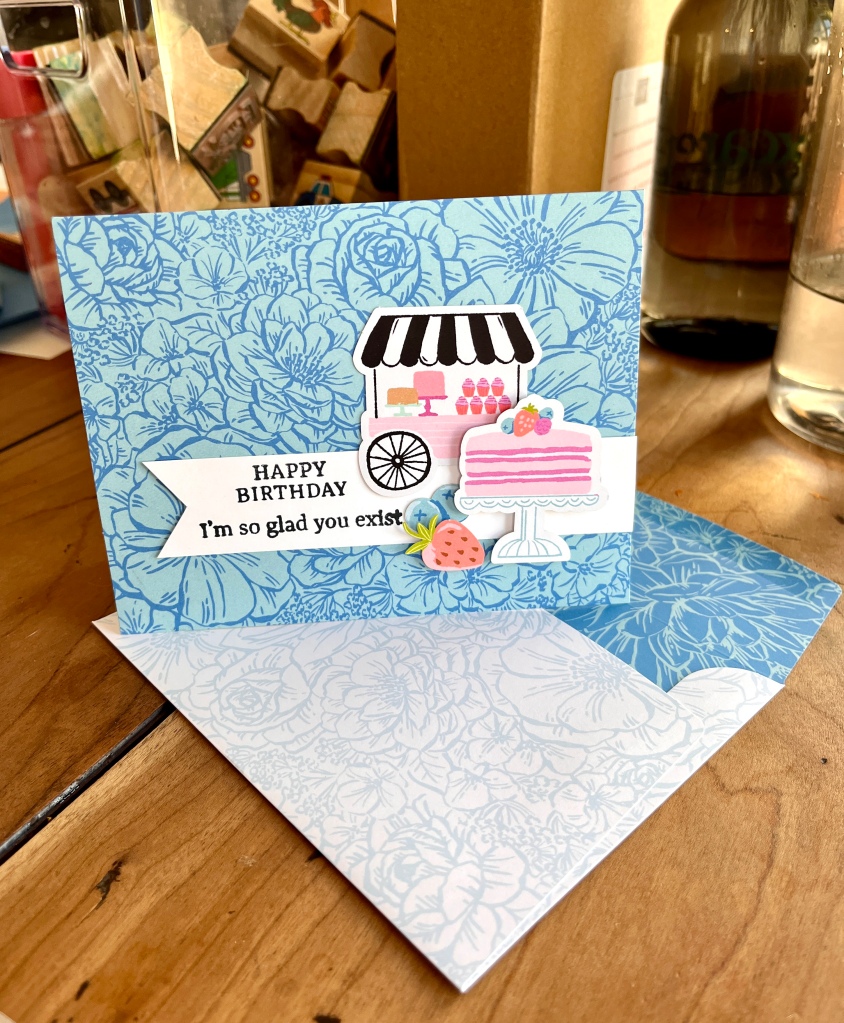
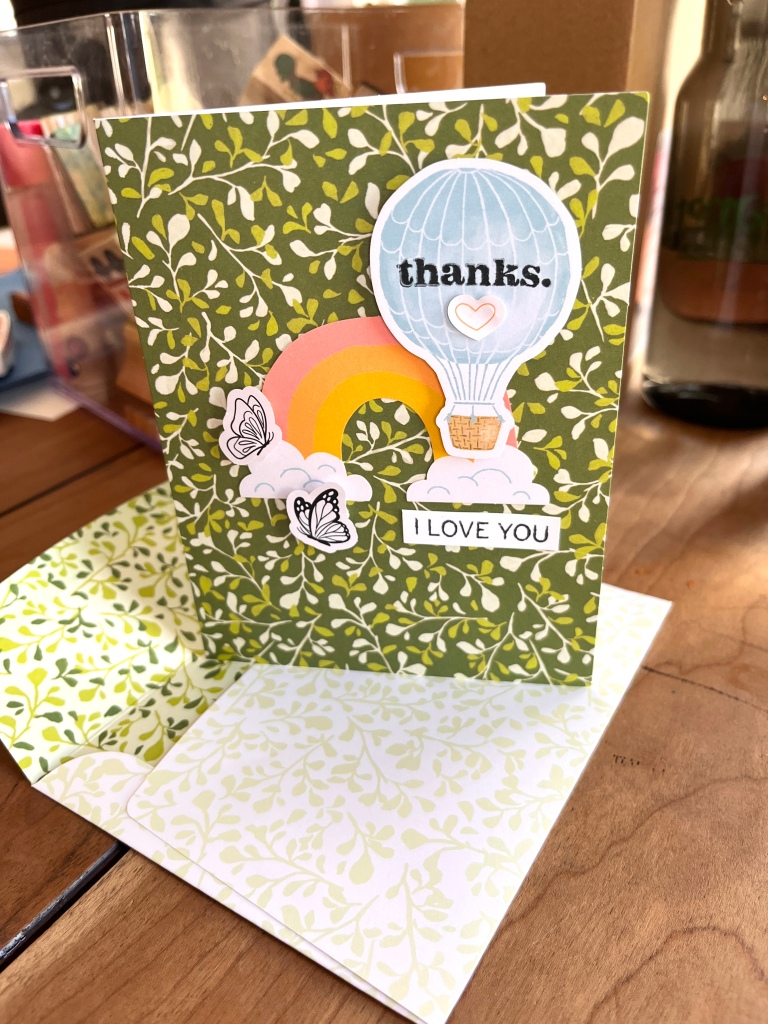
This fun-fold card is called a “squash card” and begins with an 8.5″ square piece of card stock. Once finished, the card squashes (or smashes) flat to fit into a standard Stampin’ Up! envelope.

Measurements for the pieces:
- 8.5″ square card stock, scored at 4.25″ horizontally and vertically AND once diagonally.
- Designer Series Paper: One 3.75″ square and two 3.5″ square
- Basic White card stock: Two 3.75″ squares, plus a piece to stamp a greeting and/or images to embellish with.
I die cut images from the Designer Series Paper for the front of my cards, but you could just as easily stamp what you’d like for the top of your cards.
Now peek inside:

TIP: The same design can be used on a 12″ x 12″ piece of card stock to create a mailable scrapbook page! Place photos where any of the paper or card stock layers are, and save a spot to journal about the memories, then fold it up to send to a friend to remember a happy day together.
Watch for instructions:
Thanks for ordering the supplies from my Stampin’ Store so I may continue to bring you ideas to try!
Product List")


Good news! Starting June 5th, both the standard and mini Cut & Emboss Machines will be 10% off (they have NEVER been on sale before!) PLUS stamp + die bundles- which are already 10% off – will be available for an ADDITIONAL 10% discount through June 30, 2024.


")


")


 Designer Series Paper")


 Album")


")


 Designer Series Paper")


 Sheer Ribbon Combo Pack")

