Ice Cream, Adhesive Sheets and Last Chance Sale

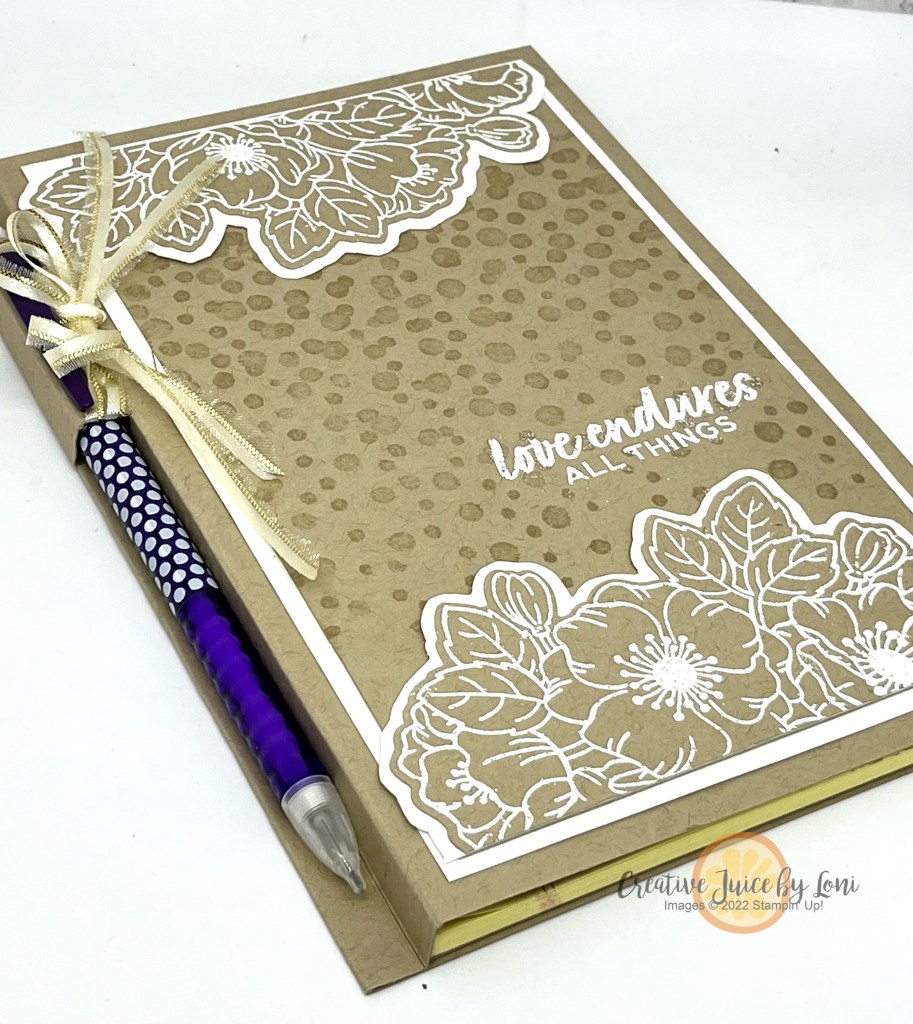
When you have the right tools, any project becomes easier.

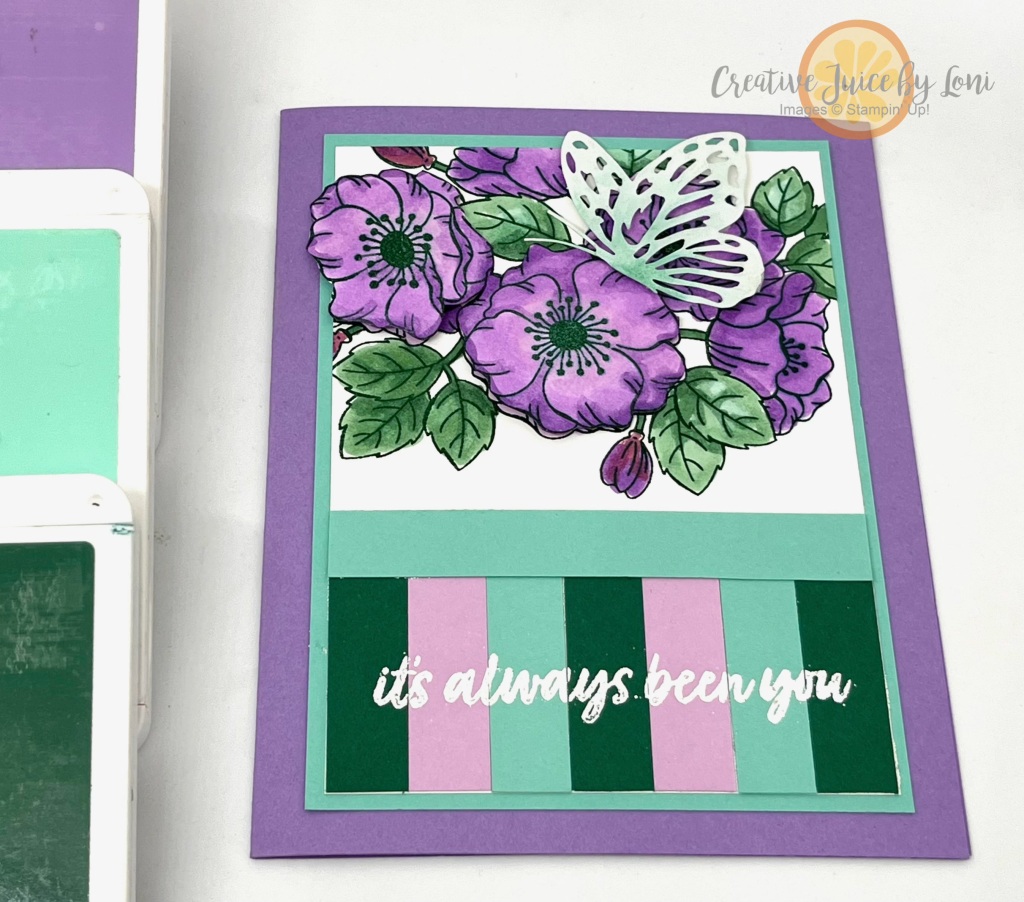
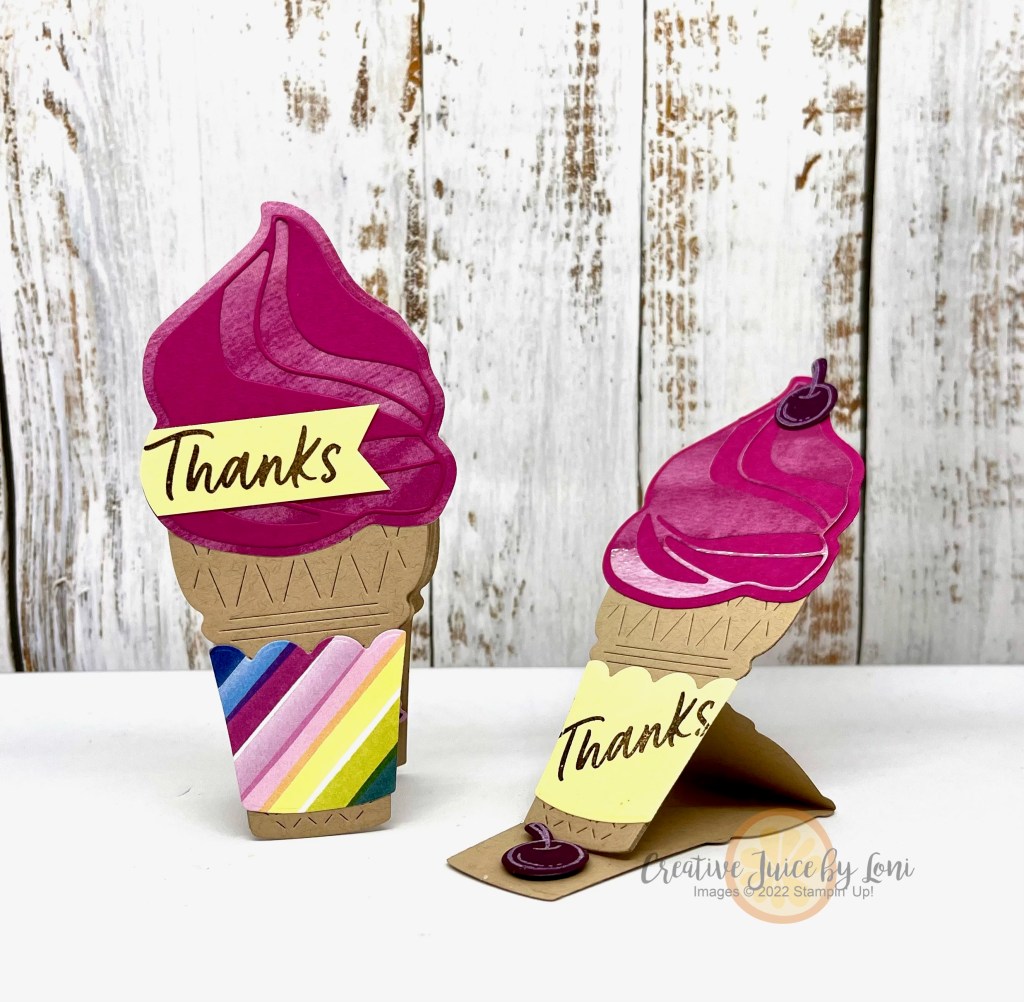
Adhesive sheets are a type of double-sided adhesive that make any piece of paper into a sticker, and they are indispensable for a project like PAPER PIECING. The Ice Cream Swirl dies are a perfect example of how you can create sweet cards to drool over, using adhesive sheets:

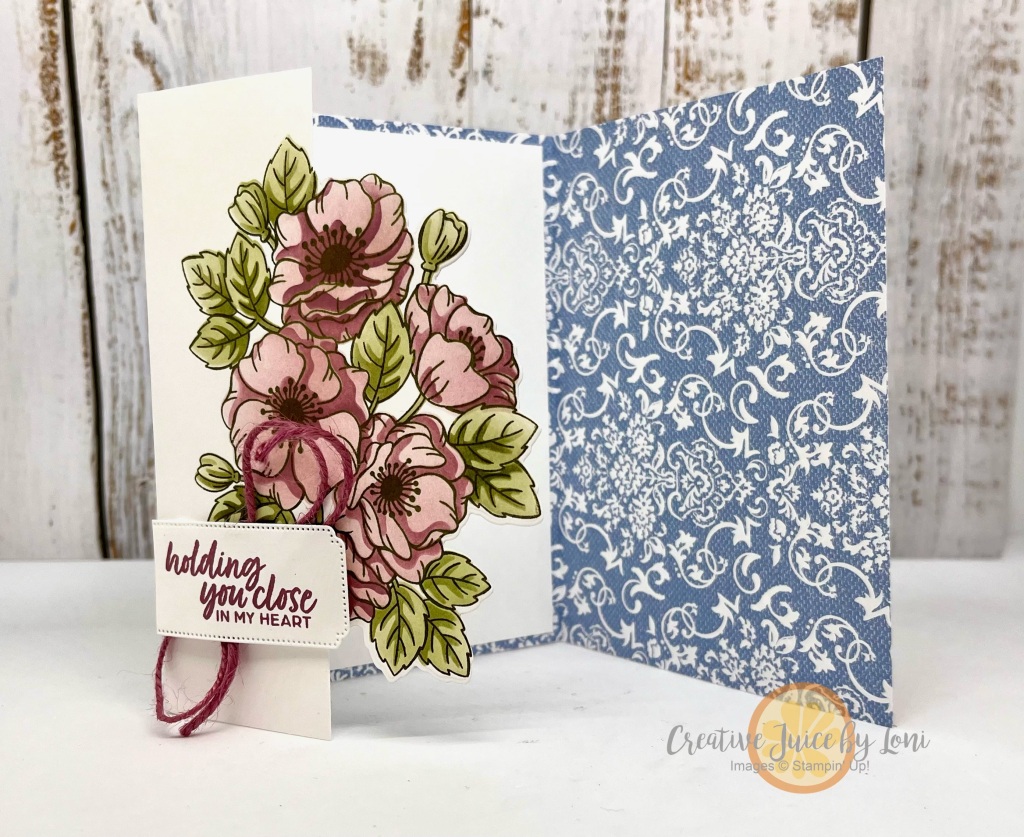
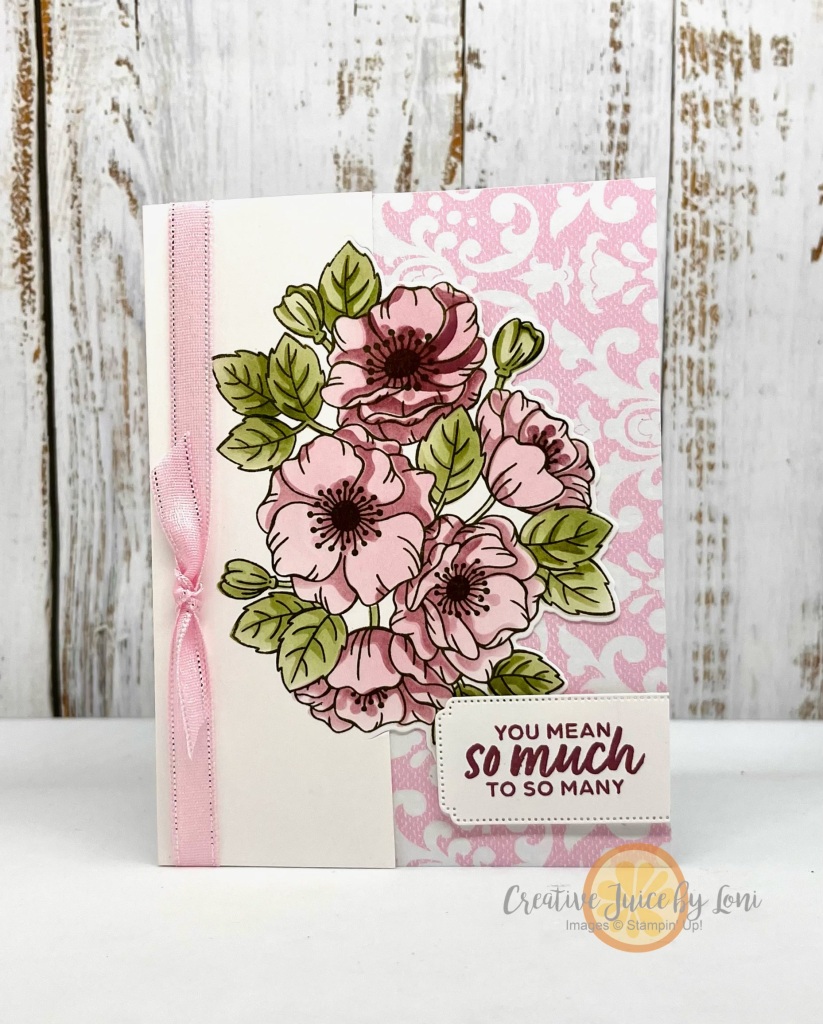
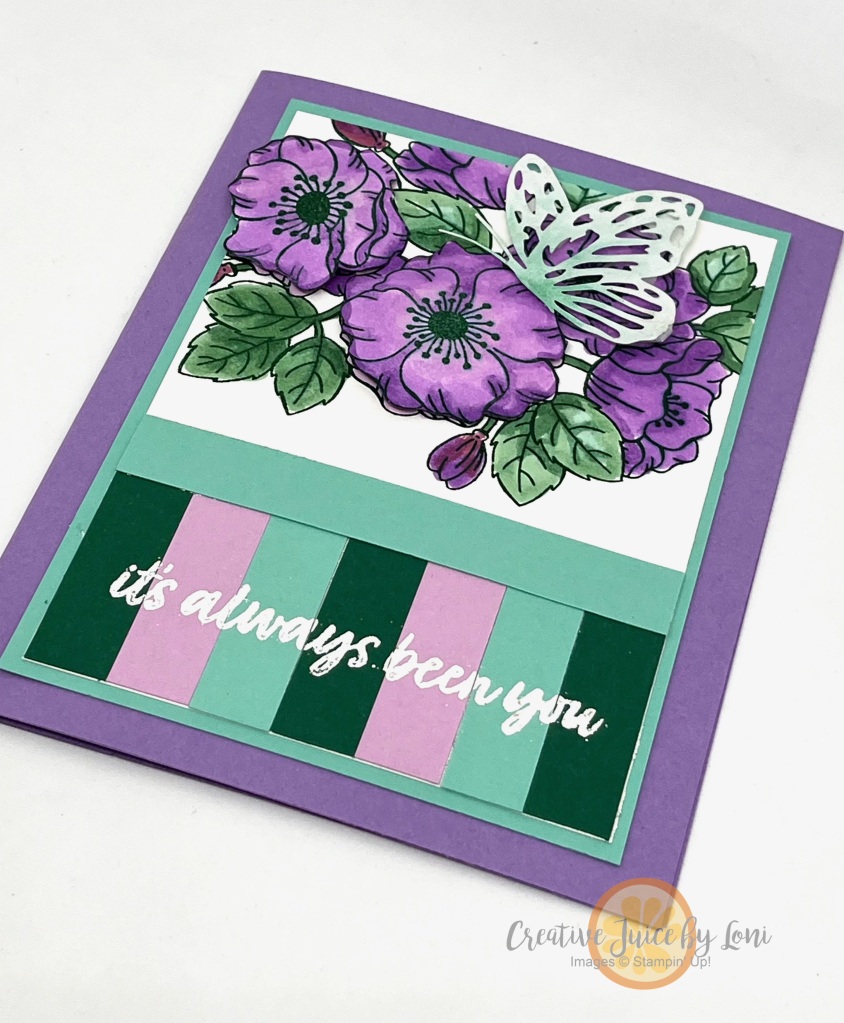
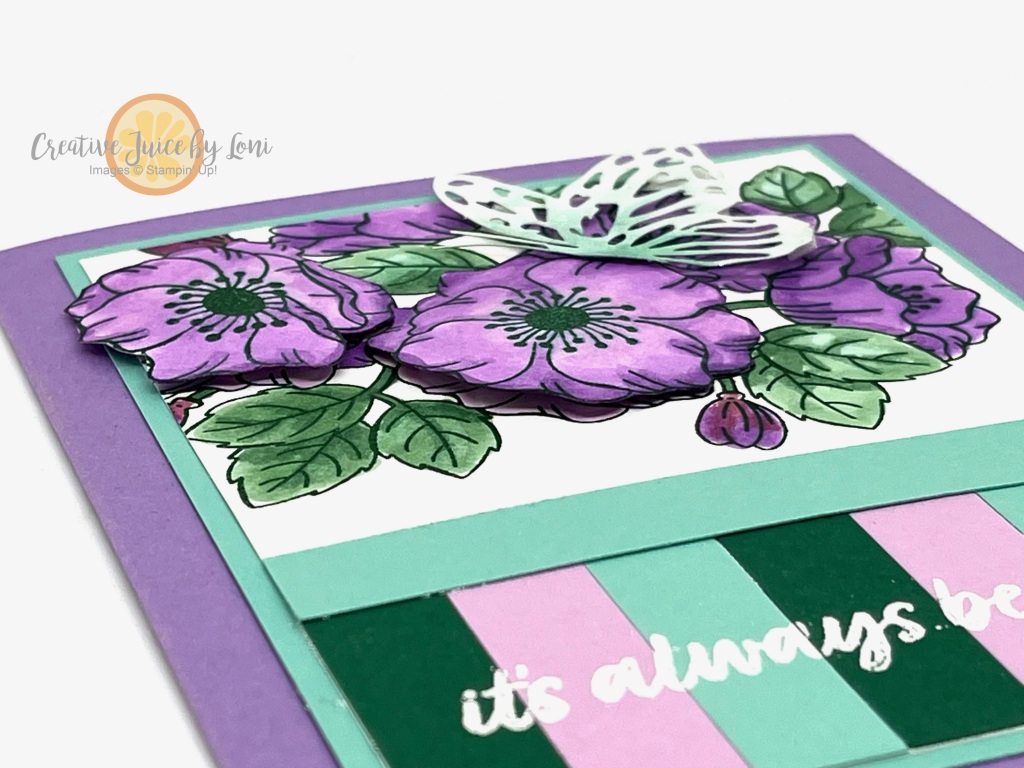
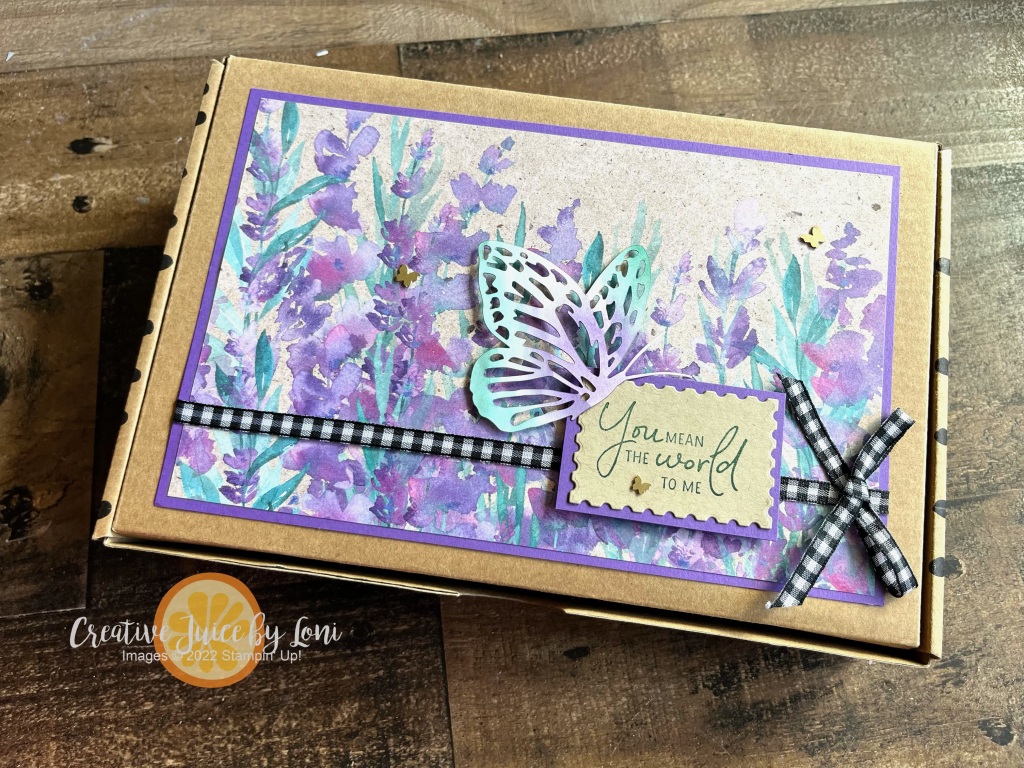
Start with a 5.5″ x 6.75″ card base (scored at 4.25″) and “build” layers with Designer Series Paper. The Lighter Than Air designs have creamy colors that I used to cut 3 swirls from, then built up my lemon-raspberry ice cream swirl. This is a card you’ll want to make triplets of at one time, just to use up all the pieces:

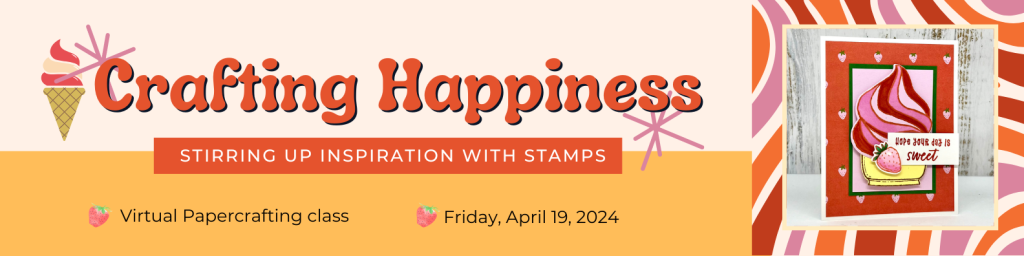
Today (April 9th) is the last day to register for my Crafting Happiness class on Friday, April 19th, where I’ll be featuring the Ice Cream Swirl Bundle (and you get a discount on the class if you purchase the bundle from my store)- OR you can use one of the stamp & die bundles you may already have.

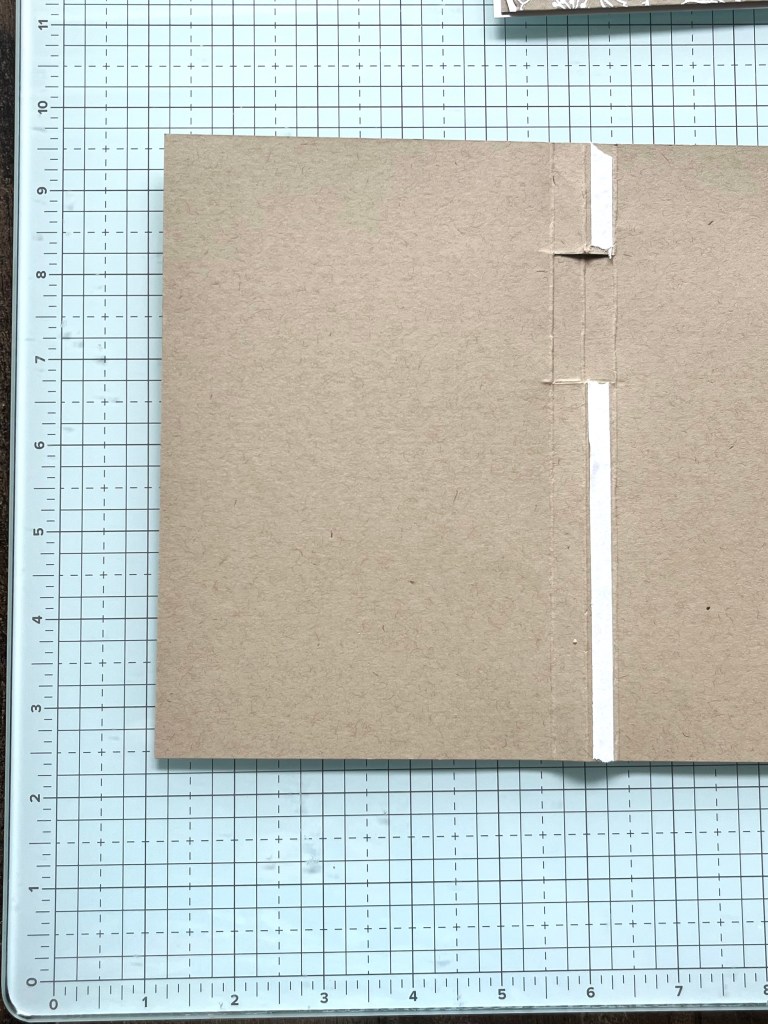
A tutorial to teach how to use Adhesive Sheets:
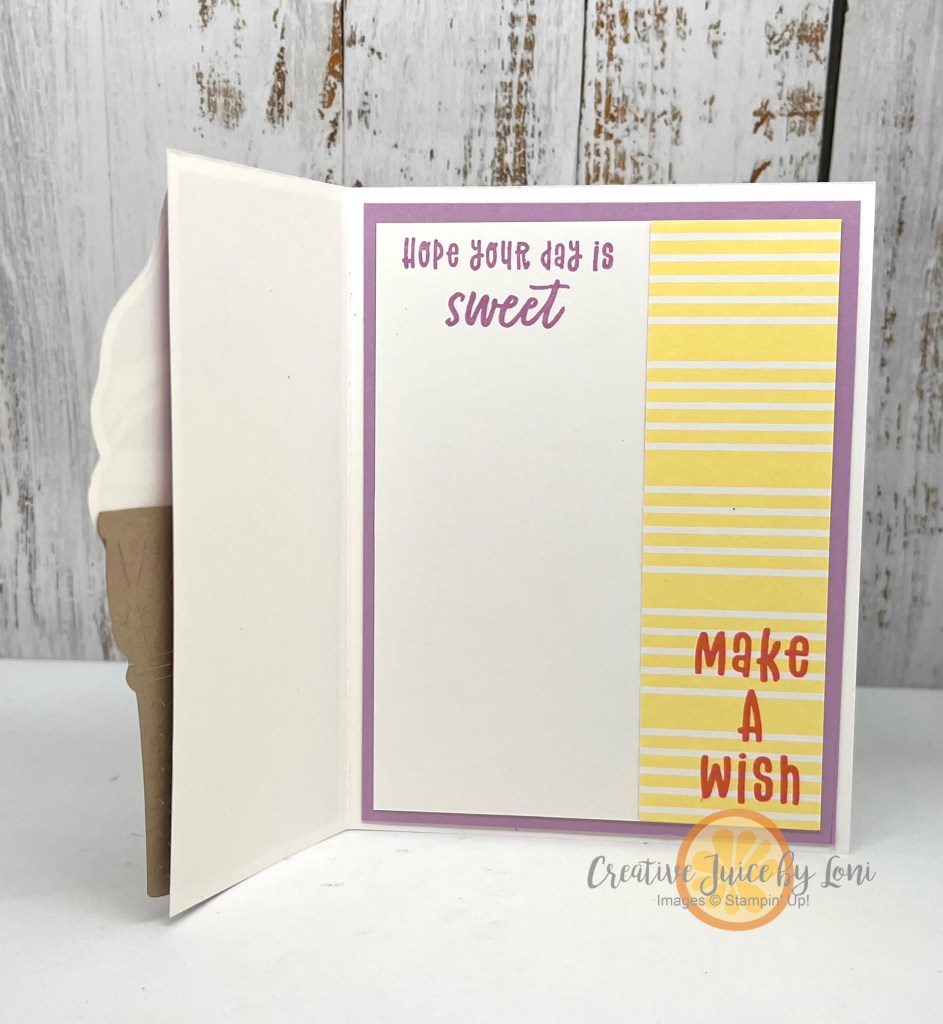
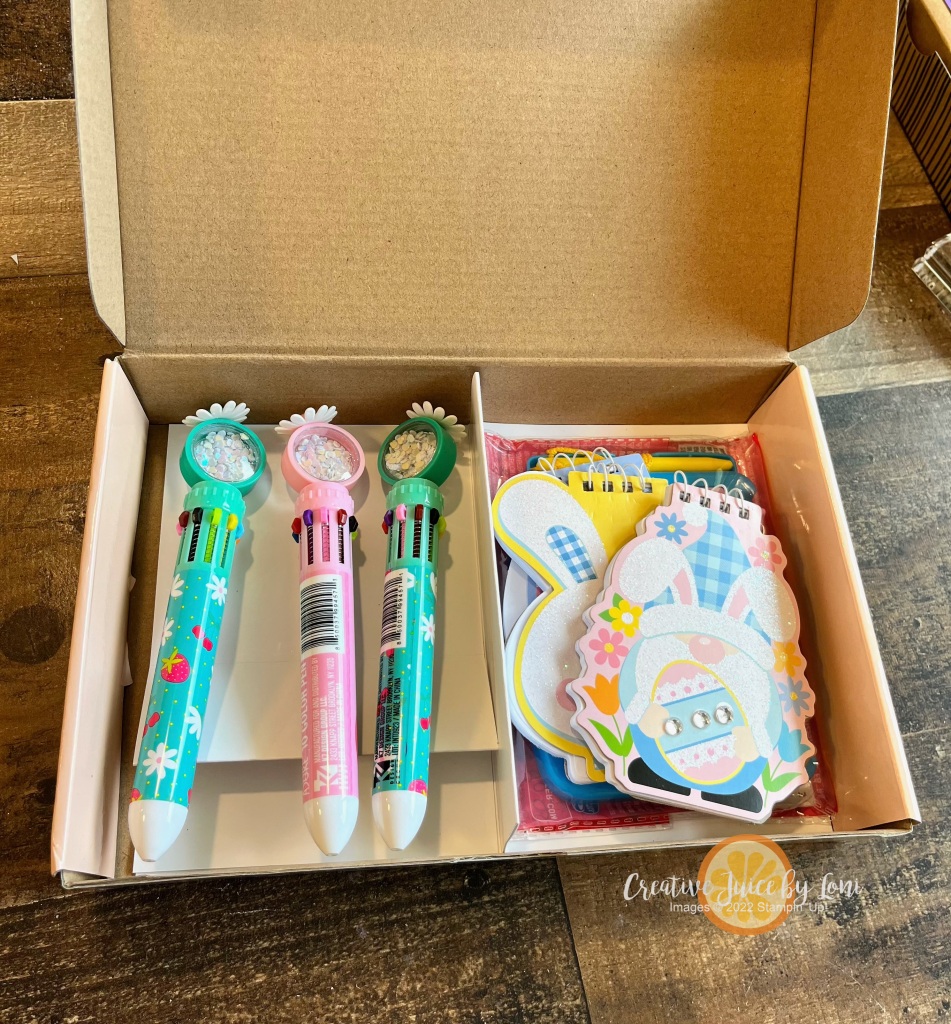
Inside the card:

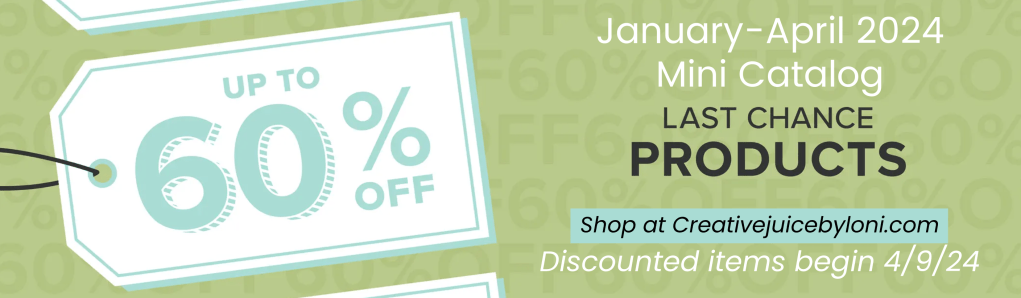
Today also begins the Stampin’ Up! Last Chance Sale– click image to shop!

I appreciate your order of genuine Stampin’ Up! products from my store! Your support give me the opportunity to continue sharing creativity with you. I’m always tickled to mail a hand-stamped card as a thank you for online orders!

Product List

Farewell Friday: Sweetest Cherries

I’ve used the Sweetest Cherries stamp set with the coordinating Cherry Builder punch over the last few years for everything from Christmas to birthdays and will be sad to see it retire this month. Here is my card for a fond farewell to this crafting friend:

I made a “basket” for my cherries on this tall card base (11″ x 4.25″) by folding the bottom corners up to meet in the middle, stamped the cross-hatch designs on the front, then lined it with some Designer Series Paper before filling it with the mouth-watering fruit.

When I shared the retiring lists last week, I mentioned that the “Last Chance Sale” didn’t start until April 9th. What I *neglected* to mention that you may NOT WANT TO WAIT for the sale if there is something you REALLY want to get! There are already MANY products that are sold out and discontinued.

Check these lists to make sure you have collected the items you need in your craft room:


Farewell Friday: Good Feelings & Rays of Light

As we near the end of a Stampin’ Up! catalog year, it’s time to spotlight some of my favorite retiring products. These products are available while supplies last or until April 30, 2024 (download full retiring product list at end of this post).

Since the TGIF Bonus Challenge #tgifc466 was to create a “simple gift set” of cards, it gave me the opportunity to stretch outside my comfort zone of bright colors, and use some of the black & white designs from the Delightfully Eclectic Designer Series Paper. But you can’t take ALL the color out of my life, so I added Calypso Coral, which also shows up on some of the paper designs.

These cards use the paper, PLUS the Good Feelings stamp set and Rays of Light background stamp, all of which will NOT be returning to the new catalog premiering in May. The Rays of Light background is the one I will grieve over losing the most!

This simple fun-fold card style is strategically planned to make the most of your patterned paper! If you score a full 8.5″ x 11″ sheet of card stock along the long edge at 4.25″ and 9.75″…THEN cut it in half at 4.25″, you’ll have two 11″ x 4.25″ cards ready to fold, meeting on the front of the card,

Use a 4″ x 4″ piece of DSP on one side and a 4″ x 1″ piece on the smaller fold. This pattern can be used in landscape or portrait orientation.

Now, HOW should we “gift” all these simple co-ordinating cards?

A quick folio made from a 12″ tall x 10″ wide piece of the Designer Series Paper is just the thing, and can hold all the cards plus envelopes!

Score it at 4.75″ and 5.25″ to give a center binding back, then add a ribbon to tie closed:

What else is retiring? Click banners to download the lists of items from the ’23-’24 Annual Catalog AND the January-April Mini Catalog which will be retiring.

>>> NOTE THAT THE LAST CHANCE SALE STARTS APRIL 9th <<<

These are the supplies I used for my simple set of cards and the folio to gift them in. I appreciate your orders so much and will mail you a thank you card! THANK YOU.

Product List

Traveling with Stampin’ Friends

Stampin’ Up! offers a reason to travel with friends: Two weeks ago, a few of my Sprinkled Ink team (& friends) flew to Houston, Texas for OnStage (the SU! version of convention). We went a day early and did a bit of sightseeing at the Cockrell Butterfly Center, followed by lunch at our new favorite mediterranean restaurant “Fadi’s” (there is *always* good food involved on vacation).

The next few days were filled with fun like stamping, learning, greeting friends from all over the world, celebrating milestones, eating more good food, winning Prize Patrol, hearing the vision and strategy of the company, seeing the new catalog and enjoying (enduring?!) so much togetherness!

This was the card I created to trade with other demonstrators using the Filled With Happiness bundle (I will show how to create this fun-fold in a future video). Swapping is an essential part of stamping events, and I came home with 30 different samples to display at upcoming events.

It’s fun to feel spoiled by all the SWAG you receive at these events~ I snapped this photo at our hotel of the amazing backpack and gifts we received on check-in. In addition, we took home rubber stamps, Designer Series Paper, a color wheel and the catalog (it’s important to leave extra room in your luggage for all the goodies)!

Next year, OnStage will be in Raleigh, NC (March 2025) and I’m already looking forward to it! What would you suggest are things we MUST SEE in/near Raleigh? Best food?

Would you like to come with us? There is room at our table for more stamping friends… invest in yourself with a Starter Kit and we’ll happily save you a seat!

Coloring with Masks (Enduring Beauty)

Masks (the fancy Stampin’ Up! term for stencils) make coloring stamped images speedy and simple!

I was truly WOWed with how quickly I was able to color the floral spray image from the Enduring Beauty bundle with the coordinating masks, blending brushes and ink pads. This is a technique you may embrace if you don’t love to color, OR if you are just getting started, you can stamp and color this image with just two ink pads! Watch & learn how:

Did you catch how to die cut just half the image so you can add a layer of Designer Series Paper as the background? For the video, I added a second fold that opens on the right:

But you can just add a 4 1/4″ x 5 1/2″ layer of Designer Series Paper behind the flowers to make it a regular card. I really like the look of the Poetic Expressions designs with the flowers, and used the colors of that paper for coloring the flowers, as well.

Turn the design sideways and try different colors, too.

It’s a beautiful stamp set to use for so many projects, and if you haven’t seen my two previous posts using this set this week, check out the Notebook Cover project HERE and the color challenge card HERE.

THANK YOU for shopping in my Stampin’ Store for GENUINE Stampin’ Up! products!!! It enables me to continue bringing you creative ideas and you are guaranteed high quality products with service from someone who cares about you.

Product List

Adding Color to Enduring Beauty

Florals are always timeless, and the many ways you can use the Enduring Beauty stamp set is endless! Today I’ve colored the blossoms using Stampin’ Blends for the Global Design Project #GDP437 color challenge:

Shrinking the space to stamp the large floral image allows me to zoom in on just a portion where the butterfly lands:

I added a hint of Coastal Cabana to the paper butterfly accent with blending brushes to give it color like some of the pretty butterflies we saw at the Cockrell Butterfly Center in Houston when we were there for Stampin’ Up! OnStage last week. We had a few close encounters (like my Sprinkled Ink teammate Kristi, shown here) and it was delightful to immerse ourselves in floating and fluttering winged things!

Cutting out a few of the flowers to curl and pop up on my card gives it the dimension to make it feel like it’s coming alive off the canvas- makes me want to let it land on my finger, just like our fun experience.

While difficult to see in photos, a bit of Wink of Stella brushed onto the butterfly wings gives it a pretty shimmer. Yes, WInk of Stella has been backordered for a LOOONNGG time, but we just heard from Stampin’ Up! that it should be back in stock SOON!

Stripes are a dynamic pairing with florals, so I added some 1/2″ strips of card stock at the bottom and embossed the sentiment over the the top.

On Monday, I’ll be demonstrating the coordinating masks that come with the Enduring Beauty BUNDLE which also includes the coordinating dies I used here, so tune in on my Creative Juice by Loni Facebook Page or YouTube Channel at 12:30 pm MT time to watch live, then order your own bundle from my Stampin’ Store to create with!

New at SU! Enduring Beauty Notebook Cover

We love using our rubber stamps to make greeting cards AND are ready to stamp anything we can get our hands on, which brings us to our March 2024 New at SU! Blog Hop featuring projects that are anything BUT a card!

My project is a notebook cover:

The recently released Drizzling Droplets background stamp created a subtle texture I adore to place behind the floral spray from the Enduring Beauty stamp set featured in the January-April Mini catalog!

When you want to create a mat around an image you are cutting out with dies, here’s a handy tip: Trace around the outside of the metal edge (with the cutting edge up), then fussy cut for a perfect frame every time!

You don’t even have to erase the lines, because once you flip it over to match your die cut image, any lines will be on the back side.

I cut this die in half lengthwise and added it to the top and bottom of my cover:

Detailed project instructions (including measurements) are below, following the supply list.

Carry the theme throughout your notebook by stamping this pretty image on the bottom corner of each page- one large image stamp can do so much!

I love hearing what you think of these projects, so leave me a comment before hopping over to one of our other international demonstrators “Anything BUT a card” projects! Lynda’s BEE-utiful scrapbook pages are up next at My Flutterby Moments…

March New at SU! Hop: NOT A CARD

Previous Blog Next Blog
1.Stampinxime (DE) – Ostergoodie mit Originelle Ostereier
2.Nature’s INKspirations (US) – Easter Lilies Alcove Treats
3.The Joy of Stampin’ with Rachael (USA)- Cutest Cows Milk Carton
4.Nina’s Southern Accents (US)-A Little Latte K-cup Caddy (Not A Card)
5.Stamping Flair (AU) – Rock Star
6.Playing with Papercrafting (CA) – Magnolia Mood for New at SU
7.Furry Cat Designs (UK) – Nature’s Sweetness Mini Album
8.Creative Juice by Loni (US) – Enduring Beauty Notebook Cover
9.My Flutterby Moments (US)-Bee Mine Scrapbook Pages
10.iHeartCards2 (US) – Thoughtful Expressions Bath Bomb Box
11.Tricia’s Stamping Creations (US) – Stippled Roses
12.24-7 Inkspiration (US) – A Little Latte
13.scraphexe (DE) – Latte Love | Käffchen

Powered by blogcarousel.com
Product List

If you are still reading for instructions, here they are!

This cover fits a Junior Legal Pad (4.5″ x 7″) and a thin PaperMate mechanical pencil with a pocket clip.

Cover: 7-1/8″ x 10-1/8″. Score down along the longest edge at 4-1/2″, 4-7/8″ and 5-1/4″

Fold along the middle score line and with the shorter cover on top (see picture), mark at 4-1/2″ and 6″ out to the next score line. Use scissors to cut along those two marks to create a holder for your pencil.

Add Tear & Tape adhesive, as shown below. Remove the paper on your adhesive and adhere to RIGHT SIDE (largest area) of the cover, pushing the small pencil holder fold out to the left. Attach your notebook on the back (largest area), then embellish the front as desired.

Using Versamark, stamp the Drizzling Droplets background onto 6-5/8″ x 3-7/8″ Crumb Cake card stock. Wipe stamped image with embossing buddy and let dry before embossing sentiment. Layer onto 6-3/4″ x 4-1/8″ white card stock before adhering to front cover.

Emboss floral image, cut and layer, as shown above.

Cut along a 15″ ribbon lengthwise, creating two delicate pieces to tie around the pencil holder. Secure in place with a mini glue dot, if needed.

Craft Happiness with Ice Cream Swirl

From a firm believer that you have the power to create your own joy, here’s an opportunity to *literally* craft things with rubber stamps, ink & paper that make you feel (and those you share them with) gleeful!

Crafting Happiness Papercrafting Class Banner

This class will spotlight the Ice Cream Swirl bundle (Item #162771-NOT included in the class fee)- OR you can complete the projects with the Simply Sparkling bundle (Item #162871), the Beautiful Balloons bundle (Item #161457), of the Share a Milkshake bundle (stamps and dies sold separately) – any of which can be ordered in my Stampin’ Store:  http://bit.ly/lonistampinupstore. BONUS: When you order the Ice Cream Swirl from my store, I will email you a discount code for $7 off the class!

You can learn more about the class below the video, here’s a completely different card I made in my Monday Live Crafting today~

Watch the HOW-TO below, plus you can see a sherbet easel card using the Ice Cream Swirl bundle HERE

MORE CLASS DETAILS: Registered class members will receive a class packet with all the consumable supplies (card stock, envelopes, Designer Series Paper, etc) needed for 5 projects we create together during the class, PLUS two full sized accessories (2 embellishments we will use in class) and a color copy of the completed projects. Crafting Happiness Virtual Class fee: $37

Class packet includes*: 

  • Tinsel Gems Four- Pack (Item #161623)
  • Iridescent Shaker Circles (Item #161625)
  • Card Stock, Designer Series Paper and accessories cut for projects
  • One sheet of Stampin’ Dimensionals
  • Envelopes and packaging
  • Sweet surprises!

(* while supplies last- if items sell out before packets are mailed, items of equal value may be substituted)

Also needed: 

  • Stamps & Dies of your choice (suggested bundles listed above)
  • Stampin’ Cut & Emboss Machine (or Mini Machine) or similar die cutting machine for coordinating dies
  • Ink Pads: Pretty Peacock, Berry Burst, Lemon Lolly (OR Daffodil Delight), Calypso Coral, Lemon Lime Twist, Pecan Pie (OR Crumb Cake)
  • Watercolor Pencils Assortment #1 (Item #161700) OR Stampin’ Blends (colors above)

The class will be privately streamed to YouTube and you’ll receive a link via Email on April 16th to watch and craft along with me on April 19th, or watch at your convenience anytime! 

Product List

Upcycle a Kit Box into a Gorgeous Gift

Maybe it’s because we’ve searched for a good box previously to no avail, but I am of the age that it’s difficult for me to throw away the boxes from Stampin’ Up! kits, or the pretty Paper Pumpkin boxes! They are such a perfect size for a half batch of BROWNIES, that it *almost* makes me want to bake a pan of ooey-gooey goodness, but then I’d want to eat the other half…

But what can we DO with those wonderful Stampin’ Up! boxes (aside from delivering goodies)??

Turn them into STATIONERY GIFT SETS!

Begin by covering the top with a piece of card stock and/or Designer Series Paper and embellish as desired. The February Paper Pumpkin kit box was also one I kept to modify, and because it was pre-printed, it took a smaller piece of card stock that I embossed for the center:

Next, you’ll also re-cycle the cardboard backing from a package of Designer Series Paper by cutting it into two pieces:

  • 12″ x 6 1/4″ – scored at 4 1/2″, 6″ and 7 1/2″
  • 4 1/2″ x 9 1/8″ – scored at 2 1/2″, 4″ and 6 1/2″

Those two pieces will create the dividers for your box. These easily fit 6-8 cards & envelopes on the large sections, a small book of postage stamps in the smallest section and your could add tags, small gift enclosures, a pad of post-it notes or a treat in the medium section:

Here’s the video tutorial to discover how simple it is to make this handy project:

After the video, I remembered I had some Dollar Tree goodies to send to my grandkids, and lo-and-behold, they fit in a 2-section box… just leave out the second section divider and you could also put twice as many A2-sized cards inside:

As demonstrated in the tutorial, I made a few simple cards using up the scraps from my pack of Perennial Lavender DSP and the Paper Butterfly Accents, along with the Perennial Postage bundle:

What are you going to put in your boxes? I’d love to see how *you* upcycle an empty kit box…share your creativity in my VIP Facebook Group!

Now that you’ve seen what you can make with the boxes, shop for more in the current Kit Collection:

Don’t miss the chance to subscribe before April 10, 2024 for the Delicate Wings Paper Pumpkin Kit, and add the “Thanks & Beyond Dies” to coordinate with the April, May AND June Paper Pumpkin kits!

Product List

Birthday: Game On!

Our family loves to play games together- from board games to video games! A few of our favorites are:

  • Killer Uno (card game)
  • Perpetual Commotion (some call it Nertz)
  • Splendor (strategy)
  • Anything Mario (video)
  • Overcooked (video)

Seeing the “Level Complete” stamp set on my shelf reminded me that my son (an avid gamer) is adding an extra (year to his) life this month, so that’s where my imagination went when I saw today’s #tgifc463 Sketch Challenge.

I turned the sketch sideways and used the game controllers as the focal point:

The black & white designs on the Rock & Roll Designer Series Paper are truly awesome whenever you need a masculine background!

A black card is striking with Daffodil Delight and Tahitian Tide, just remember to add a white layer on the inside to write on.

While we are the subject of Tahitian Tide (a 2022-2024 In Color), remember that it’s one of these bright hues retiring at the end of April, 2024, and we don’t really have any bright turquoise to replace it right now, so order an ink refill for your ink pads and card stock of the same color for coordination!

Does your family have a favorite game to play together? Tell me!

To re-create this card, you can click on the supplies listed and order from my Stampin’ Store- that helps me so I can continue to bring you great ideas you are welcome to copy. or spark your own imagination!

Product List