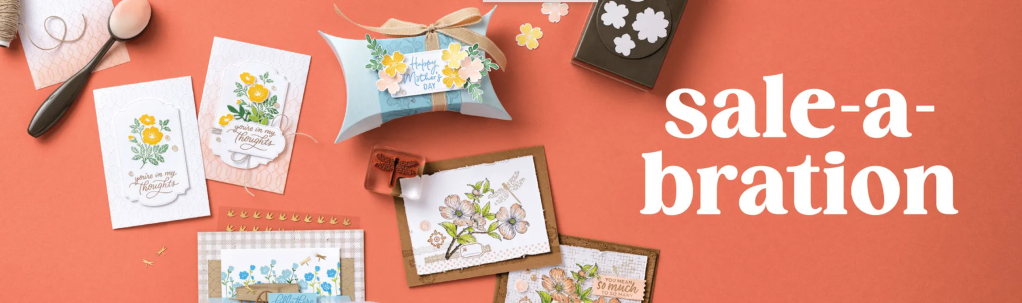
As we approach the half-way point of Sale-a-Bration (or SAB- the biggest party of the year for Stampin’ Up!), it’s time to show a little love for the Designer Series Paper (DSP) you could choose free with a qualifying order…and stick around for a late-January-ONLY offer!
Giving your creativity a few parameters makes it EASIER to use your imagination, and a SKETCH helps to narrow down your options.

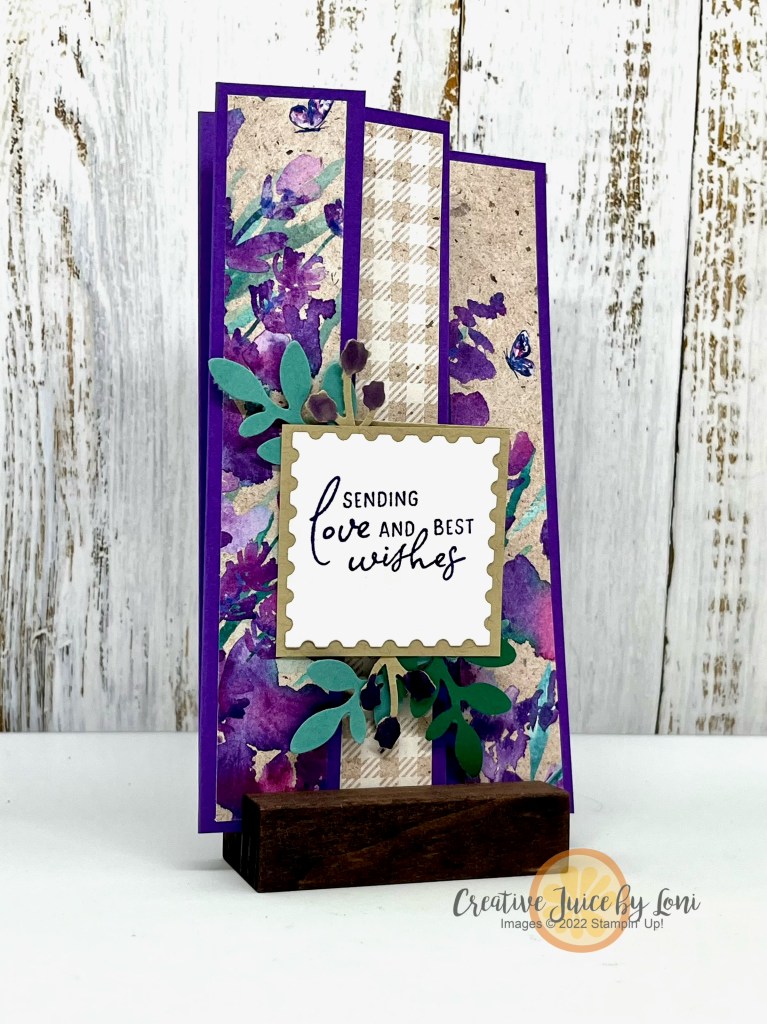
Measurements for this sketch (you can adjust sizes to work for you):
- Card Base: 8-1/2″ x 5-1/2″ scored at 4-1/4″
- Layer One: 4″ x 5-1/4″
- Layer Two: 2-3/4″ square on a 3″ square mat
- Layer Three: 2″ x 3″ on a 2-1/8″ x 3-1/8″ mat
- Layer Four: 3-1/2″ x 3/4″
Once you’ve found a fun template for a card, just plug in the pieces, and nothing could be easier than patterned paper!

You don’t need overalls to build this first card, just the Trusty Toolbox Designer Series Paper. Cut a tool from the paper for a focal point.

A version for mom using the Softly Stippled DSP. Substitute the strip on top with a length of lovely ribbon. The Brushed Brass Butterflies pull the gold thread from the bow to help catch mom’s eye.

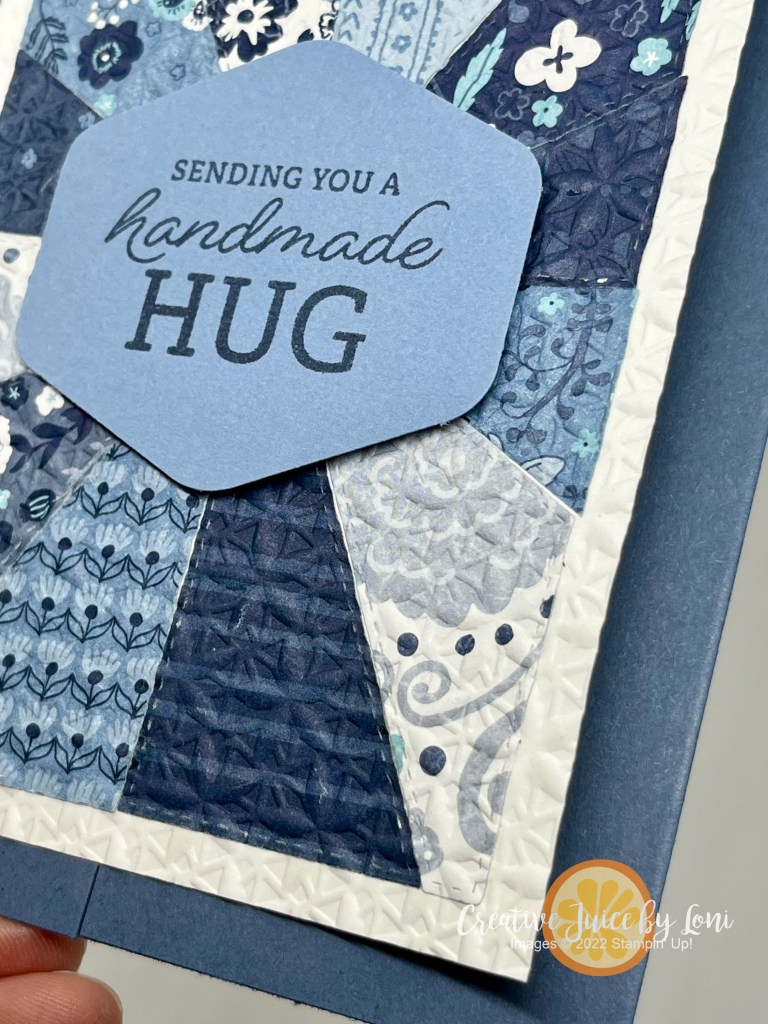
Be BRAVE: Turn the sketch sideways or flip-flop it and it looks completely different! Flight & Airy DSP is delicate and delightful, the fluffy birds being my favorite! The sayings for the previous 3 cards all came from the Heartfelt Hellos stamp set, which is also a Sale-a-Bration option.

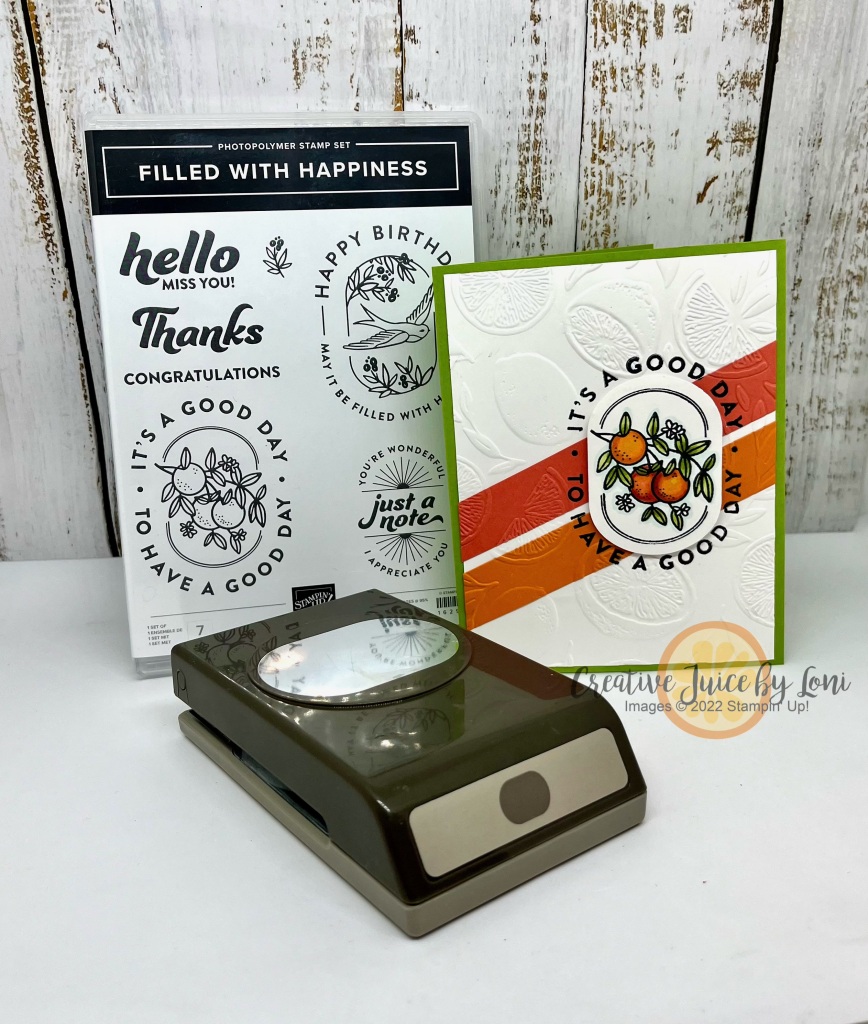
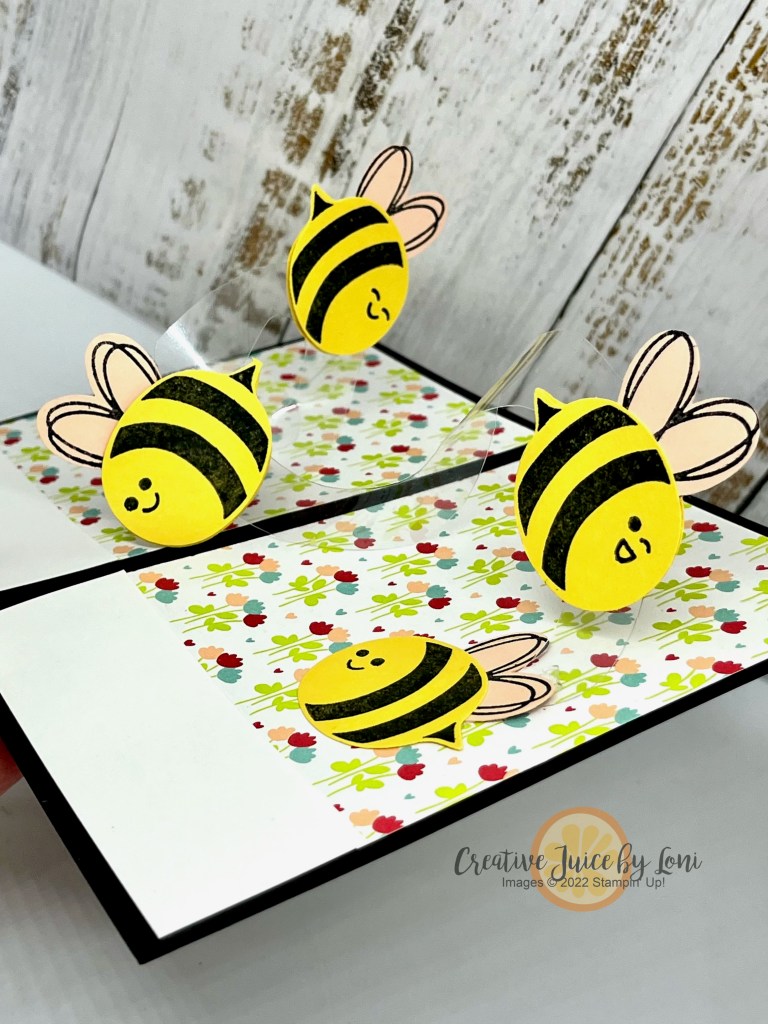
Next, the Sunny Days Designer Series Paper was delightful to pair with the “Playing in the Rain” bundle for a card to uplift and bring sunshine!

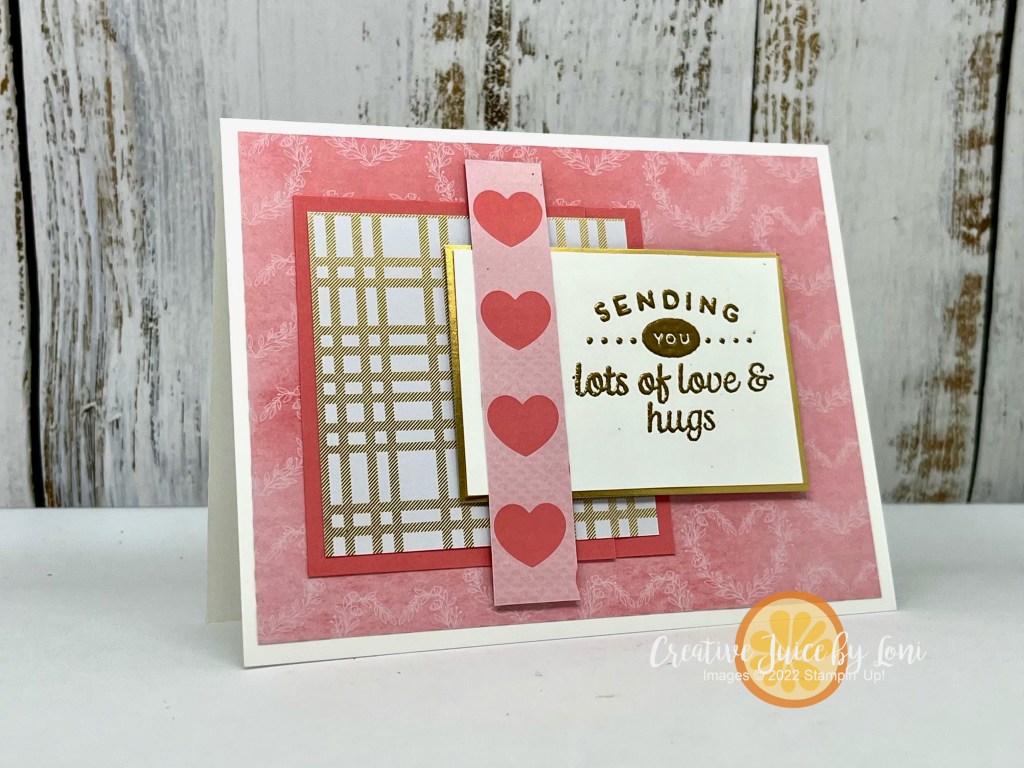
Finally, the Most Adored Specialty Designer Series Paper has Red & Pink patterns on one side, with gold foiled designs on the opposite sides: Use them for Valentines or Weddings! I embossed sentiments from the Heartfelt Hexagon stamp set on both cards.
I walked through making most of these cards with tips to help you choose patterns and layer nicely in this video tutorial:
SO WHAT’S THE SPECIAL OFFER??
While all of these papers are available through the end of February (while supplies last), for the next 3 days – through January 31, 2024 – place a $50+ order from my Stampin’ Store and you’ll receive a 4″ x 6″ piece of EVERY Sale-a-Bration Designer Series Paper as a thank you from me! That’s 30 pieces total.
Thanks for visiting and learning all about using a card sketch. Now get off the computer and get your fingers inky!


 Designer Series Paper")


")
")


")


 Designer Series Paper")


 Designer Series Paper")
")


 Specialty Designer Series Paper")
")


 Specialty Paper")


")