Updated 7/18: I suspected we underestimated how much you would love this…you grabbed all the truck builder punches AGAIN! They will be restocked, but the punches are being shipped from overseas and make take up to 90 days…I’m glad you like it, and thank you for your patience! This Online Exclusive bundle sold out in just a few days when it debuted on July 6th, and it (was) back in stock TODAY (7/17/23)!
As demonstrators, we KNEW this one was going to start off with it’s engine’s roaring- just look at that adorable little truck!
Add a little rust (using Stampin’ Blends markers) and it’s reminiscent of Grandpa’s Farm Truck.
Don’t stop with cards…use this bundle for adorable little favors, scrapbook pages and more! For a sunny/beach version of the truck, see my next post HERE.
Add a Stampin’ Blends Combo pack to this bundle in your shopping cart during July 2023 and earn a $5 BONUS DAYS COUPON to redeem in August! Each $50 purchase earns a coupon ($100 earns two coupons, etc.) Remember to save the email with your coupon codes.
You’ll get a LOT of mileage from the Trucking Along bundle…watch this video to learn tips (including how to get a reverse image of the truck):
ALSO JUST ANNOUNCED
(Set an alarm for Wednesday):
The 15% discount will apply to all stamp sets from the 2023–2024 Annual Catalog (excluding host stamp sets)
When you want someone to gasp as they open their mail, emboss some FOIL PAPER.
This gold panel embossed with the Quatrefoil Tile Embossing Folder just feels so sumptuous as it catches the light, and the sparkle is mimicked in the edge of the ribbon, too!
The Quarefoil Tile is a STANDARD embossing folder, so it’s “sandwich recipe” is a little different that the 3-D folders I’ve been showcasing earlier this week. And remember, the sandwiches are also shown on the platform #1 that comes with your Stampin’ Cut & Emboss Machine, as well.
If you HAVEN’T had a chance to watch as I explain the differences in embossing folders, watch this video- It will teach you all you need to know!
Did you know that July is my birthday month and I’m GIVING gifts? I’m donating 10% of my sales to Operation Underground Railroad to help stop human trafficking AND another 10% to the American Foundation for Suicide Prevention, as chosen by the members of my Creative Juice Crafter’s Corner Facebook Group. I’m content with the many blessings I have, and it’s a pleasure to make a difference in the world when I can.
If you’d like to join me in doing some good in the world, you may donate to either organization by clicking the links above, or through my #riseupforfreedom fundraiser for O.U.R. :
Hey! It’s good to see you here and know you’ll like the next 3-D embossed card idea. Are you pinning these ideas for inspiration when you want some texture on your cards and paper crafts?!
Stampin’ Up! has an embossing folder that matches the Countryside Inn Designer Series Paper – The Countryside Blossoms E.F. matches one of the patterns perfectly! – but you don’t have to have a matching design to emboss on Designer Series Paper. For this card, I debossed the 3-D Dots into a striped citrus pattern from the Delightfully Eclectic mega-pack:
You CAN combine dots & stripes!
I appreciate that the pattern on the paper hearkens back to my signature “Sweet Citrus” bundle, and in my Tips & Technique video, I used the HYBRID 3-D embossing folder to show you how that one CUTS & EMBOSSES at the SAME TIME!
That’s the third embossing folder from the Basics 3-D Embossing Folder Trio in the Online Exclusives section of my store, but I do have another card to share with you tomorrow.
Make your own ZESTY birthday card with the supplies listed below, and remember to save your BONUS DAYS coupons from July in a folder in your email so you can easily find them to SPEND in August!
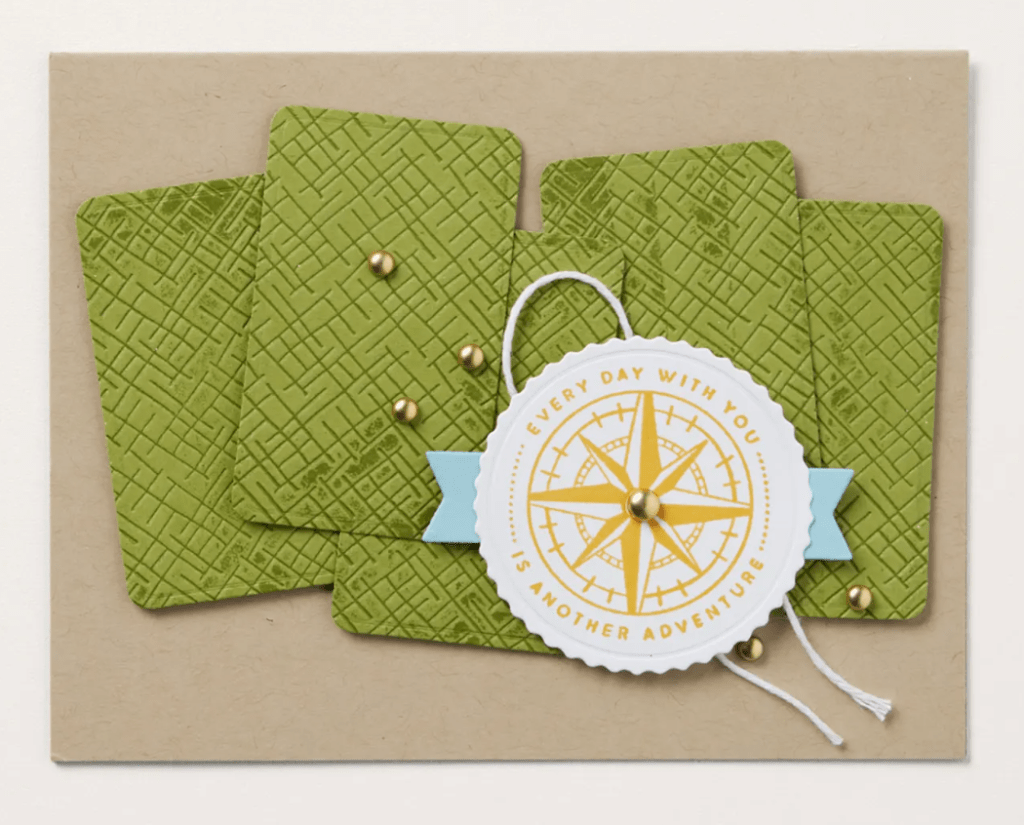
Welcome back to day 2 of my embossing folder series! Today we are looking closer at the Crosshatch 3-D Basic embossing folder (one of a trio in my online store).
For a textured background like this, stamp your images first, then run it through the embossing folder. I used the texture OUTDENTED (it’s a real word) on my floral background, but you can also turn your paper over to get an INDENTED texture like this as an alternative:
If you missed the video teaching TIPS & TECHNIQUES for embossing folders, you can watch it here!
This texture is extremely versatile and you’ll be reaching for it often. I’ve listed the supplies for my “You Inspire Me” card below, and please visit tomorrow for the third 3-D Basics embossed card!
You may not have a preference for how your sandwiches are cut, but there is a CORRECT way to layer the “sandwich” for using embossing folders on your Stampin’ Cut & Emboss machine 🥪
Stampin’ Up! has three styles of embossing folders: Standard (approx. 1/16″ wide), 3D (approx. 1/8″ wide) and Hybrid (similar to 3D and will have a coordinating die to insert as desired). Each type of folder has a “Recipe” for successful texturizing, and if you forget, it’s PRINTED on the base plate/platform #1
Today’s LIVE video teaches the tips and tricks to remember for successful embossing:
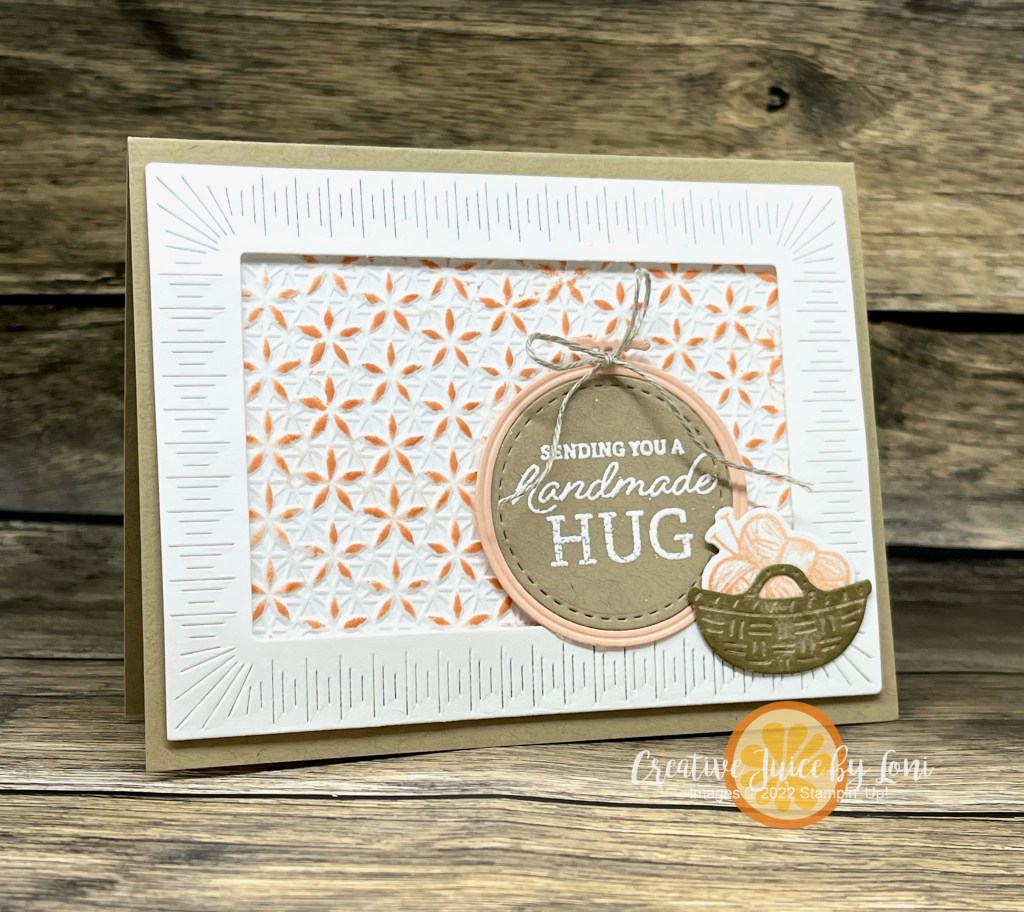
Because there are NEW items in the Online Exclusive section of my Stampin’ Store (some are being restocked as quickly as possible!), I am showcasing the 3-D Basics trio of embossing folders, starting with the 3-D Floral:
I lightly pulled/tapped my Petal Pink ink pad across the embossed layer to help the flowers POP and the other supplies are listed below. The Radiating Stitches Dies (which is what I used for the frame) are also part of the Online Exclusives!
Come back over the next few days to see all the cards, and remember it’s BONUS DAYS in July, so for each $50 spent before 7/31, you earn a $5 coupon to redeem in August!
Friday is a good day for stretching those creative muscles, so I jumped into this unique TGIF Color Challenge!
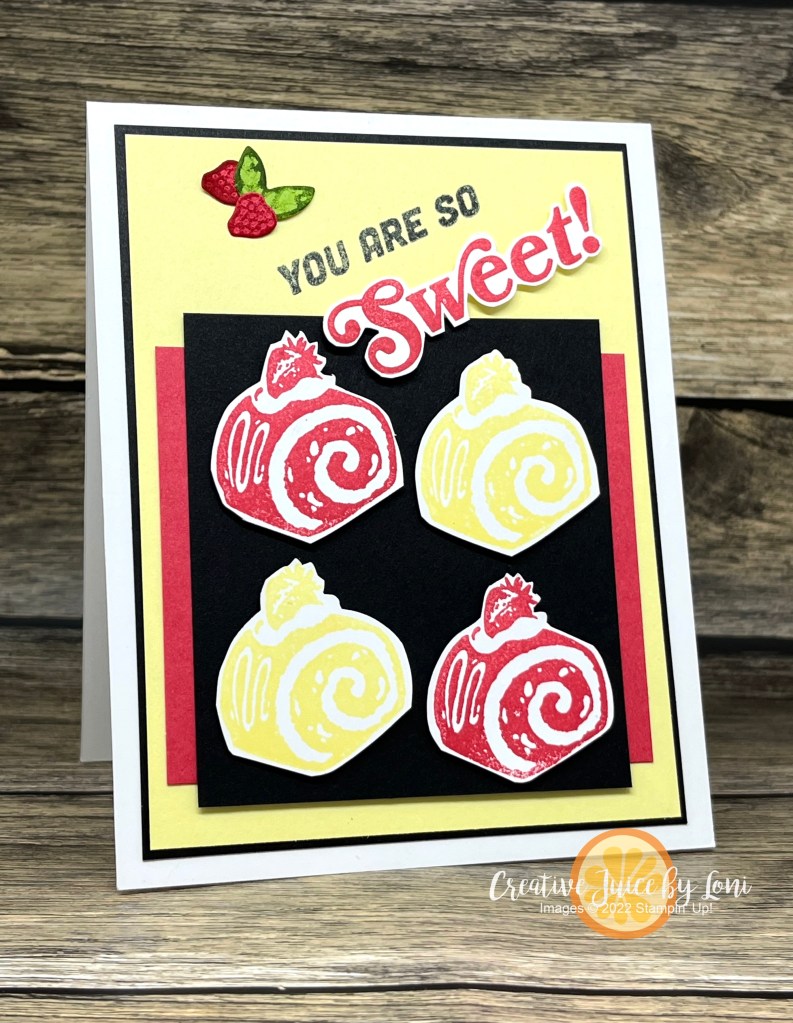
Once I saw the colors, I went to my stamp collection to choose a stamp set. I hadn’t inked up the new SUPER COOL stamps yet, and the cake roll image reminded me of a red velvet cake:
It needed just a little something after I stamped (and fussy cut) the greeting, so I pulled out the teensy strawberry die from the So Refreshing dies to mimic the fruit on top of the cakes. Just “dip” them into an ink pad to really show off the texture from the dies…
It’s BONUS DAYS at Stampin’ Up!
Hope you make time to ink up a new stamp this weekend, too!
I’d reckon you didn’t see thePaper Florist dies that are new to the Stampin’ Up! catalog, did you?
You’ll have them on your radar now~ they’ll make you into a flower arranger extraordinaire!
This project started with a wood cut-out from Dollar Tree and layered Designer Series Paper, spelled out m motto and adorned it with these gorgeous card stock blooms.
Enjoy a how-to video with a few helpful hints:
July is my birthday month! It always feels like a party, and I am content with all that I’ve been blessed with, so it’s an opportunity to glorify God by sharing my bounty. That’s why I’m supporting my personal charitable passion, Operation Underground Railroad by donating 10% of my sales in July (plus 10% to another organization chosen by YOU).
With more than 40 million victims of human trafficking worldwide (25% reported to be children), my heart hurts for every child who doesn’t have the freedom to be innocent. And it’s happening here.
You are welcome to add to my #riseupforfreedom fundraiser. Family and friends- in lieu of birthday gifts, please consider a donation!
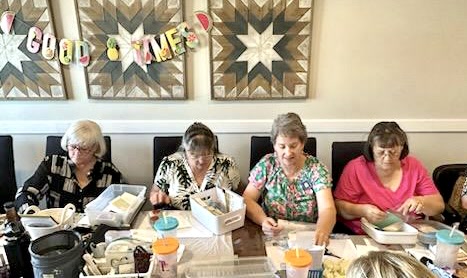
At the Sprinkled Ink Retreat last weekend, we participated in a Shoebox Swap, but that doesn’t mean we exchanged empty shoeboxes 😜
Each demonstrator brought a #simplestamping card (some were not so simple!) and had all the pieces cut and prepared for everyone else to make, in a box (about the size of a shoebox, hence the name). We passed boxes around the table and you would make one as it came to you. It was a **flurry** of activity for a few hours…
Who knew crafting could feel like a workout? We were exhausted – but happy stampers! – by the time we finished 15 cards.
Place background stamp face up and ink it with Soft Seafoam ink. Then dip a sponge dauber into Highland Heather ink and daub it onto the stamp where the berries are.
Lay a 3″ x 4″ piece of Soft Seafoam card stock on top of the stamp, cover it with scrap paper and rub to transfer the image.
Cut the stamped card into 1″ pieces on a paper trimmer and adhere in same order to front of Basic White 8.5″ x 5.5″ card using dimensionals, leaving a small space between each panel.
Stamp sentiment on white scrap in Highland Heather ink and adhere to right panel(s).
Add small bow of white twine on a glue dot.
Here’s a quick look at all the cards we created that night! WOW!
Just a reminder- ANY DAY is a great day to join my Sprinkled Ink Family and start your own Stampin’ Up! journey, but TODAY (June 30, 2023) is the LAST DAY of the Starter Kit+ Promotion. There is no risk to give it a try…and I am here to help you get the most from your experience! Click the image to get going:
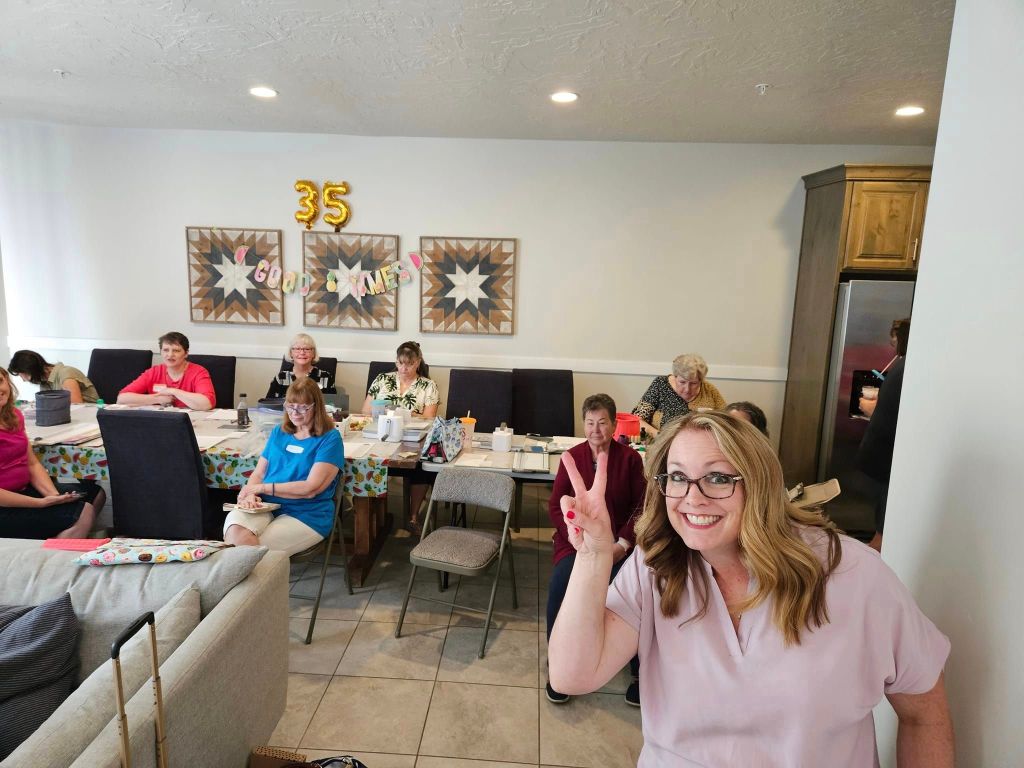
The #1 reason I’m still stamping after 30+ years is my family of demonstrators!
These women (and a few more who aren’t in the picture) give me a reason to jump out of bed and get into my Stampin’ Studio every day! It makes me happy to serve them and cheer them on in their business, too.
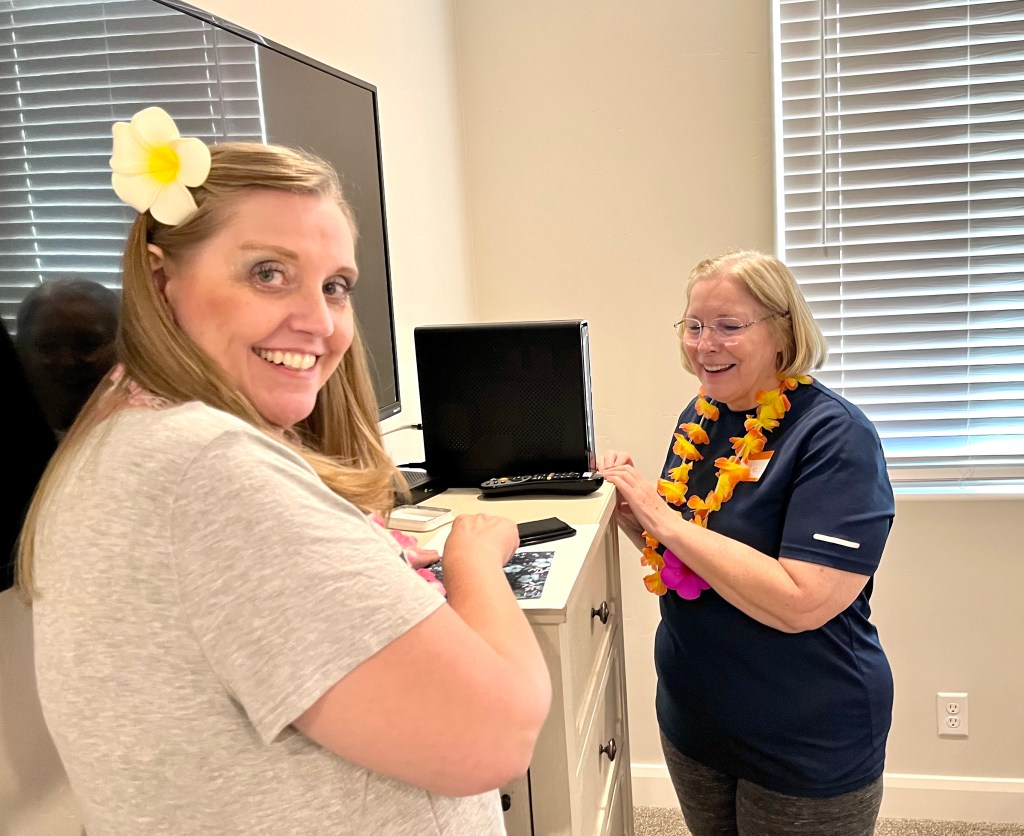
We held our first ever Sprinkled Ink Retreat this past weekend in Southern Utah and let me tell you…so many friendships were forged or strengthened, fingers (and clothes!) got inky, we laughed, ate well, played, learned and GREW stronger together. It was magical.
As the Inkers arrived (coming from Idaho, Nevada, Arizona, Utah and even Georgia!) they received a swag bag with gifts & goodies:
We started off with a Stampin’ Escape Room Game on Friday night, and there was some serious competition between the 3 teams. They worked together well to figure out the clues.
Because we are celebrating Stampin’ Up!’s 35 Anniversary in 2023, the home office chose 35 demonstrator-sponsored events to send a member of the executive team to attend, and we were lucky to have Jill Taylor, Stampin’ Up! Vice President of Sales attend our event on Saturday! She was so friendly and fun-loving, she fit right in and made everyone feel valued.
She also gave us a sneak peek at an upcoming kit, and all I can say is IT’S RIGHT UP MY ALLEY!
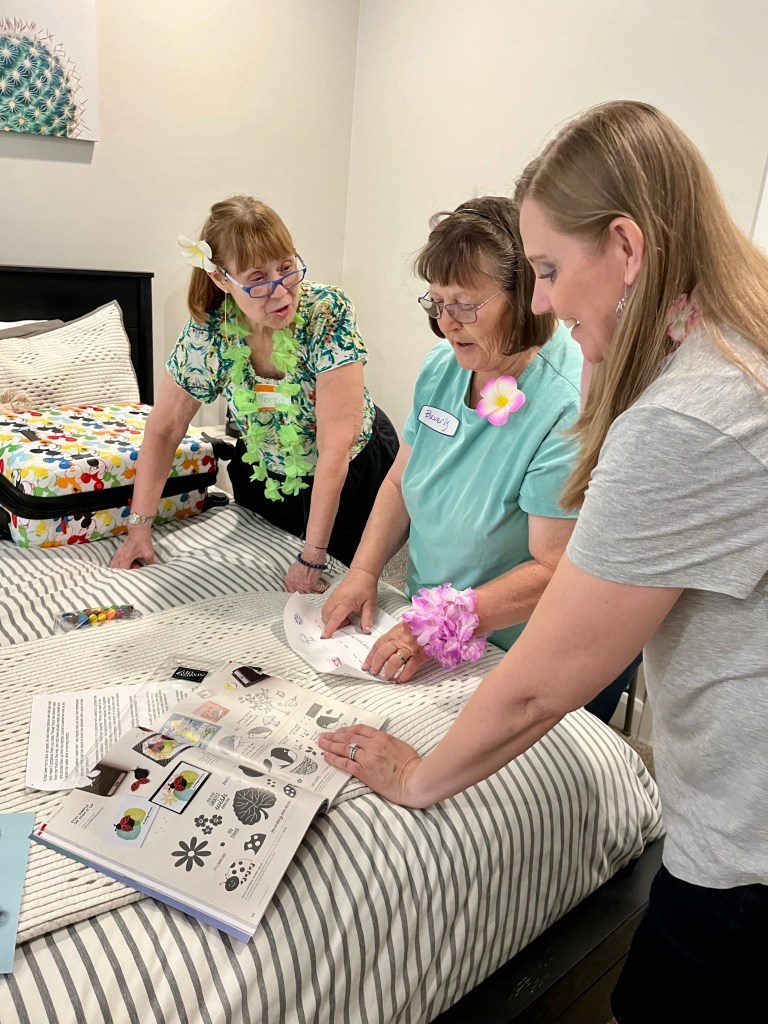
Next we participated in Creativity Now, a company sponsored demonstrator event where watched demonstrations of new products, stamped along with a presentations, learned how much research and thought goes into designing a products like the Earthen Elegance Suite (they rolled out and fired multiple clay samples and made sure the greetings would translate to Spanish)
Following Creativity Now, Jill gave us some business training and we had some hands-on technology training, too. Then it was time for dinner catered by Costa Vida and a Shoebox swap (which I’ll share tomorrow). Some of us enjoyed sitting in the jacuzzi and visiting in the evening, and all of us made memories together!
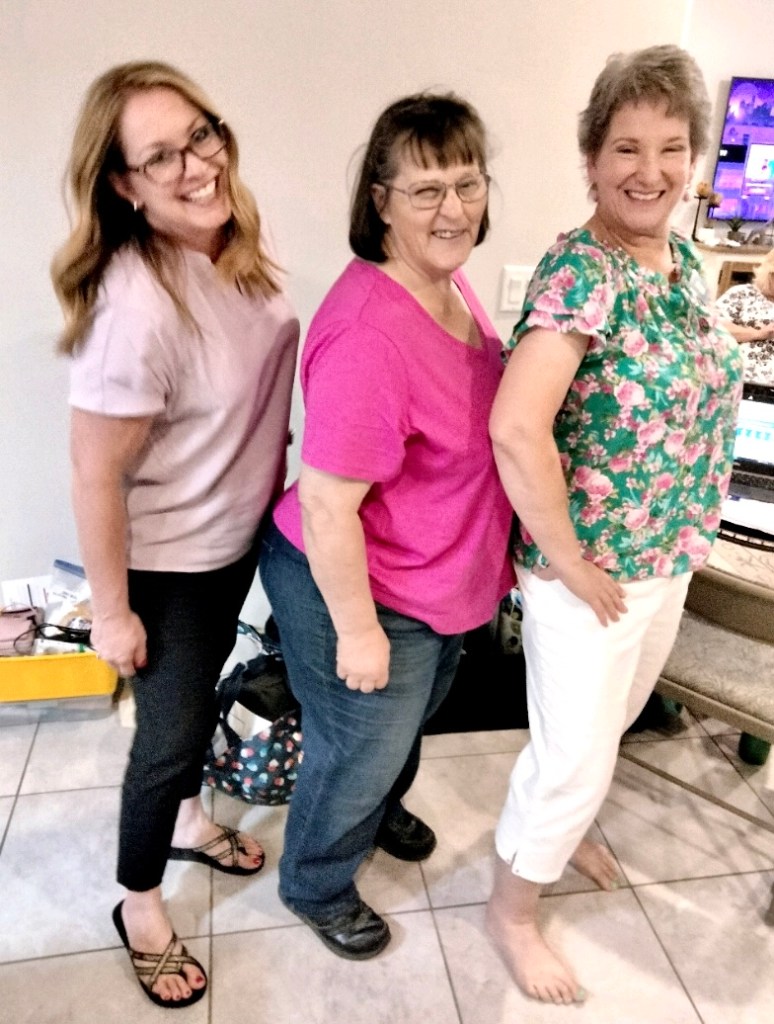
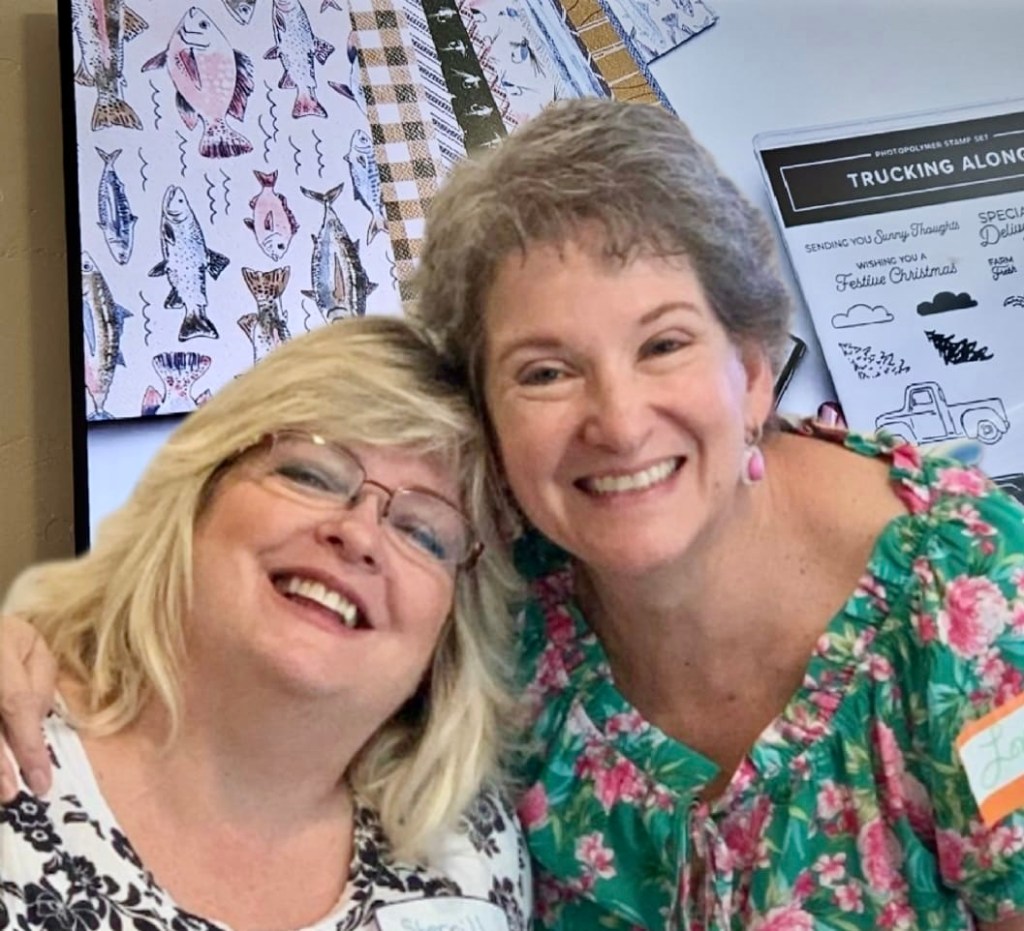
It was wonderful that my “Stampin’ Mom” Sherrill Graff (who helped me get started back in 1992!) attended with us! She is a beautiful, generous, loving and creative woman who does her best to emulate Jesus Christ. We took a “4 generation” picture with my first recruit Ann Olsen (in the palm frond top) and her team member Kim Clark. This is the family you CHOOSE!
If this might be a community you didn’t even KNOW you needed, there is room FOR YOU at our table! All you have to do is TRY the Starter Kit and you’ll be added to our Sprinkled Ink Facebook Group and have the opportunity to join us as the next In-Person or Virtual event. There are no strings attached, so you can buy the kit, save money, get a discount and see if our Stampin’ Family feels like home.
During June 2023, you get to choose MORE in the starter kit, too:
What questions about the opportunity to discover a creative community do you have? It would be a pleasure to help you find your place here, so ask away!
Sometimes I obsess over WHICH SIDE of my pretty Designer Series Paper I should use, and if this dilemma sounds familiar, you will like today’s card design because it allows you to show BOTH sides of the paper!
You’ll be seeing more of these flowers next Monday, but I also wanted to point out the incredible detail of the photographic style of the Masterfully Made DSP~ I did NOT tear any of the Lemon Lime Twist paper, that is just a flat layer, but it LOOKS 3-D!!
When you watch the replay of my live demonstration, you’ll learn how this MEGAPACK of paper patterns gives expanded options for some of the newer products in our catalog, and offers versatile designs to enhance any project.
Final reminder that most of our Designer Series Papers are 15% off through the end of June, 2023! Don’t miss a chance to stock up with paper that has new colors and textures to keep you crafting through the summer…
Looking for the supply list?Simply click on the orange buttons!


")


 Textured Ribbon")


")


 Satin Edged Ribbon")


")

 Designer Series Paper")


")


 Bordered Ribbon")


")


 Designer Series Paper")