
What the world needs now is human kindness…to all! And you can create kindness with your crafting.


DOWNLOAD FLYER
Do you love reading? Are you part of a book club? This stamp is for YOU!
It was love at first sight for me and the “Every Chapter” stamp in the J-J Mini Catalog. I have a similar stack of books next to my bed. When I found these cute chalkboard easels at Dollar Tree, I knew exactly what to do with the stamp:

Wouldn’t it look adorable as a favor on a table, too?
Product List
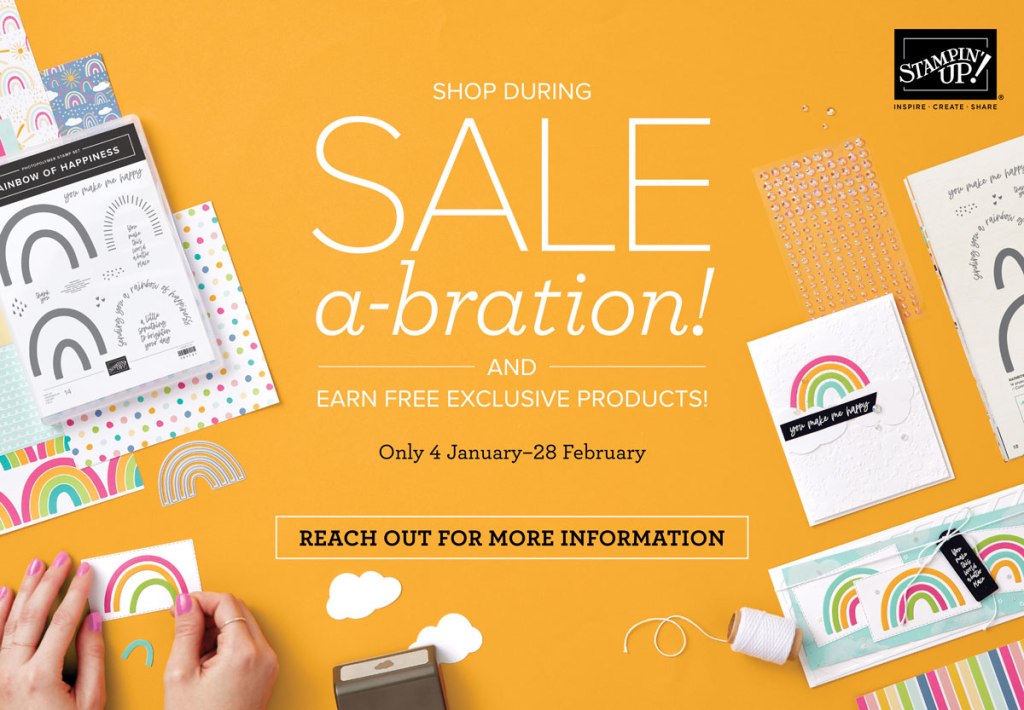
FREE is the thing I love writing on customer orders and our January New at SU! Blog Hop spotlights all the goodies YOU could choose free with a qualifying order from your demonstrator during Sale-a-Bration through February! You’ll want to visit the other demonstrators’ blogs to see the different ways to use these products, too.
I’m showcasing the Awesome Otters and Simply Marbleous Designer Series Paper (each free with $50 order in the U.S.) in a “Faux Shaker Card”:
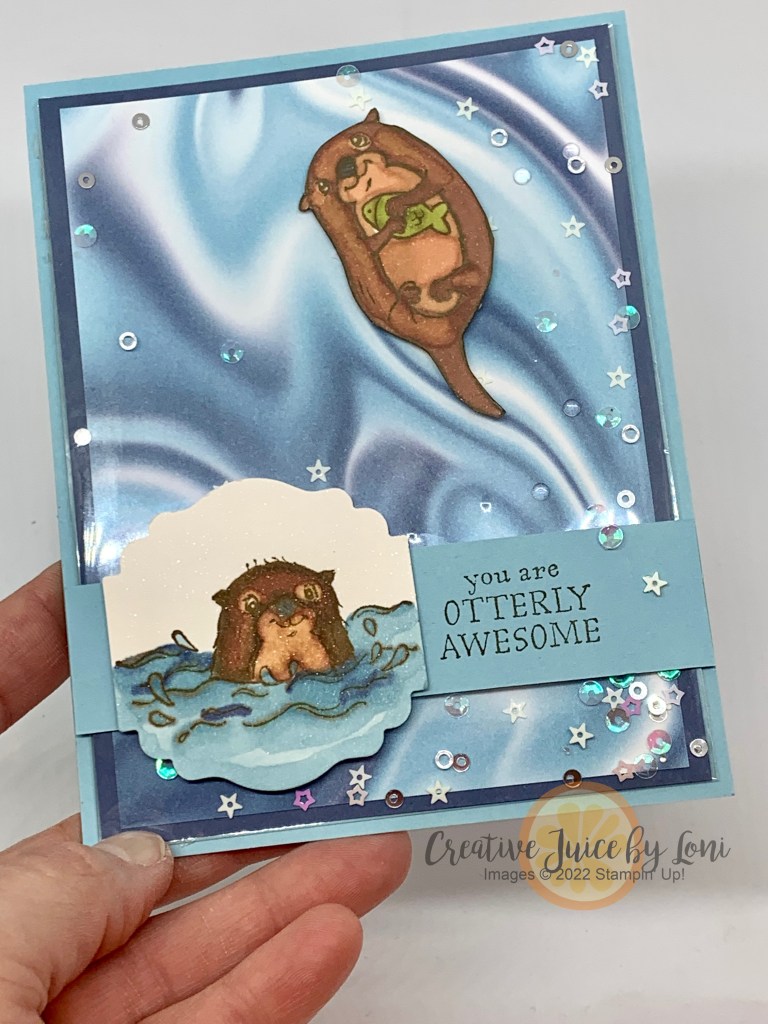
You also get a sneak peek at our new NATURAL TONES Stampin’ Blends markers which will be available to customers beginning February 1st~ you’ll appreciate that they give you more options for skin tones and animals like OTTERS!
TIP: I’m finding that our Shimmery White card stock is a better option for coloring with Stampin’ Blends as it bleeds less than Basic White card stock, with the added bonus of a little shimmer.
I’ll post the supplies at the bottom of this post when you are ready to shake things up!
What are you going to collect free during Sale-a-Bration?
I am grateful you stopped by and I know you’ll enjoy more sensational stamping as you visit the other demonstrators in our Sale-a-Bration Spotlight blog hop! Jump over to Ximena’s place for a Friendly Hello from Germany…
January 2022 New at SU! Roll Call: Sale-a-Bration Spotlight
Stamping Jo – Catching Butterflies
The Flying Stamper – Simply Marbleous Designer Series Paper
Gifted Hands, Ink! – Sunshine & Rainbows Designer Series Paper
Stamping the Cape – Awesome Otters
De Kijkkast – Friendly Hello Bundle
Tricia’s Stamping Creations – Driving By
Playing with Papercrafting – Simply Marbleous DSP and Special Moments
Carterie Plus – Daffodil Afternoon DSP and Special Moments
Joni in the Spotlight Stamping – Daffodil Afternoon Designer Series Paper
Stampin Scrapper – Special Moments and Sunshine & Rainbows DSP
Stamping Flair – Simply Marbleous Designer Series Paper
Scraphexe – Special Moments (Für allerlei Anlässe)
Stamping Scene – Friendly Hello Bundle
Stamping with the Copper Cropper – Friendly Hello Bundle
24/7 Inkspiration – Catching Butterflies
Creative Juice by Loni – Simply Marbleous DSP and Awesome Otters >>> YOU ARE HERE <<<
Stampin’ Xime – Friendly Hello (Hubsche-Gruse)
Product ListThe best way to lean a skill is to do it. Want to get better at a hobby? Practice! We make it easy to learn rubber stamping and paper crafting at our Semi-Annual StampFest events in Southern Utah and Utah County.

The Southern Utah Winter StampFest will be held at the Hurricane, Utah city recreation department on Saturday, February 5th at 1 pm. You’ll create multiple projects, learn new techniques, make new friends and be spoiled by us!

We present the same projects at our Utah County event on Saturday, February 26th! The Winter StampFest will be at RK Creative Studios in Spanish Fork at 1 pm.
Once you’ve attended one of our events, you will want to return again and again! Our stamping friends look forward to seeing each other and learning new ideas and stamping skills. The other special touches are just sprinkles on the top of a fabulous hands-on event!
Cost for StampFest is $60, and when you register at least 2 weeks in advance, you’ll save $10. Space is limited and registration closes when full or 1 week before the event, whichever comes first.
For more information, visit the Facebook Events (highlighted text) OR click on the images for the event you’d like to attend!
The Global Design Project color challenge was just too cute to pass up:
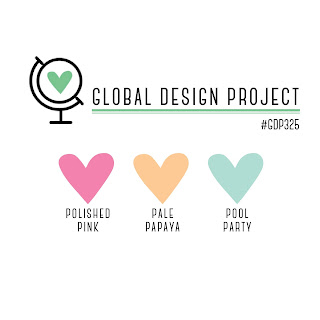
They look like a scoop of sherbet, so I grabbed my Sweet Ice Cream stamp set and made a floating frame card that would be yummy for Valentine’s Day, too:

Don’t lick the screen!
Product ListNext week is Cody’s birthday and it’s time to make him a card!

I used a new Sale-a-Bration stamp set called “Awesome Otters” (which you could choose free with a qualifying purchase during January & February) and the Slimline cards from the January-June mini catalog. This is a BIG card ~ finished size is 8.5″ x 3.5″ ~ and if you want to see how to make it, you can watch my Facebook Live video from 1/10/22.
Next step: Find a gift to go with it!
Product List


The TGIF Challenge last Friday got me brewing up an idea to share, and today I did a live video on my FB page to demonstrate this unique card fold using the Delightful Tag Topper punch to tie it closed!
As long as I was crafting, I wanted to use some new products from the January-June Mini Catalog and Sale-a-Bration that both start tomorrow (January 4, 2022), so here’s the first card I demonstrated using the Sweet Talk Designer Series Paper:

You can make this card with just a little space to write in under the top flap, or add a card that opens inside so you can compose a long love letter.
Then I flipped the card to a side closure and showed off the Sunshine & Rainbows Designer Series Paper that you can choose as a free Sale-a-Bration product with a $50 order. This cheerful paper coordinates with the Rainbow of Happiness stamp set in the J-J Mini Catalog, so of course you’ll want both!

This one is also a gift card holder, which would make anyone’s day more sunny:

I’ll post the supplies here tomorrow once the catalogs go live, but meanwhile, you can watch the video tutorial below or on my page:

New Year’s Eve is all about the bling, right?
The Simply Elegant Suite is rich in luxurious details and textures that you just have to see in person to really appreciate. The Specialty Designer Series Paper combines the elegance of Basic Black, Basic Gray, and Very Vanilla with the shimmery luster of Gold, Copper, and Silver – it’s simply gorgeous!
Often, stamp and punch combinations are designed to punch out a specific image, but in this case the Elegant Tag Punch works with several images and greetings in the Elegantly Said stamp set. The bonus of this design is that the punch works with lots of other images and greetings from other sets, too!
The tutorial below shows a soft and sweet alternate to the colors highlighted in the Simply Elegant Suite. Here’s to a CRAFTY NEW YEAR!
————————————————–

")
")


| Simply Elegant Card |
| INSTRUCTIONS: 1) Cut Petal Pink cardstock to 5-1/2″ x 8-1/2″. Score at 4-1/4″ along the 8-1/2″ side. 2) Cut Petal Pink cardstock to 3-1/4″ x 5″. Create the look of your own Designer Series Paper by stamping the floral image from the Elegantly Said stamp set all over the cardstock. Start by stamping the image twice, near the center, with Flirty Flamingo ink. Clean the stamp and then stamp around the first two images, using Petal Pink ink, until the cardstock is covered. Rotate the stamp a quarter turn each time to create a varied pattern. 3) Adhere near the left edge of the card front with Stampin’ SEAL. Add gold leaf and berry stalk die cut pieces from the Expressions In Ink Ephemera Pack near the right edge of the layer with Mini Glue Dots or Multipurpose Liquid Glue. 4) Use the Elegant Tag punch to punch Sweet Symmetry Designer Series Paper. Adhere to card overlapping the gold ephemera with Stampin’ Dimensionals. 5) Stamp greeting on 2″ x 1/2″ Mint Macaron cardstock with Mint Macaron ink. Adhere to tag with Stampin’ SEAL or Mini Glue Dots. 6) Use Linen Thread to gently tie a bow around the finial detail on the punch. SUPPLIES BUNDLE #155753 Elegantly Said Bundle (#155095 Elegantly Said stamp set & #155762 Elegant Tag Punch) PAPER #138337 Mint Macaron, #146985 Petal Pink, #155605 Sweet Symmetry Designer Series Paper INK #147052 Flirty Flamingo, #147108 Petal Pink, #147106 Mint Macaron TOOLS #151298 Water Painters, #129053 Heat Tool ADHESIVES #103683 Mini Glue Dots, #110755 Multipurpose Liquid Glue, #104430 Stampin’ Dimensionals, #152813 Stampin’ SEAL EMBELLISHMENTS #104199 Linen Thread, #155465 Expressions In Ink Ephemera Pack TIPS: Create your own Designer Series Paper in your choice of colors and patterns using your favorite stamps! This can be done using one or a few coordinating stamps and your choice of one or more ink colors, depending on the look you want to create. Start by stamping your selected image near the center and working out from the center towards the edges until the cardstock is covered. Rotate the stamp a quarter turn each time to create a varied pattern. |


")
 Gingham Ribbon")


")
 Designer Series Paper")


")


