Angry Birds

I forgot to share these adorably simple little Owl treat bags we made clear back in July:

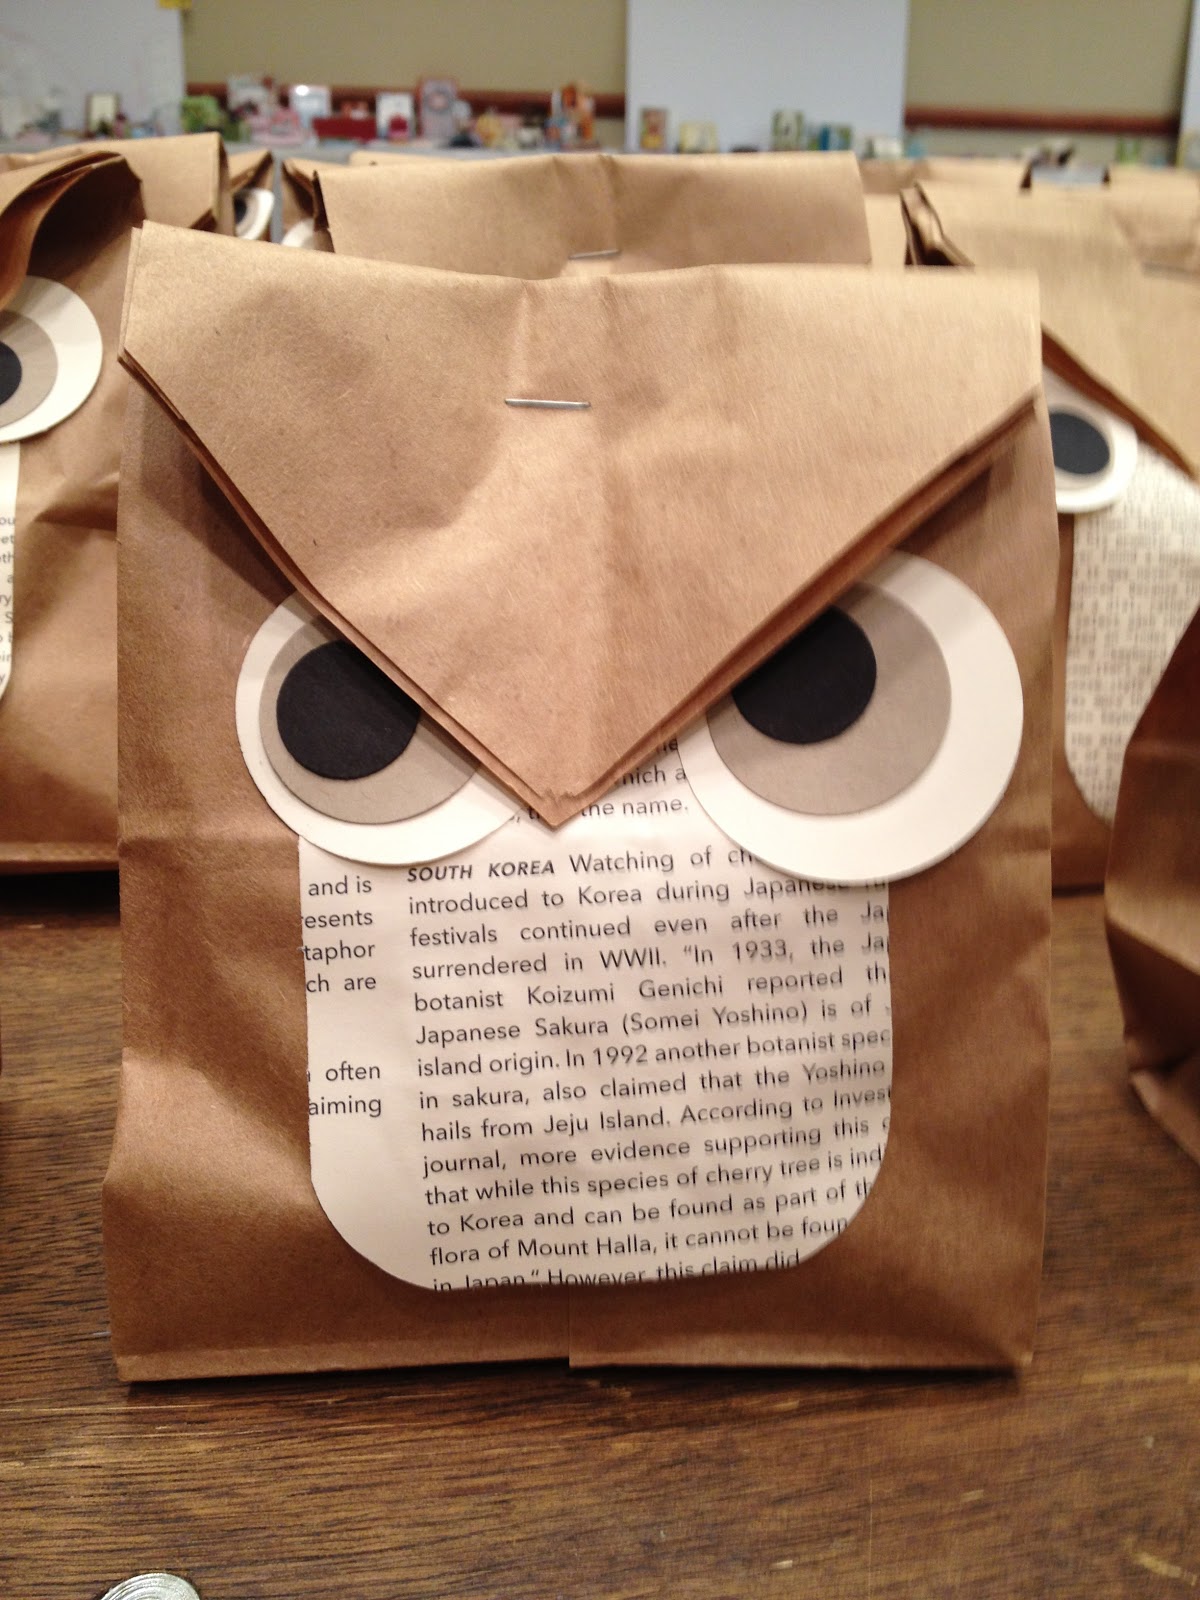
By “We” I mean my husband and I…we created 120 of them and filled them with goodies for the Late Night Stamper Reunion Party (the Owl is the mascot of the LNS)  He (my hubby) had fun making each owl with it’s own personality (crossed eyes, goofy eyes, angry eyes) but after the first 50, he wasn’t sure he ever wanted to see another bird 😮
But look at how cute they are! Did you know that a group of owls is called a “Parliament”? 

All you need is some lunch bags, Designer Series Paper (I used the First Edition DSP # 121878),  a few circle punches, glue stick, scissors and stapler! Super simple, super cute.

BIG NEWS!
On Monday, October 29 we are kicking off a whole WEEK of celebration for Digital Scrapbooking day, but that’s not all! On Monday ONLY, Stampin’ Up! is having a Sell-a-Stamp Spooktacular! All stamps will be 15% off (excluding hostess sets and bundled products)!! Click or call to place your order on Monday, October 29th 🙂

DSP is for PAPER

As promised, here are some fun projects for you to use with Stampin’ Up!s fabulous Designer Series Paper (DSP) and one more way to take advantage of the the BUY 3 GET ONE FREE August Special! Here is the first project:
Basket o' Tags
and here is another fun DSP project that my 2010/11 Hostesses made at the Hostess Appreciation Party in July:

Stampin’ Up! Supplies needed: DSP, Taffeta Ribbon, Fleurettes II, Antique Brads, Ink Refill, Sticky Strip, Stampin’ Dimensional.
Optional SU! Supplies: Jewelry Tag punch, stamps, ink.
Other Supplies: Small acrylic photo frame, post-it notes.

This super-easy project begins with DYING the fleurette (handmade, crocheted flower).

  1. Place approx. 3-4 tablespoons of water in a small bowl. Add a few drops of re-inker color and mix into the water. 
  2. Drop your flower/fleurette into the water and submerge for 30-45 seconds. Hint: The longer you leave it in, the darker the resulting color.
  3. Remove fleurette and place on a stack of paper towels. Blot, allow to dry.

It’s really that easy!

Instructions for the rest of the project:

  1. Cut a piece of DSP the same size as your frame and slide it into the frame. 
  2. Place a line of sticky strip across the top (really the bottom) of the frame where your ribbon will be “pinched” or folded across. Note: The frame will be laid down horizontally instead of standing vertically like a frame.
  3. Add an antique brad to your dried fleurette and attach with a Stampin’ Dimensional.
  4. Finish it off by adding a pad of post it notes.

Misty Watercolor Memories…

I’m not ready to jump into the winter or even the holiday season quite yet, so here’s a tribute to Autumn: Oh, that your vivid colors hadn’t faded so quickly!

This is a gift bag I created using a watercolor technique: color your stamp using Stampin’ Write markers, then mist lightly with water before stamping to run the colors together. (I use an empty Stampin’ Mist bottle filled with water). Isn’t it lovely?

Recipe: Inspired by Nature stamp set, Mellow Moss, Ruby Red, Summer Sun and Chocolate Chip markers and card stock, Naturals Ivory card stock, Chocolate Chip grosgrain ribbon, scallop edge punch, brown lunch bag.