Do you have a standing appointment on your calendar for creativity? Not a someday, not a “when-I-have-time”, but a regular, reliable pause where ink meets paper and you focus on the divine act of making something from scratch.
One of the things I love most about Paper Pumpkin by Stampin’ Up!®️ is that each month, a fully coordinated, all-inclusive kit arrives at your door like a little box of possibility. No supply hunting. No decision fatigue. Just open the box and begin your date with creativity!
Here’s the part that might surprise you… the creativity doesn’t end when the kit is finished.
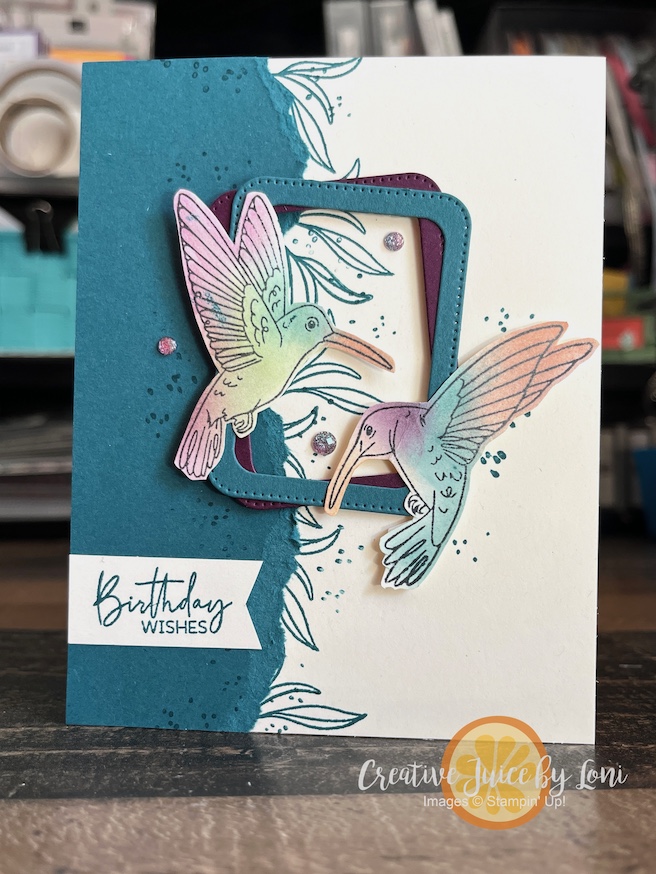
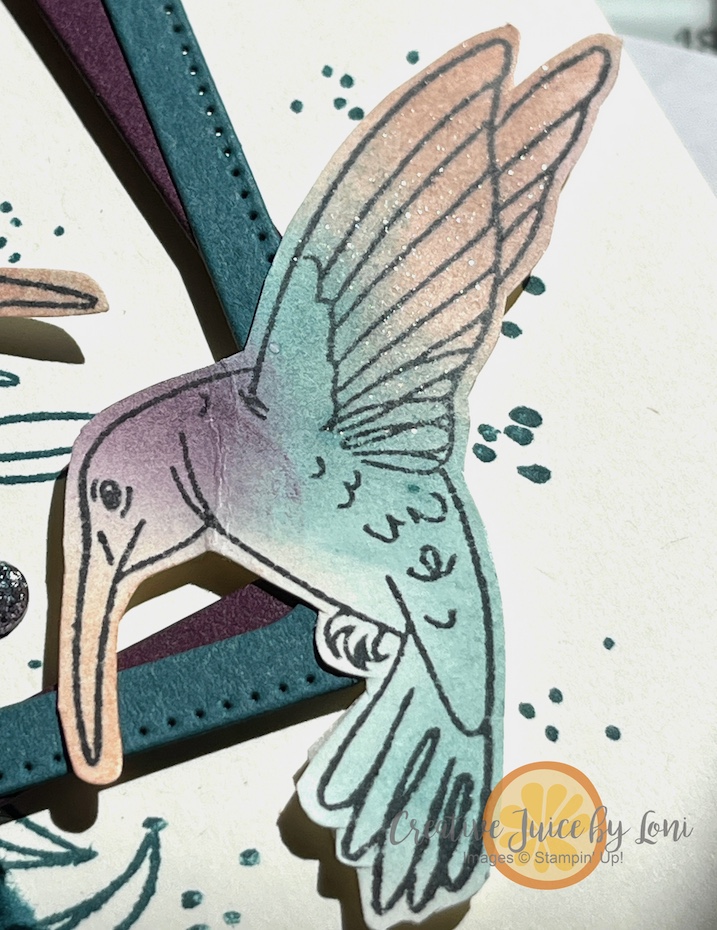
For this card, I used the stamp sets from the March 2026 “Fluttering Garden” Paper Pumpkin kit to create something entirely new for the Freshly Made Sketch challenge #FMS730. I wanted to see how far I could stretch those detailed stamps, and it turns out—they fly beautifully.

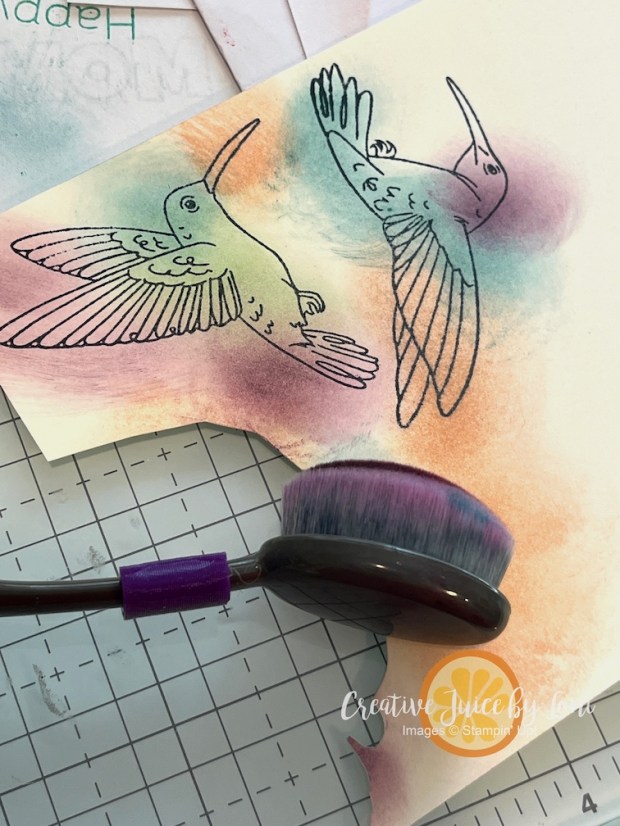
I discovered that my favorite way to color the hummingbirds is with blending brushes and ink pads. No need to be particular… JUST START BLENDING! The soft gradients give them a delicate, natural look and once you fussy cut them out, they look lovely.
The real gift of a monthly kit like Paper Pumpkin is that it builds your confidence while quietly expanding your skills. First, you follow the included designs. Then, you start to experiment with a new layout or color palette… until one day you realize you’re not just assembling—you’re creating.
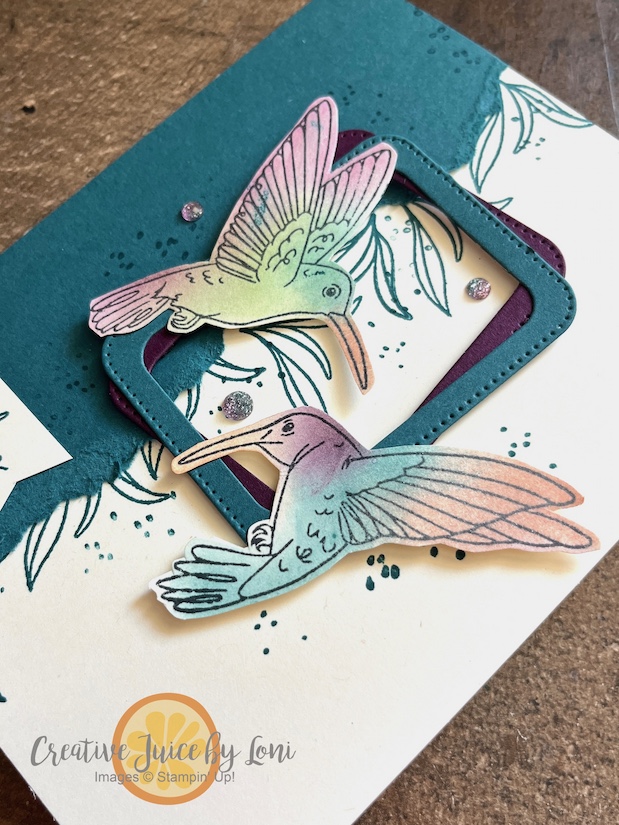
I used two of the Nesting Essentials dies to create dual frames for this card, and the card colors are Very Vanilla, Pretty Peacock, Blackberry Bliss, Old Olive and Crisp Canteloupe (a returning In Color).
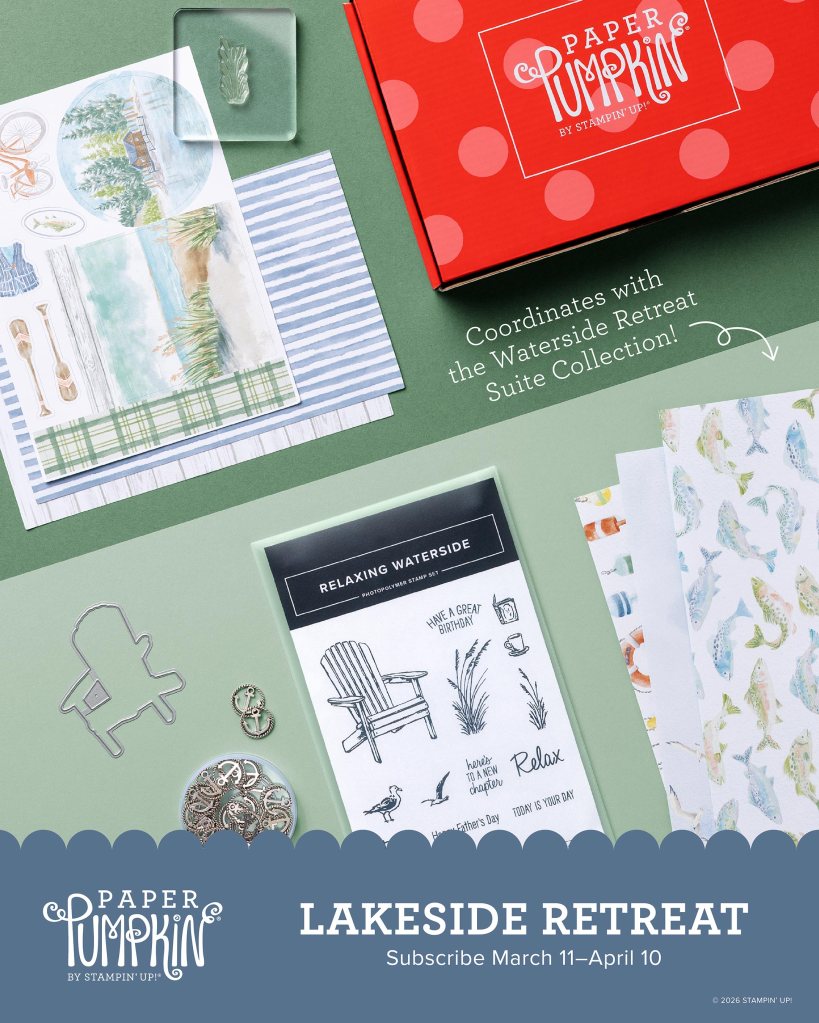
Having a monthly crafting ritual is grounding is grounding and you’ll find a Paper Pumpkin subscription is the mail you anticipate the MOST! The April kit, “Lakeside Retreat,” is available to subscribe to through April 10th. It includes a Peaceful Pine ink spot (an early release of a NEW IN Color!) and coordinates with the Waterside Retreat Suite which will be available in the May-August catalog:
It’s a flexible subscription, with the ability to skip a month or cancel at any time (but why would you?).
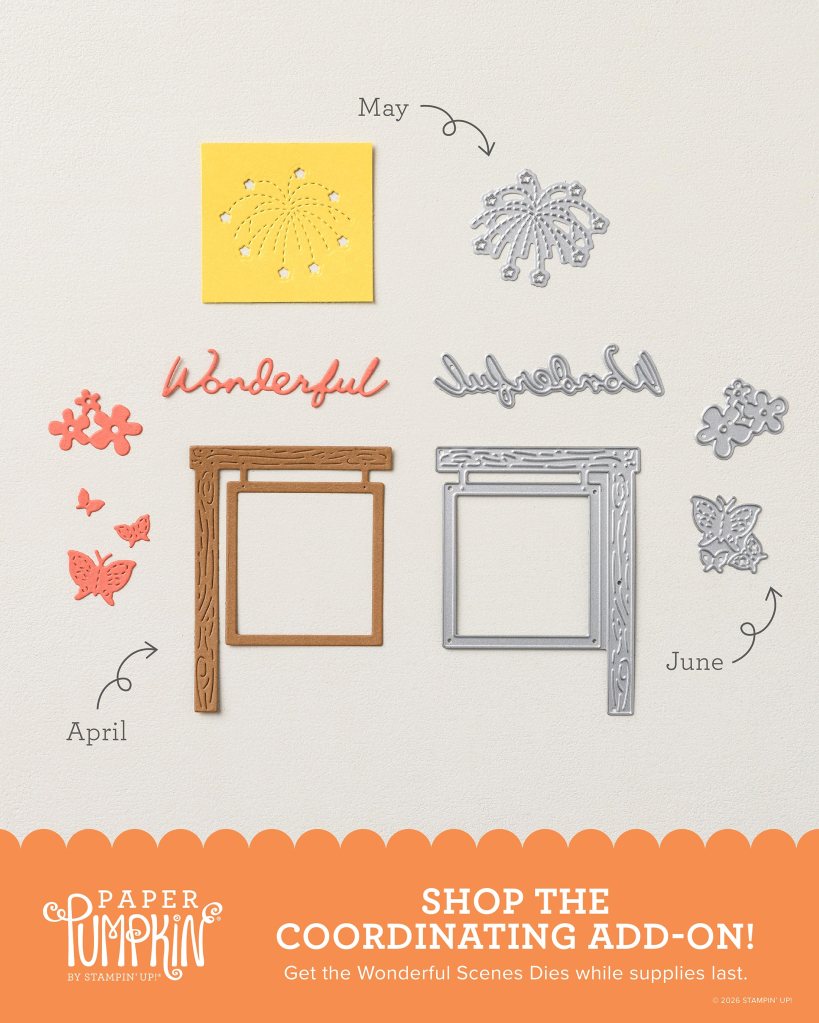
Stay tuned for some sneak peeks of this suite and the optional “Wonderful Scenes” Add On dies that coordinate with the April, May and June Paper Pumpkin Kits!
One more detail to point out on my hummingbird card: Add a wash of WINK OF STELLA GLITTER BRUSH over the wings for gorgeous shimmer & shine!
The best way to keep creating… is simply to begin.


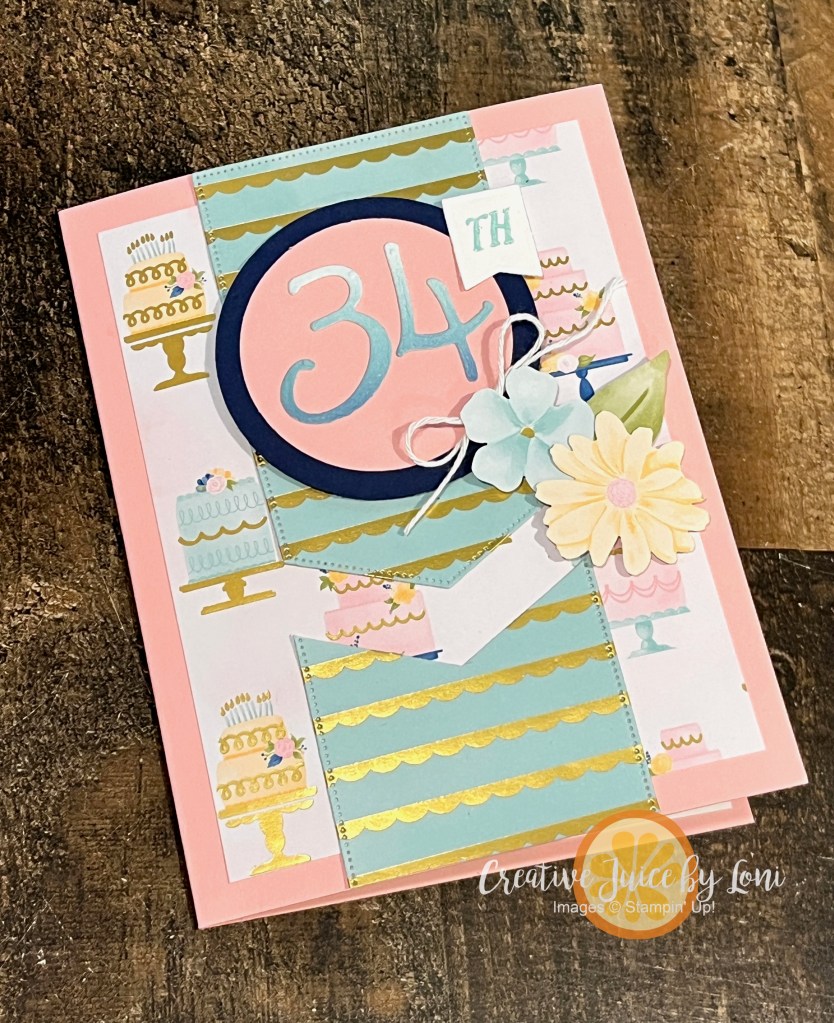
![Wildflower Birthday Suite Collection (English) [ 164604 ]](https://assets1.tamsnetwork.com/images/EC042017NF/164604s.jpg "Wildflower Birthday Suite Collection (English) [ 164604 ]")
![Pretty In Pink 8 1/2" X 11" Cardstock [ 163793 ]](https://assets1.tamsnetwork.com/images/EC042017NF/163793s.jpg "Pretty In Pink 8 1/2\" X 11\" Cardstock [ 163793 ]")
![Night Of Navy 8-1/2" X 11" Cardstock [ 100867 ]](https://assets1.tamsnetwork.com/images/EC042017NF/100867s.jpg "Night Of Navy 8-1/2\" X 11\" Cardstock [ 100867 ]")
![Basic White 8 1/2" X 11" Cardstock [ 159276 ]](https://assets1.tamsnetwork.com/images/EC042017NF/159276s.jpg "Basic White 8 1/2\" X 11\" Cardstock [ 159276 ]")
![Pool Party 8-1/2" X 11" Cardstock [ 122924 ]](https://assets1.tamsnetwork.com/images/EC042017NF/122924s.jpg "Pool Party 8-1/2\" X 11\" Cardstock [ 122924 ]")
![Soft Sea Foam 8-1/2" X 11" Cardstock [ 146988 ]](https://assets1.tamsnetwork.com/images/EC042017NF/146988s.jpg "Soft Sea Foam 8-1/2\" X 11\" Cardstock [ 146988 ]")
![Night Of Navy Classic Stampin' Pad [ 147110 ]](https://assets1.tamsnetwork.com/images/EC042017NF/147110s.jpg "Night Of Navy Classic Stampin' Pad [ 147110 ]")
![Pool Party Classic Stampin' Pad [ 147107 ]](https://assets1.tamsnetwork.com/images/EC042017NF/147107s.jpg "Pool Party Classic Stampin' Pad [ 147107 ]")
![Small Blending Brushes [ 160518 ]](https://assets1.tamsnetwork.com/images/EC042017NF/160518s.jpg "Small Blending Brushes [ 160518 ]")
![Paper Trimmer [ 152392 ]](https://assets1.tamsnetwork.com/images/EC042017NF/152392s.jpg "Paper Trimmer [ 152392 ]")
![2" (5.1 Cm) Circle Punch [ 133782 ]](https://assets1.tamsnetwork.com/images/EC042017NF/133782s.jpg "2\" (5.1 Cm) Circle Punch [ 133782 ]")
![2 3/8" (6 Cm) Circle Punch [ 161354 ]](https://assets1.tamsnetwork.com/images/EC042017NF/161354s.jpg "2 3/8\" (6 Cm) Circle Punch [ 161354 ]")
![Mini Stampin' Cut & Emboss Machine [ 150673 ]](https://assets1.tamsnetwork.com/images/EC042017NF/150673s.jpg "Mini Stampin' Cut & Emboss Machine [ 150673 ]")
![Stampin' Seal [ 152813 ]](https://assets1.tamsnetwork.com/images/EC042017NF/152813s.jpg "Stampin' Seal [ 152813 ]")
![Stampin' Seal+ [ 149699 ]](https://assets1.tamsnetwork.com/images/EC042017NF/149699s.jpg "Stampin' Seal+ [ 149699 ]")
![Adhesive Sheets [ 152334 ]](https://assets1.tamsnetwork.com/images/EC042017NF/152334s.jpg "Adhesive Sheets [ 152334 ]")
![Mini Glue Dots [ 103683 ]](https://assets1.tamsnetwork.com/images/EC042017NF/103683s.jpg "Mini Glue Dots [ 103683 ]")
![Stampin' Dimensionals [ 104430 ]](https://assets1.tamsnetwork.com/images/EC042017NF/104430s.jpg "Stampin' Dimensionals [ 104430 ]")
![Multipurpose Liquid Glue [ 110755 ]](https://assets1.tamsnetwork.com/images/EC042017NF/110755s.jpg "Multipurpose Liquid Glue [ 110755 ]")
![Baker's Twine Essentials Pack [ 155475 ]](https://assets1.tamsnetwork.com/images/EC042017NF/155475s.jpg "Baker's Twine Essentials Pack [ 155475 ]")


")


")


")


")