The holidays should be festive and fun, NOT stressful! These fast last-minute projects meet both requirements because the thoughtfully patterned paper AND ready-to-use elements are simply delightful to mix and match:
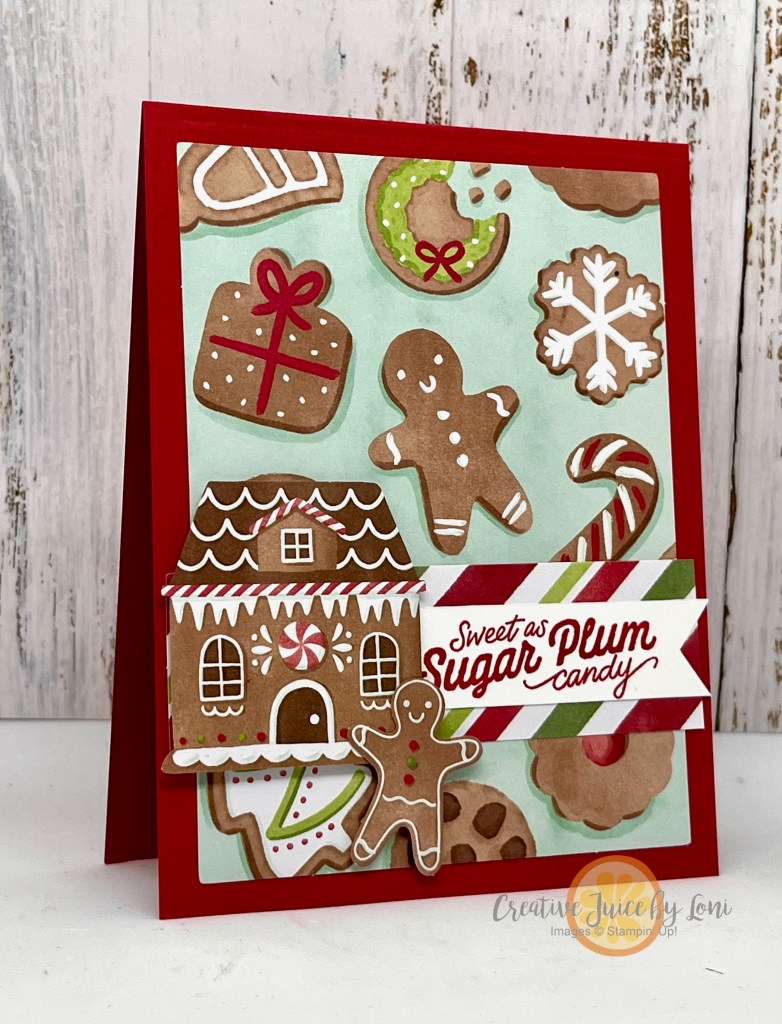
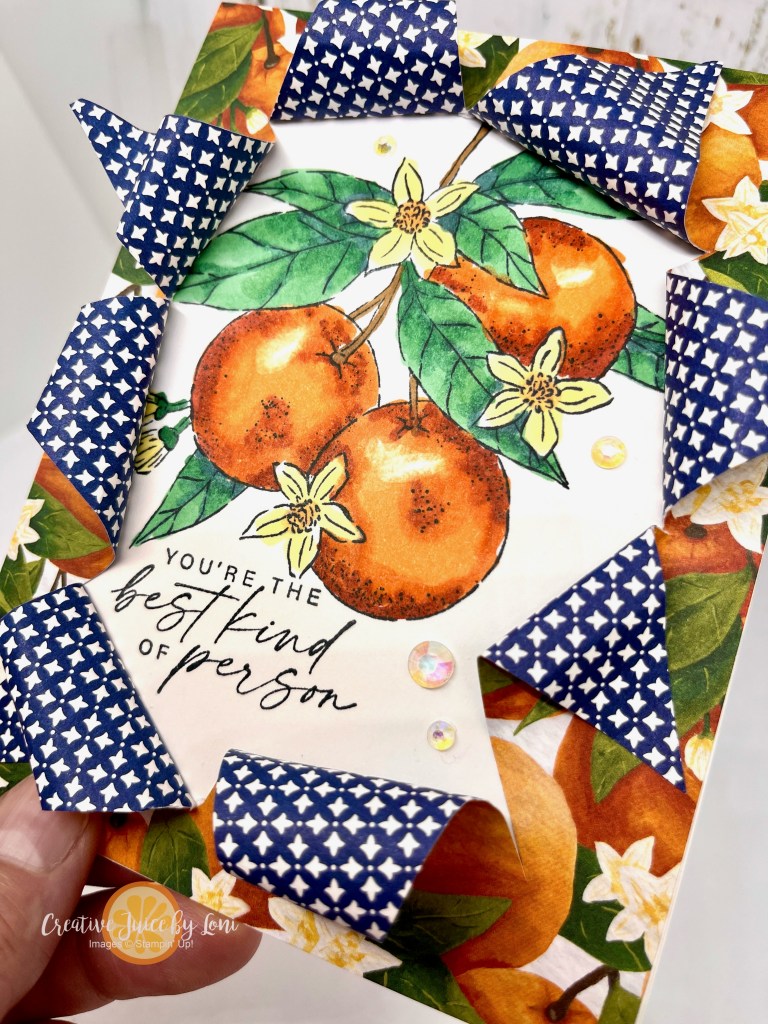
A Little Bit Festive Designer Series Paper pack is in the LAST CHANCE list and some folks claim to have created up to 30 Christmas cards from the pack, just by added card stock bases, as shown above. They will all be unique, as there are no duplicate images.
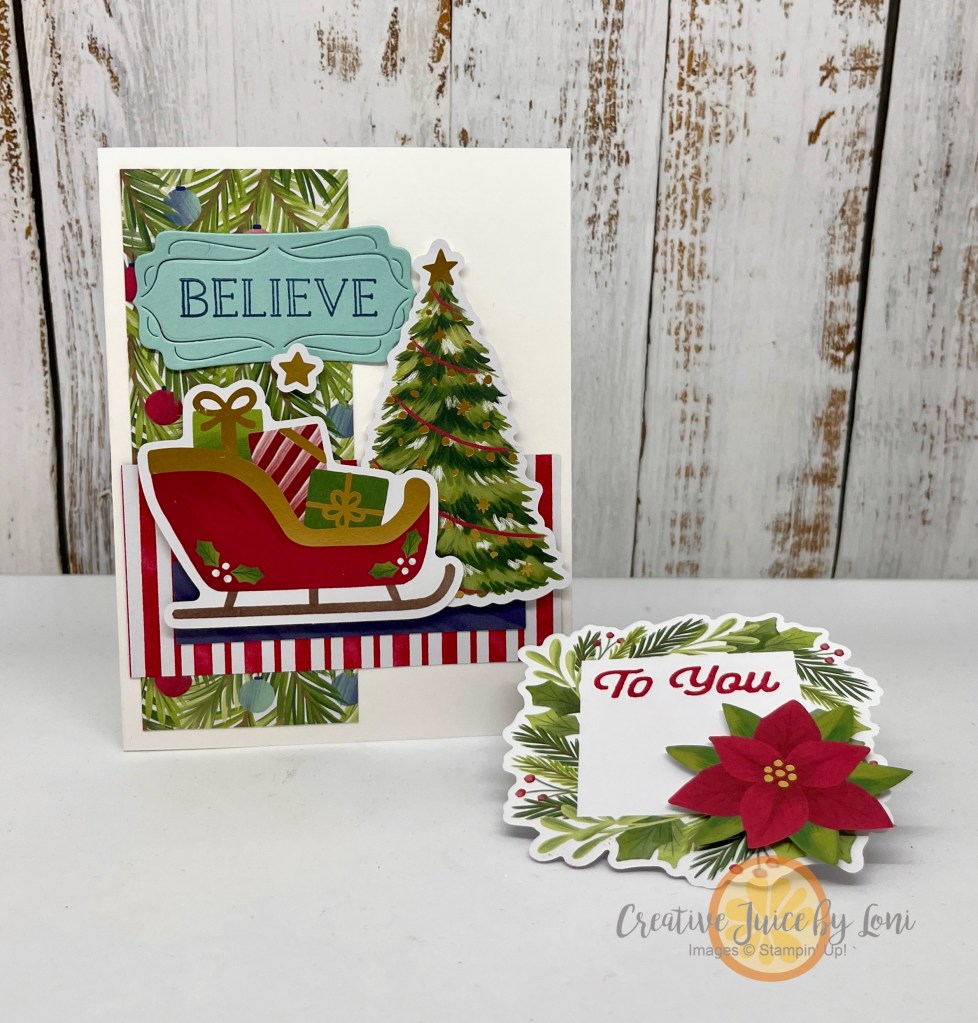
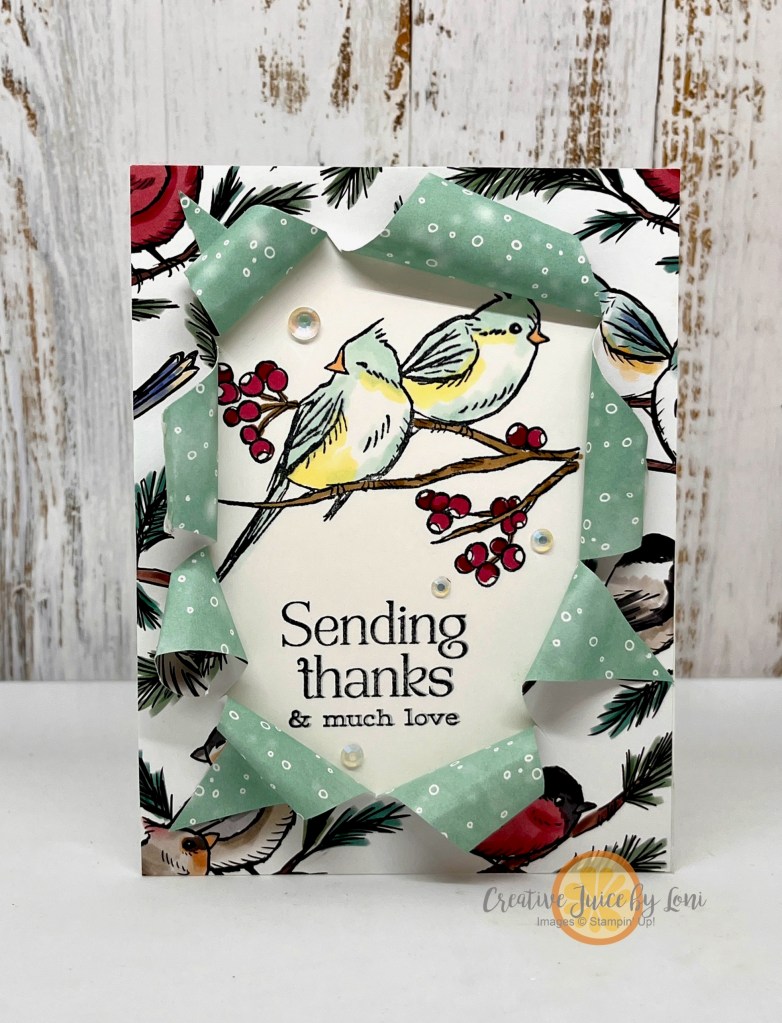
Step up your card creations with the Gold-Dipped Cards & Envelope pack: All you have to do is fold them in half and add your focal points! Heat embossing a greeting is one way to add more shine, and many of the Little Bit Festive ephemera pieces also have gold foil details:
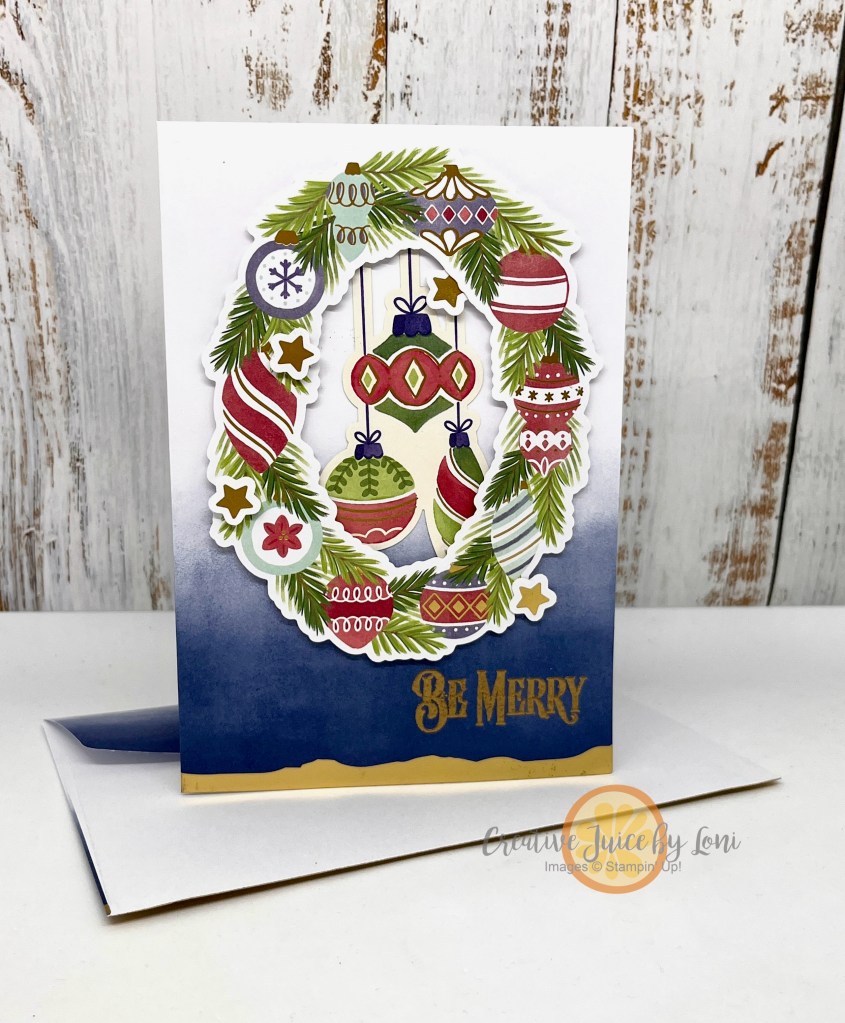
Easier to see the shine in the demonstration video:
Two more projects I created with this pack were:
An 8.5″ x 11″ scrapbook page layout. This was still very simple to make, and I could write a whole journal about my hot cocoa obsession…just need to take a few photos and add them!

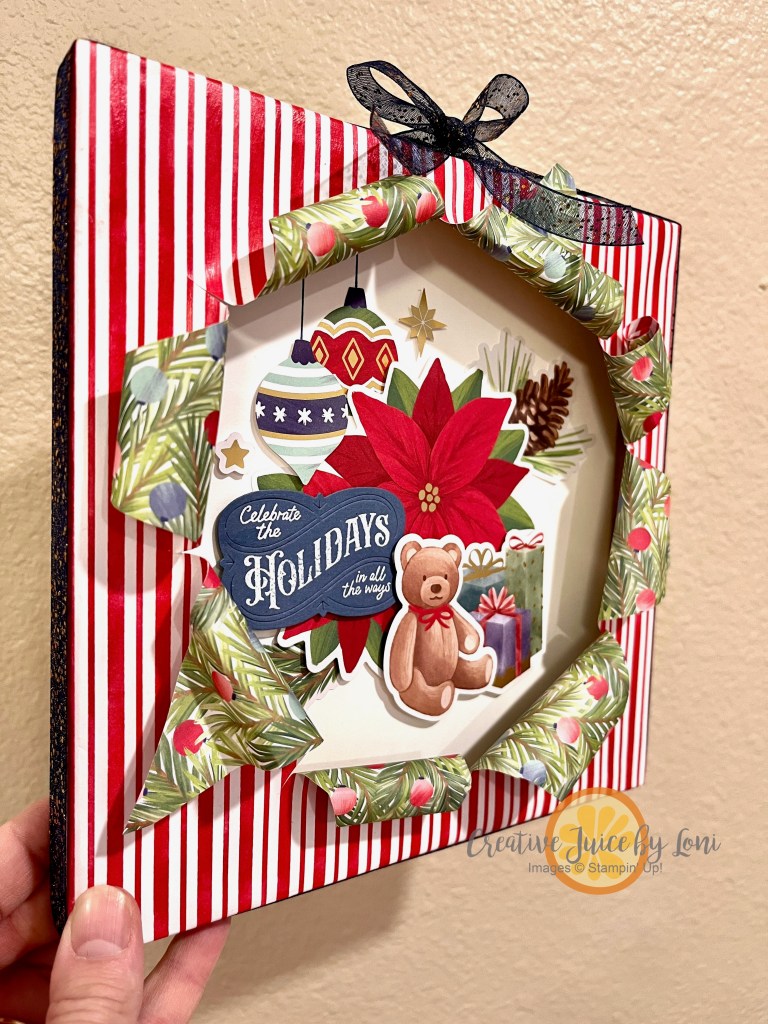
And finally, this true “Busted Canvas” home decor piece! While not quite as quick as the other projects, it really didn’t take much longer to create, once the Mod Podge was dried on the front.

Grouping a bunch of the die cuts together makes an adorable vignette of all things Christmas!
Happy News! There are THREE FREE SHIPPING DAYS on orders over $75 going on from Dec 9-11, 2024!

Free shipping automatically applies to your cart after the qualifying amount has been met, which is $75
Product List![A Little Bit Festive 12" X 12" (30.5 X 30.5 Cm) Mix & Match Specialty Designer Series Paper [ 164107 ]](https://assets1.tamsnetwork.com/images/EC042017NF/164107s.jpg "A Little Bit Festive 12\" X 12\" (30.5 X 30.5 Cm) Mix & Match Specialty Designer Series Paper [ 164107 ]")
![Real Red 8-1/2" X 11" Cardstock [ 102482 ]](https://assets1.tamsnetwork.com/images/EC042017NF/102482s.jpg "Real Red 8-1/2\" X 11\" Cardstock [ 102482 ]")
![Basic White 8 1/2" X 11" Thick Cardstock [ 159229 ]](https://assets1.tamsnetwork.com/images/EC042017NF/159229s.jpg "Basic White 8 1/2\" X 11\" Thick Cardstock [ 159229 ]")
![Real Red Classic Stampin' Pad [ 147084 ]](https://assets1.tamsnetwork.com/images/EC042017NF/147084s.jpg "Real Red Classic Stampin' Pad [ 147084 ]")
![Gold Dipped Mix & Match Specialty Cards & Envelopes [ 164108 ]](https://assets1.tamsnetwork.com/images/EC042017NF/164108s.jpg "Gold Dipped Mix & Match Specialty Cards & Envelopes [ 164108 ]")
![Christmas Labels Bundle (English) [ 164101 ]](https://assets1.tamsnetwork.com/images/EC042017NF/164101s.jpg "Christmas Labels Bundle (English) [ 164101 ]")
![Versamark Pad [ 102283 ]](https://assets1.tamsnetwork.com/images/EC042017NF/102283s.jpg "Versamark Pad [ 102283 ]")
![Metallics Wow! Embossing Powder [ 165678 ]](https://assets1.tamsnetwork.com/images/EC042017NF/165678s.jpg "Metallics Wow! Embossing Powder [ 165678 ]")
![Heat Tool (Us And Canada) [ 129053 ]](https://assets1.tamsnetwork.com/images/EC042017NF/129053s.jpg "Heat Tool (Us And Canada) [ 129053 ]")
![Night Of Navy & Gold 1/2" (1.3 Cm) Glittered Ribbon [ 162011 ]](https://assets1.tamsnetwork.com/images/EC042017NF/162011s.jpg "Night Of Navy & Gold 1/2\" (1.3 Cm) Glittered Ribbon [ 162011 ]")
![Stampin' Dimensionals [ 104430 ]](https://assets1.tamsnetwork.com/images/EC042017NF/104430s.jpg "Stampin' Dimensionals [ 104430 ]")
![Stampin' Seal [ 152813 ]](https://assets1.tamsnetwork.com/images/EC042017NF/152813s.jpg "Stampin' Seal [ 152813 ]")


 Designer Series Paper")
")