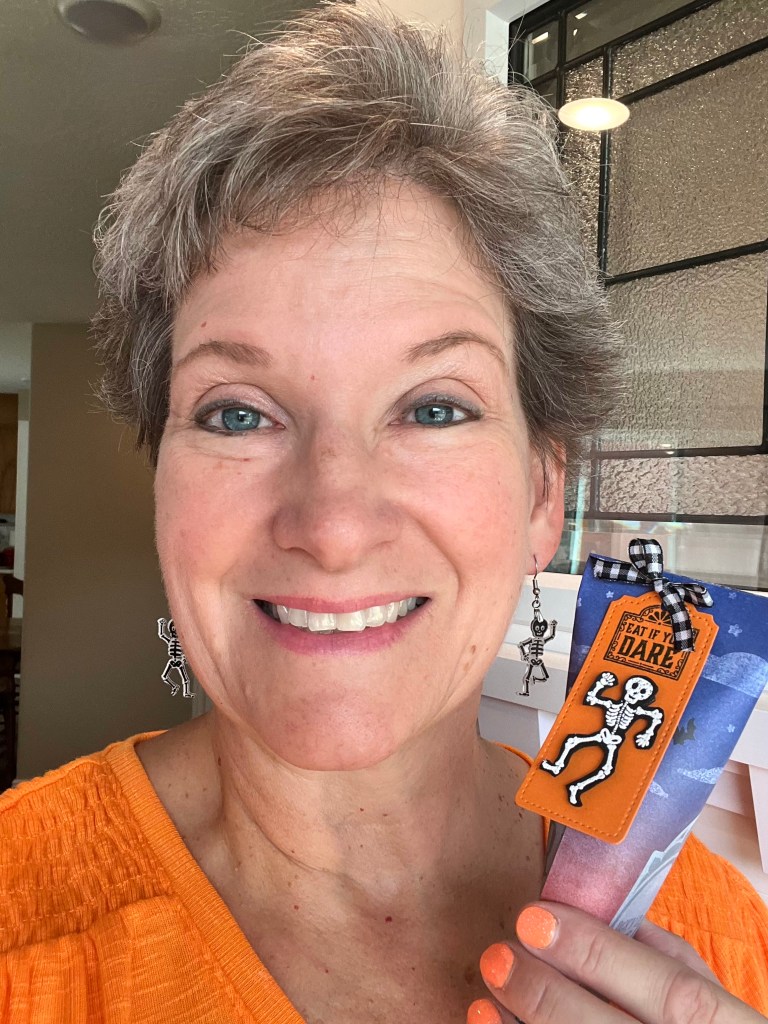
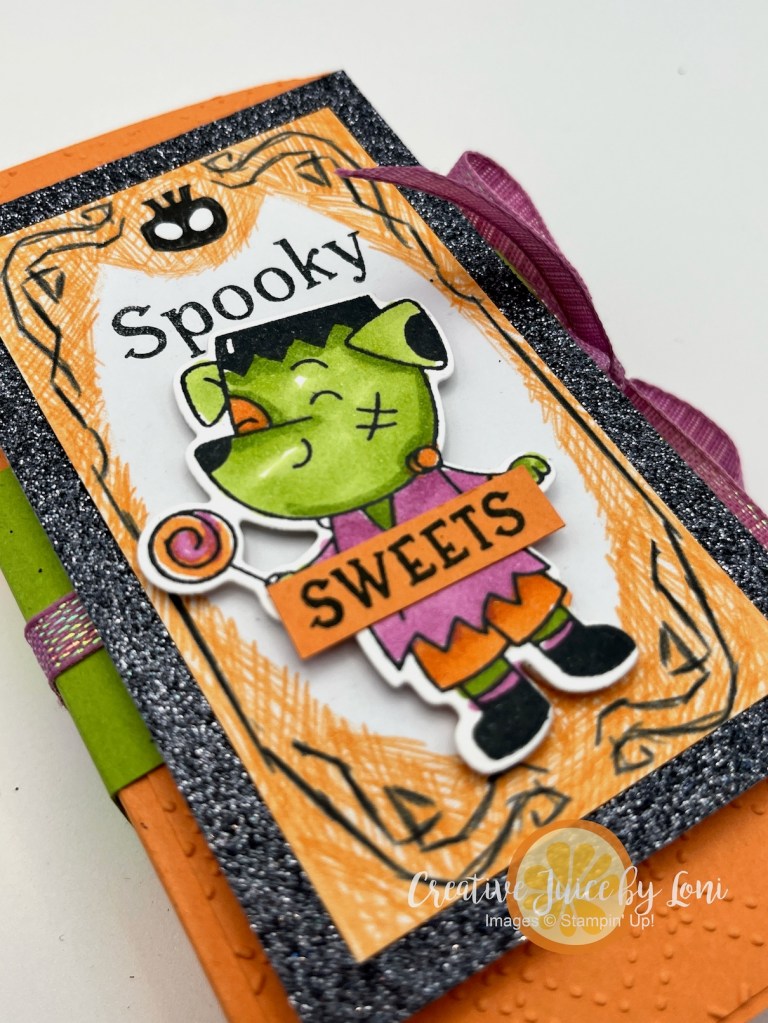
If your Halloween crafting stash is calling your name louder than a ghost in a graveyard, grab your Stampin’ Up!® Spooky Sweet Suite and conjure up something boo-tiful! Don’t worry, eat sweets with these dang cute CANDY BAR BOOKS:
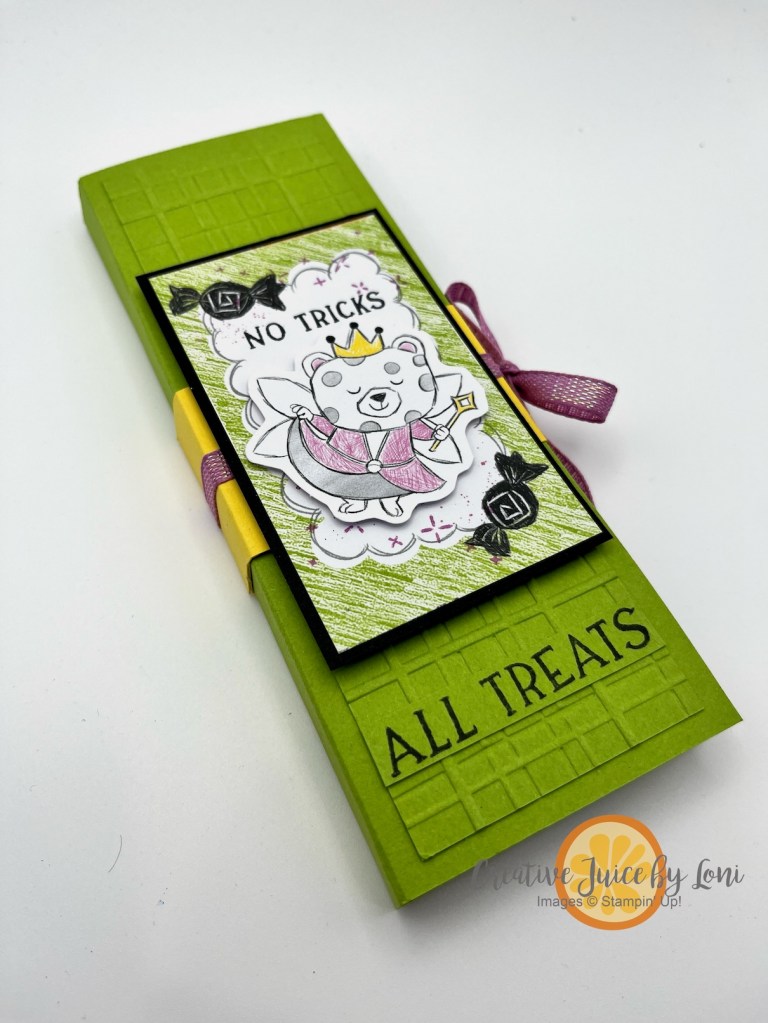
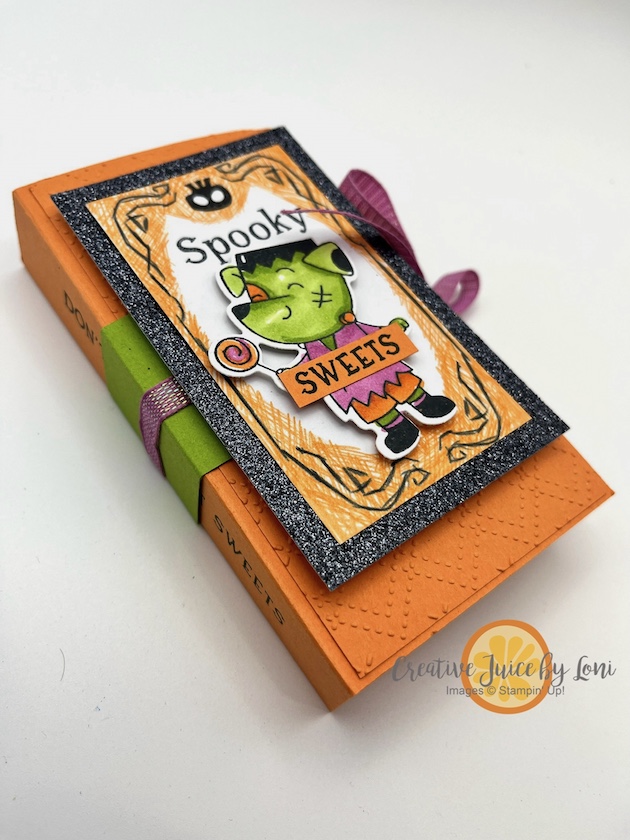
I’ve brewed up two fun versions of this project. The Granny Apple Green “All Treats” Candy Bar Book holds two classic Hershey bars, while the Timid Tiger “Spooky Sweets” version was made to fit two Ghost Toast KitKats. Each one ties up neatly with ribbon to keep your candy secure until it’s time for a delicious reveal. Whether you’re giving these as gifts, party favors, or adding them to a Halloween goodie basket, they’re sure to get more “oohs” and “aahs” than a haunted house on October 31st.

These projects are surprisingly easy to assemble—no hocus pocus required! I’ve included an instructional video below, AND a printable .pdf with measurements.
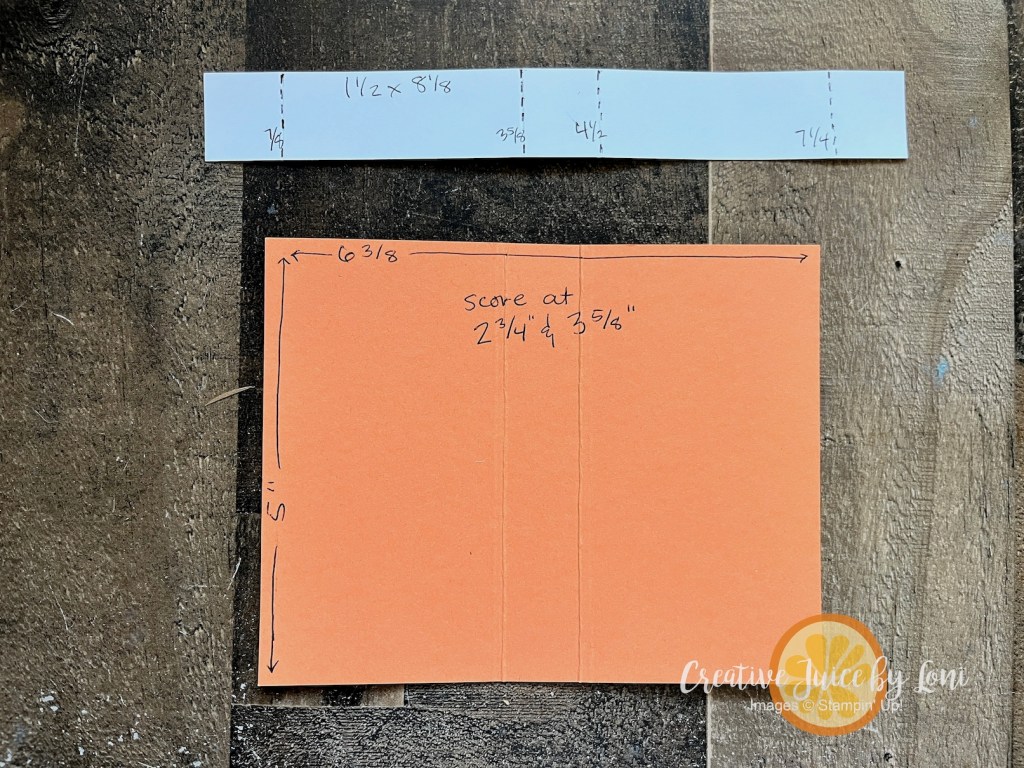
Note that the belly band measurements are shown on white card stock, but the project uses Granny Apple Green card stock.
I embossed the covers to add some textured dimension (because even monsters like stampin’ style), then decorated with die cuts, stamped images, and a touch of sparkle. Isn’t it Franken-fun?

Here are the key measurements for both versions:
Green “All Treats” Book (fits two Hershey bars):
- Cardstock base: 5 1/4″ x 6 1/2″ scored along shorter end at 2 3/8″and 2 7/8″
- Belly Band: 1 1/2″ x 6 3/8″ scored at 1/2″, 2 7/8″, 3 3/8″ and 5 7/8″
- Ribbon: 16″
Orange “Spooky Sweets” Book (fits two KitKats):
- Cardstock base: 5″ x 6 3/8″ scored along the longer side at 2 3/4″ and 3 5/8″
- Belly Band: 1 1/2″ x 8 1/8″ scored at 7/8″, 3 5/8″, 4 1/2″ and 7 1/4″
- Ribbon: 16″
Want to see the whole project come to life? Watch my full step-by-step tutorial on YouTube here:
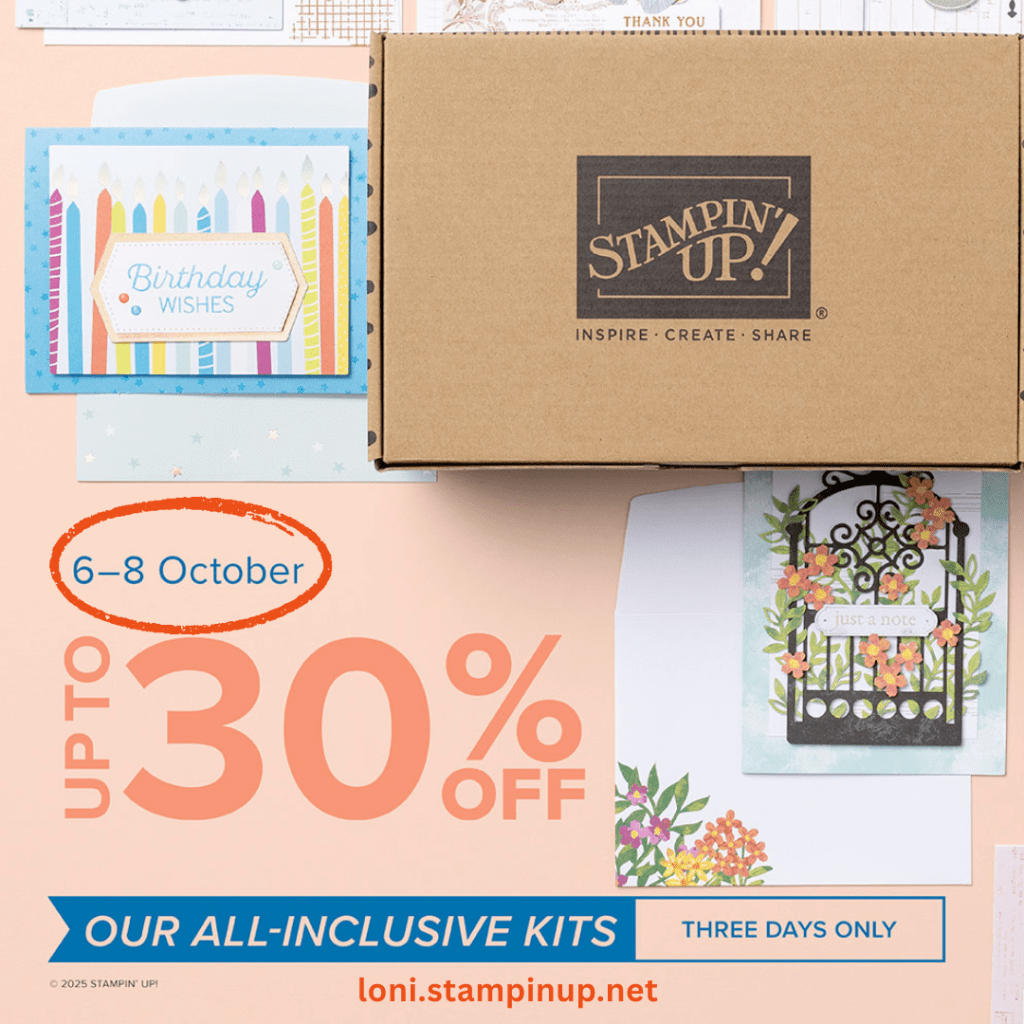
What else did we talk about today? The 3-day KIT SALE (through October 8th):
AND we discussed FAQs on the Starter Kit Special! Bottom line: If you are planning to order more than $35 in crafting supplies from my Stampin’ Store this month, you may as well choose the Starter Kit!

To make your shopping Spooky Sweet, I’ll list the supplies for these projects below and THANK YOU for choosing me to serve your creativity!
![Spooky Sweet Suite Collection (English) [ 166205 ]](https://assets1.tamsnetwork.com/images/EC042017NF/166205s.jpg "Spooky Sweet Suite Collection (English) [ 166205 ]")
![Timid Tiger 8 1/2" X 11" Cardstock [ 165626 ]](https://assets1.tamsnetwork.com/images/EC042017NF/165626s.jpg "Timid Tiger 8 1/2\" X 11\" Cardstock [ 165626 ]")
![Granny Apple Green 8-1/2" X 11" Cardstock [ 146990 ]](https://assets1.tamsnetwork.com/images/EC042017NF/146990s.jpg "Granny Apple Green 8-1/2\" X 11\" Cardstock [ 146990 ]")
![Basic White 8 1/2" X 11" Cardstock [ 166780 ]](https://assets1.tamsnetwork.com/images/EC042017NF/166780s.jpg "Basic White 8 1/2\" X 11\" Cardstock [ 166780 ]")
![Timid Tiger Stampin’ Blends Combo Pack [ 165291 ]](https://assets1.tamsnetwork.com/images/EC042017NF/165291s.jpg "Timid Tiger Stampin’ Blends Combo Pack [ 165291 ]")
![Granny Apple Green Stampin' Blends Combo Pack [ 154885 ]](https://assets1.tamsnetwork.com/images/EC042017NF/154885s.jpg "Granny Apple Green Stampin' Blends Combo Pack [ 154885 ]")
![Petunia Pop Stampin’ Blends Combo Pack [ 163828 ]](https://assets1.tamsnetwork.com/images/EC042017NF/163828s.jpg "Petunia Pop Stampin’ Blends Combo Pack [ 163828 ]")
![Peaceful Garden 12" X 12" (30.5 X 30.5 Cm) Glimmer Paper [ 165929 ]](https://assets1.tamsnetwork.com/images/EC042017NF/165929s.jpg "Peaceful Garden 12\" X 12\" (30.5 X 30.5 Cm) Glimmer Paper [ 165929 ]")
![Stampin' Cut & Emboss Machine [ 149653 ]](https://assets1.tamsnetwork.com/images/EC042017NF/149653s.jpg "Stampin' Cut & Emboss Machine [ 149653 ]")
![Mini Glue Dots [ 103683 ]](https://assets1.tamsnetwork.com/images/EC042017NF/103683s.jpg "Mini Glue Dots [ 103683 ]")
![Stampin' Dimensionals [ 104430 ]](https://assets1.tamsnetwork.com/images/EC042017NF/104430s.jpg "Stampin' Dimensionals [ 104430 ]")