Sending warm wishes for the holidays? Now is the time to plan and prepare!
(Click image to download planning guide)
Helping to make your holidays happier, I’m holding my first Christmas Card class
next week in Spanish Fork, UT and you have two times to choose from:
Tuesday, October 14 at 7 p.m. or Wednesday, October 15 at 10 a.m.
You’ll create 4 different cards for $10* and I’ll have everything prepared for you to stamp and assemble, all you need to bring are scissors and adhesive!
*4 cards isn’t enough? RSVP for two sets and save $2
Call or text me at 801-376-8685 to reserve your spot and one for a friend by October 12th
As I was putting this card together, I noticed that the Scalloped Tag Topper punch looked like a gravestone, so I sponged the edges to give it a stone look… then pull on the ribbon and a stack of Jack (o’lanterns) appears! I’ve made a printable tutorial so you can make one in your own stampin’ studio 🙂
Don’t forget that the Good Greetings stamp set is only available FREE to hostesses through October 31 with a $300 workshop..and I have just a few days left to host your own craft party 🙂
Isn’t this a fun card to kick-off September? I love making belly band cards with the Envelope Punch Board (they are SO QUICK AND EASY!) and this one was designed by my friend Kimberly Myers. I’m happy to be sharing it with you!
You can click on the photo or HERE for a printable .pdf tutorial. Go forth and create a wonderful September!
Time for another confession: I wasn’t sure that I wanted to try the Blendabilities Markers by Stampin’ Up! …. you see, I’m a pretty simple stamper and they looked like “too much work”. But I am so delighted I tried them because alcohol based markers are SO very versatile I’m discovering!
Here’s just one fun way to use these new markers: Emboss a stamped image using white embossing powder on black paper and use your Blendabilities to color the embossed image! This appeals to me because I don’t need to be careful…I can color over the black paper and it doesn’t show up, so easy-peasy crafting for Loni 😉
Like Pringles, I couldn’t stop with just one, so here’s another version of Bloomin’ Blendabiliteswe made at my last Blend with Friends Class…if you missed it, make sure to register for the next one
It’s hard for me to choose my favorite flower. Each blossom is unique in it’s smell, the way it looks, how long it lives, when it blooms and even in the emotions it evokes: Give me tulips and I am instantly with my (much younger) family at the Tulip Festival petting llamas and delighting in the joy of my children. Hand me a red rose and my heart skips a beat for my husband who would send them to me on special occasions before we were married. Walking past honeysuckle makes me 7 years old and I want to pull apart the flowers and suck out the honey!
Maybe that’s why I {LOVE} the quote on this fresh card: Every individual flower puts their face to the sun and OWNS their distinctive beauty! Shouldn’t we do the same?
I really do have a great excuse for being absent for 6 weeks (yikes! has it really been that long?!) and you can come back tomorrow so I can catch you up on what that was, but for today let me share my favorite new Photopolymer stamp set: Calling All Heroes!
Living in a household of comic book nerds (they correct me when I mix up Marvel and D.C. characters…apparently Avengers don’t mix well with Xmen or Justic League) this stamp set was a no brainer! I’ve discovered I also love the alphabet that comes with it for little letters:
I am *REALLY* close to earning my first ever trip with Stampin’ Up!…I only need about $500 in sales by Monday, June 30…so if you have been needing supplies (card stock, adhesive, new stamps, punches, glitter, etc) would you please order it on my website or give me a call (801-376-8685) ASAP? And if you use Hostess Code KEYE2EX9 with that order before the end of June, I’ll send you a THANK YOU gift for helping me reach my goal…using the Calling All Heroes set 😉
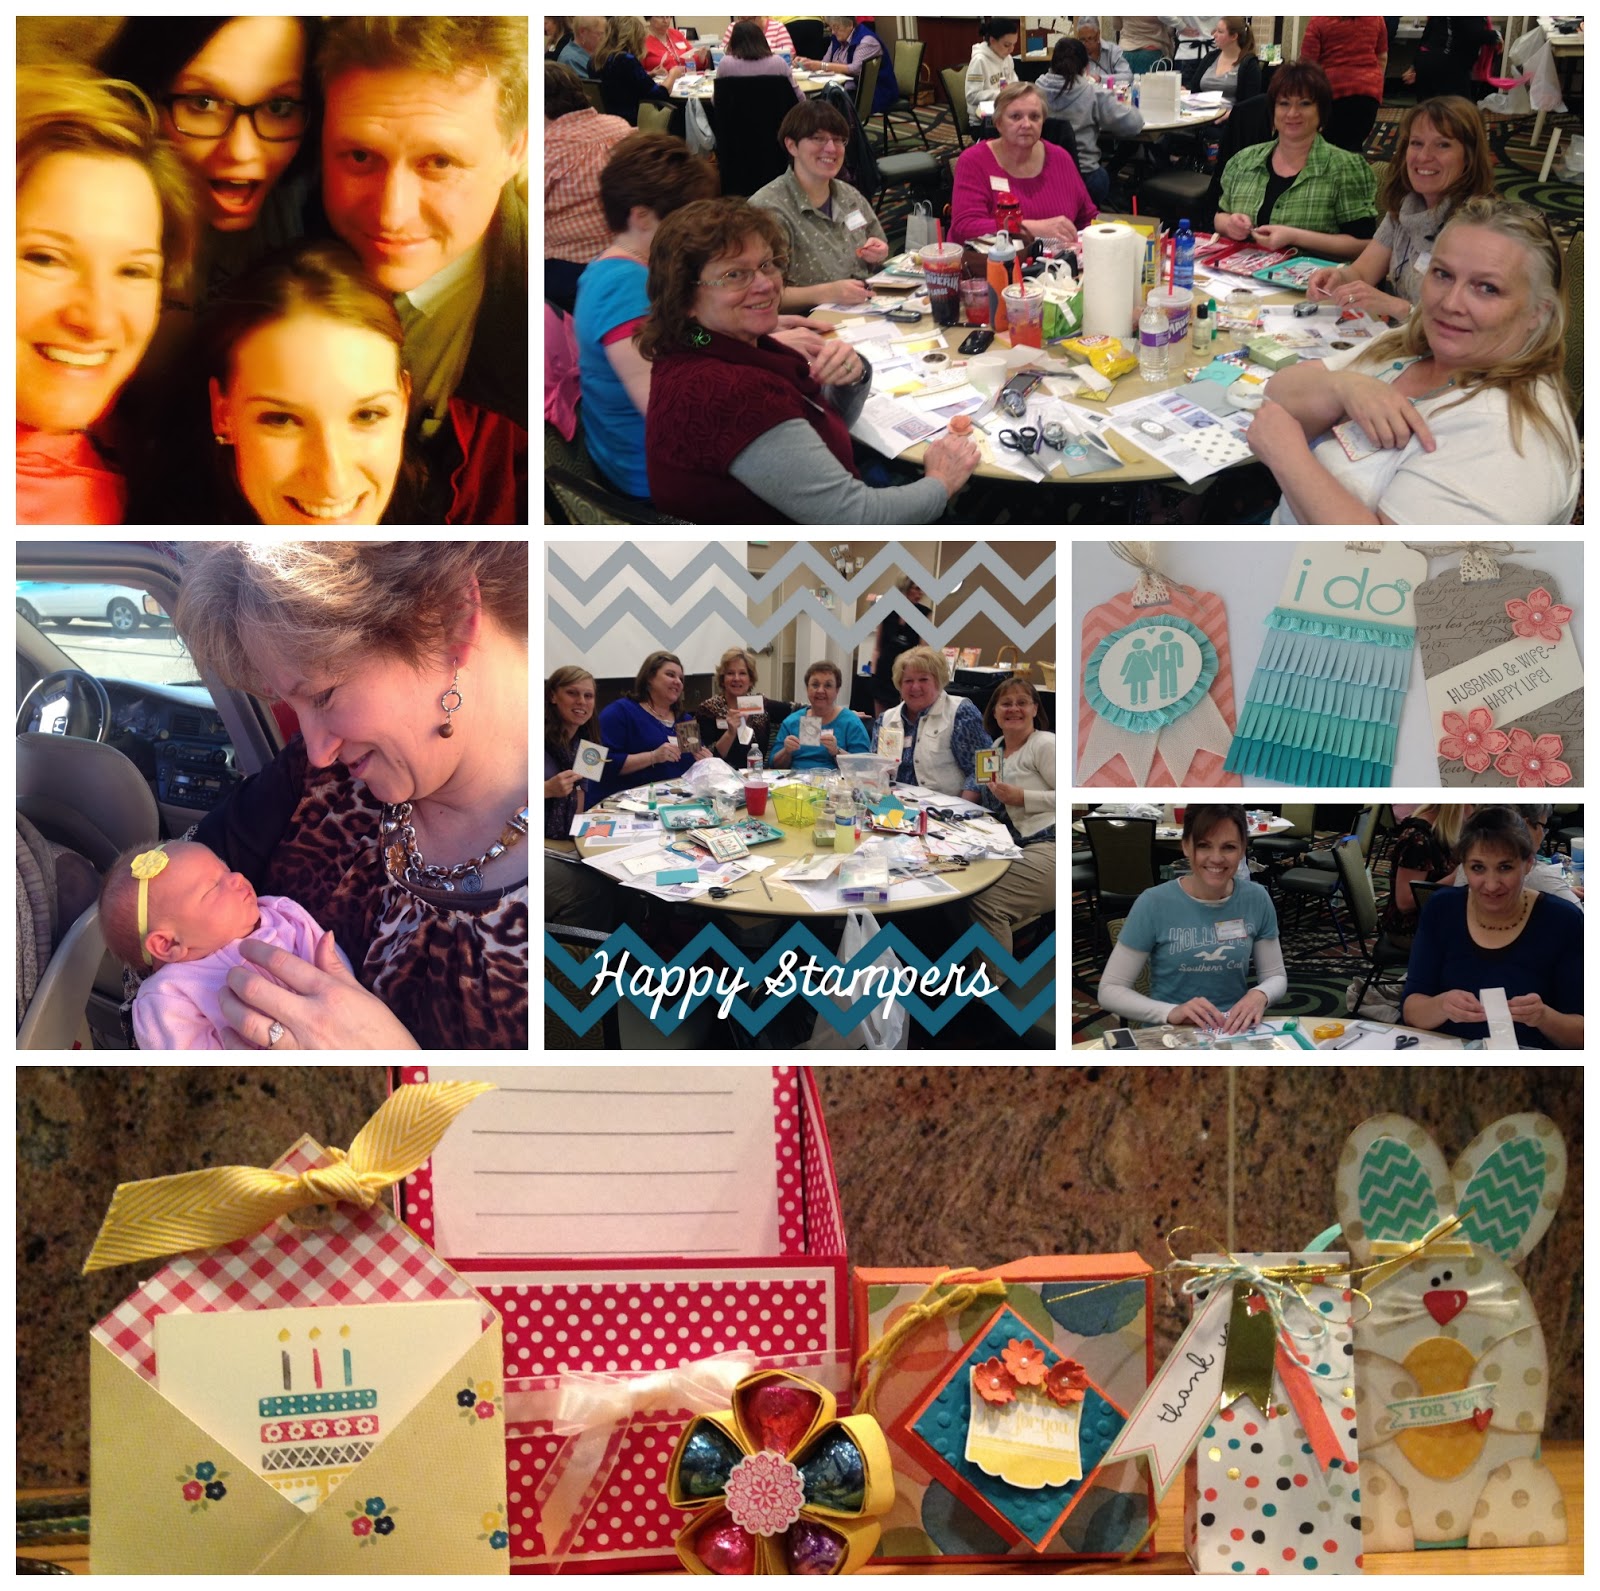
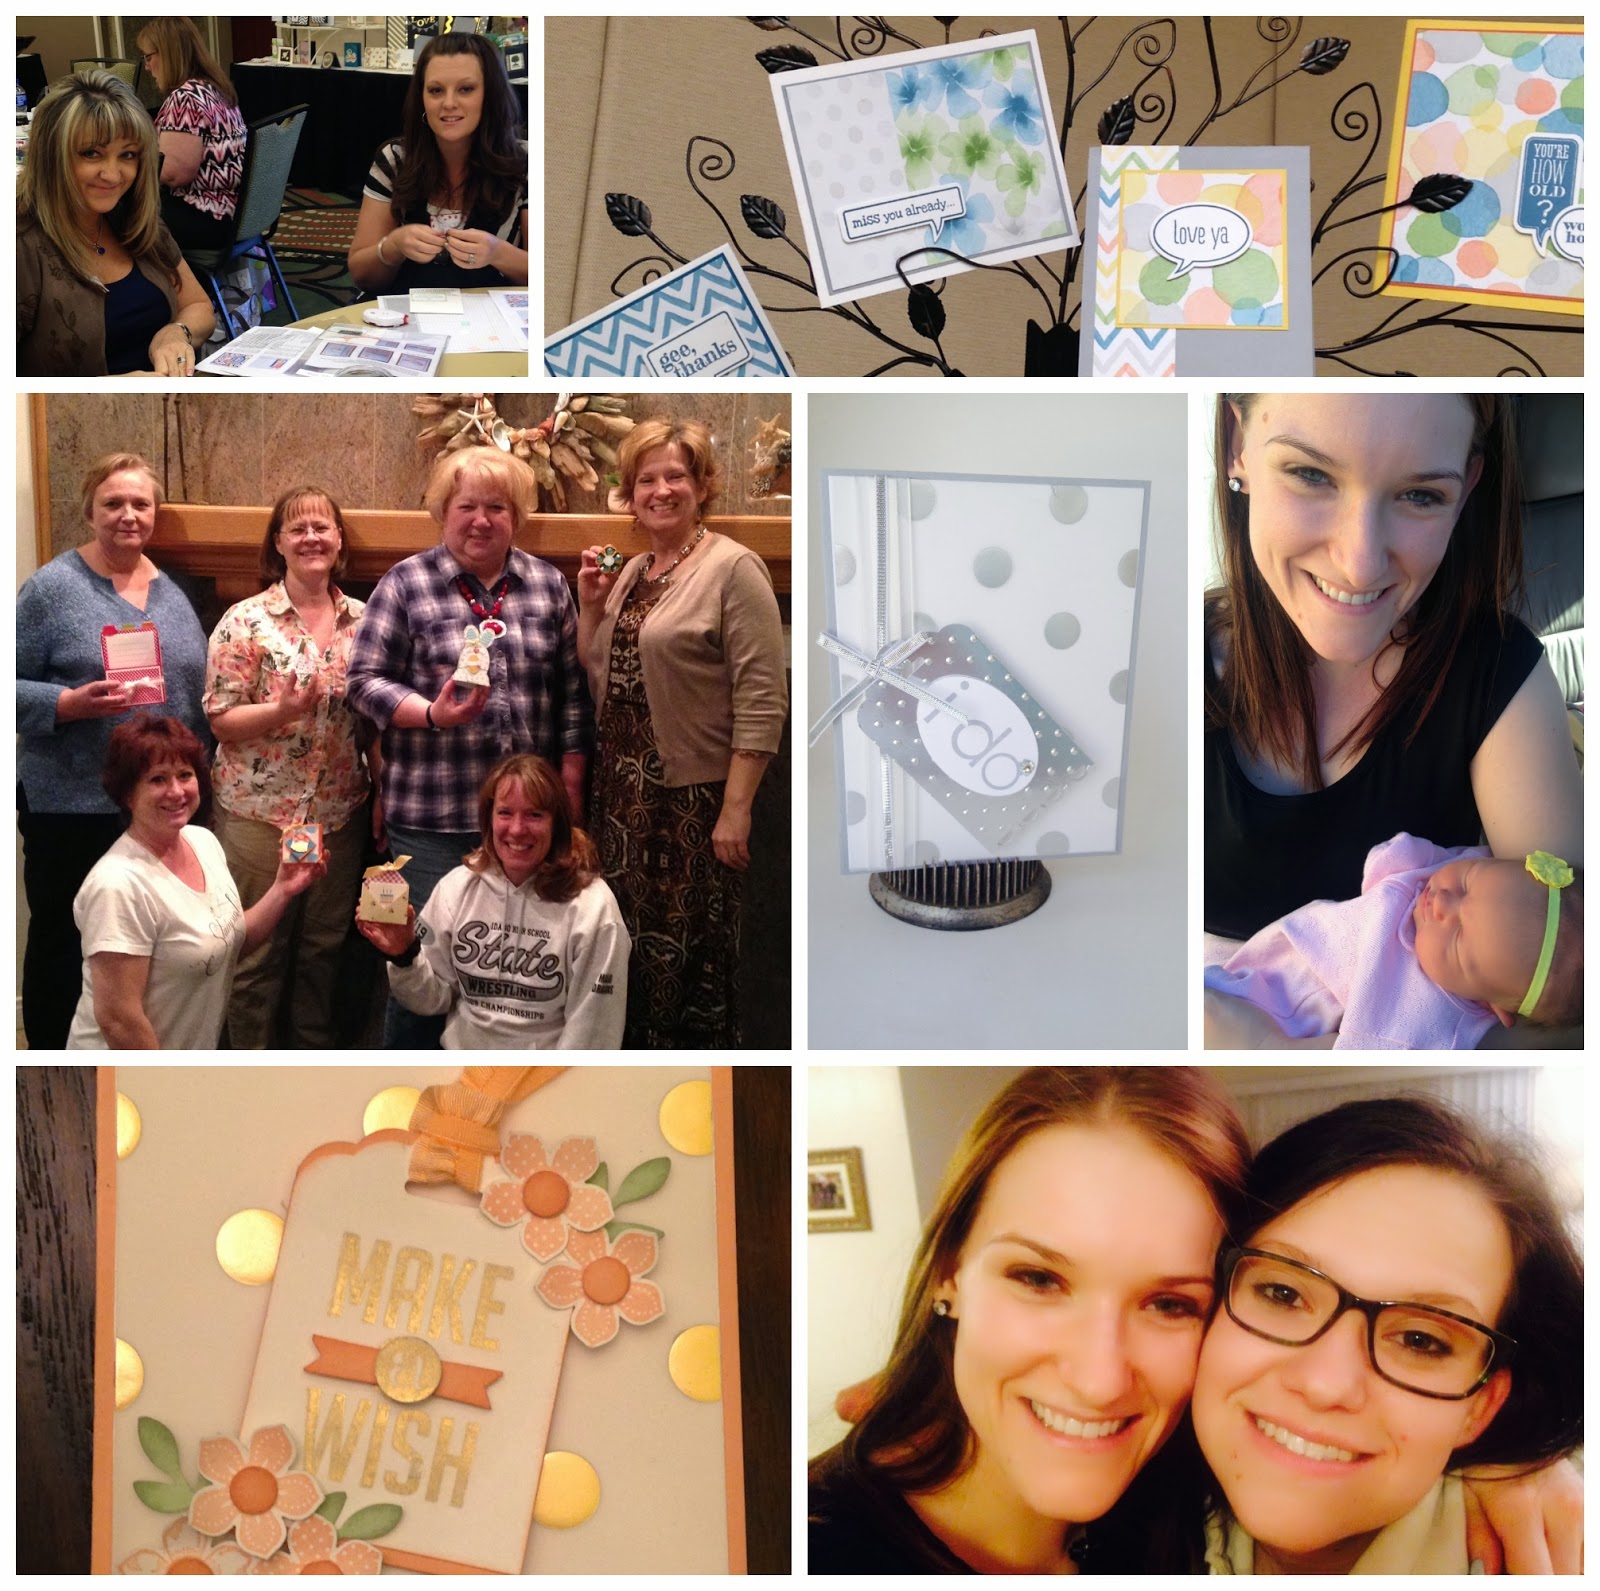
Sometimes life comes at you all at once! That happened to me last week: A death, a birth, a visit from my daughter, a trip to southern Utah, a card class, a shoebox swap, a stamp day, a funeral, an emergency family council and a red-eye flight to send my girl back to D.C. on the same night as Daylight Savings, followed by early morning church!
I should have snapped a pic at the funeral, but didn’t think of that 😦
All in all, it was a great adventure and one I won’t soon forget!
I’ve learned to stop saying, “When life slows down, I will _______” because life isn’t about to slow down anytime soon! Instead, I make time for the things that are important to me, including creativity. If you need a creative escape this weekend, come on over to my Stamp-a-Stack card class!
Create 8 lovely greeting cards for $15! Bring scissors & adhesive (SNAIL refills will be available to purchase). Crafting is more fun with a friend and first-timers can attend for 1/2 price, so invite your neighbor, mother and BFF!
Reserve your spot by Thursday, March 13th:
And FYI, click below to check out the newest deals, stamps and downloads:
Welcome to another edition of “5 Ways on Fridays” where you will learn unique and different ways to use a Stampin’ Up! product!
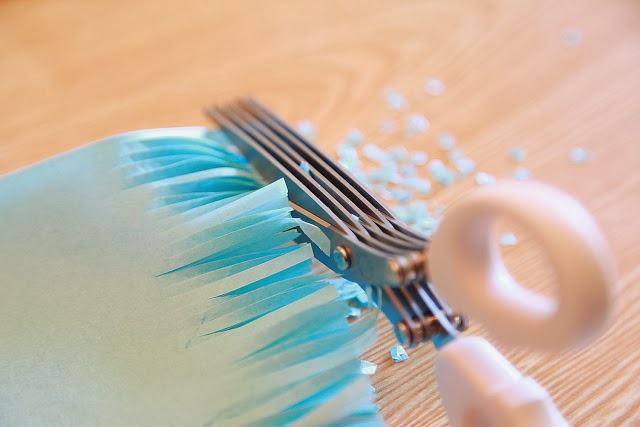
Today we are talking about Fringe Scissors Certain projects are easier when you have the right tools and this is one of those tools: Every time you squeeze the handles of your fringe scissors together, you are cutting not once, not twice, but FIVE TIMES! Talk about conserving energy 🙂
“What can I do with them besides making grass?” you may be asking yourself. You’ve come to the right place!
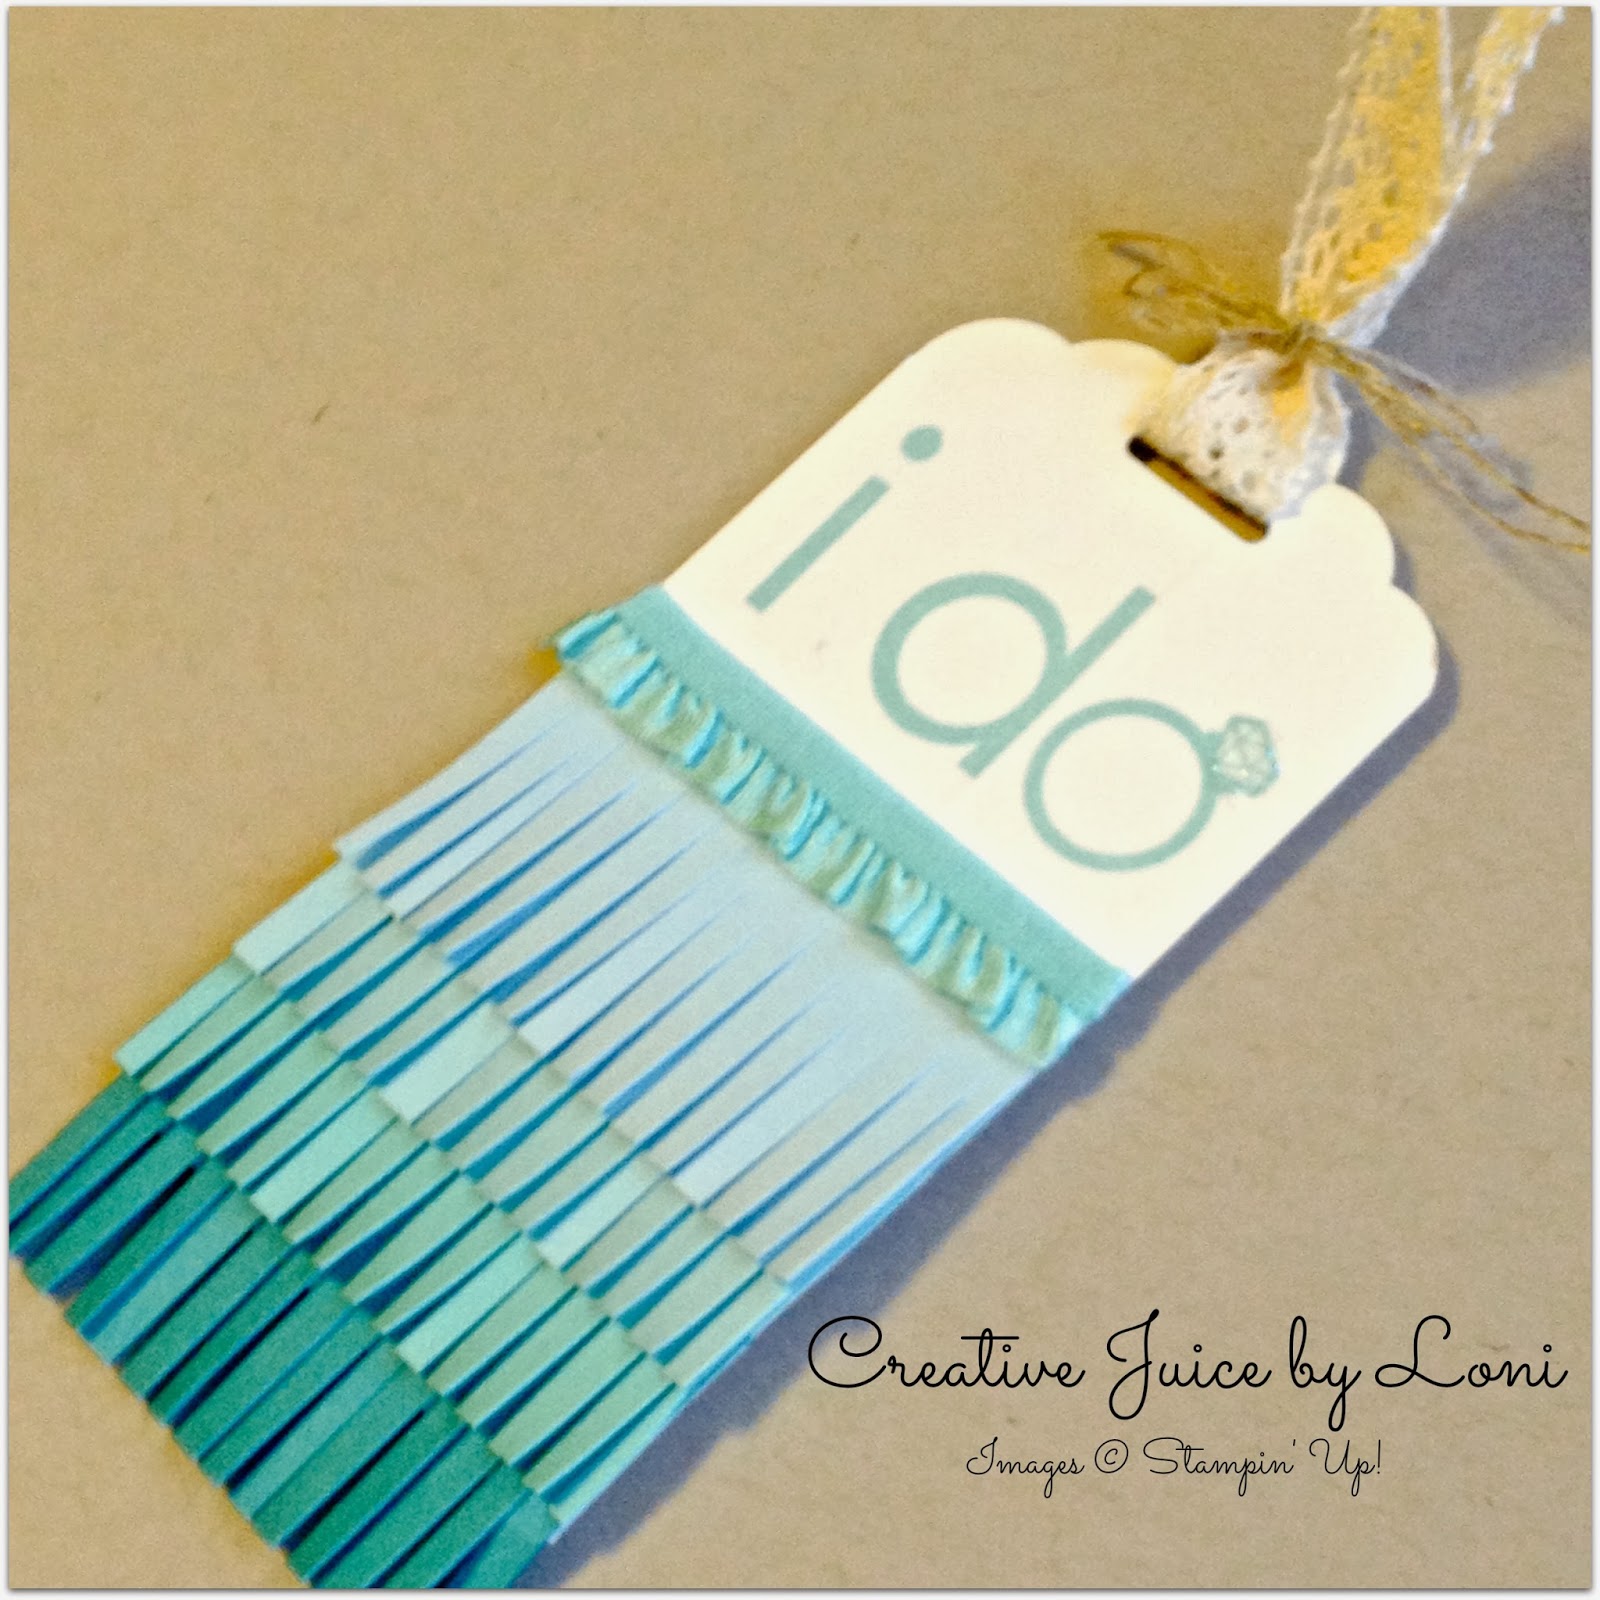
1. Fringe scissors make Ombre Fringe cards and tags in a jiffy! For this tag, I used Soft Sky, Pool Party, Coastal Cabana and Island Indigo card stock, along with the new Tag Topper punch:
While you are “fringing”, check out this adorable Fringe Chandeliermade by Lauren Elise for the Knotty Bride:
2. Create a crepe paper garland! This tutorial from Yesterday on Tuesday shows a few different styles and hello! This is super fast with your fringe scissors:
3.Flowers or “pom poms” are adorable accents to any project.
Lisa Brown from inkandinspirations shows you how fun and easy these are to make using Stampin’ Up! Crepe Filter Paper:
Thanks Lisa!
4. If you cut across your fringe the opposite way, you end up with CONFETTI!
At Stampin’ Up! Leadership last month, Shelli demonstrated how to create a shaker card using the confetti made with fringe scissors: Cut the corner of a clear envelope to the size you need (in this case, just a smidge taller than the photo frame die cut). Stamp image on top of clear envelope with Stazon, then seal the confetti in with a thin strip of sticky strip. Place behind the die cut and voila! Shake away!
5. A strip of fringe from Designer Series Paper or crepe paper is easy to adhere around a curved object like a basket or hat brim:
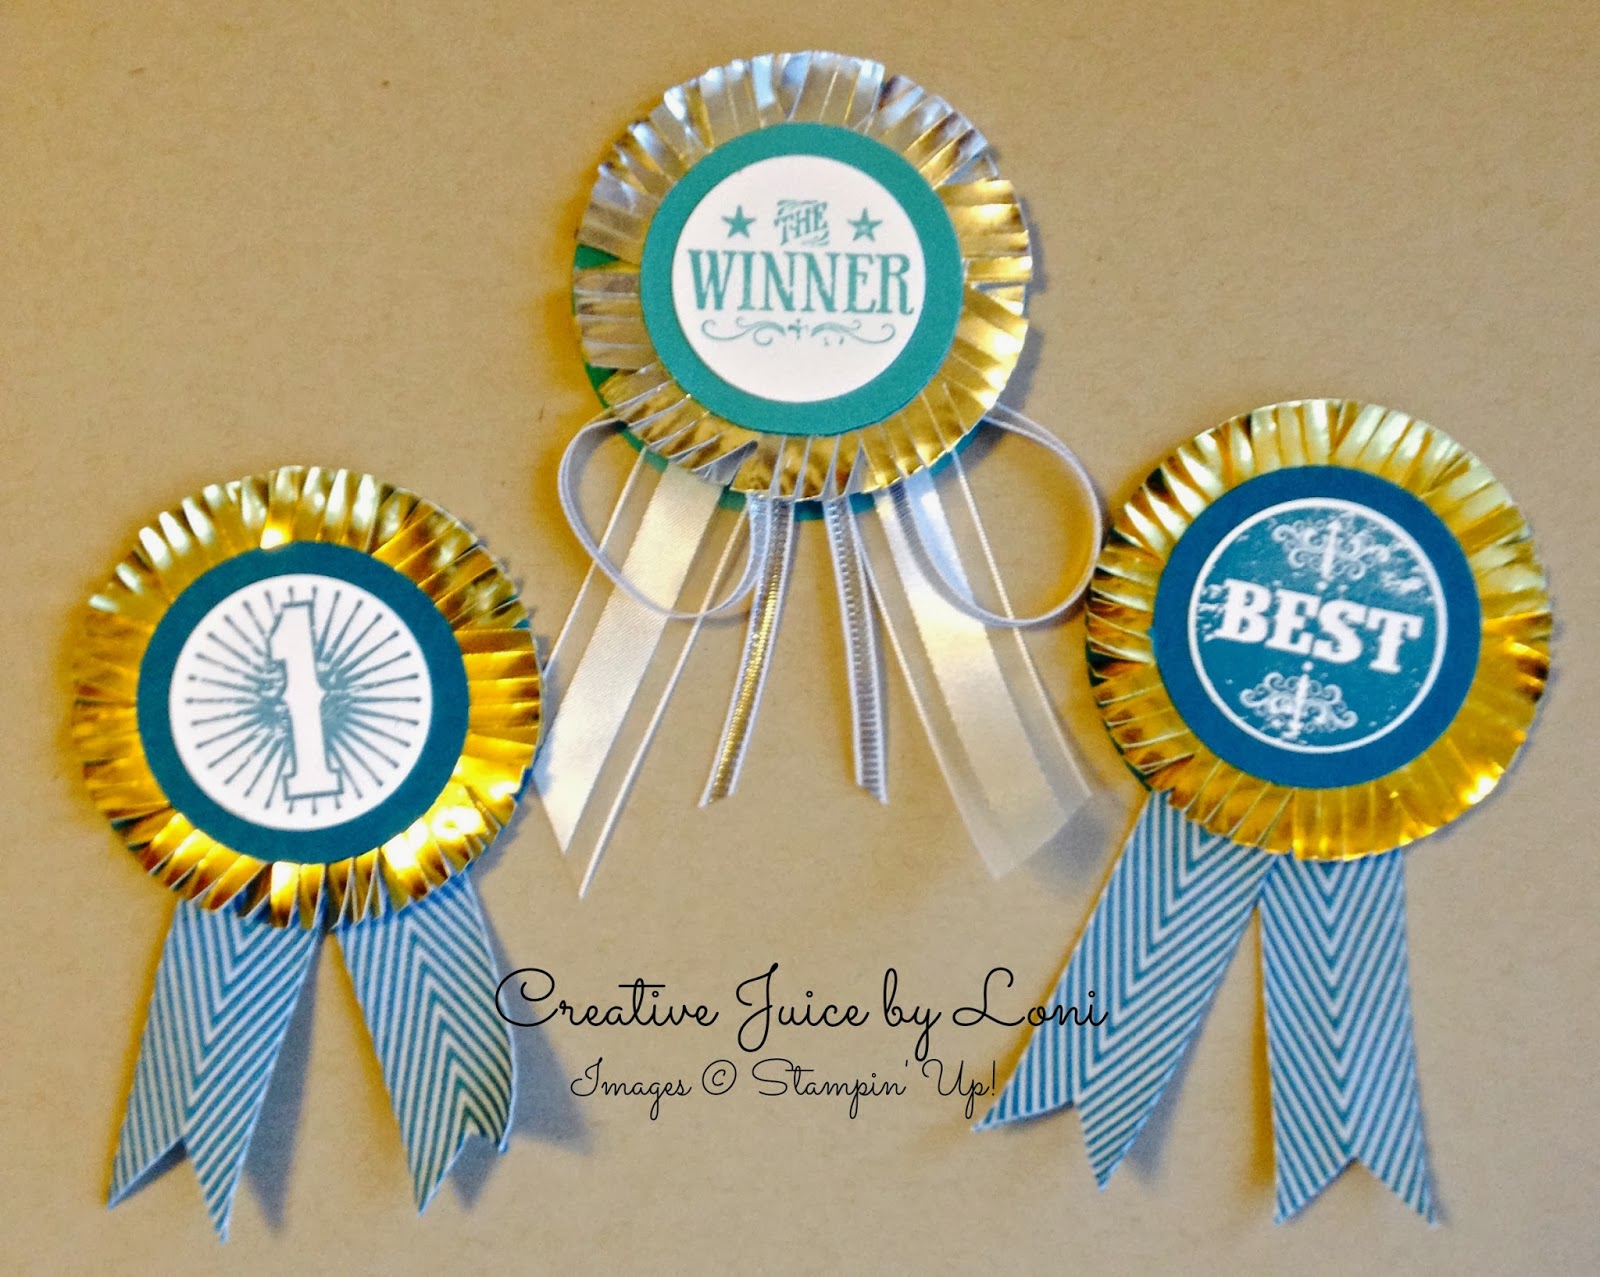
For these medallions, I just punched two circles and cut in from the edge. I used two because when you cut into the circle, some of the pieces fall off and it’s not perfectly round, so layering them gives the illusion they are still circles 🙂
At just $9.95, these scissors are an awesome addition to your crafting toolbox! Order your Fringe Scissors in my Stampin’ Up! store today and start living on the edge 🙂
After creating a few Valentine Samplers with my Stampin’ Family and stamp clubs, I had a few of these squares left over:
Since I couldn’t let them go to waste (quilters and scrapbookers, you know what I mean, right?) I had to repurpose them and use them somehow. So I created some simple Valentines for my kids:

 You’ll create 4 different cards for $10* and I’ll have everything prepared for you to stamp and assemble, all you need to bring are scissors and adhesive!