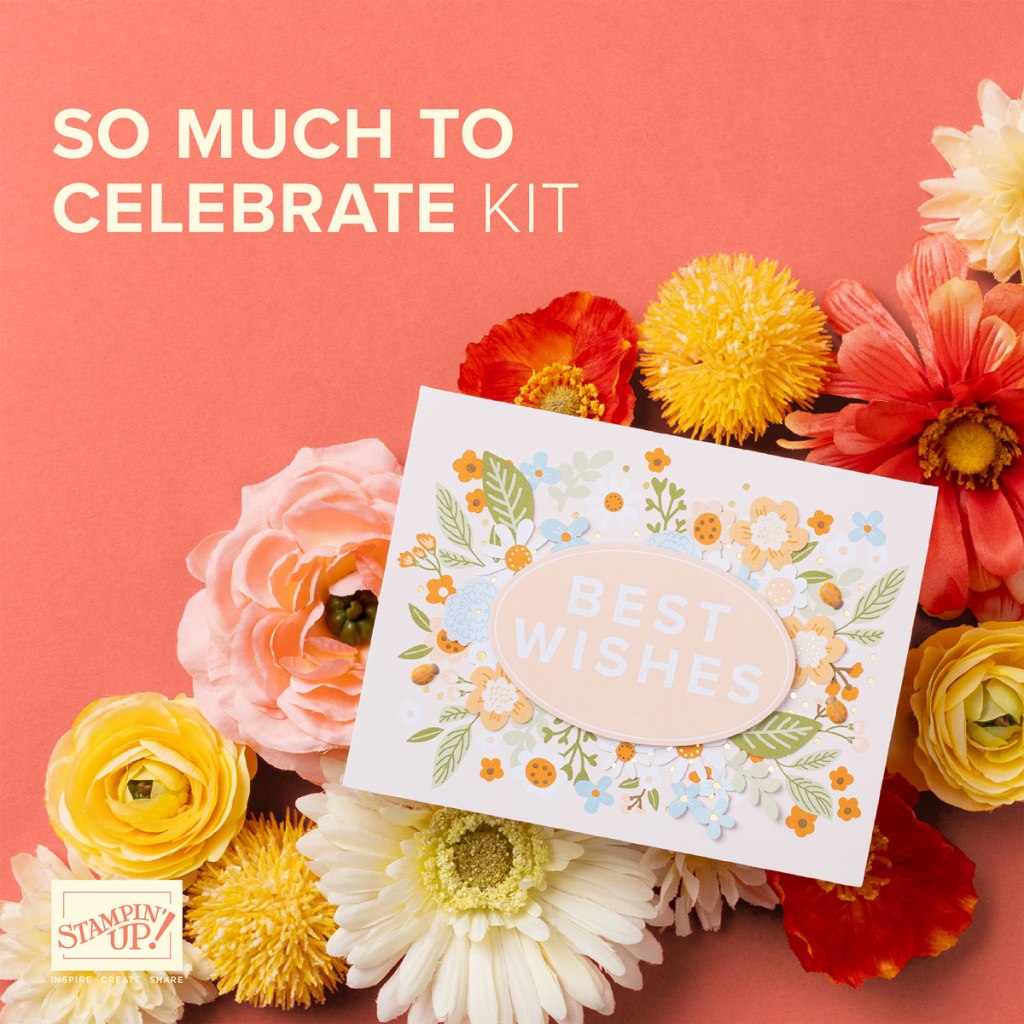
There’s sweet offer during June on Stampin’ Up!®️ Suites – AND individual products from the suites! It is a bit tricky, so read carefully to understand how this BOGO sale works, then I’ll share summery stamping projects using the suites all month long!
What is included in the Buy One, Get One 50% off sale? All available suites and suite products from the 2025–2026 Annual Catalog and Online Exclusives. If a suite product is out of stock, there is no rain check, but come back often during the month to see if they return!
Which item will be half off? The 50% off discount will apply to the lower-priced item (for example, if you buy a full suite collection and a stamp set from a suite, the suite would be full price, and the stamp set would be 50% off).
Do the products I choose have to be from the same suite? NO- you can mix and match products from any suite!
How can I tell which item will be 50% off? The lowest priced item(s) will always get the discount, and the discount will appear in your cart once you’ve added two items within the sale parameters to your cart. You might choose to place separate orders: One with higher-priced items bundled together, and another with less expensive suite products.

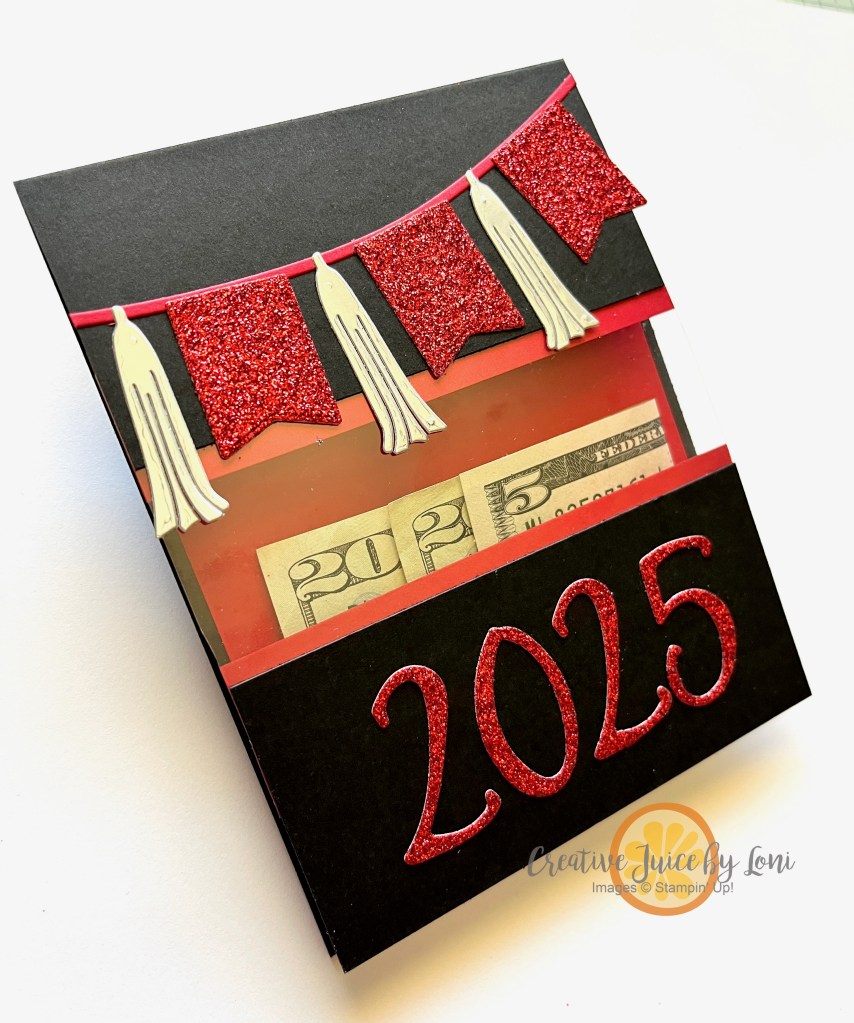
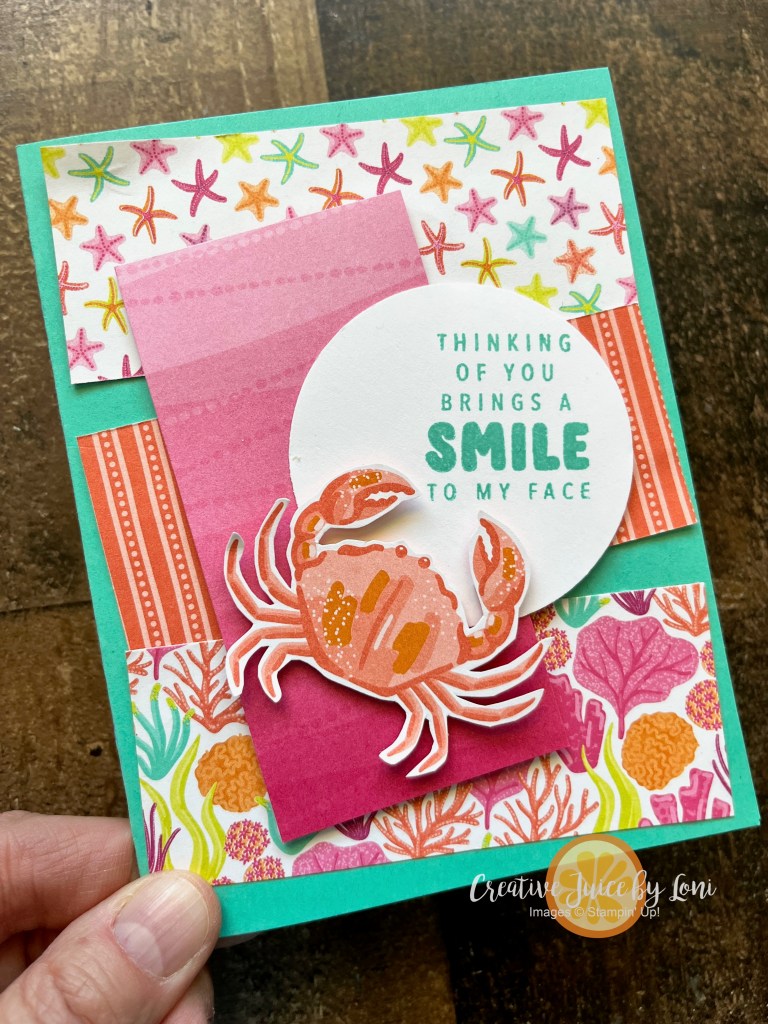
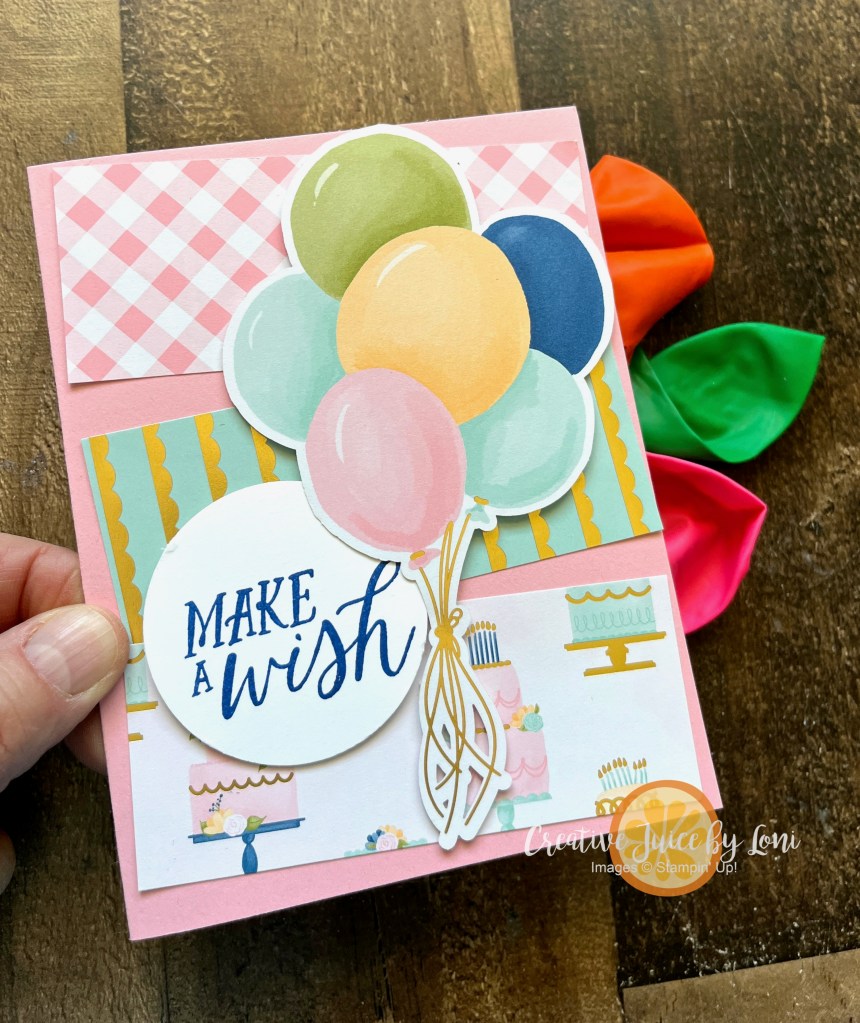
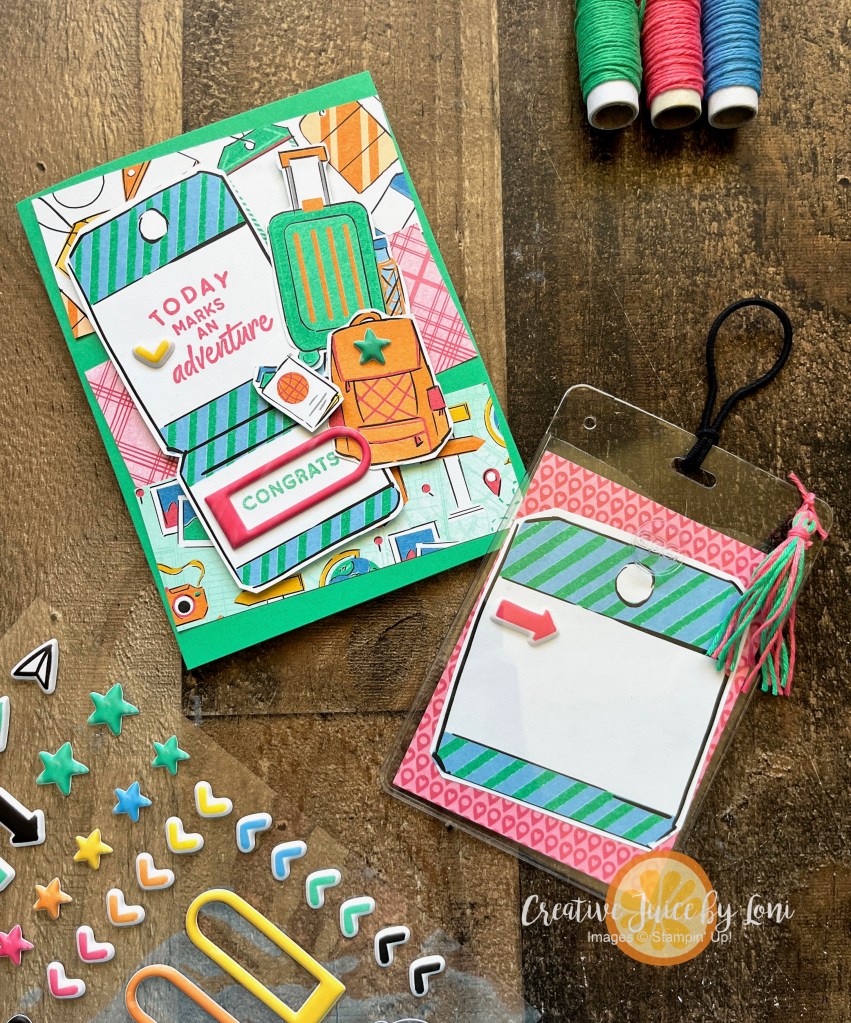
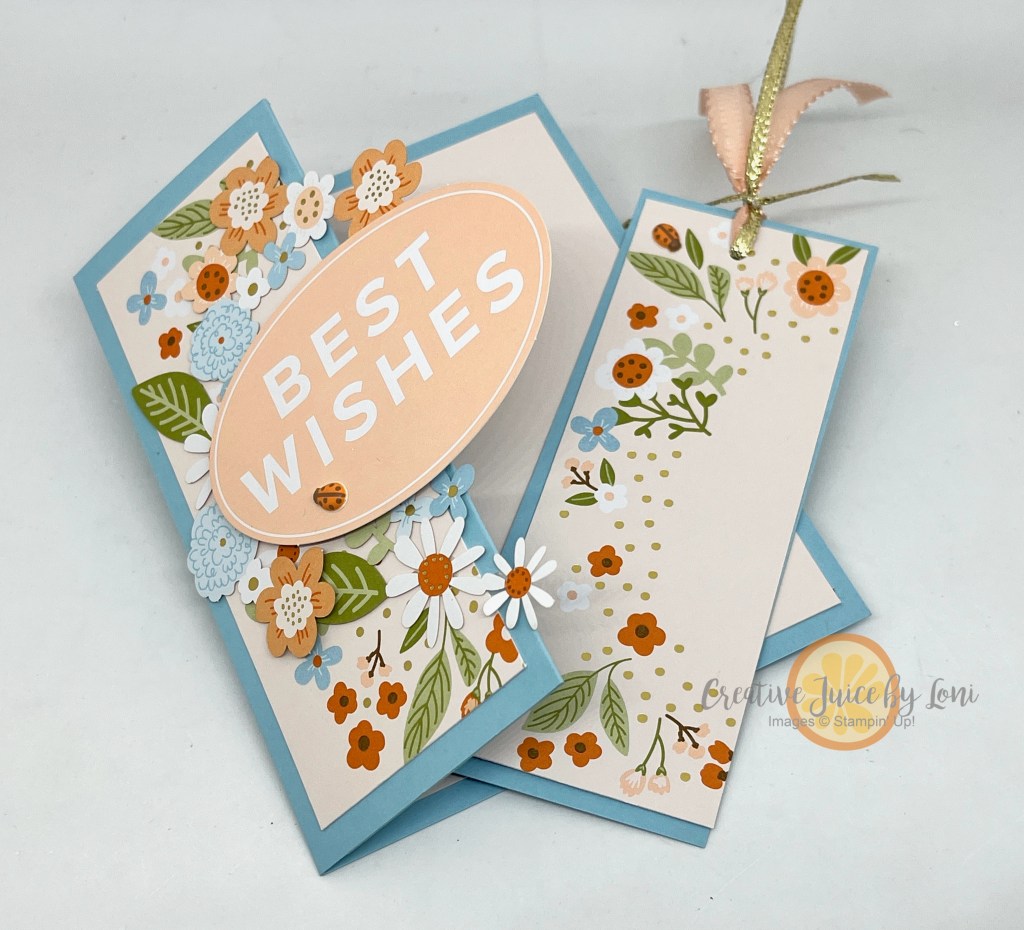
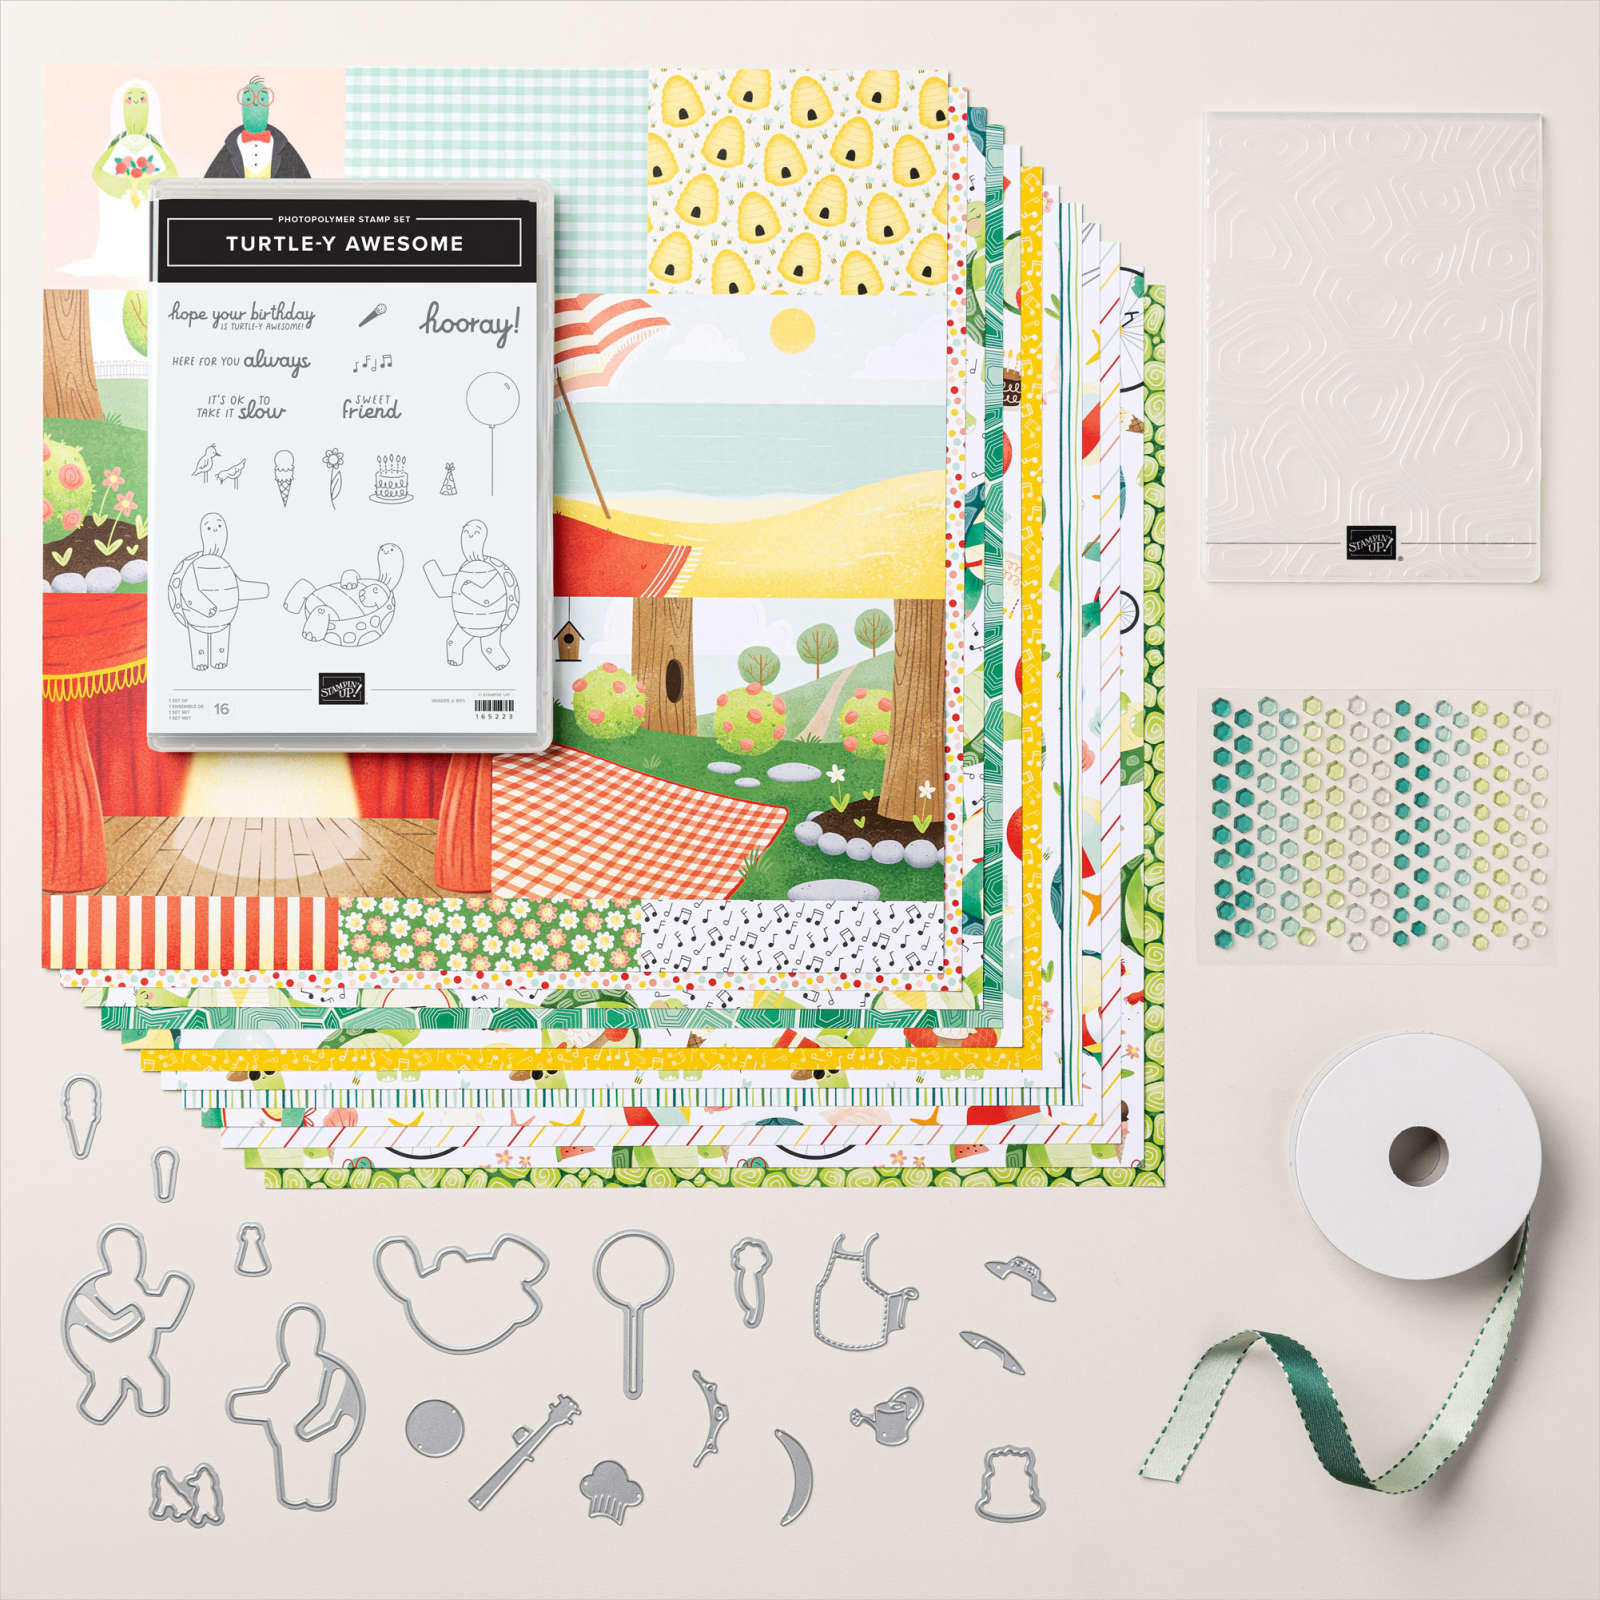
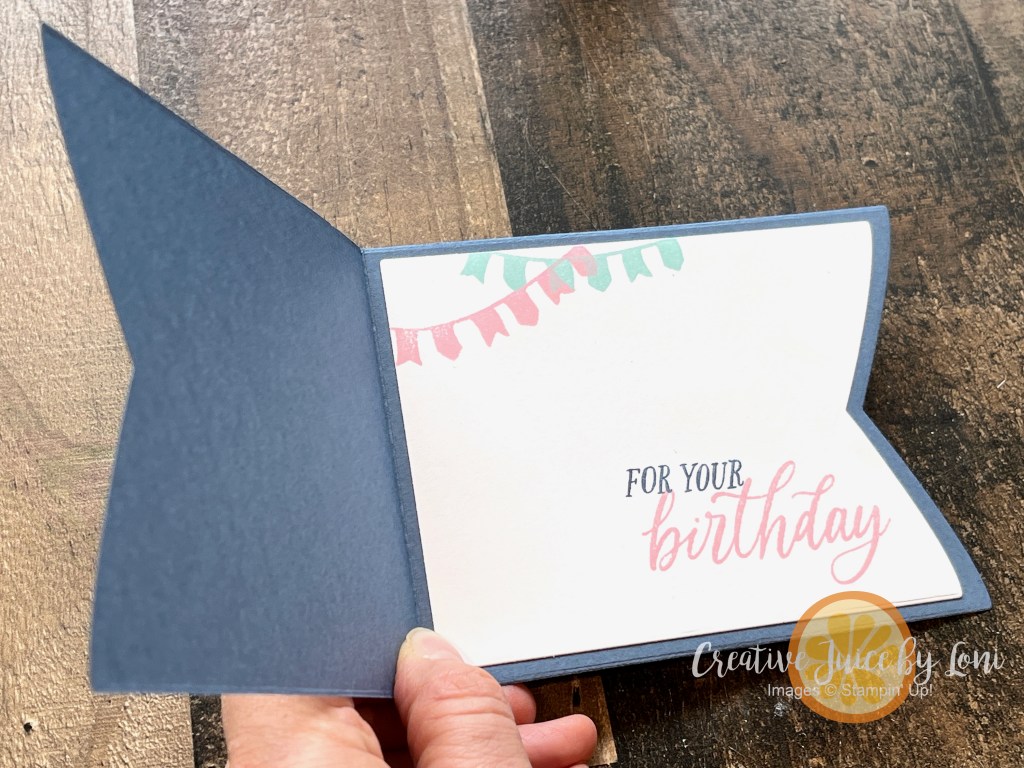
I’ll be sharing simple projects with the Stampin’ Up!®️ Suites throughout the month, so let’s start with the Turtle-y Cute Suite and a fun-fold card you can create quickly, without doing any coloring, thanks to the Designer Series Paper:

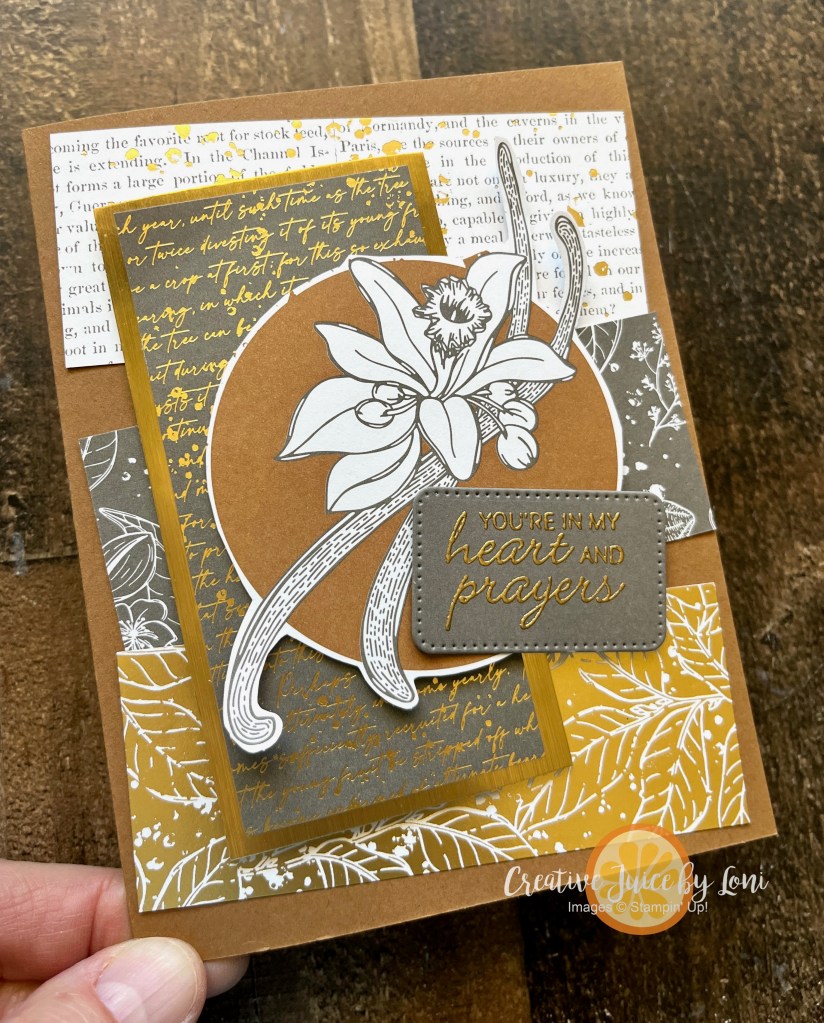
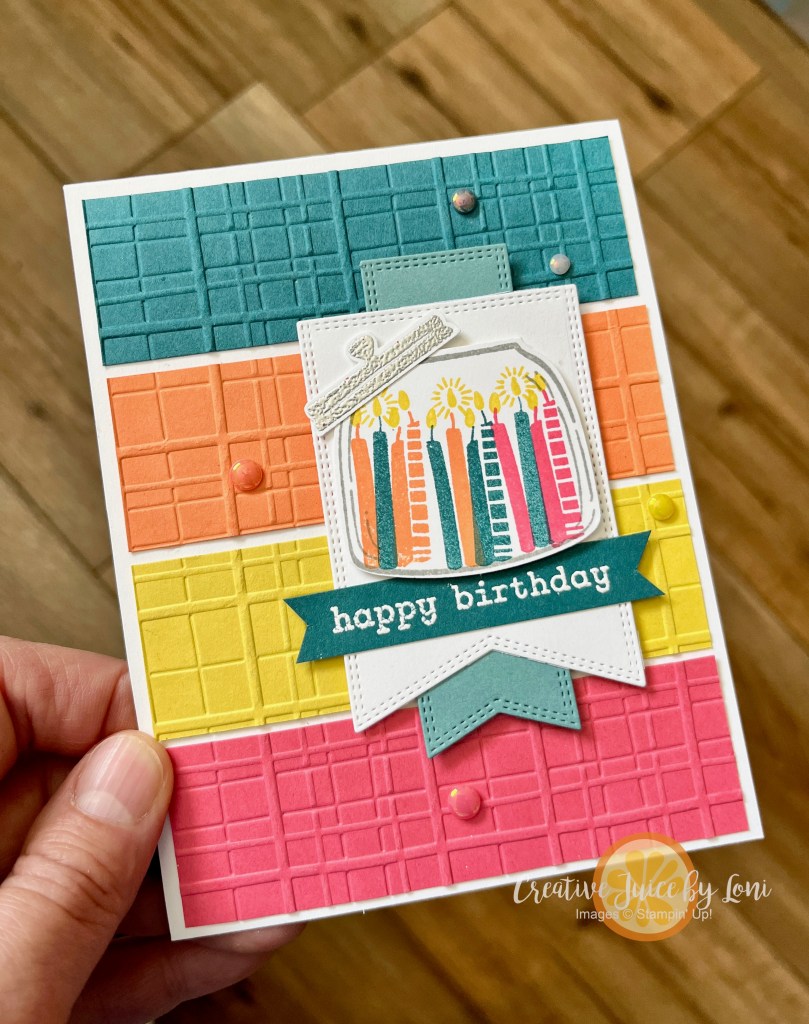
The designs on the paper cover every occasion from weddings to picnics, and everything in between! My favorite pieces of the suite (after the DSP) are the Turtle Textures embossing folder and the Shades of Green Hexagons – a delightful little detail with a nod to a turtle shell!


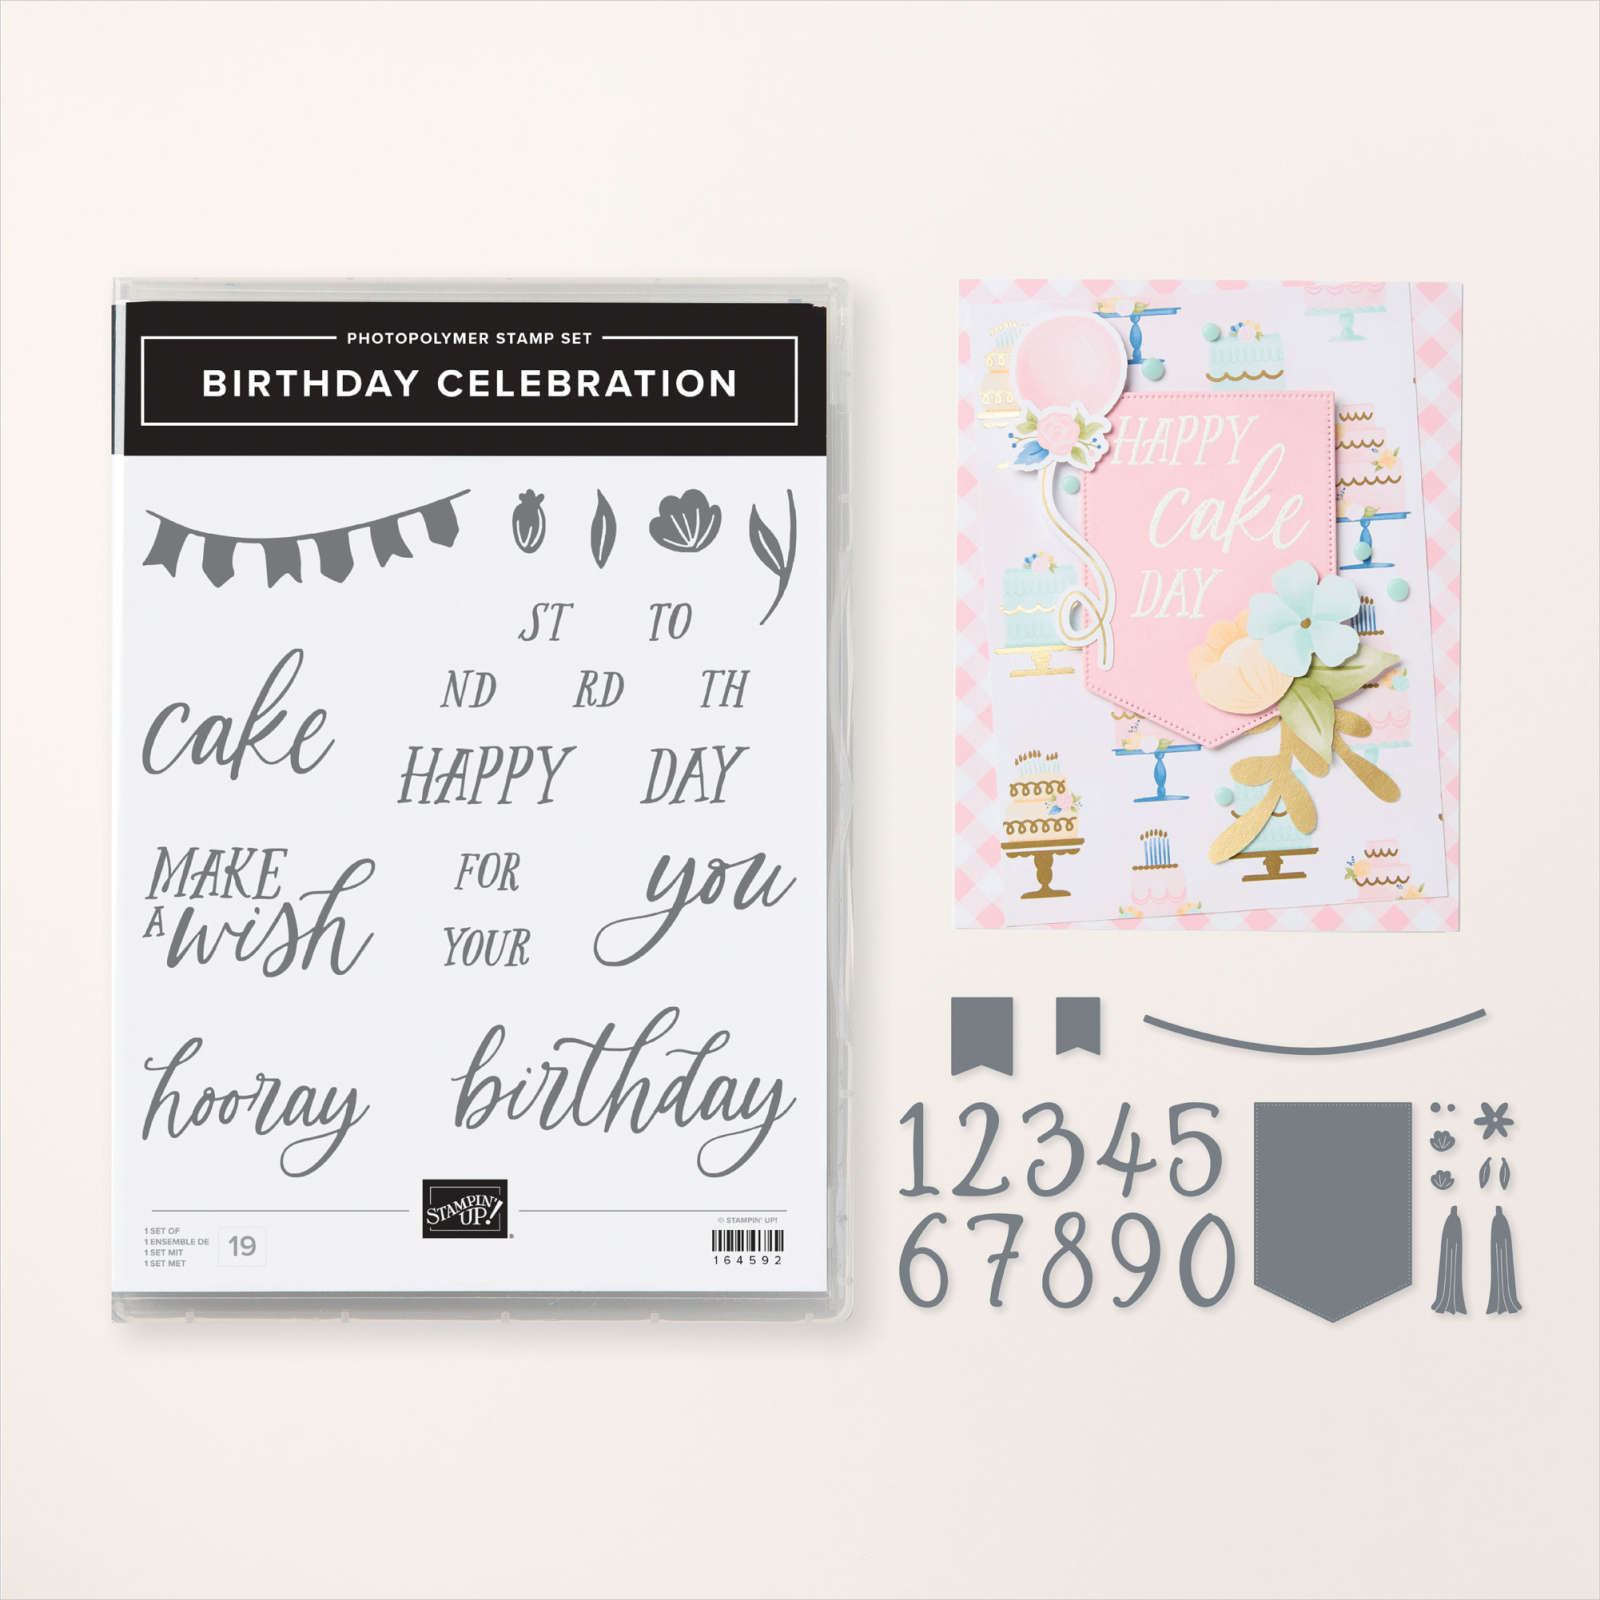
![Birthday Celebration Bundle (English) [ 164599 ]](https://assets1.tamsnetwork.com/images/EC042017NF/164599s.jpg "Birthday Celebration Bundle (English) [ 164599 ]")
![Basic Black 8-1/2" X 11" Cardstock [ 121045 ]](https://assets1.tamsnetwork.com/images/EC042017NF/121045s.jpg "Basic Black 8-1/2\" X 11\" Cardstock [ 121045 ]")
![Real Red 8-1/2" X 11" Cardstock [ 102482 ]](https://assets1.tamsnetwork.com/images/EC042017NF/102482s.jpg "Real Red 8-1/2\" X 11\" Cardstock [ 102482 ]")
![Festive 12" X 12" (30.5 X 30.5 Cm) Glimmer Paper [ 164106 ]](https://assets1.tamsnetwork.com/images/EC042017NF/164106s.jpg "Festive 12\" X 12\" (30.5 X 30.5 Cm) Glimmer Paper [ 164106 ]")
![Silver 12" X 12" (30.5 X 30.5 Cm) Foil Sheets [ 163387 ]](https://assets1.tamsnetwork.com/images/EC042017NF/163387s.jpg "Silver 12\" X 12\" (30.5 X 30.5 Cm) Foil Sheets [ 163387 ]")
![Adhesive Sheets [ 152334 ]](https://assets1.tamsnetwork.com/images/EC042017NF/152334s.jpg "Adhesive Sheets [ 152334 ]")
![Window Sheets [ 142314 ]](https://assets1.tamsnetwork.com/images/EC042017NF/142314s.jpg "Window Sheets [ 142314 ]")
![Versamark Pad [ 102283 ]](https://assets1.tamsnetwork.com/images/EC042017NF/102283s.jpg "Versamark Pad [ 102283 ]")
![Basics Wow! Embossing Powder [ 165679 ]](https://assets1.tamsnetwork.com/images/EC042017NF/165679s.jpg "Basics Wow! Embossing Powder [ 165679 ]")
![Heat Tool (Us And Canada) [ 129053 ]](https://assets1.tamsnetwork.com/images/EC042017NF/129053s.jpg "Heat Tool (Us And Canada) [ 129053 ]")
![Tear & Tape Adhesive [ 154031 ]](https://assets1.tamsnetwork.com/images/EC042017NF/154031s.jpg "Tear & Tape Adhesive [ 154031 ]")
![Mini Stampin' Cut & Emboss Machine [ 150673 ]](https://assets1.tamsnetwork.com/images/EC042017NF/150673s.jpg "Mini Stampin' Cut & Emboss Machine [ 150673 ]")