
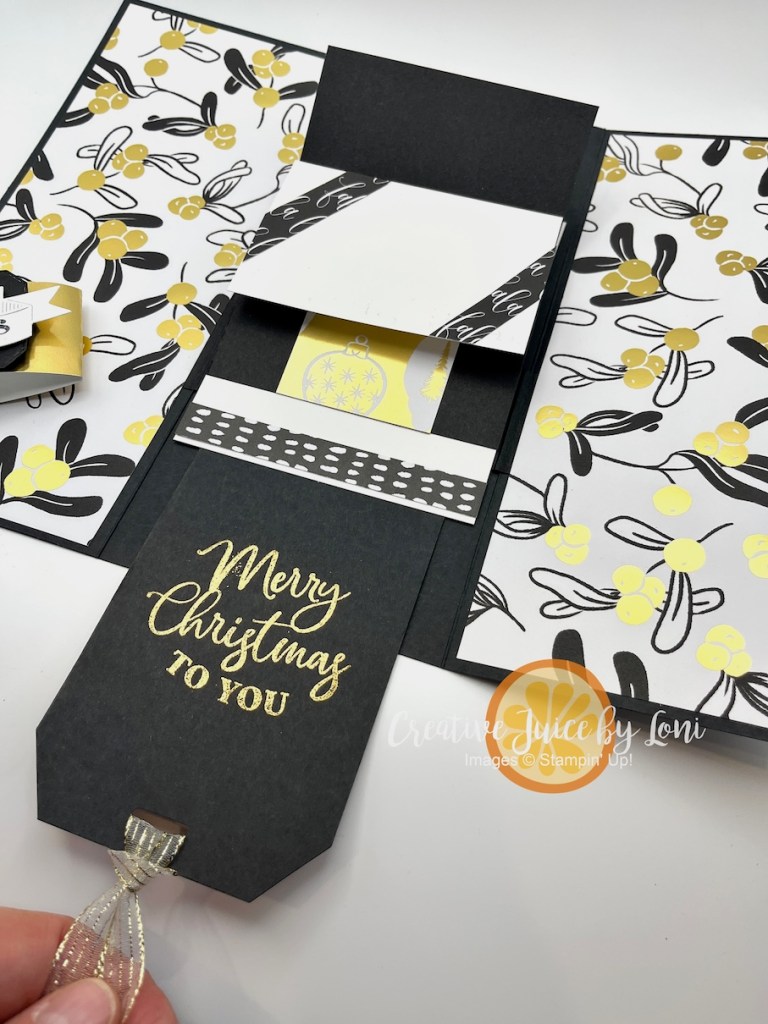
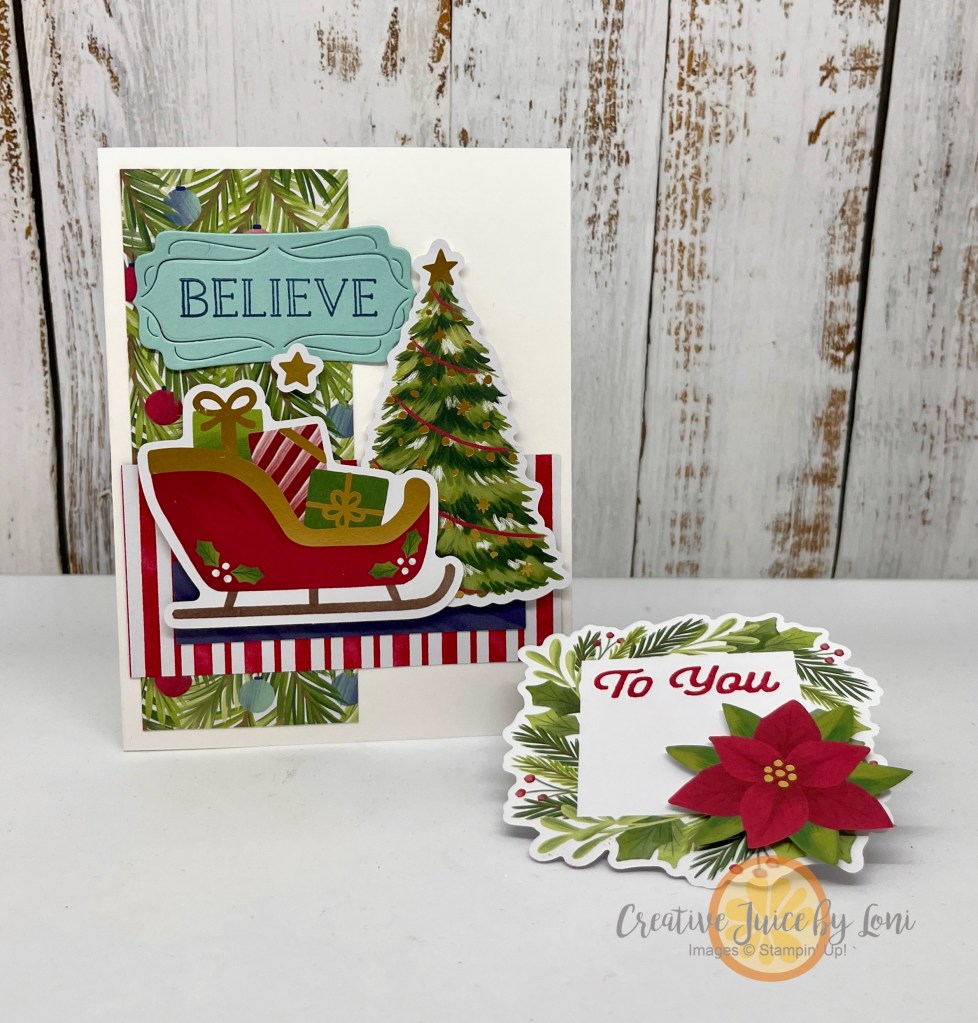
When my cousin Valarie asked if I could make a Gift Card Folio like one she had seen on a social media, I watched the video she shared and said ABSOLUTELY!

This is a larger version of a classic interactive card design called a “Waterfall Card”, and this one presents FIVE GIFT CARDS (or would be an excellent base for a mini photo album). After a few tries and tweaks, I was satisfied with the result – give this a try! You can follow along with the video instructions below 🖥️

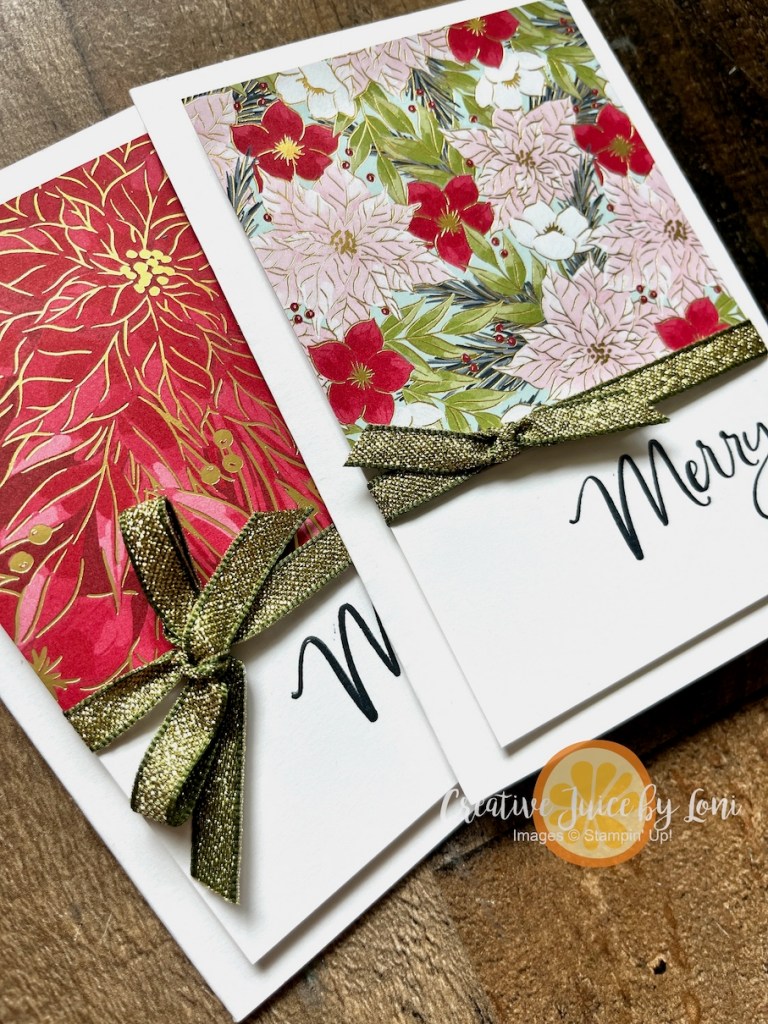
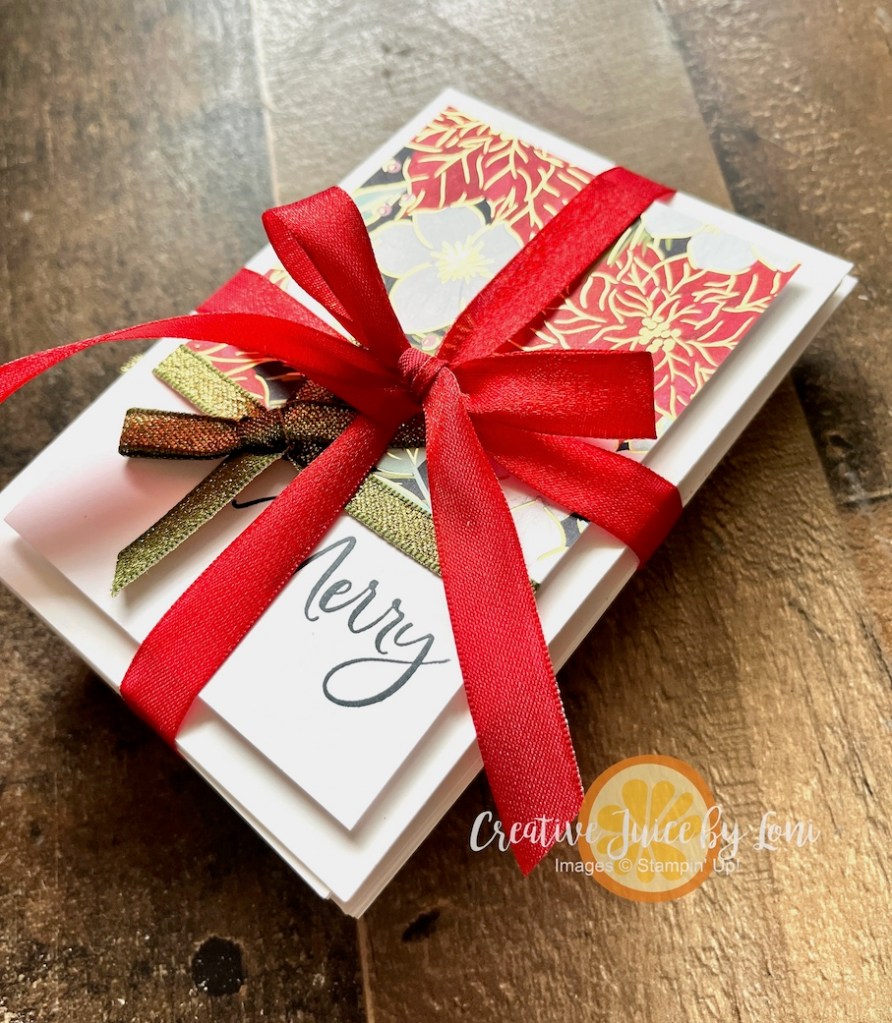
I’ve used the Modern Christmas Designer Series Paper from Stampin’ Up!® to embellish this folio, though I show a few other versions made with the retired “Season of Green & Gold” DSP in the video. The black, white & gold is just so elegant, and of course, you can choose any colors/patterns/paper that fit your occasion.
TIP: Add gift cards to each of the five panels with mini glue dots, or use the panels and both sides of the folder for photos of a event to remember!
When you pull the tab, the “waterfall” begins to cascade, and a “secret message” appears:
Maximizing the use of materials was important to me, so this version uses a full sheet of 12″ x 12″ card stock (and a full sheet of 12″ x 12″ Designer Series Paper, if you cut it wisely), plus a few extra pieces. WATCH the tutorial to see HOW TO CUT the card stock!
Measurements:
- 11-7/8″ x 9″ Basic Black card stock, scored at 4″ and 8″
- 12″ x 3″ Basic Black card stock, scored at 1″, 2″, 3″, 4″ and 5″
- 6″ x 1-1/2″ Basic Black card stock, scored at 1″ and 4-7/8″
- 5 pieces of card stock 2-1/2″ x 3-3/4″
- Designer Series Paper: TWO 8-3/4″ x 3-3/4″ and TWO 8-3/4″ x 3-5/8″
- Gold Foil sheet: 1-1/2″ x 9-1/2″ for the belly band
- Scraps of card stock for label, scraps of Designer Series Paper for embellishments inside.
Making paper crafting easy for you is my goal. What did you think about this tutorial? Please leave a comment and tell me what you’ll use this idea for (comments are found at the top of the post, next to the posting date).
Product List![Traditional Labels Bundle (English) [ 165865 ]](https://assets1.tamsnetwork.com/images/EC042017NF/165865s.jpg "Traditional Labels Bundle (English) [ 165865 ]")
![Basic Black 12" X 12" (30.5 X 30.5 Cm) Cardstock [ 166786 ]](https://assets1.tamsnetwork.com/images/EC042017NF/166786s.jpg "Basic Black 12\" X 12\" (30.5 X 30.5 Cm) Cardstock [ 166786 ]")
![Modern Christmas 12" X 12" (30.5 X 30.5 Cm) Specialty Designer Series Paper [ 165990 ]](https://assets1.tamsnetwork.com/images/EC042017NF/165990s.jpg "Modern Christmas 12\" X 12\" (30.5 X 30.5 Cm) Specialty Designer Series Paper [ 165990 ]")
![Basic White 8 1/2" X 11" Cardstock [ 166780 ]](https://assets1.tamsnetwork.com/images/EC042017NF/166780s.jpg "Basic White 8 1/2\" X 11\" Cardstock [ 166780 ]")
![Gold Foil Sheets [ 132622 ]](https://assets1.tamsnetwork.com/images/EC042017NF/132622s.jpg "Gold Foil Sheets [ 132622 ]")
![Gold Striped 3/8" (1 Cm) Mesh Ribbon [ 165599 ]](https://assets1.tamsnetwork.com/images/EC042017NF/165599s.jpg "Gold Striped 3/8\" (1 Cm) Mesh Ribbon [ 165599 ]")
![Hole Punch Assortment [ 165409 ]](https://assets1.tamsnetwork.com/images/EC042017NF/165409s.jpg "Hole Punch Assortment [ 165409 ]")
![Paper Trimmer [ 152392 ]](https://assets1.tamsnetwork.com/images/EC042017NF/152392s.jpg "Paper Trimmer [ 152392 ]")
![Tear & Tape Adhesive [ 154031 ]](https://assets1.tamsnetwork.com/images/EC042017NF/154031s.jpg "Tear & Tape Adhesive [ 154031 ]")
![Stampin' Seal [ 152813 ]](https://assets1.tamsnetwork.com/images/EC042017NF/152813s.jpg "Stampin' Seal [ 152813 ]")
![Black Stampin' Dimensionals Combo Pack [ 150893 ]](https://assets1.tamsnetwork.com/images/EC042017NF/150893s.jpg "Black Stampin' Dimensionals Combo Pack [ 150893 ]")
DON’T MISS THIS!
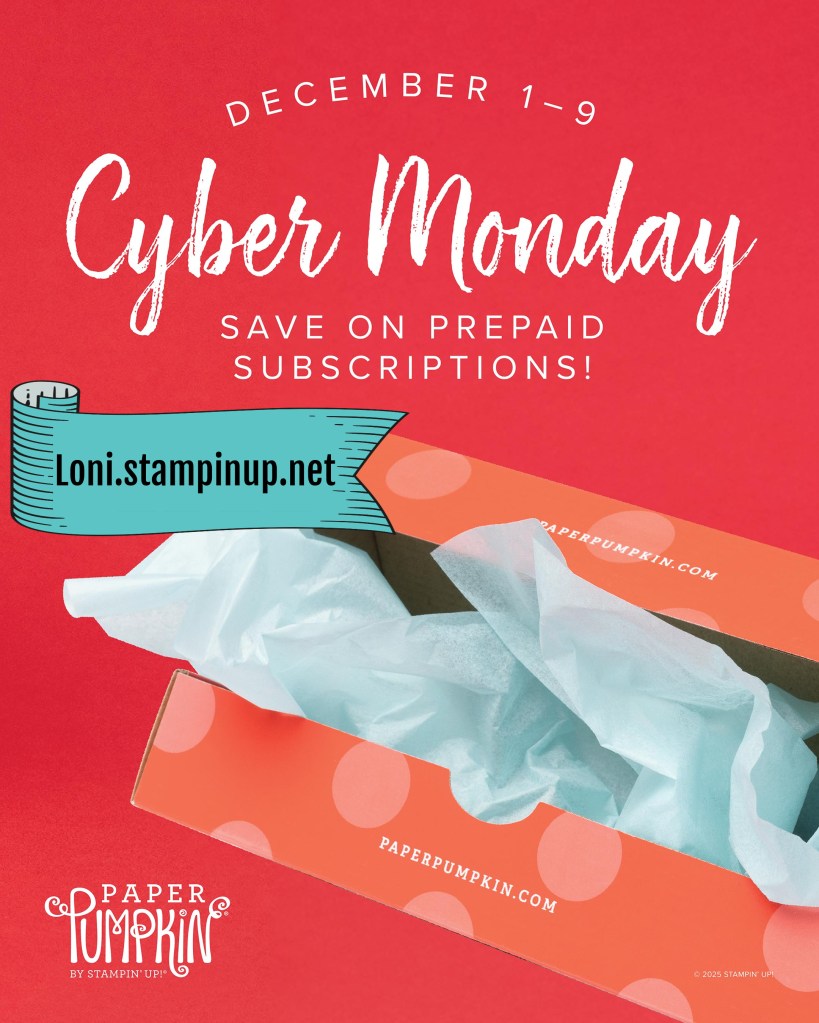
If you’ve been waiting for a good time to subscribe to the BEST MONTHLY CRAFT KIT, OR you need a unique and creative gift for a friend, this is your sign! From December 1-9, pre-paid Paper Pumpkin subscriptions are discounted as follows:
3-month prepaid: $61.00 (regular price $81.00)
6-month prepaid: $122.00 (regular price $162.00)
12-month prepaid: $244.00 (regular price $324.00)
This price includes shipping! Now, here’s the fine print:
* Subscriptions purchased during this promotion start immediately with the December Watercolor in Bloom Kit. This kit cannot be skipped.
* Do not purchase multiple subscriptions for the same recipient. The subscriptions will all start with the Watercolor in Bloom Kit, so the recipient will end up receiving duplicates of the same kit each month.
* If you are already a Paper Pumpkin monthly subscriber, this is a great opportunity to save on your upcoming kits!
* If you ALREADY HAVE a pre-paid subscription and wish to take advantage of the sale, go into your account and PAUSE your currrent December kit, unless you wish to have 2 of the same boxes shipped to you (the other would be a lovely gift to give!).


![Basic White Note Cards & Envelopes [ 159232 ]](https://assets1.tamsnetwork.com/images/EC042017NF/159232s.jpg "Basic White Note Cards & Envelopes [ 159232 ]")
![Traditional Labels Photopolymer Stamp Set (English) [ 165854 ]](https://assets1.tamsnetwork.com/images/EC042017NF/165854s.jpg "Traditional Labels Photopolymer Stamp Set (English) [ 165854 ]")
![Traditions Of Christmas 12" X 12" (30.5 X 30.5 Cm) Specialty Designer Series Paper [ 165853 ]](https://assets1.tamsnetwork.com/images/EC042017NF/165853s.jpg "Traditions Of Christmas 12\" X 12\" (30.5 X 30.5 Cm) Specialty Designer Series Paper [ 165853 ]")
![Secret Sea Classic Stampin' Pad [ 165285 ]](https://assets1.tamsnetwork.com/images/EC042017NF/165285s.jpg "Secret Sea Classic Stampin' Pad [ 165285 ]")
![Mossy Meadow & Gold 1/4" (6.4 Mm) [ 166158 ]](https://assets1.tamsnetwork.com/images/EC042017NF/166158s.jpg "Mossy Meadow & Gold 1/4\" (6.4 Mm) [ 166158 ]")
![Stampin' Dimensionals [ 104430 ]](https://assets1.tamsnetwork.com/images/EC042017NF/104430s.jpg "Stampin' Dimensionals [ 104430 ]")


![Branching Out Bundle (English) [ 165776 ]](https://assets1.tamsnetwork.com/images/EC042017NF/165776s.jpg "Branching Out Bundle (English) [ 165776 ]")
![Elegant Pine Snowflakes 12" X 12" (30.5 X 30.5 Cm) Designer Series Paper [ 166066 ]](https://assets1.tamsnetwork.com/images/EC042017NF/166066s.jpg "Elegant Pine Snowflakes 12\" X 12\" (30.5 X 30.5 Cm) Designer Series Paper [ 166066 ]")
![Garden Green 8-1/2" X 11" Cardstock [ 102584 ]](https://assets1.tamsnetwork.com/images/EC042017NF/102584s.jpg "Garden Green 8-1/2\" X 11\" Cardstock [ 102584 ]")
![Old Olive 8-1/2" X 11" Cardstock [ 100702 ]](https://assets1.tamsnetwork.com/images/EC042017NF/100702s.jpg "Old Olive 8-1/2\" X 11\" Cardstock [ 100702 ]")
![Pretty Peacock 8-1/2" X 11" Cardstock [ 150880 ]](https://assets1.tamsnetwork.com/images/EC042017NF/150880s.jpg "Pretty Peacock 8-1/2\" X 11\" Cardstock [ 150880 ]")
![Crumb Cake 8-1/2" X 11" Cardstock [ 120953 ]](https://assets1.tamsnetwork.com/images/EC042017NF/120953s.jpg "Crumb Cake 8-1/2\" X 11\" Cardstock [ 120953 ]")
![Early Espresso 8-1/2" X 11" Cardstock [ 119686 ]](https://assets1.tamsnetwork.com/images/EC042017NF/119686s.jpg "Early Espresso 8-1/2\" X 11\" Cardstock [ 119686 ]")
![Old Olive Stampin' Blends Combo Pack [ 154892 ]](https://assets1.tamsnetwork.com/images/EC042017NF/154892s.jpg "Old Olive Stampin' Blends Combo Pack [ 154892 ]")
![Pretty Peacock Classic Stampin’ Pad [ 150083 ]](https://assets1.tamsnetwork.com/images/EC042017NF/150083s.jpg "Pretty Peacock Classic Stampin’ Pad [ 150083 ]")
![Multipurpose Liquid Glue [ 110755 ]](https://assets1.tamsnetwork.com/images/EC042017NF/110755s.jpg "Multipurpose Liquid Glue [ 110755 ]")


![12 Days Of Crafting Advent Calendar (English) [ 167335 ]](https://assets1.tamsnetwork.com/images/EC042017NF/167335s.jpg "12 Days Of Crafting Advent Calendar (English) [ 167335 ]")
![Summer Splash 8 1/2" X 11 Cardstock [ 163797 ]](https://assets1.tamsnetwork.com/images/EC042017NF/163797s.jpg "Summer Splash 8 1/2\" X 11 Cardstock [ 163797 ]")
![Basic White 8 1/2" X 11" Cardstock [ 159276 ]](https://assets1.tamsnetwork.com/images/EC042017NF/159276s.jpg "Basic White 8 1/2\" X 11\" Cardstock [ 159276 ]")
![Summer Splash Classic Stampin Pad [ 163809 ]](https://assets1.tamsnetwork.com/images/EC042017NF/163809s.jpg "Summer Splash Classic Stampin Pad [ 163809 ]")
![Berry Burst Classic Stampin' Pad [ 147143 ]](https://assets1.tamsnetwork.com/images/EC042017NF/147143s.jpg "Berry Burst Classic Stampin' Pad [ 147143 ]")
![Daffodil Delight Classic Stampin' Pad [ 147094 ]](https://assets1.tamsnetwork.com/images/EC042017NF/147094s.jpg "Daffodil Delight Classic Stampin' Pad [ 147094 ]")
![Tuxedo Black Memento Ink Pad [ 132708 ]](https://assets1.tamsnetwork.com/images/EC042017NF/132708s.jpg "Tuxedo Black Memento Ink Pad [ 132708 ]")
![Gold Twisted Thread [ 164603 ]](https://assets1.tamsnetwork.com/images/EC042017NF/164603s.jpg "Gold Twisted Thread [ 164603 ]")
![Party Banners Dies [ 165264 ]](https://assets1.tamsnetwork.com/images/EC042017NF/165264s.jpg "Party Banners Dies [ 165264 ]")
![Mini Stampin' Cut & Emboss Machine [ 150673 ]](https://assets1.tamsnetwork.com/images/EC042017NF/150673s.jpg "Mini Stampin' Cut & Emboss Machine [ 150673 ]")
![Mini Glue Dots [ 103683 ]](https://assets1.tamsnetwork.com/images/EC042017NF/103683s.jpg "Mini Glue Dots [ 103683 ]")


![Gingerbread Man Bundle (English) [ 165785 ]](https://assets1.tamsnetwork.com/images/EC042017NF/165785s.jpg "Gingerbread Man Bundle (English) [ 165785 ]")
![Stampin' Cut & Emboss Machine [ 149653 ]](https://assets1.tamsnetwork.com/images/EC042017NF/149653s.jpg "Stampin' Cut & Emboss Machine [ 149653 ]")
![Real Red 8-1/2" X 11" Cardstock [ 102482 ]](https://assets1.tamsnetwork.com/images/EC042017NF/102482s.jpg "Real Red 8-1/2\" X 11\" Cardstock [ 102482 ]")
![Coastal Cabana 8-1/2" X 11" Cardstock [ 131297 ]](https://assets1.tamsnetwork.com/images/EC042017NF/131297s.jpg "Coastal Cabana 8-1/2\" X 11\" Cardstock [ 131297 ]")
![Crumb Cake Classic Stampin' Pad [ 147116 ]](https://assets1.tamsnetwork.com/images/EC042017NF/147116s.jpg "Crumb Cake Classic Stampin' Pad [ 147116 ]")
![Early Espresso Classic Stampin' Pad [ 147114 ]](https://assets1.tamsnetwork.com/images/EC042017NF/147114s.jpg "Early Espresso Classic Stampin' Pad [ 147114 ]")
![Coastal Cabana Classic Stampin' Pad [ 147097 ]](https://assets1.tamsnetwork.com/images/EC042017NF/147097s.jpg "Coastal Cabana Classic Stampin' Pad [ 147097 ]")
![Real Red Classic Stampin' Pad [ 147084 ]](https://assets1.tamsnetwork.com/images/EC042017NF/147084s.jpg "Real Red Classic Stampin' Pad [ 147084 ]")
![Blending Brushes [ 153611 ]](https://assets1.tamsnetwork.com/images/EC042017NF/153611s.jpg "Blending Brushes [ 153611 ]")
![Adhesive Sheets [ 152334 ]](https://assets1.tamsnetwork.com/images/EC042017NF/152334s.jpg "Adhesive Sheets [ 152334 ]")
![Real Red 1/2" (1.3 Cm) Shiny Ribbon [ 165876 ]](https://assets1.tamsnetwork.com/images/EC042017NF/165876s.jpg "Real Red 1/2\" (1.3 Cm) Shiny Ribbon [ 165876 ]")


")
 Designer Series Paper")


![A Little Bit Festive 12" X 12" (30.5 X 30.5 Cm) Mix & Match Specialty Designer Series Paper [ 164107 ]](https://assets1.tamsnetwork.com/images/EC042017NF/164107s.jpg "A Little Bit Festive 12\" X 12\" (30.5 X 30.5 Cm) Mix & Match Specialty Designer Series Paper [ 164107 ]")
![Basic White 8 1/2" X 11" Thick Cardstock [ 159229 ]](https://assets1.tamsnetwork.com/images/EC042017NF/159229s.jpg "Basic White 8 1/2\" X 11\" Thick Cardstock [ 159229 ]")
![Gold Dipped Mix & Match Specialty Cards & Envelopes [ 164108 ]](https://assets1.tamsnetwork.com/images/EC042017NF/164108s.jpg "Gold Dipped Mix & Match Specialty Cards & Envelopes [ 164108 ]")
![Christmas Labels Bundle (English) [ 164101 ]](https://assets1.tamsnetwork.com/images/EC042017NF/164101s.jpg "Christmas Labels Bundle (English) [ 164101 ]")
![Versamark Pad [ 102283 ]](https://assets1.tamsnetwork.com/images/EC042017NF/102283s.jpg "Versamark Pad [ 102283 ]")
![Metallics Wow! Embossing Powder [ 165678 ]](https://assets1.tamsnetwork.com/images/EC042017NF/165678s.jpg "Metallics Wow! Embossing Powder [ 165678 ]")
![Heat Tool (Us And Canada) [ 129053 ]](https://assets1.tamsnetwork.com/images/EC042017NF/129053s.jpg "Heat Tool (Us And Canada) [ 129053 ]")
![Night Of Navy & Gold 1/2" (1.3 Cm) Glittered Ribbon [ 162011 ]](https://assets1.tamsnetwork.com/images/EC042017NF/162011s.jpg "Night Of Navy & Gold 1/2\" (1.3 Cm) Glittered Ribbon [ 162011 ]")
