Quilted Cards

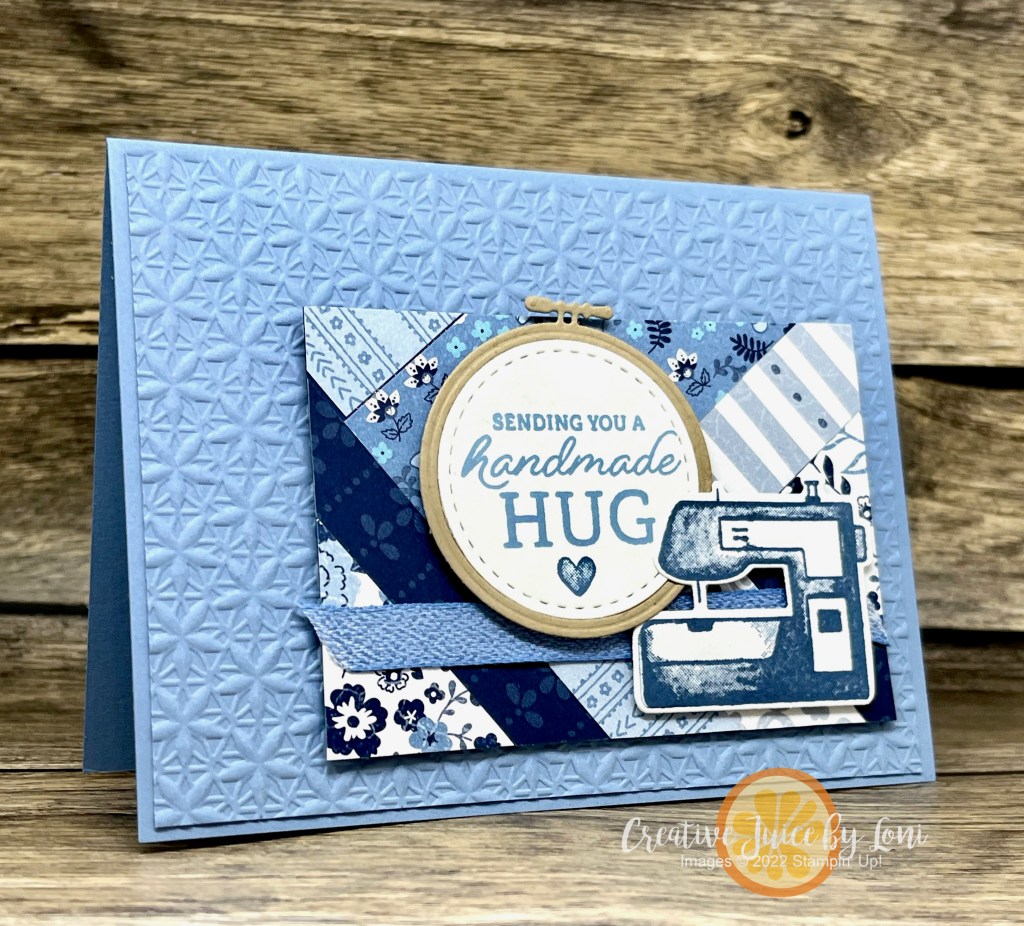
Greeting card crafters know how similar their art is to quilting: Matching patterns, colors and textures of little pieces of paper gives us a quicker satisfaction on a smaller scale than a quilt!

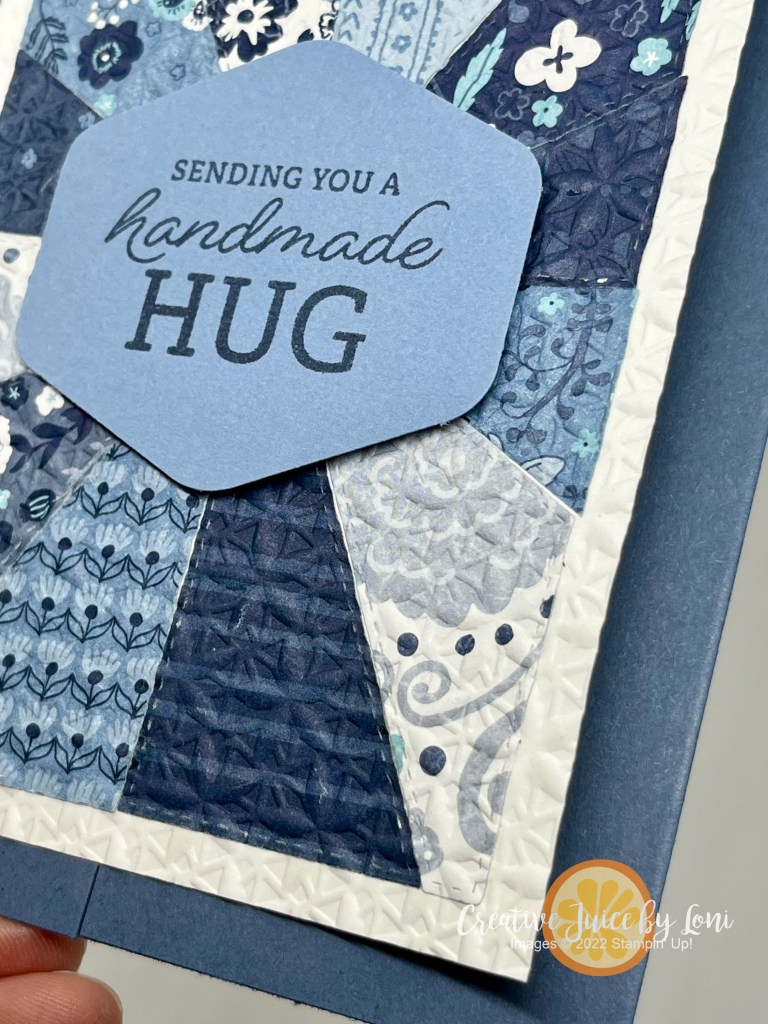
This card not only patchworks paper together, it ALSO HAS A QUILTED TEXTURE!

I paired the Softly Sophisticated Sale-a-Bration bundle with the Softly Stippled Sale-a-Bration Designer Series Paper for this card.

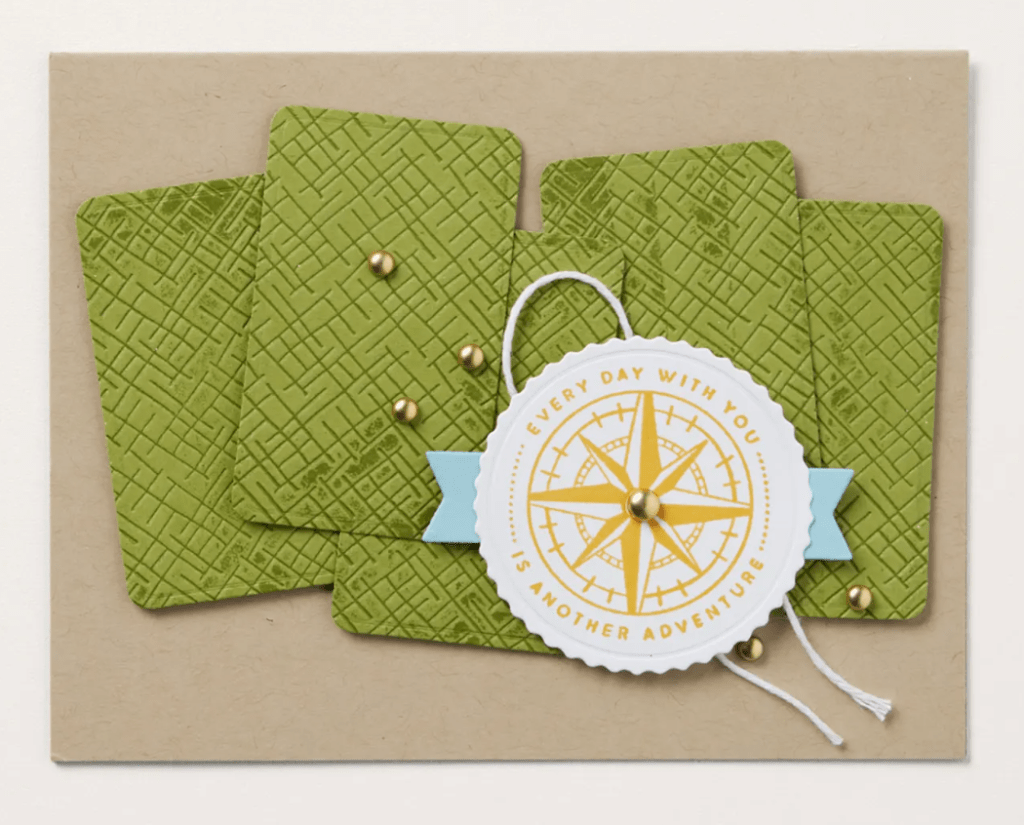
INSTRUCTIONS & MEASUREMENTS: Stamp images & sentiment on the Wild Wheat textile patterned paper (2″ x 3-1/4″) then adhere it to the center of a 5-1/4″ x 4″ piece of Wild Wheat card stock, with two 3/4″ x 3-7/8″ pieces of Designer Series Paper on the top and bottom and two 3/4″ x 4-1/8″ pieces of Designer Series Paper on the sides (adjusted measurement from the video). Emboss all the layers with the Softly Sophisticated 3-D Embossing folder before mounting it to the card base.

Follow along and craft with me- you can pause as you stamp & assemble:

The Softly Sophisticated Bundle is a set of stamps & embossing folder you can choose FREE with a $100 order before 2/29/24 for Sale-a-Bration!

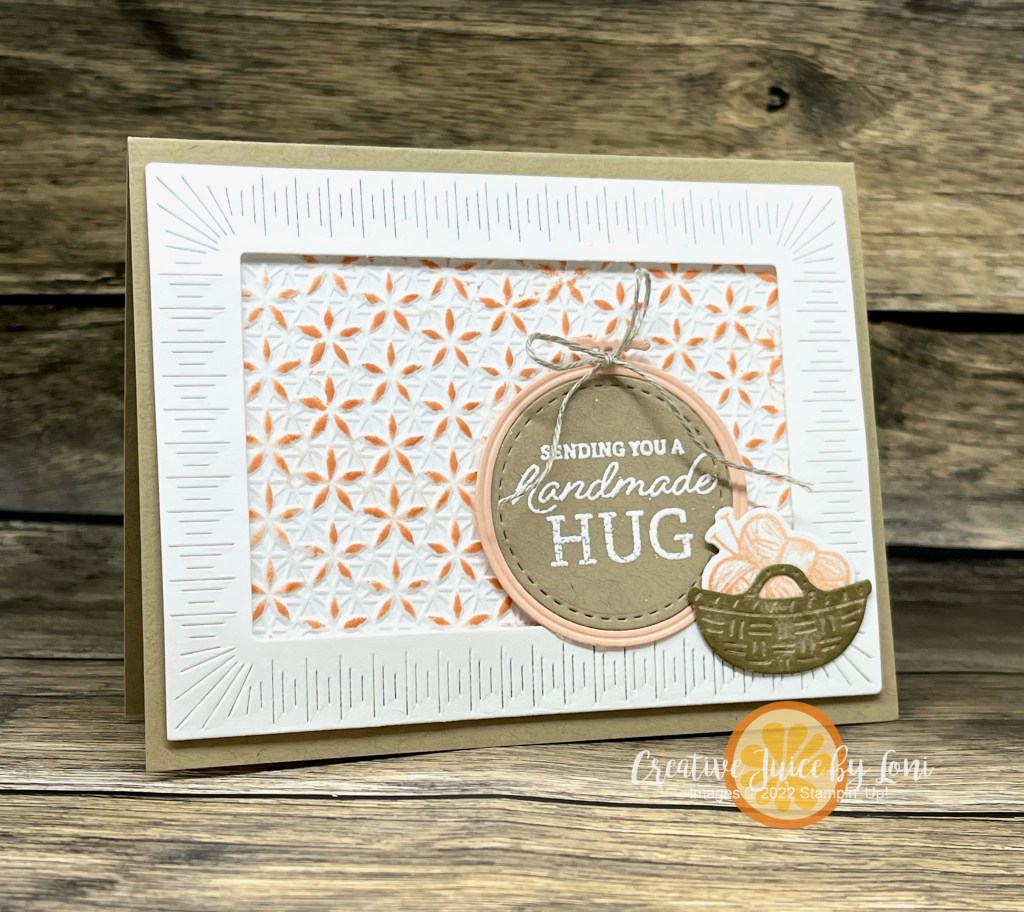
I didn’t stop with the first card, but pulled out some supplies from the Annual Catalog to make a few handmade hugs (gatefold cards):

TIPS FOR THIS CARD: Cut a 3-1/4″ x 4-3/4″ piece of each pattern in the Countryside Inn Designer Series Paper. You can cut two sheets at a time with the Sunburst die, but you may want to go forward and back through the Cut & Emboss machine. You can flip pieces over, since the top and bottom of the design are the same size/shape and get ALL 12 designs in the starburst!

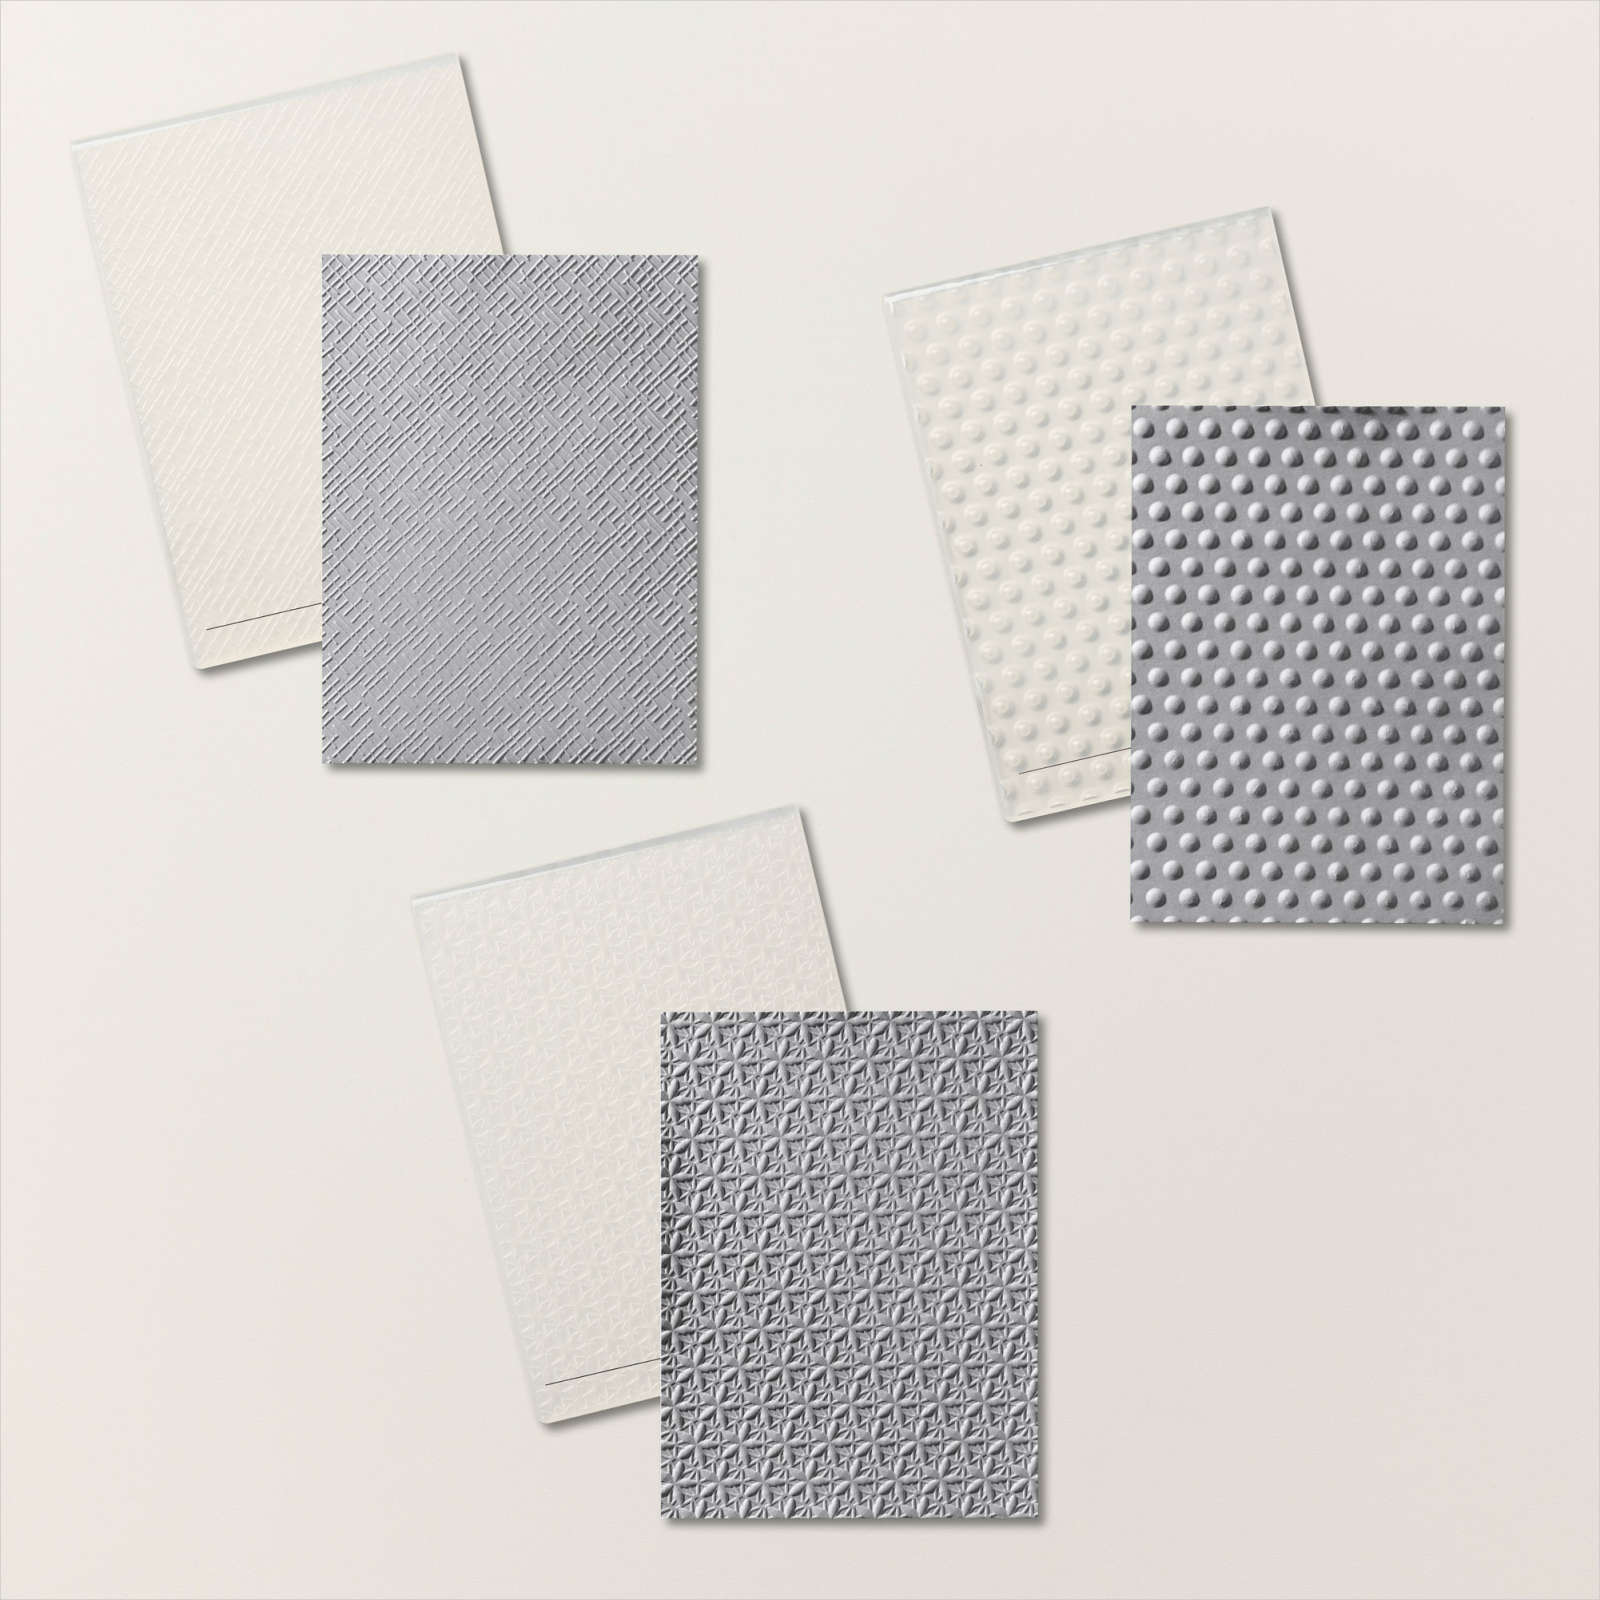
This card also used the Softly Sophisticated 3-D Embossing Folder, then I tried a few other textures:

3-D Embossing folders used left to right: Softly Sophisticated, Layered Florals, Basics Floral

These are the supplies I used for the blue sunburst hug cards:

Product List

I’ll be sharing some of these cards with new team members during Sale-a-Bration – if you would like to start a crafty adventure with Stampin’ Up! I’m here to help. There are two bonus options if you choose to give it a try before the end of February, and the Glass Mat Studio is one of them!

Crosshatch Embossed Background

Welcome back to day 2 of my embossing folder series! Today we are looking closer at the Crosshatch 3-D Basic embossing folder (one of a trio in my online store).

For a textured background like this, stamp your images first, then run it through the embossing folder. I used the texture OUTDENTED (it’s a real word) on my floral background, but you can also turn your paper over to get an INDENTED texture like this as an alternative:

If you missed the video teaching TIPS & TECHNIQUES for embossing folders, you can watch it here!

This texture is extremely versatile and you’ll be reaching for it often. I’ve listed the supplies for my “You Inspire Me” card below, and please visit tomorrow for the third 3-D Basics embossed card!

Product List

A “recipe” of the correct way to layer the 3-D Basics Crosshatch embossing folder into your Cut & Emboss “Sandwich”:

The Recipe for Embossing Folder Sandwiches

You may not have a preference for how your sandwiches are cut, but there is a CORRECT way to layer the “sandwich” for using embossing folders on your Stampin’ Cut & Emboss machine 🥪

Stampin’ Up! has three styles of embossing folders: Standard (approx. 1/16″ wide), 3D (approx. 1/8″ wide) and Hybrid (similar to 3D and will have a coordinating die to insert as desired). Each type of folder has a “Recipe” for successful texturizing, and if you forget, it’s PRINTED on the base plate/platform #1

Today’s LIVE video teaches the tips and tricks to remember for successful embossing:

Because there are NEW items in the Online Exclusive section of my Stampin’ Store (some are being restocked as quickly as possible!), I am showcasing the 3-D Basics trio of embossing folders, starting with the 3-D Floral:

I lightly pulled/tapped my Petal Pink ink pad across the embossed layer to help the flowers POP and the other supplies are listed below. The Radiating Stitches Dies (which is what I used for the frame) are also part of the Online Exclusives!

Come back over the next few days to see all the cards, and remember it’s BONUS DAYS in July, so for each $50 spent before 7/31, you earn a $5 coupon to redeem in August!

Product List

I enjoy visitors AND COMMENTS, so thank you for reading and saying HI! Check back in for card #2 tomorrow.

Paper “Quilts” for TGIF Sketch

Paper Crafting is a LOT like quilting: Take scraps and put them together, and you’ve got a completely NEW object!

Late last night I “stitched” together a few panels to use for the #tgifc424 sketch challenge:

And because I couldn’t decide which I liked best, I made TWO versions, one for “paper-piecers” and the other for “fabric-piecers”!

Which version do you like best? I really want to know!

I can see a quilter including the second card with a comforter they would gift to a loved one!

My scraps were pieces of the Countryside Inn Designer Series Paper (15% off during June!) and I paired my paper quilts with the Basics Floral 3D Embossing Folder…have you seen this bundle of *indispensible* textures? Only available in my online store, they are the ones I reach for the most because one of them will go with [almost] anything I’m creating!

And can we take a minute to admire the Boho Blue Limited Edition Mini Cut & Emboss Machine I stamped on my card and the actual one in my Stampin’ Store? I really did stamp it in Boho Blue for my card, but the lighting at night doesn’t look quite right. I love the mini machine for quick cutting and it’s the one that sits on my desk, but remember; the regular size embossing folders only fit in the regular Cut & Emboss Machine.

Use up your Designer Series Paper scraps with this technique: Glue pieces next to each other on a piece of card stock (in line or randomly), then cut to desired size and use it like you would a regular piece of patterned paper!

Product List

Using In Colors with Confidence

If choosing colors to use in your crafting is daunting, I have a tool for you!

The new 2023 In Color Coach will be going out with my email this week (if you aren’t subscribed yet, you will get it when you join my email list) and in Lunchtime Crafting LIVE today (video below), I showed a few examples using the page featuring the 2023-2025 In Colors.

Stampin’ Up! created Copper Clay, Wild Wheat, Boho Blue, Moody Mauve and Pebbled Path (in the order they are on my Classic Birthday Card) to set the TONE for the next two years as “In” colors. A tone is a pure color (HUE) with GREY added.

These colors feel “retro” and “earthy” when I look at them…what adjective would you choose?

While they look fabulous together, they can also be combined with other colors from our collections and I used the Color Coach to create two more examples:

When I combined Boho Blue with Lost Lagoon, Petal Pink and Misty Moonlight, it felt SEA-worthy, so I put them on a Crumb Cake beachy background and used the new Circle Sayings bundle for a summer “Thinking of You” card.

Next, I looked at Moody Mauve and the Color Coach suggested pairing it with Petal Pink again and Flirty Flamingo. It needed one more color, and the new CORE color of Bubble Bath felt just right. The Crafting with You bundle was ideal for this Handmade Hug card. All these new products are available MAY 2, 2023 from the new Stampin’ Up! Annual Catalog. Shopping links will be added at the bottom of this post on that day.

I “quilted” the background by running it through the Basics 3-D folder. This reminds me so much of a quilt I’ve snuggled under as a child!

Ready to add the 2023-25 In Colors to your studio? JOIN THE IN COLOR COLLECTORS CLUB!

Each month from May 2023 through September 2023, you will receive a package of one new IN COLOR products (May- Boho Blue, June- Copper Clay, July- Wild Wheat, August- Moody Mauve and September- Pebbled Path):

  • Classic Ink Pad
  • Classic Ink Refill
  • Stampin’ Blends Combo Pack
  • 5 sheets of Card Stock
  • Two 6″x6″ pieces of Designer Series Paper
  • 2 yards of ribbon

PLUS a bonus embellishment each month!

PLUS an exclusive project tutorial (supplies for the project will be included FREE, you’ll use your own ink and any stamp set to complete the project)

PLUS each month a member of the club will receive a set of the five 2023-2025 In Color Stampin’ Write Markers FREE until everyone has a set!

The Monthly Cost will be (plus $6 for shipping to you if you can’t pick up from Loni’s house in Hurricane, UT) and if you sign up, you are agreeing to all 5 months (worth it, I promise!).

Let me show you how to make the cards above and use the Color Coach to find a pretty palette: