By nature, I enjoy the season I’m currently living in. However, I can affirmatively claim that FALL is my favorite!
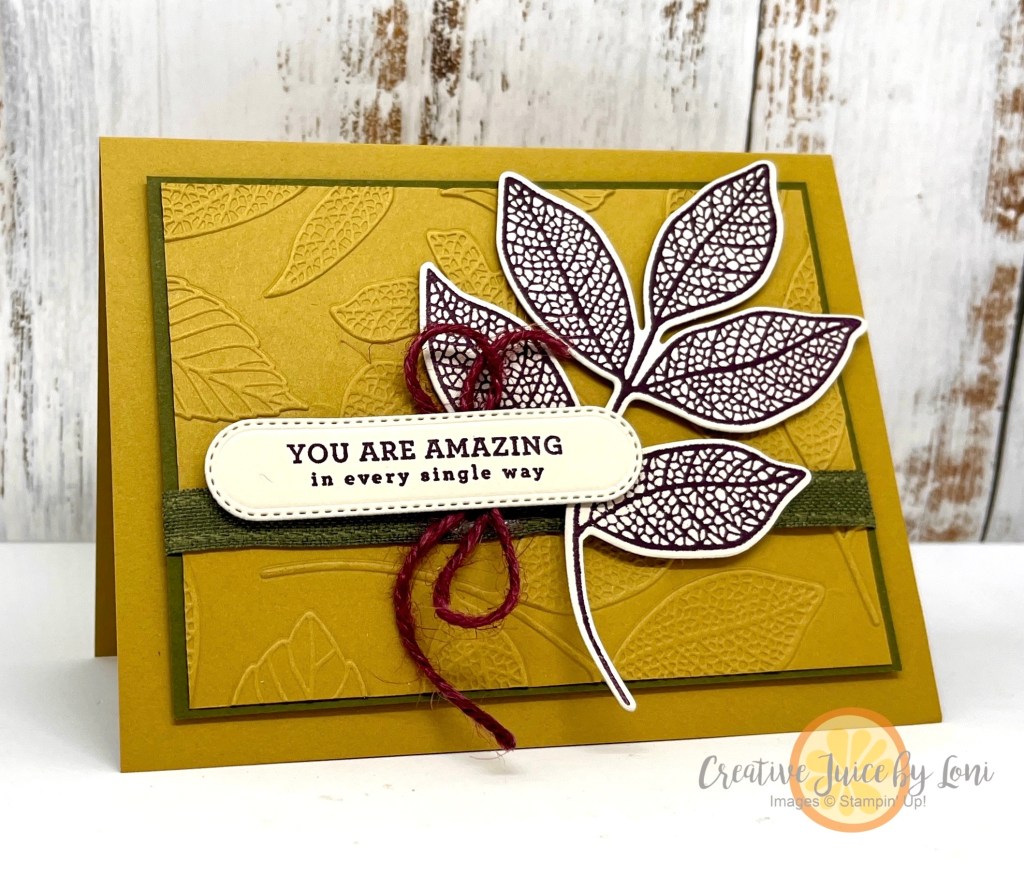
The new “Changing Leaves” bundle was sitting on my craft desk (freshly upacked from a pre-order for new Online Exclusives coming July 2nd) when I saw the TGIF Sketch Challenge – so here we are:
The simplicity of this sketch allows the details of the stamped image and the hybrid embossing folder to take center stage:
These are the colors I chose for my card:
Clever crafters may be asking, “Does Stampin’ Up! have Mossy Meadow ribbon? Or Blackberry Bliss jute twine?” and the answer is NO!But you CAN color the Basic Beige ribbon with the dark Mossy Meadow Stampin’ Blend Marker and the Moody Mauve jute trim with the Blackberry Bliss Stampin’ Blend Marker! Because the blends markers are alcohol-based, it doesn’t take long for the trims to dry before adding them to your paper creations.
Being able to order new products EARLY is one of the perks of being a demonstrator! Don’t suffer from FOMO…you can join my Sprinkled Ink team of demonstrators whenever you are ready.
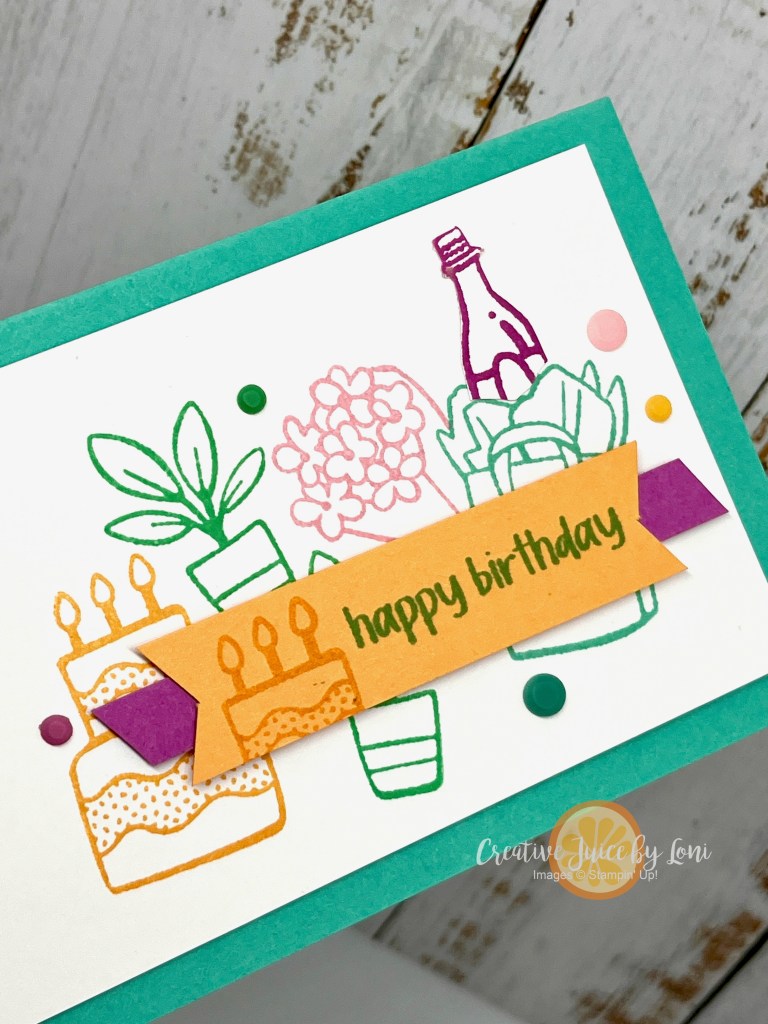
The vibrant In Color combination from the Global Design Project challenge #gdp449 felt like just the ones to use for today’s Live Crafting project
Your stampin’ stash can be used for MORE than cards, and this little purse/shopping tote/beach bag template can be used for gifting things such as gift cards, candy, money, jewelry, etc. The finished size of the box itself is 3.75″ tall, 3.5″ wide and 1″ deep.
The inspiration for the gift bags in the shopping cart came from a swap from my team mate Heather Goins, a.k.a. the Crazy Cardmaker. I love how she stamped onto patterned paper and colored the tissue paper in!
Normally, I wouldn’t pair foil paper AND glimmer paper, but this time it really added all the shimmer needed for a birthday celebration.
This is the month to add the NEW Attention Shoppers bundle to your collection: A stamp set + die bundle is discounted 10% when it is new to a catalog or publication PLUS in June 2024, bundles are an *additional* 10% off!
I had created this pattern for a project that I shared with the Stampin’ Leaders Project Sheet group. The instructions will give you the same measurements for the Attention Shoppers version!
Have you noticed the 22 card sketches on page 22 of the Annual Catalog? You’ll want to turn to these any time you’ve lost your crafting mojo, for they will give you a “map” to follow as you get back into your stamping groove.
If you look closely, you may spy samples throughout the catalog that follow a sketch, as well.
I decided to use the Simply Zinnia bundle to follow this sketch for the #CreativeChallengeSU :
These colors feel like SUMMER and make me want to plant some in my yard.
Remember the SQUASH CARD we made last week? We’re using the SAME fold, just starting smaller, and putting it inside a book-binding card for a POP-ular fun-fold for your favorite POP this Father’s Day (or ANY OCCASION)!
At first glance, this looks like a normal book-binding card. But wait until you open it up!
Watch this tutorial and give this a try, and you’ll be chopping all your Designer Series Paper to 6″ square to make more!
The silver foil pop top and bottom really make it look like an aluminum can:
The Simply Sparkling stamp set and dies are just a taste of many incredible products only found in my online store, so while you are adding them to your cart, check out the other Online Exclusives.
Usually, I’m a bit more timely in posting my finished project from my Monday Lunchtime Live crafting videos, but we were focused on tending the grandkids. I’m just now getting settled back at home and sharing this (late Saturday night)…better late than never!
This fun-fold card is called a “squash card” and begins with an 8.5″ square piece of card stock. Once finished, the card squashes (or smashes) flat to fit into a standard Stampin’ Up! envelope.
Measurements for the pieces:
8.5″ square card stock, scored at 4.25″ horizontally and vertically AND once diagonally.
Designer Series Paper: One 3.75″ square and two 3.5″ square
Basic White card stock: Two 3.75″ squares, plus a piece to stamp a greeting and/or images to embellish with.
I die cut images from the Designer Series Paper for the front of my cards, but you could just as easily stamp what you’d like for the top of your cards.
Now peek inside:
TIP: The same design can be used on a 12″ x 12″ piece of card stock to create a mailable scrapbook page! Place photos where any of the paper or card stock layers are, and save a spot to journal about the memories, then fold it up to send to a friend to remember a happy day together.
Watch for instructions:
Thanks for ordering the supplies from my Stampin’ Store so I may continue to bring you ideas to try!
Good news! Starting June 5th, both the standard and mini Cut & Emboss Machines will be 10% off (they have NEVER been on sale before!) PLUS stamp + die bundles- which are already 10% off – will be available for an ADDITIONAL 10% discount through June 30, 2024.
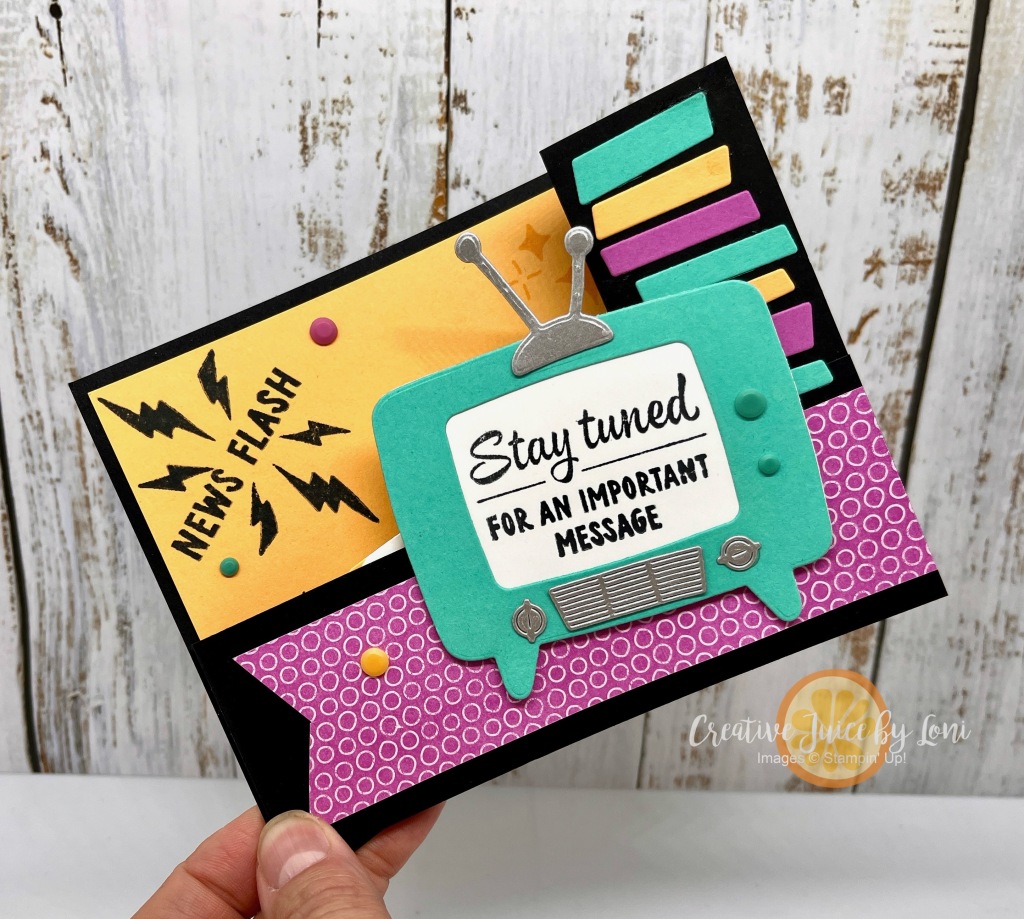
Fresh new banner for our world-wide monthly New at SU! blog hop – and for the new catalog release in May, we are showing off those vibrant new 2024-2026 In Colors!
All the RETRO-feels of the “Tune In” bundle were impossible to resist, so I’ve made a wiper card with Summer Splash, Peach Pie and Petunia Pop:
This is the card when it’s closed and then…
…up pops the “You’re Super” message!
Quick video clip to see it in action:
What other gorgeous In Color goodies await you along the hop? Visit to find out:
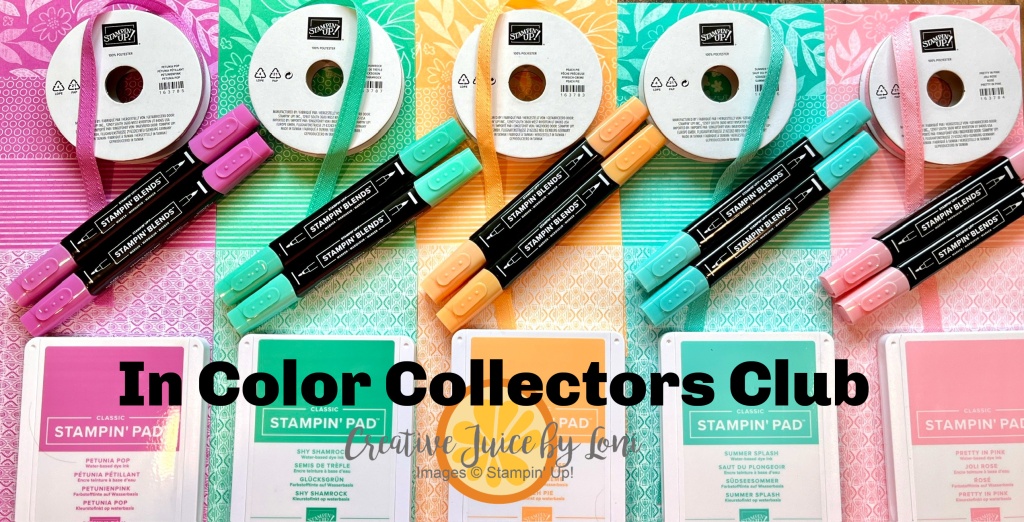
Still here? Today is the LAST DAY to join my In Color Club, where you will collect ALL the products in each of these new 2024-2026 In Colors over the next few months, PLUS the Basic Beige FREE in September! Each month you’ll also receive complimentary supplies to create an exclusive project with your new colors.
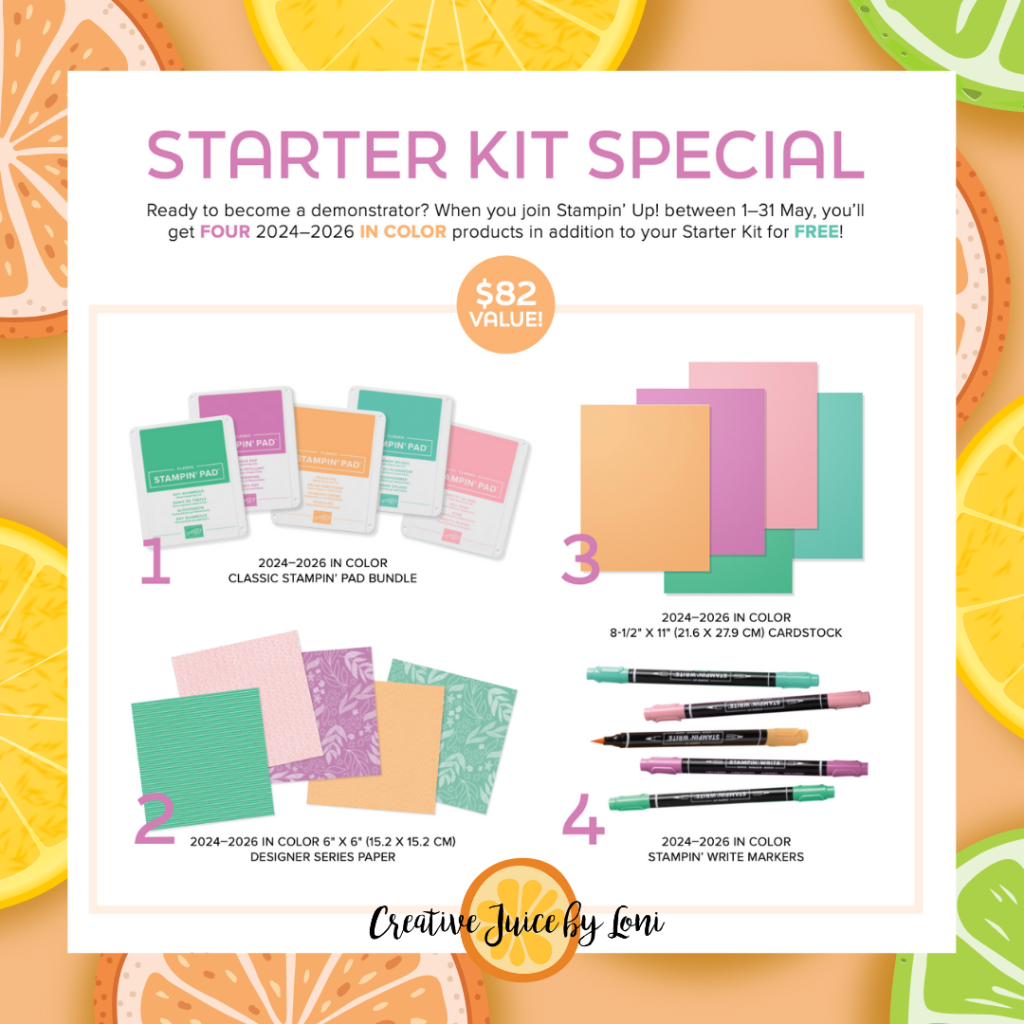
Too impatient to collect one each month?! Consider starting your own Stampin’ Adventure with the May 2024 Starter Kit Special!
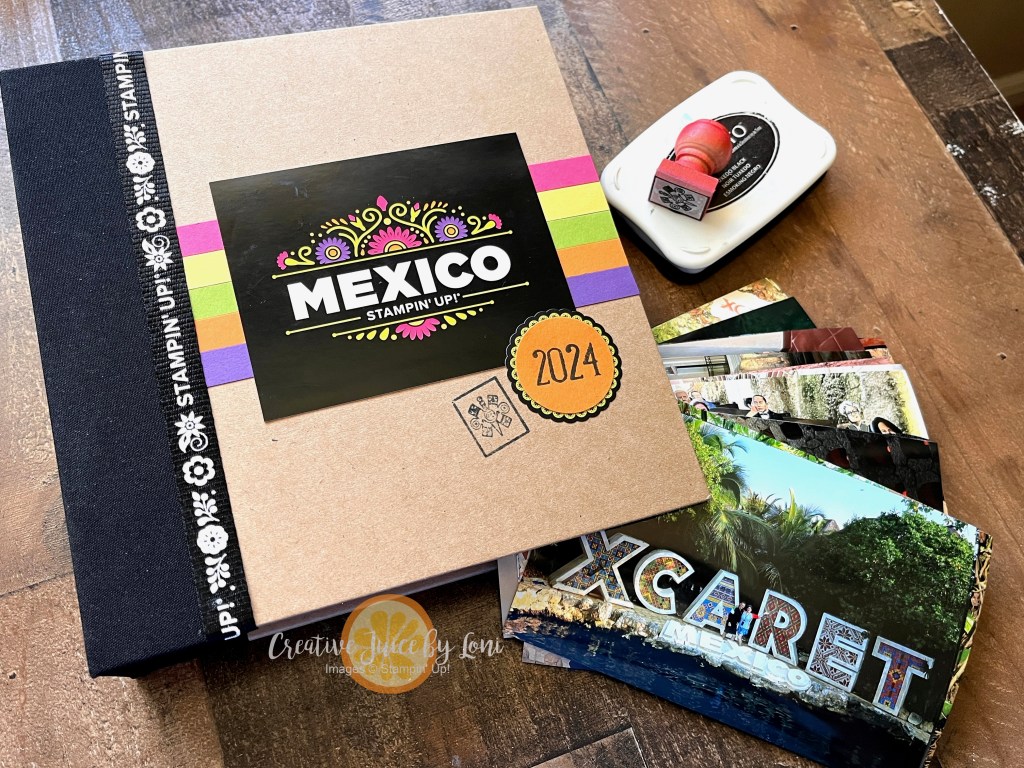
The Stampin’ Up! Incentive Trip* to Mexico was more marvelous than I even imagined! It’s a memory I will treasure and enjoy for years to come, so today I printed my photos and while the details are still fresh, I’m putting them into the album SU! generously gifted us at parting:
*Results aren’t typical- less than 1% of demonstrators earn the Incentive Trip each year. But even if it takes you 32 years (like me!) it’s worth the effort!
The 6″ x 8″ album didn’t come decorated like this…I embellished it with memorablilia collected along the way! The note that came with a set of luggage tags before we left home became the front focal point, the lanyard for our name tags is wrapped around and since rubber stamps got me to this adventure, I picked up a stamp for the Mayan symbol of 4 directions at the Cancun Mayan Museum gift shop.
Watch how I’m using pocket pages to add my photos and the new Ephemera packs to add fun details to every page:
A package of pages and an album are LESS THAN $20 – just IMAGINE what a great gift this would be for a graduation, a family vacation or birthday!
Here are the supplies I used (not including the card stock strips on the front of my album) so you can order them ASAP for your next celebration: You may want to order an extra to have on hand at this price!
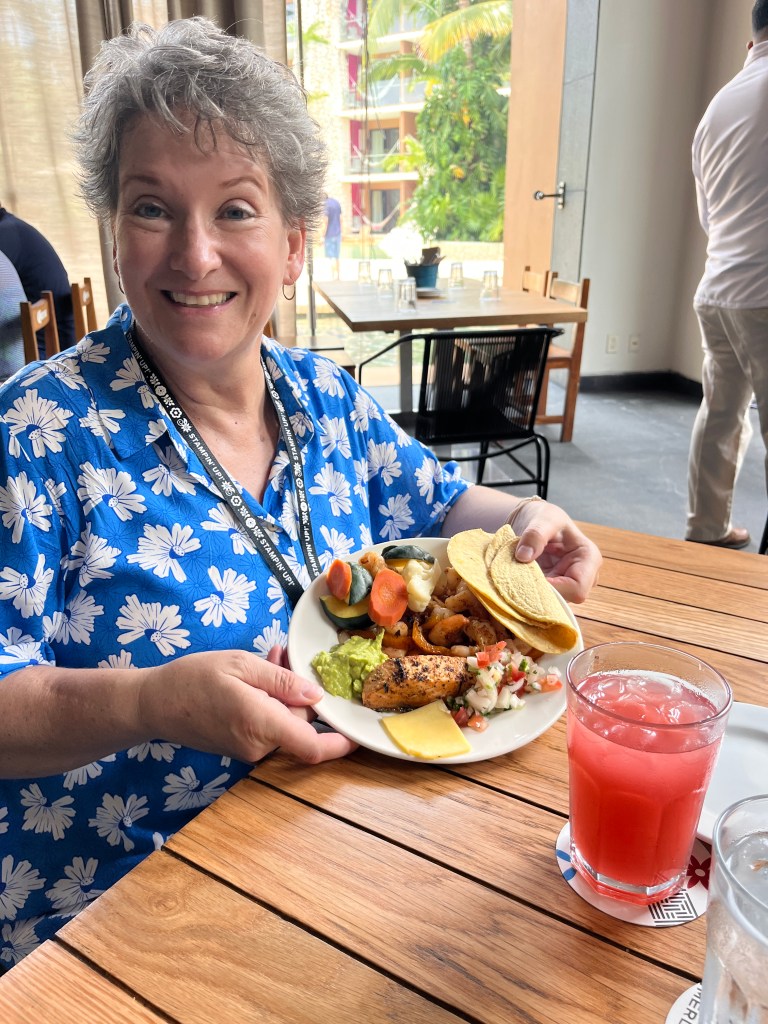
If you aren’t interested in my vacation pics, now’s the time to move along- but for those who want to see the highlights of this incredible experience, have a look-see!
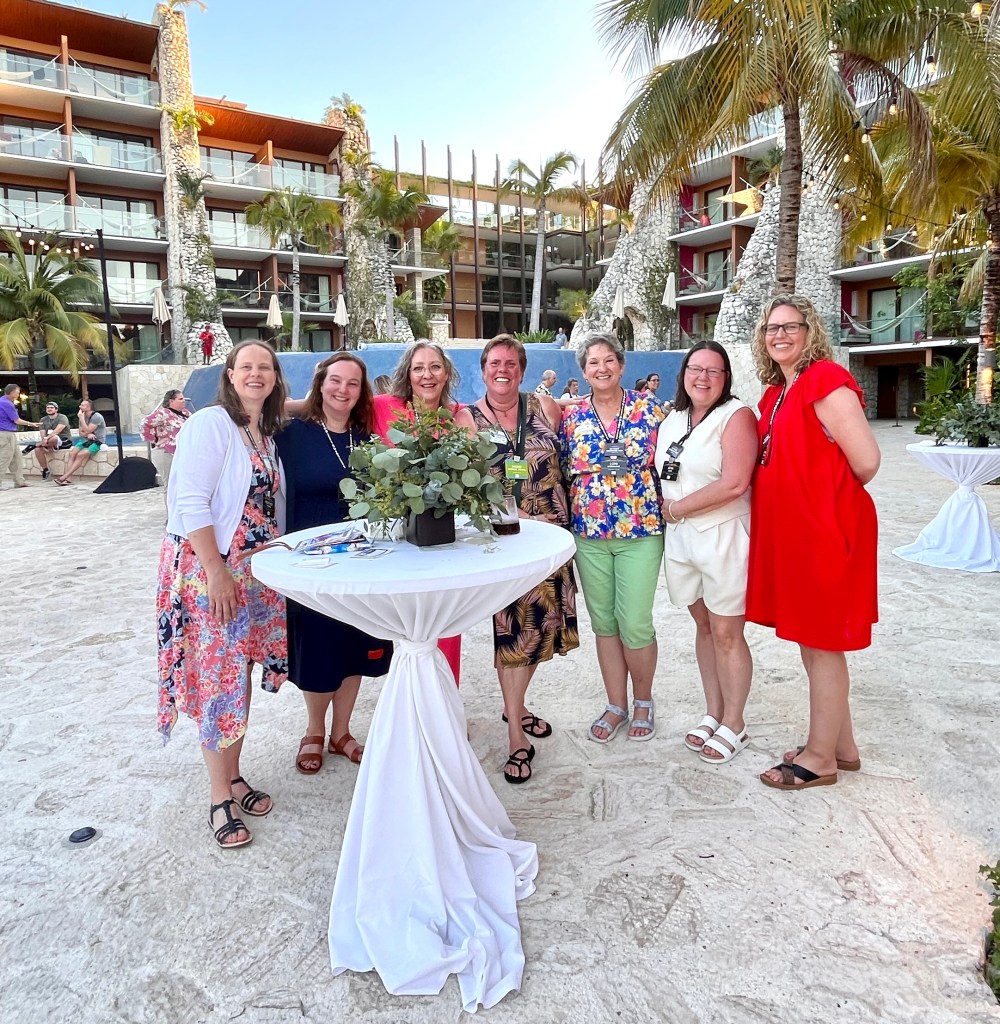
If you ever have the opportunity to stay at Hotel Xcaret Mexico…SEIZE IT! As Cody said, “I didn’t even know there were places like this.” We also visited Tulum and Chichen Itza on different days. I met some demonstrators that I admire at the First Time Acheiver’s reception, along with the opportunity to visit with beloved Stampin’ Up! leaders.
Jill Taylor & Shelli GardnerWith Heidi CollinsWith Tracy TravisHeather Thomas, Yvonne Van Bruggen, Kristien Saeys, Ingrid Hermens, me, Jenna Carr, Emma GoddardWith Sara Douglass
We were also gifted a photo package which we used at the Xcaret Mexico park and the Xenses park: It was genius to be able to swipe your wristband and have a personal photographer of all of the adventures!
Throughout the month of May 2024, there is a fabulous Starter Kit Special: You’ll get to choose $125 worth of your favorite products for just $99, then Stampin’ Up! will add FOUR 2024-2026 In Color products added to your kit FREE!
I wanted to show something you could make with these colors and potential items in your kit, so I demonstrated a simple stamping project on my Facebook page, inspired by a layout from the new annual catalog:
I failed to mention that this card is the ideal size to include a gift of ca$h, and here’s what I would stamp on the inside:
Basic masking and fussy cutting techniques are shared in the video you can watch here:
Did you know…
…there are no hidden requirements to buy the starter kit? You can purchase the kit and give the demonstrator life a try, and if you like sharing your love of paper with others, you’ll learn how to personalize your business or support your hobby as a demonstrator. But if you just want to take advantage of this great opportunity to add some color to your life, you can just coast along and enjoy the demonstrator discount until you no longer meet the quarterly sales minimum.
While that’s the smartest way to collect the colors quickly, you could also opt to add them one-at-a-time to your toolbox over the next 5 months by joining my In Color Collectors Club, including getting the new Basic Beige color collection FREE!
If you are in southern Utah, don’t miss my Catalog Carnival Open House this Saturday from 1-4 pm in Hurricane where you can craft a card, snag a snack, capture a new catalog, AND shop from my ONCE-A-YEAR-BOGO SALE!!
Attention Shoppers: I’m always delighted when you choose me to serve your creative needs – thanks for ordering your genuine Stampin’ Up! supplies from my Stampin’ Store by adding the products you love below to your cart, and watch for your thank you card in the mail when you allow me to inspire you!
It’s CATALOG PREMIER DAY and I am doing the happy dance! Do you have a favorite suite of products? Or pretty paper you can’t resist?
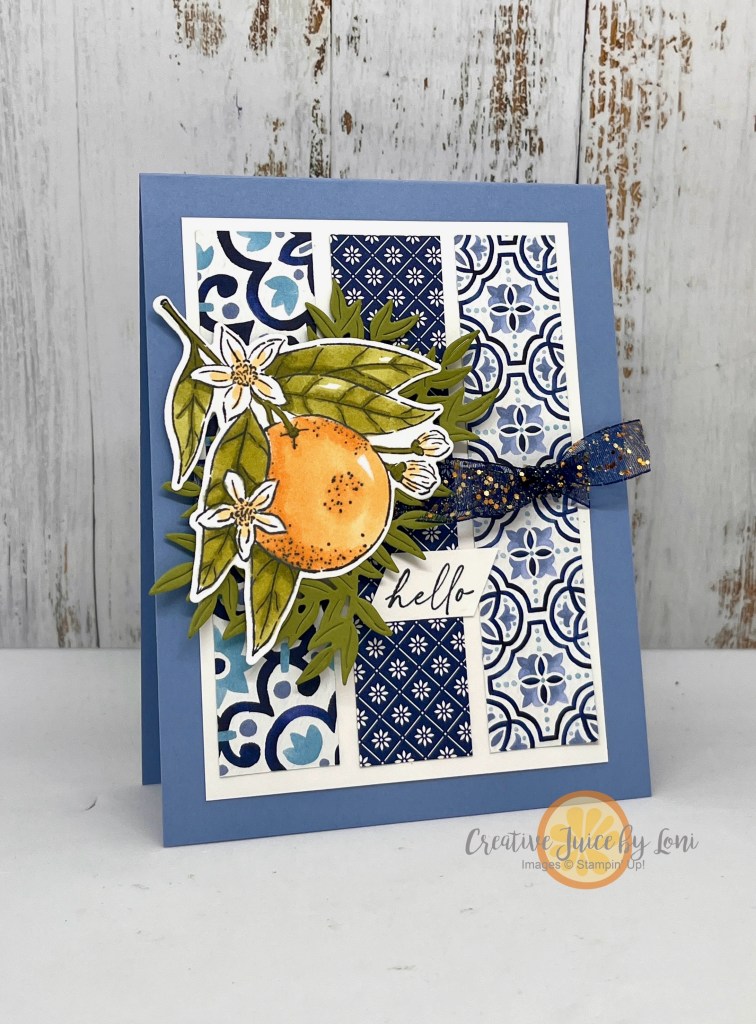
My top pick will be no surprise: The Mediterranean Blooms Suite reminds me of the island of Capri, Italy and that’s where my inspiration came from for this card…plus, I have a tutorial for you!
Lemons are plentiful in Capri, and while I chose to use Peach Pie Stampin’ Blends to color my citrus fruit, it still feels like the island, with the blue & white tiles that reflect the ocean.
I’m still enjoying the sun in another beautiful part of the planet, so I’ll update links when I return, but you can start shopping today at my Stampin’ Store!
Meanwhile, print out this tutorial and be prepared to answer the call of Capri- by mailing a little sunshine this summer:
It’s *FINALLY TIME* and hopefully I’m sitting on the beach as you read this! One of the last things I did to prepare for the Stampin’ Up! Incentive Trip was to create swaps, and thought you might like to see my card:
I used the Leaf Collection stamp we received as an all-attendee giveaway at OnStage last month to emboss a Shaded Spruce and Pretty Peacock background onto Shy Shamrock card stock. The stamp arrives on WEDNESDAY, May 1st in my Stampin’ Store! The ink stayed wet just long enough to cover it in clear embossing powder:
See that new color on the card base? It’s called “Basic Beige”
I added the sentiment in the Hexagon punch and a few leaves and sprigs using the Bough Punch and a sweet bow (if I made it, it probably has ribbon on it).
Looking forward to sharing more about our Mex-capade…when I have the time! And because I’m supposed to say this about earning the Incentive trip: “Results are not typical. Fewer than 1% of Demonstrators world-wide achieve this reward”
THANK YOU for your support and orders from my Stampin’ Store. I hope the value, teaching, and service offered to my friends & customers is equal to my deepest heart-felt appreciation!


")


 Bordered Ribbon")


")


 Designer Series Paper")
 Glimmer Specialty Paper")


 Circle Punch")
 Circle Punch")


")


")
 Designer Series Paper")


")


")


 Designer Series Paper")


 Album")


")