Home Decor SU! Dollar Tree Style (+ Stamp Clubs!)

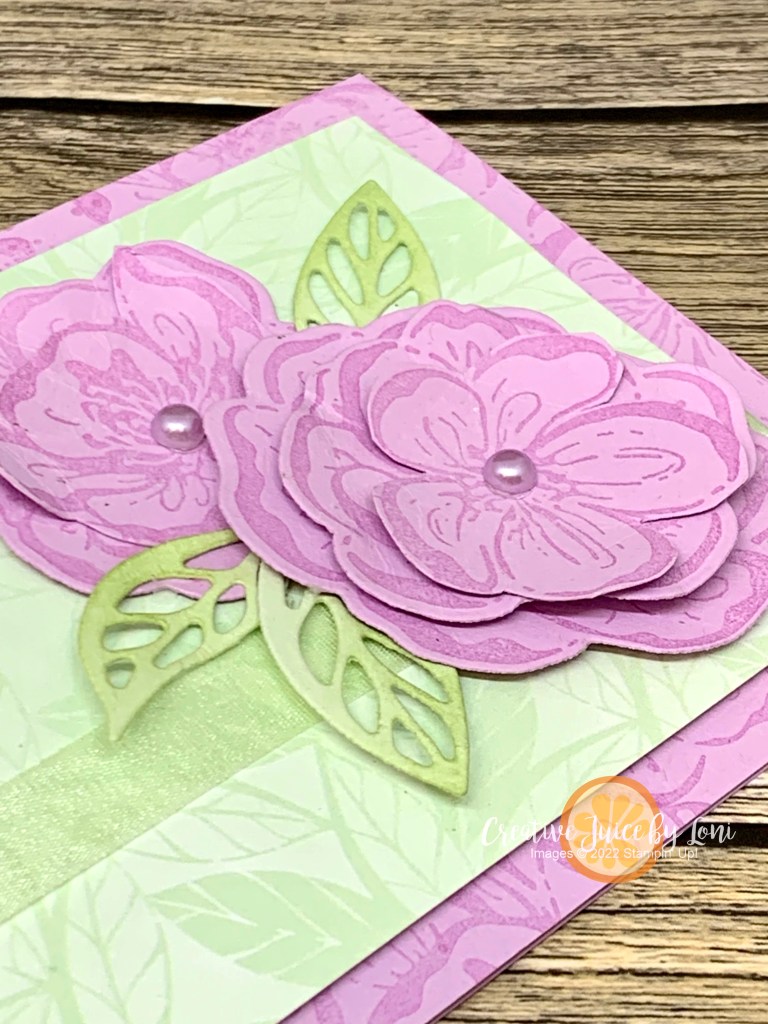
It’s hard to resist wandering the aisles of the dollar store…it’s a treasure hunt, and the find of these decor pieces stirred up my creative juice:

You can paint them -or leave them natural- and use your favorite Designer Series Paper to put inside the circle! My version is painted white and I used the Hues of Happiness paper (now sold out on the Last Chance Sale).

Then I used the Alphabet a la Mode Dies to spell out a favorite quote (or ” ________’s Stampin’ Studio” if you are decorating your craft space). If you adhere Adhesive Sheets to the back of a piece of black craft foam, you’ll be able to cut out the letters on your Cut & Emboss machine and attach them to your sign easier. Foam doesn’t keep as rigid a shape as paper, but a TIP is to lay a ruler or straight edge down on your paper to line the letters up on BEFORE you adhere the paper inside the frame!

It’s nice to have dimensional letters that are black on all edges with the craft foam.

This was a project we made at our last Stamp Club in April– We start a NEW CLUB in June (meeting every other month) and if you are in Southern Utah, you can sign up to be part of the club or learn more here:

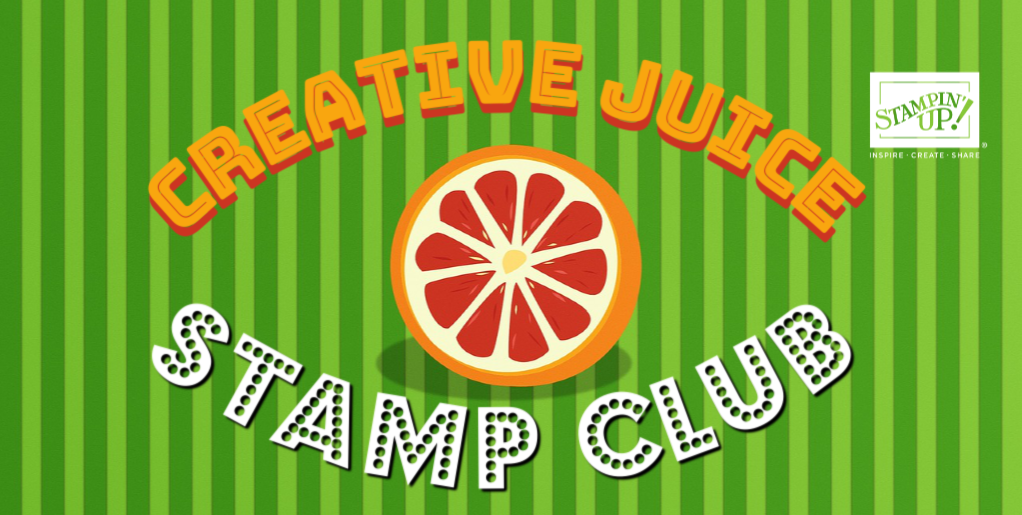
NOT IN SOUTHERN UTAH? I’ve got you!

You can host your own virtual party, join my team and start your own club OR be a part of my IN COLOR CLUB from ANYWHERE!

Each month from May 2023 through September 2023, you will receive one of the new IN COLOR:

  • Classic Ink Pad
  • Classic Ink Refill
  • Stampin’ Blends Combo Pack
  • 5 sheets of Card Stock
  • Two 6″x6″ pieces of Designer Series Paper
  • 2 yards of ribbon

PLUS a bonus embellishment each month!

PLUS an exclusive project tutorial (supplies for the project will be included FREE, you’ll use your own ink and any stamp set to complete the project)

PLUS each month a member of the club will receive a set of the five 2023-2025 In Color Stampin’ Write Markers FREE until everyone has a set!

This will be the order in which the colors will arrive: May- Boho Blue, June- Copper Clay, July- Wild Wheat, August- Moody Mauve and September- Pebbled Path

Monthly Cost: $35 each month (plus $6 for shipping to you if you can’t pick up from Loni’s house in Hurricane, UT).

Click the image above to join the In Color Club by May 15th!

Yes, you can be a member of BOTH CLUBS

Something Old, New & Blue for a Sketch

This is the great clean-out week in the Creative Juice Stampin’ Studio as I prepare for my New Catalog Carnival & BOGO Sale on May 6th!

As I was sorting through things, I found a few items that were retiring which I wanted to combine with a new bundle coming in the 2023-2025 Catalog: A piece of By the Bay Designer Series Paper and the Seashells 3-Dembossing folder. So when I saw the Freshly Made Sketch #FMS582 for the week, I knew exactly what to do!

Using a sponge dauber and my Whisper White Craft ink pad, I made the embossed background stand out a bit by rubbing the ink over the shells and seaweed, then pulled colors from the Designer Series Paper (Balmy Blue, Crumb Cake, Night of Navy and Soft Sea Foam) to use as my color palette.

If I had a “spirit shape” it would be a circle (I don’t like corners), so the Circle Saying stamp set – which coordinates with a new 2-3/8″ circle punch – was part of my first demonstrator pre-order from the new catalog, which you will be able to shop from starting May 2nd. HOWEVER, if you want to combine them with the embossing folder or pretty paper, you’ll need to snag them now in the LAST CHANCE SALE:

The Circle Sayings Bundle (photopolymer stamp set + 2-3/8″ circle punch) will be available on May 2nd, and here are the other supplies to collect NOW for this card:

Product List

New at SU!- An Irresistible C.A.S.E.

As we wind down the 2022-2023 catalog, the New at SU! global design team wanted to show you how your catalogs (and mini catalogs!) are a TREASURE TROVE of inspiration! We are CASING (CASE = Copy And Stamp Everything) the January-April mini catalog to show you that the samples can give you a jumping off point for your own original designs.

I chose to copy the layout of this slimline Sea Turtle card on page 29 of the J-A Mini catalog:

This is my version, using stamps, dies and paper from the Hello, Irresistible Suite, with a twist on the color combination:

Are you getting the idea of how to turn a picture of a sample card into your own creation?

This slimline card is 7″ x 6″, scored along the 7″ side at 3.5″ and fits into a regular envelope (stamped, of course).

I thought the Soft Sea Foam leafy Designer Series Paper paired sweetly with Fresh Freesia 3-D flowers! There are two sizes of flower stamps in the set, so I stamped and die cut both sizes, then fussy cut out the center of another to scrunch up and layer on top of each other.

Add soft sponging to the leaves, a heat embossed greeting and pretty details like ribbon & pearls to dress up this celebratory greeting card.

All the supplies are listed below the roll call. Don’t be worried if some of the suite products are out of stock…you can purchase most of them individually or they will all be back together soon! If you don’t have a U.S. demonstrator, I’m delighted to serve you, or find a demonstrator in a different country in our hop:

April 2023 New at SU! Hop: CASE the Mini Catalog

1.Creative Juice by Loni (US) – An Irresistible C.A.S.E. of the Mini Ca
2.The Joy of Stampin’ with Rachael (USA)- Sweet Citrus
3.TanjasKartenwelt (DE)- Kuenstlerisch Floral
4.iHeartCards2 (US) – Casing Marigold Moments Card
5.Stamping Flair (AU) – Butterfly Brilliance
6.Carterie Plus (CA)Inspirez-vous avec notre Blog Hop d’avril / et insp
7.Tricia’s Stamping Creations (USA) – Beside Me
8.Annette Elias – De Kijkkast – NL – From Icecreams to Turtles
9.Stampin Xime (DE) – Romantische Ranunkeln | Ranunculus Romance
10.247Inkspiration (US) – Hearts To Flowers

Powered by blogcarousel.com

Product List

Triangle Gift Box & Flash Free Shipping

Q: What did the triangle say to the circle?

A: You’re POINTLESS!

Have you ever made a triangle gift box? It starts with a regular card base (8.5″ x 5.5″) and is quick to complete, no geometry required!

It felt like this triangle needed tacos, but you can put anything on it! Print the instructions below, then watch the video that follows for a few more finished samples and HOW TO!

Follow along with me to make this Tri-riffic box:

Any supplies you need to craft your own can be found in my STAMPIN’ STORE! And heads up… tomorrow (Wednesday, April 19, 2023) is a FLASH FREE SHIPPING DAY on all orders over $75!

Thanks for allowing me to help you gain creative confidence!

Fence Me In: A Split-Front Card

Split-front cards are trending in paper crafting, and the Sending Smiles bundle makes today’s card a sunny one!

I’d been seeing these pretty cards and knew it was time to jump in, so today I taught you how with a video. Will you try this unique style of a split-front card?

The Sending Smiles stamps and Sending Dies WILL be carrying over to the 2023-2024 catalog in May, but they won’t be bundled together with a discount, as they are now!

Have a ball making your own Fence-Post cards! Here are the supplies you need for this version:

Product List

If you are wanting the best deal to gain CREATIVE CONFIDENCE, add $125 worth of these items to a STARTER KIT (and only pay $99)…then you’ll be part of my Sprinkled Ink team and connected to other creative people sharing what they love! It’s my job to help you learn and grow your business, and we’ll have a fun time doing it together.

Conversation Bubbles Stencil

Crafter Problems #763: When you haven’t had time to play with a stamp set & die bundle before it’s about to be retired!

Today I showed how to use the dies from the Conversation Bubbles bundle (about to retire from the Jan-April mini catalog) to create a stencil for the background of a card:

Inspired by Cathy Zielke‘s concept on Youtube, I figured I could make my OWN stencil, and it worked beautifully! What other dies would you try to make your own stencil with?

My problem is YOUR opportunity: Starting tomorrow (April 4th), you can shop the LAST CHANCE SALE in my Stampin’ Store to collect the Conversation Bubbles stamp set and Conversation Bubbles dies at a discount! The bundle was $46.75 originally, but if you purchase them separately, the total will be just $32 (while supplies last)!

Watch the video here (feel free to speed it up on YouTube to make it quick and easy):

I hope I’ll have time to spotlight this playful bundle one more time before they are gone for good.

Meanwhile, set an alarm to remind you to shop my Stampin’ Store tomorrow for the Last Chance Sale!

Product List

Vellum Overlay Ladybug Birthday Card

I challenged my Sprinkled Ink team to use Vellum this month, and what kind of leader would I be if I didn’t do what I asked them to do? So it was delightful when Friday’s TGIF challenge went right along with it! Plus, I got to pull out my Ladybug builder punch to create Polished Pink bugs for a birthday card, so who wouldn’t have fun with that?

Have you played with the Vellum Basics Specialty Designer Series Paper? With SIX 12″x12″ pieces of printed vellum – 2 each of stripes, polka dots, and this pretty leafy vine that I used – it’s gives a soft layer of texture, which I enhanced by heat-embossing the blossoms on top of:

While I stamped and punched out the ladybugs for the Polished Pink version of the card, you can also just use the Ladybug Builder punch to punch the pieces out and stamp the polka-dots on the wings, as in the Real Red version-

You’ll have such an enjoyable time putting together these cards, and remember to order some Brushed Brass Butterfly embellishments to include inside your card as the birthday gift!

Here’s a step-by-step video to make it easy for you – simply pause the video and collect the pieces you need to create along with me.

Click the links to add the supplies you’ll need to your cart (Stitched Rectangle dies and Cut & Emboss machine are optional):

Product List

THE BEST DEAL is always the Starter Kit!! Add $125 of the products you want to your Starter Kit and only pay $99…PLUS, save every time you shop, and be a part of my fabulous Sprinkled Ink team of Stampin’ Up! demonstrators. It’s a WIN/WIN opportuntiy!

New at SU! – Spell It Out!

With all the awesome alphabet products Stampin’ Up! currently carries, the New at SU! design team is showing up to demonstrate ways to say what you want to say in our March 2023 Blog Hop!

I’ve paired the Alphabet a la Mode dies with the Greatest Journey dies to create a card of encouragement for someone who is working toward a goal:

The trickiest part of this card was making sure I cut out the letters the same distance from the top of each strip of card stock, and to remember to keep the inside of the letter “A” to adhere inside the negative image. I did add an adhesive sheet to the back of each 7/8″ x 4″ piece of card stock before die cutting, so I could easily adhere the strips to the card AND use the letters I cut out for another project.

TIP: Use a piece of washi tape to hold the letters in place as you run the dies through the Cut & Emboss machine!

After that, it was all downhill (so to speak): die cut the runner and mountain from Basic Black, and layer the card onto a black mat.

I stamped the “This Moment” sentiment inside the card, because we don’t always recognize that our hard work now will pay off later.

Now, discover MORE ways to use letters and alphabets in your paper crafting with these ideas from our International New at SU! Group of Demonstrators:

March 2023 New at SU! Blog Hop: Spell It Out!
1.Creative Juice by Loni (US) – Spell it Out, Alphabet a la Mode
2.The Joy of Stampin’ with Rachael (USA)- Playing in the Rain
3.JONi in the Spotlight Stamping (US)-ALPHABET A LA MODE
4.De Kijkkast (NL)- Classic Letters & Sweet Citrus
5.Playing with Papercrafting (CAN) – Spelling Bee
6.Tricia’s Stamping Creations (US) – Spell It Out Alphabest Bundle
7.Stamping Flair (AU) – Love You More Dies with Paradise Palms
8.247Inkspiration (US) – Milkshake Love
9.iHeartCards2 (US) – Spell it Out, Love For You
10.scraphexe (DE) – Angesagtes Alphabet
11.TanjasKartenwelt (DE)- Angesagtes Alphabet
12.Carterie Plus (CA)- Épeler/Spell it out

Powered by blogcarousel.com

Product List

Spend Time With a Friend: TGIF Sketch

Yes, this is the second sketch challenge in two days, and one that I dreamed about. So to stop obsessing over it when I should be sleeping, I had to stamp it to get it off my mind.

It started with the #tgifc411 sketch last Friday:

Then I looked at my stamps and saw the Warm Welcome set on my shelf that needed some attention. The door is just so inviting and the sentiment is ideal for welcoming friends into your home, so I imagined an open door and hot cocoa.

Take a look at the Enjoy the Journey Designer Series Paper and see it in a new way: through a window or door, it makes a great background! And the patterns on the opposite sides of the scenery are fun for wallpaper or accents. I even used a piece to stamp the “Hello” sentiment on.

The Warm Welcome bundle includes all sorts of dies that make creating an open-door policy fun…and you can color the small pieces (like the hands holding the mugs) with any markers. I used Stampin’ Blends (not listed in the supplies), but the images are tiny enough a Stampin’ Write marker would work as well.

Don’t miss the new BASICS 3D Embossing Folders (new to my online store); as a set of 3, you can choose from flowers, hobnail-glass dots or this very nice crosshatch design. It gave the background a subtle texture that helped pull the design together. Surely these patterns will be showing up in my crafting often.

Send this card to a friend and invite them over to craft and chill sometime!

Product List

Sometimes it helps to see a few more samples with a stamp set, so here are some with the Warm Welcome bundle:

Radiating Stitches In Color Birthday Card

Have you taken the time to explore the new Online Exclusives in my Stampin’ Up! Store? Some things have been so popular, they are already backordered and we are waiting for more!

One new item I wanted to share with you is the Radiating Stitches Dies…these cutting tools will take ANY stamps you already have and give them a pretty frame or add a bit of whimsy with a layer of “stitching” around the edges of your layers:

I chose to follow the Freshly Made Sketch #576 during my Live Crafting today and used two In Color Combinations to demonstrate the versatility of starting with a sketch, and the ease of using a combination of colors curated in a color “family”.

It happens that from today through Mid-April, I have 10 family birthdays (and about 15 friend and team birthdays) to celebrate, so this was an opportunity to get prepared!

This version I turned sideways and used the 2022-2024 In Colors as my palette. A sketch can be turned any which-way!

And this card followed the portrait layout of the original sketch, plus I used a base of Very Vanilla with my colors from the (retiring) 2021-2023 In Colors. All supplies listed below to make it easy to add to your cart!

Product List