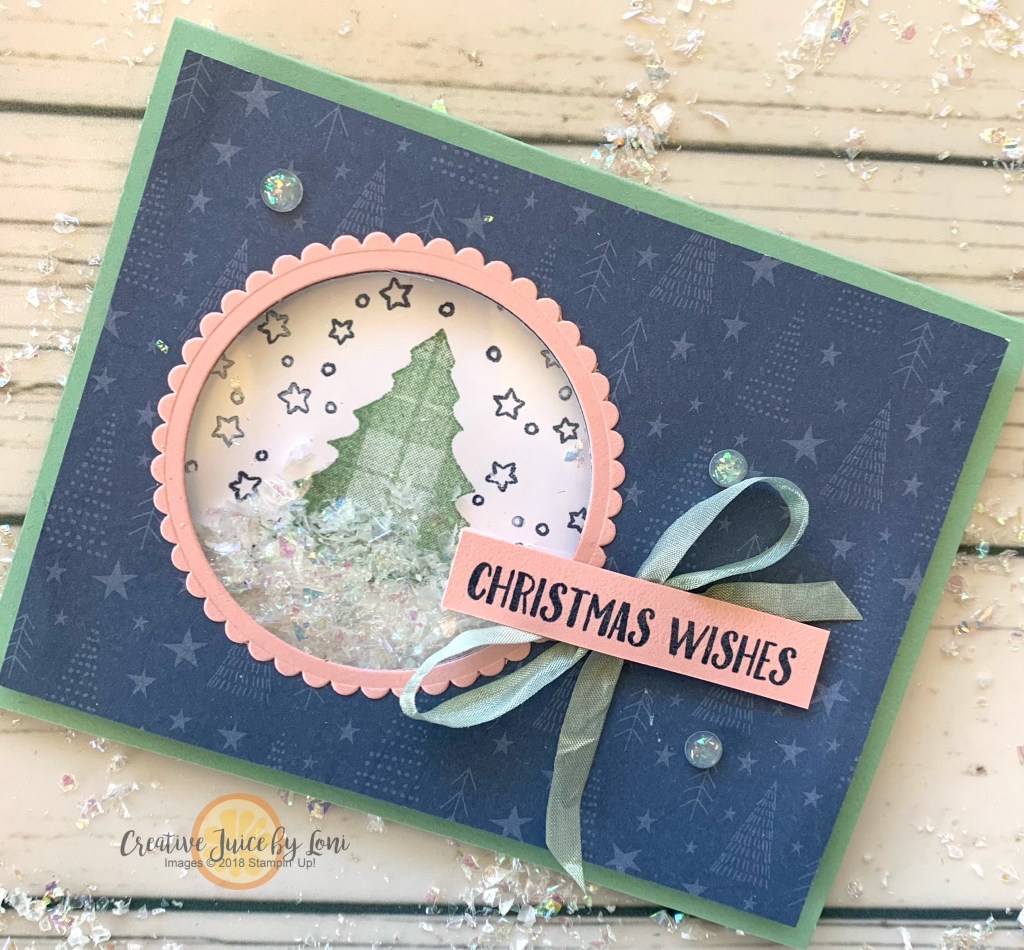
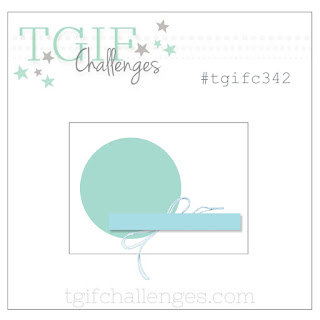
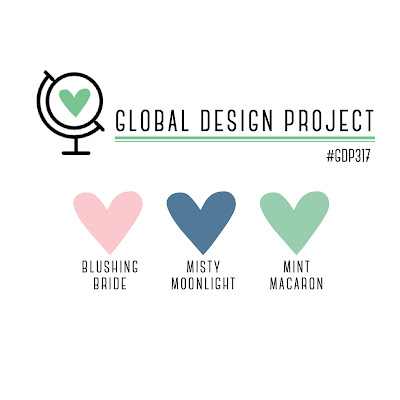
The first idea that came to mind was a shaker card when I saw the #tgifc342 sketch, and the second idea was that it would be lovely in the #gdp317 color challenge:
I am participating in Stampin’ Up!’s virtual convention #onstageathome so as I was listening to a class, I had time to put my ideas to paper, so to speak!
I used Faux Snow from Dollar Tree inside my shaker and colored the white seam binding ribbon with my dark Mint Macaron Stampin’ Blend marker. Sometimes you have to pull pieces from multiple stamp sets to create what you imagined in your head, so the. sentiment is from the Banner Year stamp set (all supplies listed below) and stars came from the beloved Seasons of Fun set (remember to choose it as part of your host rewards when your order is over $150).
A heartfelt THANK YOU to all my stamping friends who have supported my business. I earned the following awards this year and it’s all courtesy of your friendship and loyalty. YOU are the best reward I could ever ask for!
It was hard to sleep last night, so I imagined crafting with the colors from the #tgifc341 challenge: Very Vanilla, Pool Party and Pale Papaya. To be honest, it didn’t help me sleep, but it did make me excited to create this card for my FB Live today!
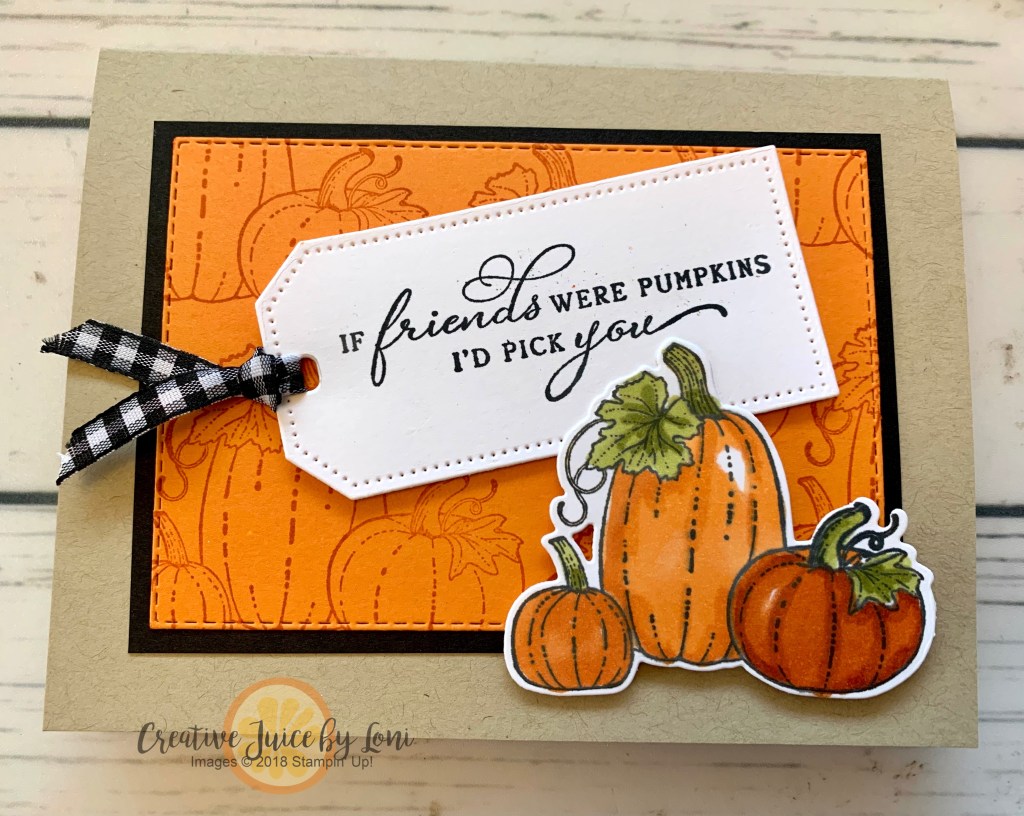
Can’t get enough pumpkins for the fall, and the daisies were a whimsical touch paired with my polka-dot pumpkin, don’t you agree? The background was hand drawn with Pool Party Stampin’ Blends markers. Don’t be afraid to make your own plaid!
Mixing up all your stamps and supplies can expand your creativity!
One of the best ways to get most of the supplies for this card is to take advantage of a November-only special for the Starter Kit: Choose $125 in products for just $75!
Not only do you get a great savings on your supplies, you’ll get a discount on future purchases and a chance to see if being a demonstrator works for you!
When a stamp set works for more than one holiday, it’s a great investment…and when you can get it at a discount, that’s a no brainer!
The Seasons of Fun stamp set is one you can choose as part of your Stampin’ Rewards for just $12 when you host a party!
Did you know that an order of $150 or more COUNTS as a party? That’s right…you don’t have to invite people over to qualify for the benefits of hosting, you can just gather orders or place your own qualifying order in my Stampin’ Store.
With this set of cards, I used the SAME LAYOUT and made a card for Halloween, Fall and Christmas. Because the Seasons of Fun stamp set doesn’t have any words, I paired it with the very versatile Banner Year stamp set for the greetings:
Turn the layout and add strips of Designer Series Paper instead of just one piece:
Or swap sides:
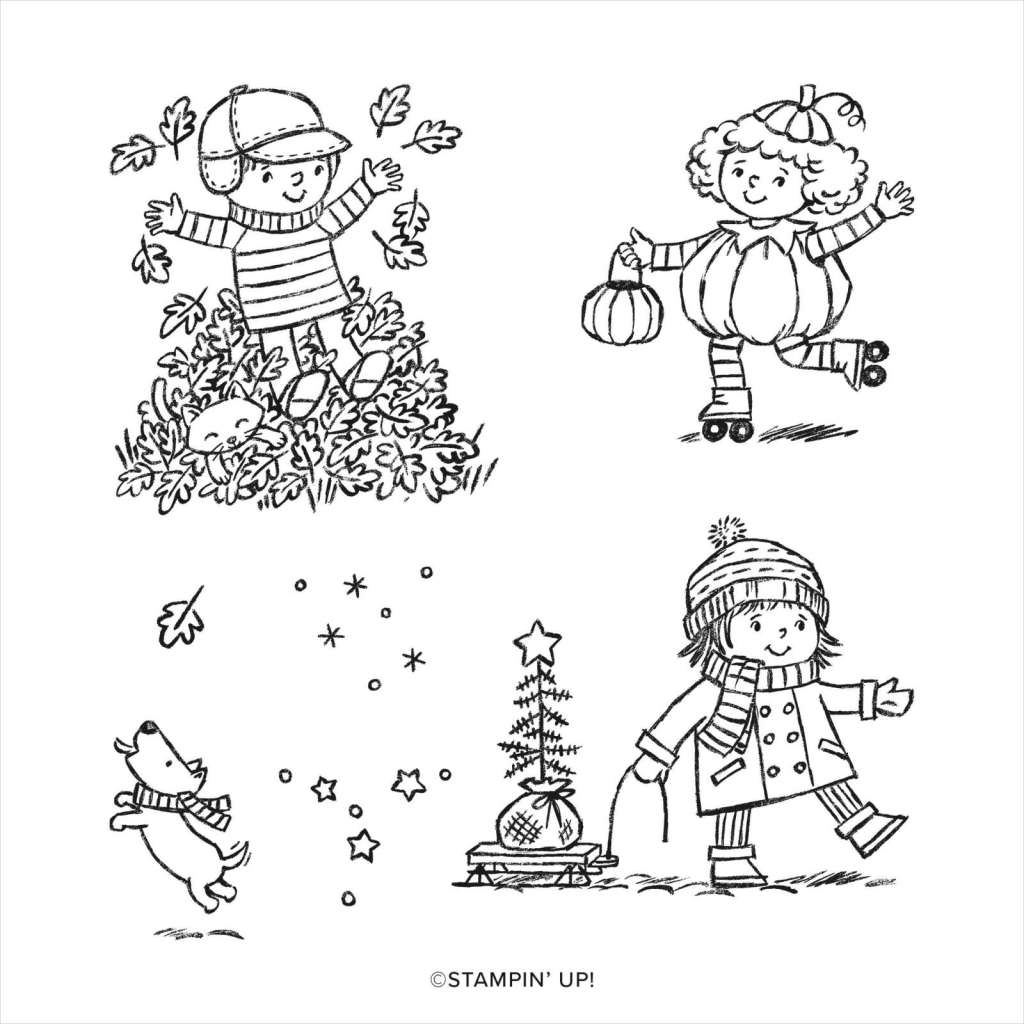
Aren’t these kids the cutest? It’s fun to color them with Stampin’ Blends and easy to celebrate all the Fall-idays.
This host-exclusive set is only available during the current mini catalog period…one more reason to host a party (or place a qualifying order) before the Seasons of Fun stamp set retires on January 3, 2022. I’ll help you host an event online or in your home ~ let’s plan it!
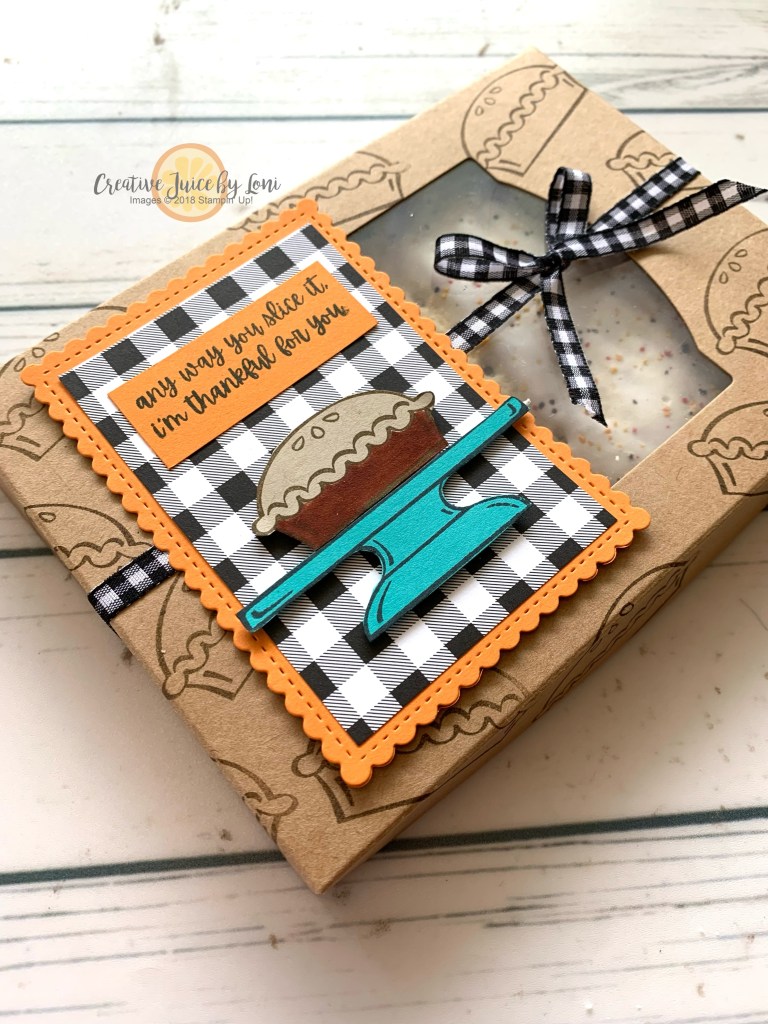
Love to give tasty gifts, but hate to bake? This project will have you making, but not baking!
Did you know there are PUMPKIN PIE POP TARTS…and they really taste like a pumpkin pie? They are really yummy! I found mine at Target, and you want to pick up at least 20 Pop Tarts (or 10 sets) because 2 fit into our Kraft Gift Boxes perfectly, and they come in a set of 10. Of course, you could make a Christmas version of this project and substitute a holiday flavor!
But sticking with the pumpkin theme, here are two options~ I used the Sweets & Treats stamp set (all supplies listed below) to create one of these boxes and the Pretty Pumpkins bundle to create an alternate version:
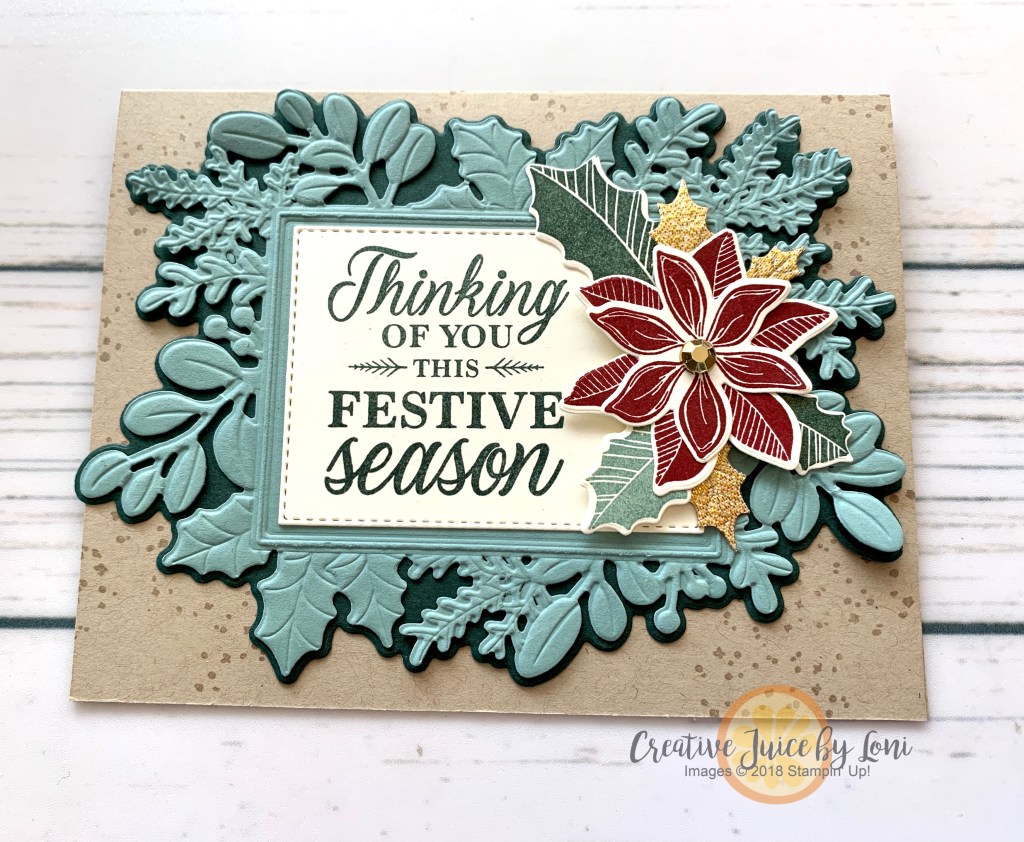
The Merriest Moments bundle is MAGICAL: With the Merriest Frames Hybrid Embossing Folder, you can emboss the foliage frame AND cut it at the same time!
This first card shows the frame embossed in Evening Evergreen card stock and cut down to the smallest size. It’s a simple layout which uses some of the (now out of stock) Be Dazzling specialty paper we offered for Sale-a-Bration for the small flowers, but foil or glimmer paper could be used for that touch of bling that just makes it eye-catching.
You can also layer the smaller frame on the larger die, which fits inside the embossing folder the best. For this version, I added a Cherry Cobbler poinsettia with a few gold leaves, an often overlooked embellishment from the current mini catalog:
Finally, shake up the colors and use a bit of the Soft Seafoam pattern from the Painted Christmas Designer Series Paper and leave off the frame for a completely different look:
I’ve created a tutorial for this last card…print and try it!
I had a wooly great time demonstrating this card on my Facebook page yesterday for my Monday Lunchtime crafting and you can enjoy the edited version here:
There are just a few days left to qualify for either or both stamp set and sheep dies free with a qualifying purchase!
Hi there! Thanks for dropping in for inspiration from the Stampin’ Up! July-December 2021 Mini Catalog~ our International demonstrator design team will delight you with the projects we’ve created and we hope you’ll “try this at home” 😄
The Nuts About Squirrels stamp set had me going nutty, so I grabbed a Salted Nut Roll at the grocery store for these cute critters to give away!
Here’s the template for creating this gift box card~ start with a piece of 8-1/2″ x 7-1/2″ card stock:
Tip for window: After scoring the template (and before cutting the tabs), fold both 1″ sides in and and use washi tape to hold the stitched rectangle in place to cut the window on your Cut & Emboss machine. This is the best way to fit it through your machine and the inch on both sides helps you center the window.
These would also be cute to sit at a table for a fall event as place settings! I’ll list the supplies used below if you want to add them to your basket in my store (or jot them down if you have another demonstrator), then scamper over to the next project at Tricia’s Stamping Creations!
Admittedly, I’m team Pumpkin Spice starting September 1st. Ten days into the month and I’ve already indulged in a least that many different treats made from this glorious gourd, so I needed to make a card that declares my devotion.
After you download the tutorial and create your own card, would you share a link to your favorite pumpkin recipe in the comments? I’m always looking for the best things to bake with pumpkin this time of year!
Just a quick reminder: Today is the last day to register for the Fall StampFest in Southern Utah on September 25th and get a discounted ticket! Click the image to go to the event registration page:
Today I opened and played with the Be Dazzling Designer Series Paper that is going to be a free product to choose with a $50 (US) order for Sale-a-Bration (starting tomorrow, 8/3/21) and let me tell you, I’ve looked around my studio for anything else I can “Be Dazzle”!
Until I took this paper out of the package, I didn’t realize how the faceted pieces caught the light and reflected it! It’s a lovely champagne color and coordinates with gold, so I embossed the greeting in gold embossing powder for the first card and used the Stitched Rectangle dies to cut a “frame” from the Be Dazzling paper. The sneak peek of the Pretty Pumpkins stamp set is from the Aug-Dec mini catalog which goes live tomorrow as well!
You can also add COLOR to this sparkling paper: I used a blending brush with the Pumpkin Pie ink pad on this pumpkin and it took the color beautifully. Then I tried a Stampin’ Blends marker to color the leaf, and it worked too! HOWEVER: I would use OLD Stampin’ Blends markers if you want to color the paper, as it’s very rough and may cause the tip of your marker to fray.
This simple card would be a lovely invitation for a fall party or Thanksgiving feast!
When you purchase the supplies to make these cards (list below), you could choose the Be Dazzling paper FREE (while supplies last) for Sale-a-Bration and may even qualify for more than one S-A-B reward!
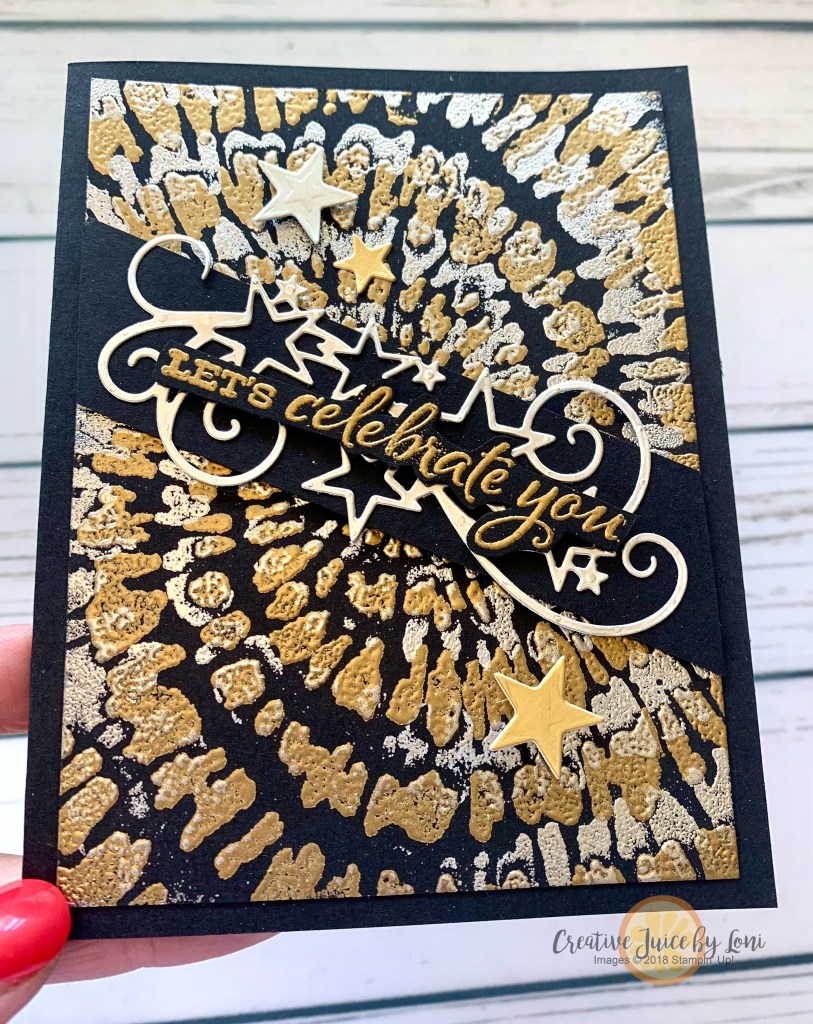
In true re-cycle fashion, tie dying is back on trend! And it seems a bit more classy than the first time around, don’t you agree?
Naturally, Stampin’ Up! saw this coming and created the Spiral Dye stamp: It creates GROOVY backgrounds for cards (at 4-1/2″ x 5-3/4″, it covers a standard A2 size card front).
The COOL thing about this stamp is that when you spin the stamped image 180 degrees, you can stamp it a second time with another color and get the Tie-Dye effect! The Stamparatus tool makes it SUPER easy:
Looking at the spiral, it reminded my how often my “well-laid plans” get changed and I have to make adjustments. It happens to you, too, right? Learning to pivot and change directions is a skill that takes practice, but will help us learn to deal more smoothly with life’s unexpected challenges. Which is where I got the inspiration for this card:
Tell me you can relate.
Using Magenta Madness and Granny Apple Green as my colors, I stamped the Spiral Dye on a 4″ x 4″ piece of Basic White card stock, then used my trimmer to cut it into 6 random pieces before adding it to my card front. Demonstrators call it the “Scrappy Strip” technique.
To get a perfect edge around the word PIVOT (cut from the very versatile Playful Alphabet Dies), use an old fashioned compass drawing tool on the smallest width and lightly trace around the letters glued to white card stock with a sharp pencil. After fussy cutting, erase any leftover pencil marks.
The Lighthearted Lines had the perfect sentiments to go with it (PLOT TWIST!) and on the inside of the card I used another quote from the set:
Another Lighthearted Line sentiment that would have worked says, “When nothing goes right, go left”
Next I wanted to try embossing with the Spiral Dye and it worked out spectacularly:
It’s even more shiny in person!
I made you a tutorial for this one which you can download by clicking the button…and BTW, if you don’t have Silver Foil Sheets from last year’s catalog, there will be some in the August-December mini catalog coming 8/3!


")
")


 Specialty Designer Series Paper")


 Crinkled Seam Binding Ribbon")


")


 Sheer Ribbon")


 Host Designer Series Paper")


 Gingham Ribbon")


")


 Specialty Paper")