
Sketches are a Stamper’s secret design tool, and not only do they work for greeting cards and scrapbook pages, sketches also help you master a GIFT TAG…and a beautiful tag will level up any gift!

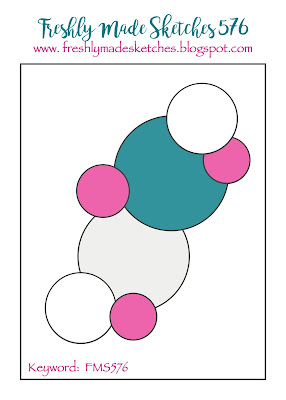
For our October New at SU! blog hop, I selected 3 tag sketches from page 16 of the September-December Mini catalog and combined those sketches with a set of products that evoke classic Christmas vibes.


The sketches gave me a starting point for my creativity, and a suite of Stampin’ Up! products helped limit my options, which actually makes it easier to be artistic. All supplies are listed at the end of this post.
The Joy/Candle tag mostly features stamping the images from the stamp set:


The stocking tag shows how you can cut some of the images from the Designer Series Paper with the dies, which also match the stamped images:


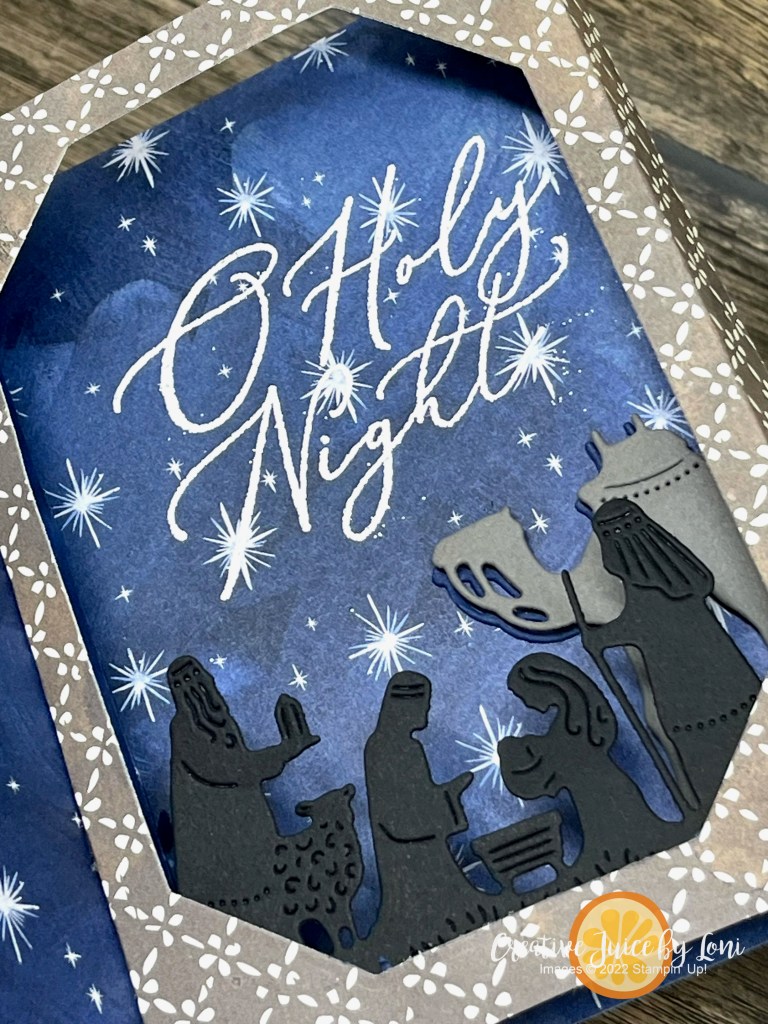
Finally, the Very Merry tag puts the focus on the sentiment:


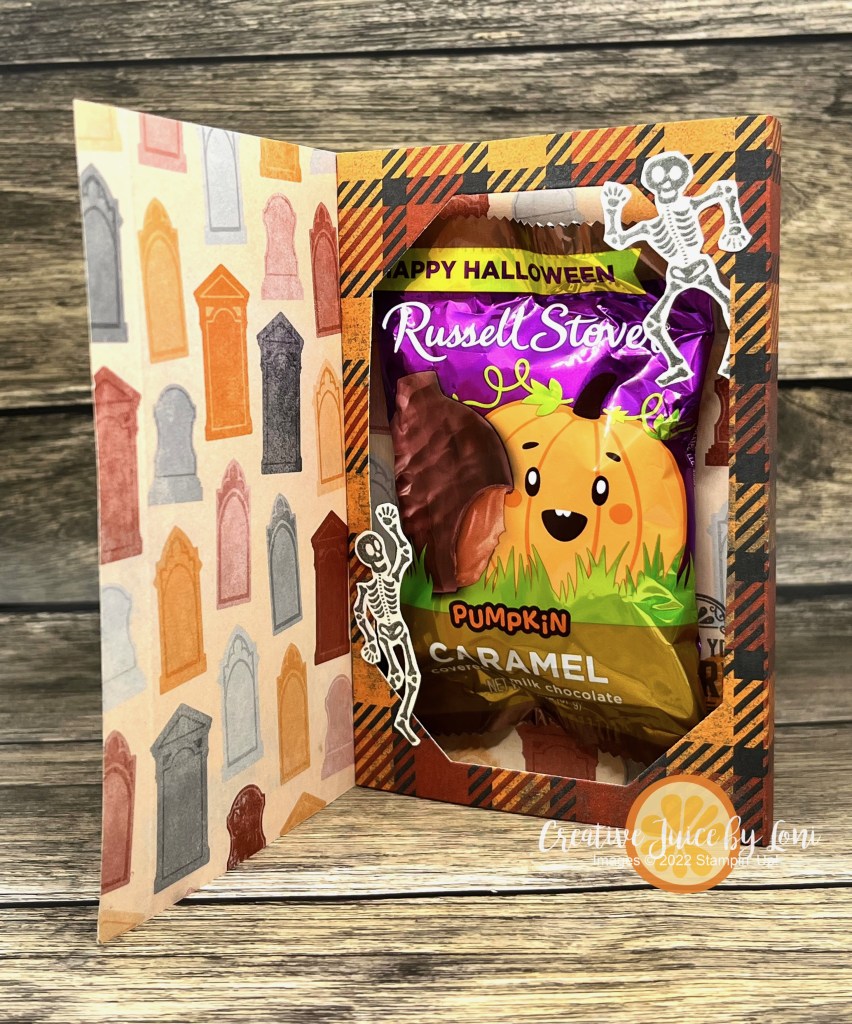
The wonderful thing about tags is that they dress up any gift, along with a bit beautiful ribbon ~ see how they make a Kit Collection box fancy? Remember that all the kits are ON SALE this month (see below).

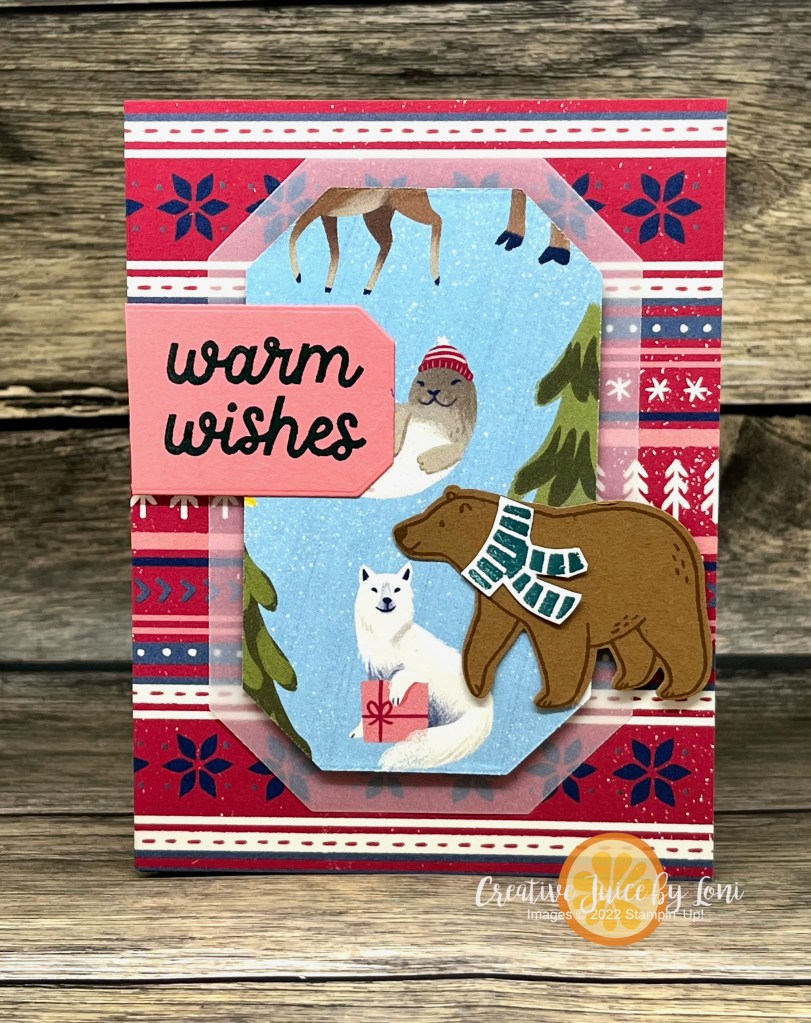
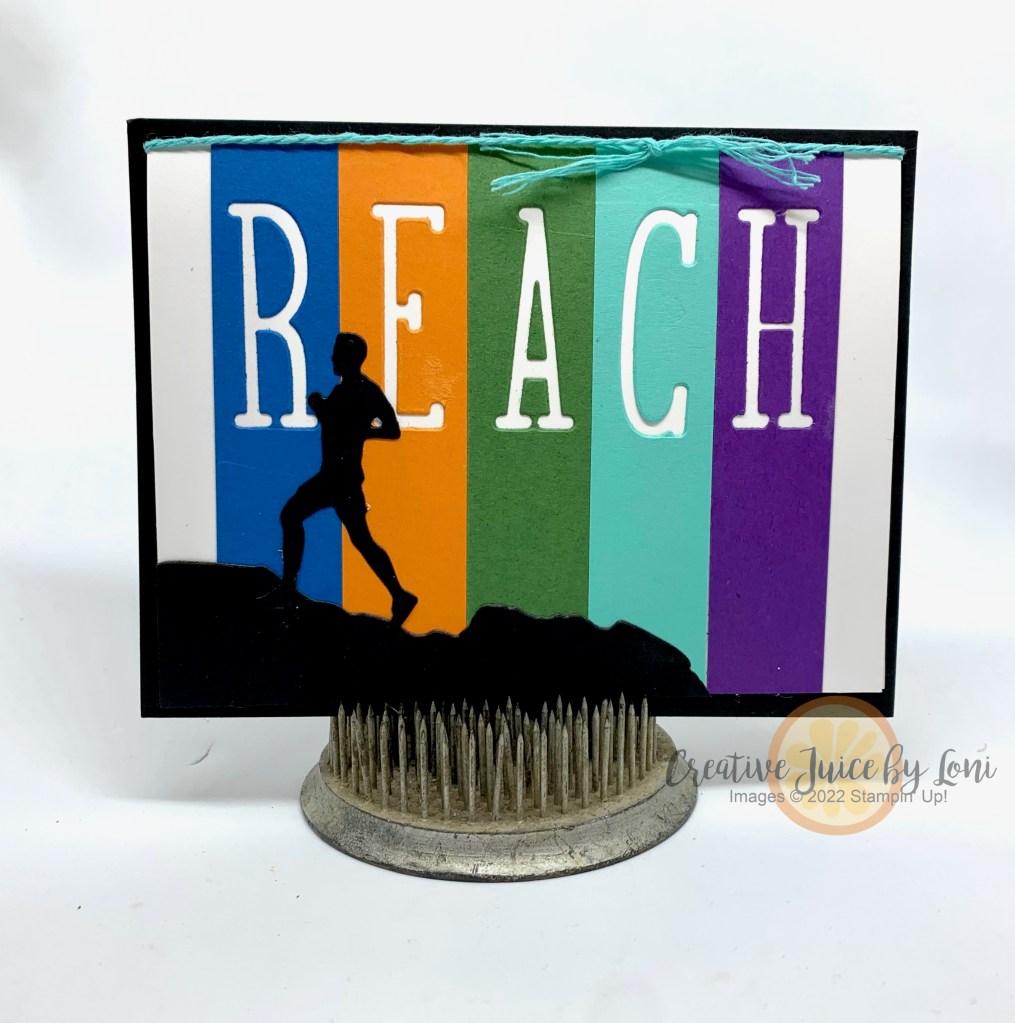
But that’s not all! Tags are adorable on a greeting card, as well:

Not only are tags a miniature piece of art, they are also a terrific way to use up scraps! Try cutting some of your smaller pieces of card stock into tag shapes, and have them ready to pair with a sketch.
Tell me what you think of these tags- leave a comment link at the top of the post!
Visit all the other posts to see how a sketch inspired their projects:
October 2024 New at SU! Hop: Sketches-Crafter’s Secret Design Tool
Powered by blogcarousel.com

When you purchase the Sentimental Christmas patterned paper, Stampin’ Up! donates $3 to support children’s literacy in each of it’s markets. In the U.S. the donation benefits First Book.
Snag some kits for Christmas, while they are on sale up to 30% off during October, and add a tag to the top for thoughtful and creative Christmas gifts:

![Sentimental Wishes Bundle (English) [ 164220 ]](https://assets1.tamsnetwork.com/images/EC042017NF/164220s.jpg "Sentimental Wishes Bundle (English) [ 164220 ]")
![Sentimental Christmas 12" X 12" (30.5 X 30.5 Cm) Designer Series Paper [ 164209 ]](https://assets1.tamsnetwork.com/images/EC042017NF/164209s.jpg "Sentimental Christmas 12\" X 12\" (30.5 X 30.5 Cm) Designer Series Paper [ 164209 ]")
![Greetings Of The Season Dies [ 164112 ]](https://assets1.tamsnetwork.com/images/EC042017NF/164112s.jpg "Greetings Of The Season Dies [ 164112 ]")
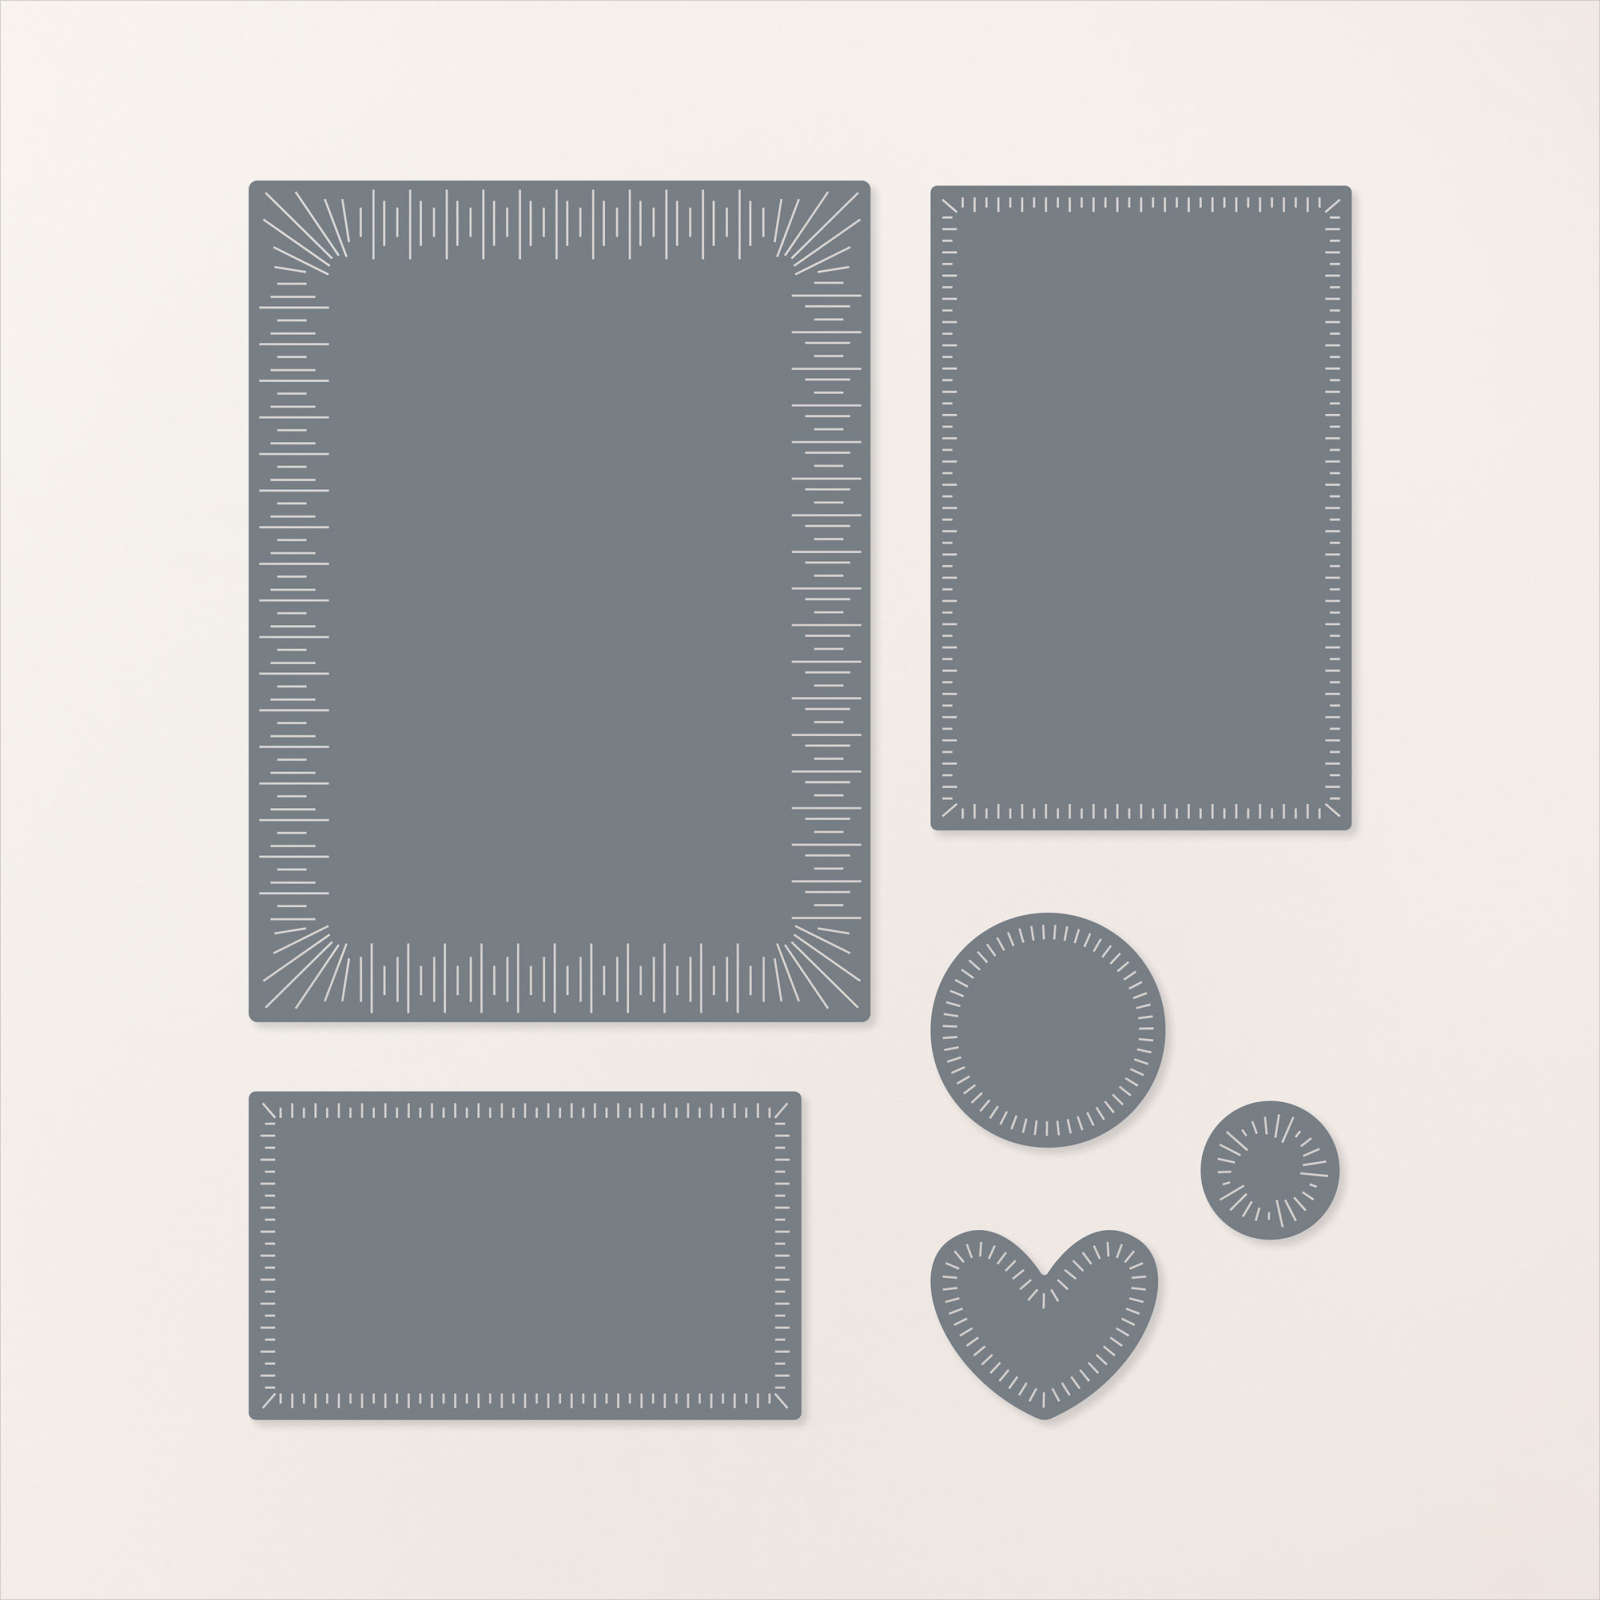
![Nested Essentials Dies [ 161597 ]](https://assets1.tamsnetwork.com/images/EC042017NF/161597s.jpg "Nested Essentials Dies [ 161597 ]")
![Mini Stampin' Cut & Emboss Machine [ 150673 ]](https://assets1.tamsnetwork.com/images/EC042017NF/150673s.jpg "Mini Stampin' Cut & Emboss Machine [ 150673 ]")
![Pool Party 8-1/2" X 11" Cardstock [ 122924 ]](https://assets1.tamsnetwork.com/images/EC042017NF/122924s.jpg "Pool Party 8-1/2\" X 11\" Cardstock [ 122924 ]")
![Shaded Spruce 8-1/2" X 11" Cardstock [ 146981 ]](https://assets1.tamsnetwork.com/images/EC042017NF/146981s.jpg "Shaded Spruce 8-1/2\" X 11\" Cardstock [ 146981 ]")
![Real Red 8-1/2" X 11" Cardstock [ 102482 ]](https://assets1.tamsnetwork.com/images/EC042017NF/102482s.jpg "Real Red 8-1/2\" X 11\" Cardstock [ 102482 ]")
![Basic White 8 1/2" X 11" Cardstock [ 159276 ]](https://assets1.tamsnetwork.com/images/EC042017NF/159276s.jpg "Basic White 8 1/2\" X 11\" Cardstock [ 159276 ]")
![Shaded Spruce Classic Stampin' Pad [ 147088 ]](https://assets1.tamsnetwork.com/images/EC042017NF/147088s.jpg "Shaded Spruce Classic Stampin' Pad [ 147088 ]")
![Real Red Classic Stampin' Pad [ 147084 ]](https://assets1.tamsnetwork.com/images/EC042017NF/147084s.jpg "Real Red Classic Stampin' Pad [ 147084 ]")
![Tuxedo Black Memento Ink Pad [ 132708 ]](https://assets1.tamsnetwork.com/images/EC042017NF/132708s.jpg "Tuxedo Black Memento Ink Pad [ 132708 ]")
![Watercolor Pencils Assortment 1 [ 161700 ]](https://assets1.tamsnetwork.com/images/EC042017NF/161700s.jpg "Watercolor Pencils Assortment 1 [ 161700 ]")
![Blender Pens [ 102845 ]](https://assets1.tamsnetwork.com/images/EC042017NF/102845s.jpg "Blender Pens [ 102845 ]")
![Shaded Spruce 1/2" (1.3 Cm) Satin & Sheer Ribbon [ 164224 ]](https://assets1.tamsnetwork.com/images/EC042017NF/164224s.jpg "Shaded Spruce 1/2\" (1.3 Cm) Satin & Sheer Ribbon [ 164224 ]")
![Gold & Silver 1/8" (3.2 Mm) Trim Combo Pack [ 161633 ]](https://assets1.tamsnetwork.com/images/EC042017NF/161633s.jpg "Gold & Silver 1/8\" (3.2 Mm) Trim Combo Pack [ 161633 ]")
![Pool Party 5/8" (1.6 Cm) Pompom Ribbon [ 164129 ]](https://assets1.tamsnetwork.com/images/EC042017NF/164129s.jpg "Pool Party 5/8\" (1.6 Cm) Pompom Ribbon [ 164129 ]")


")


")


")
 Specialty Designer Series Paper")


 Designer Series Paper")
")


 Designer Series Paper")


")


")


")


")
 Specialty Designer Series Paper")


