Welcome to our NEW AT SU! Blog hop: Today our international group of Stampin’ Up! demonstrators are hosting a “Retirement Parade” showing you some of our favorite stamps that will be retired by June 2nd.
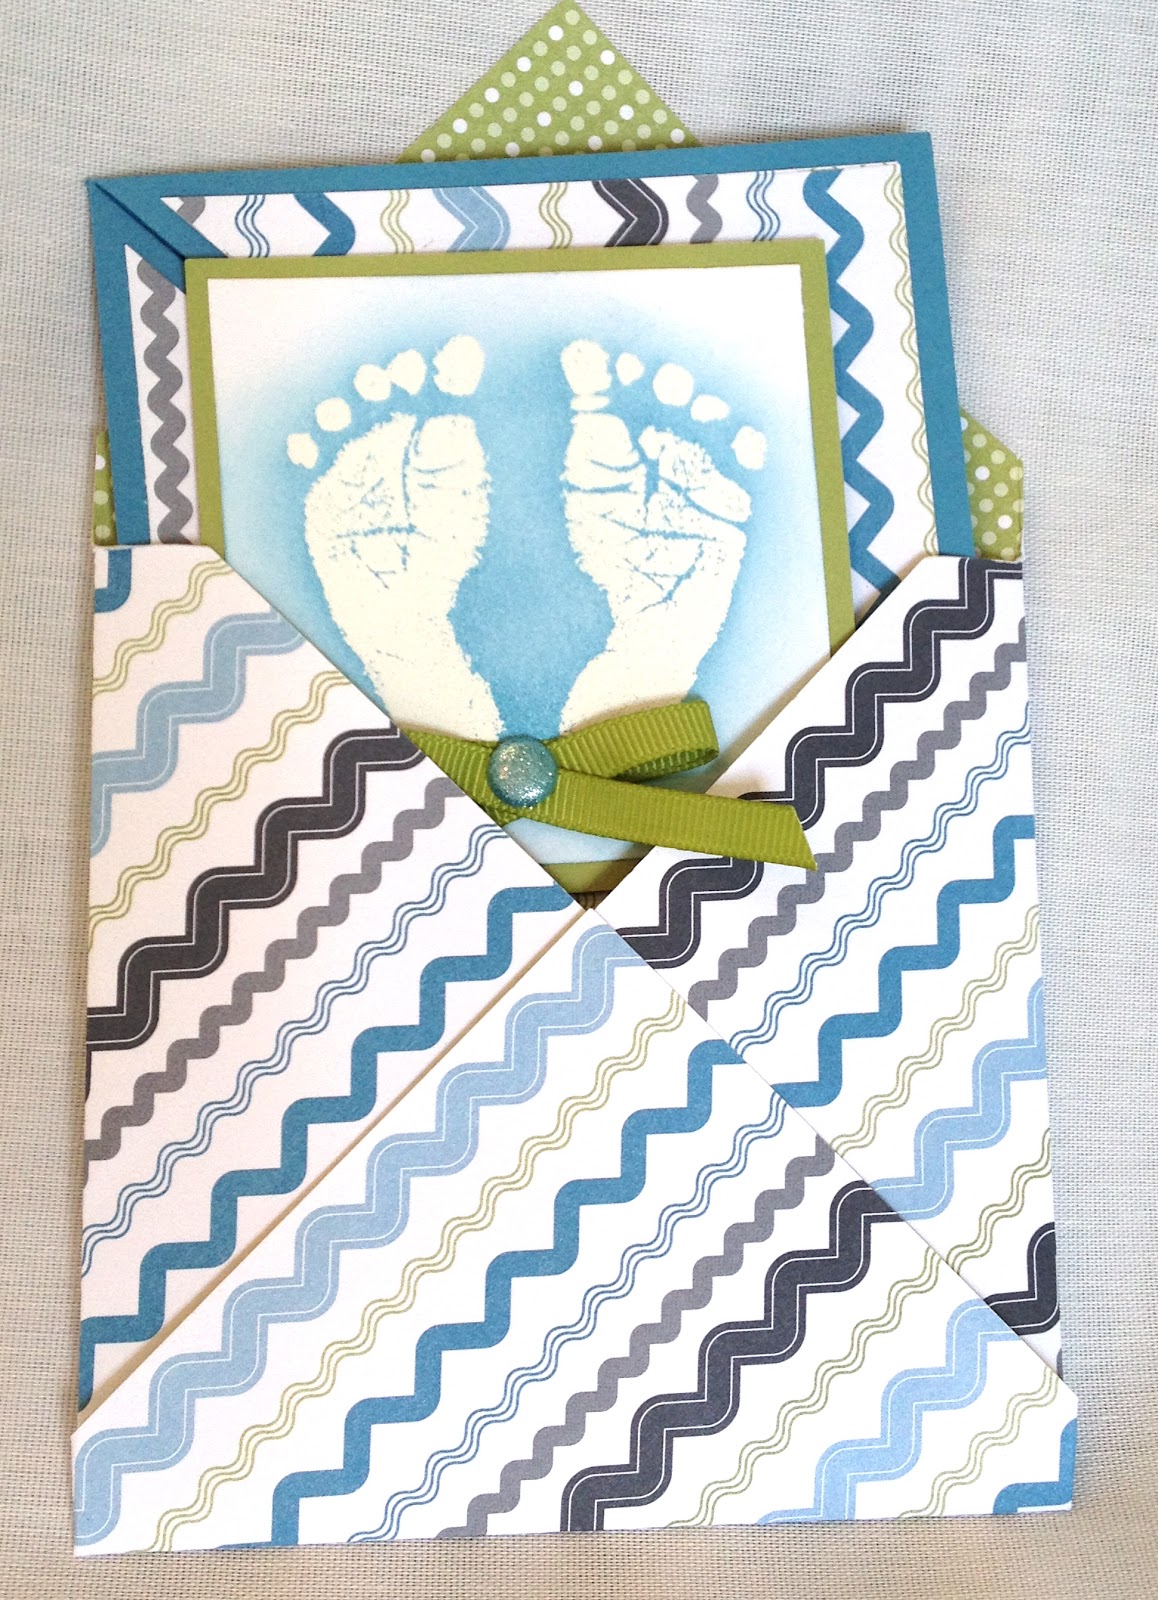
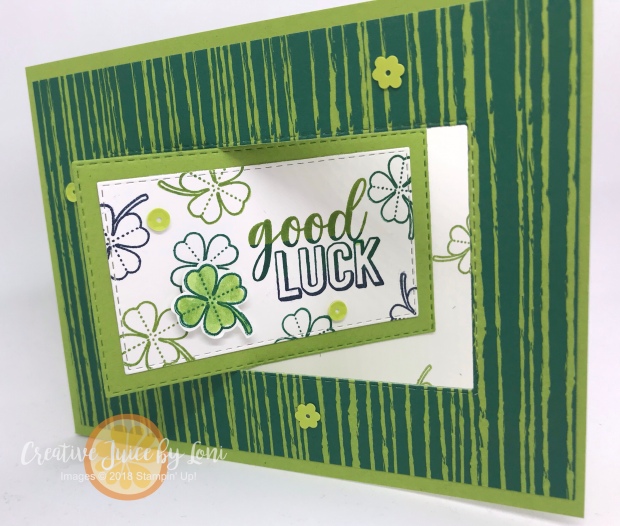
I chose the Happy Tails stamp set in memory of my walking companion of 10 years who we had to say good-bye to not long ago. While Tiger (my dog) wasn’t a Dalmation, it seemed to fit this fun-fold card perfectly:
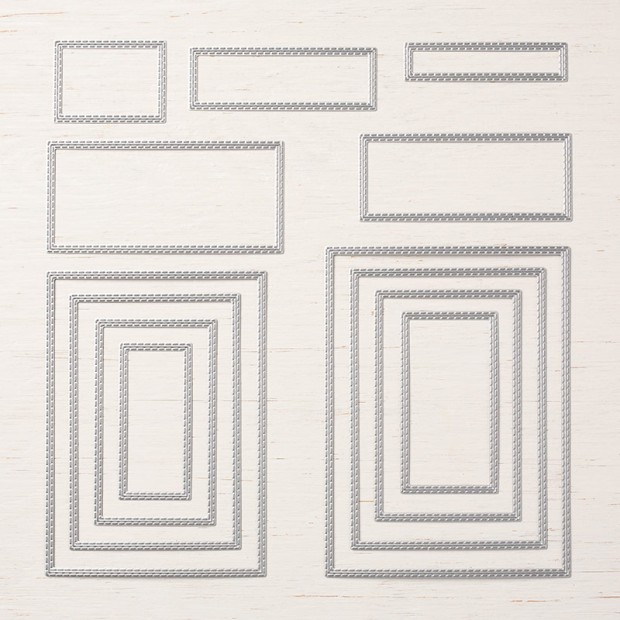
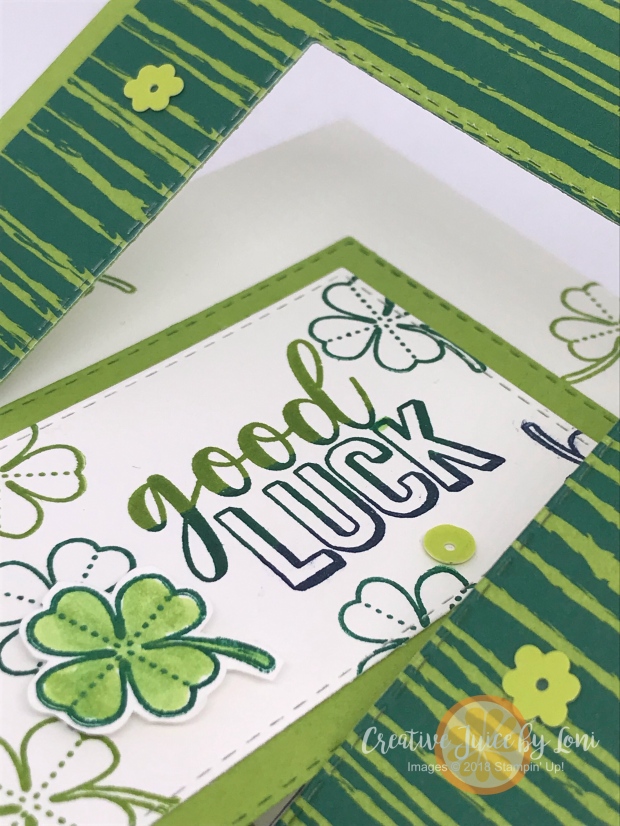
It’s a tri-fold card and I started with a 12″ x 5.5″ piece of Whisper White card stock (scored at 4″ and 8″) and used the Stitched Rectangle Dies to create a frame on the front flap of the card. 
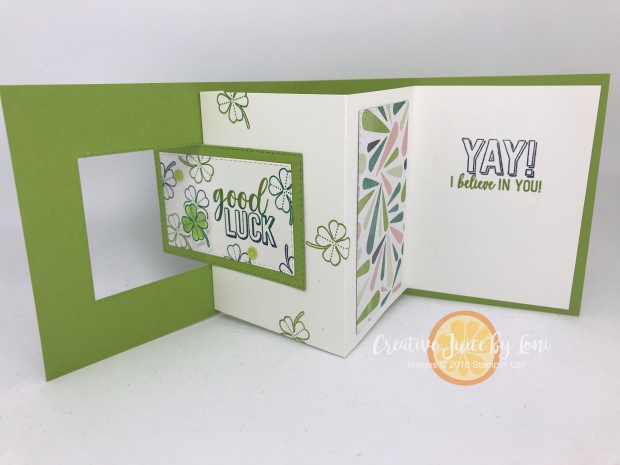
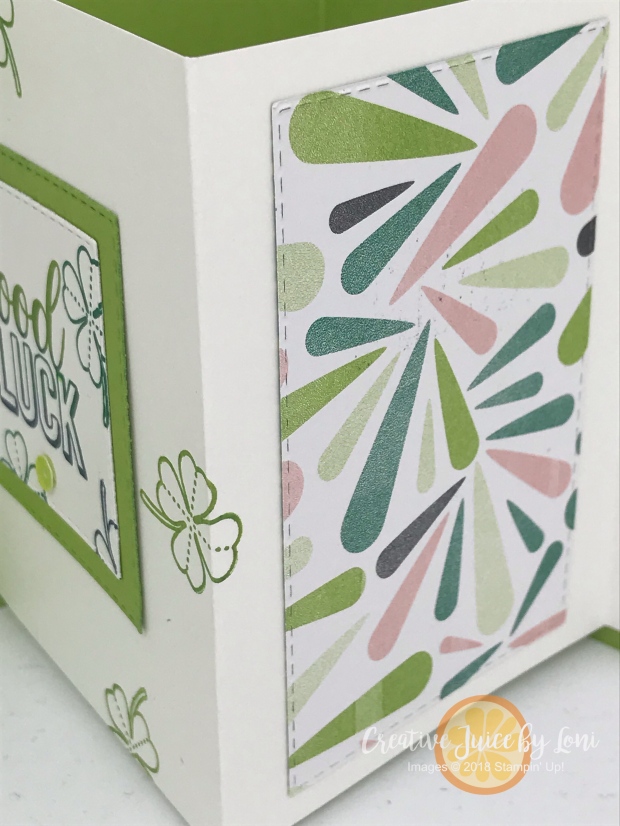
Once the card is completely open, there is plenty of space to write your message:

The Happy Tails stamp set is retiring, but the Dog Builder Punch will be carrying over to the new catalog (with no coordinating stamp set) so this is the time to get your paws on both of them!
Tiger was a loyal, patient and loving dog who was a blessing to our family and is missed. Happy Trails, Tiger and the Happy Tails stamp set!

You can move backwards or continue forward through the other awesome projects in our Retirement Parade! You are sure to find a reason to contact your demonstrator ASAP to get something you won’t want to craft without before it’s gone 🙂


The May 2020 Blog Hop Participants:
Joyce Whitman- StampinScrapper
Loni Spendlove- Creative Juice by Loni
Cynthia McQueen- A Crowning Creation
Heather Cooper- Playing with Paper Crafting
Margriet Siekman- Margriet Siekman
Tricia Butts- Tricia’s Stamping Creations
Terry Montgomery- Terryfic Cards


")
")
")
")
-2")


")
")


 Designer Series Paper")