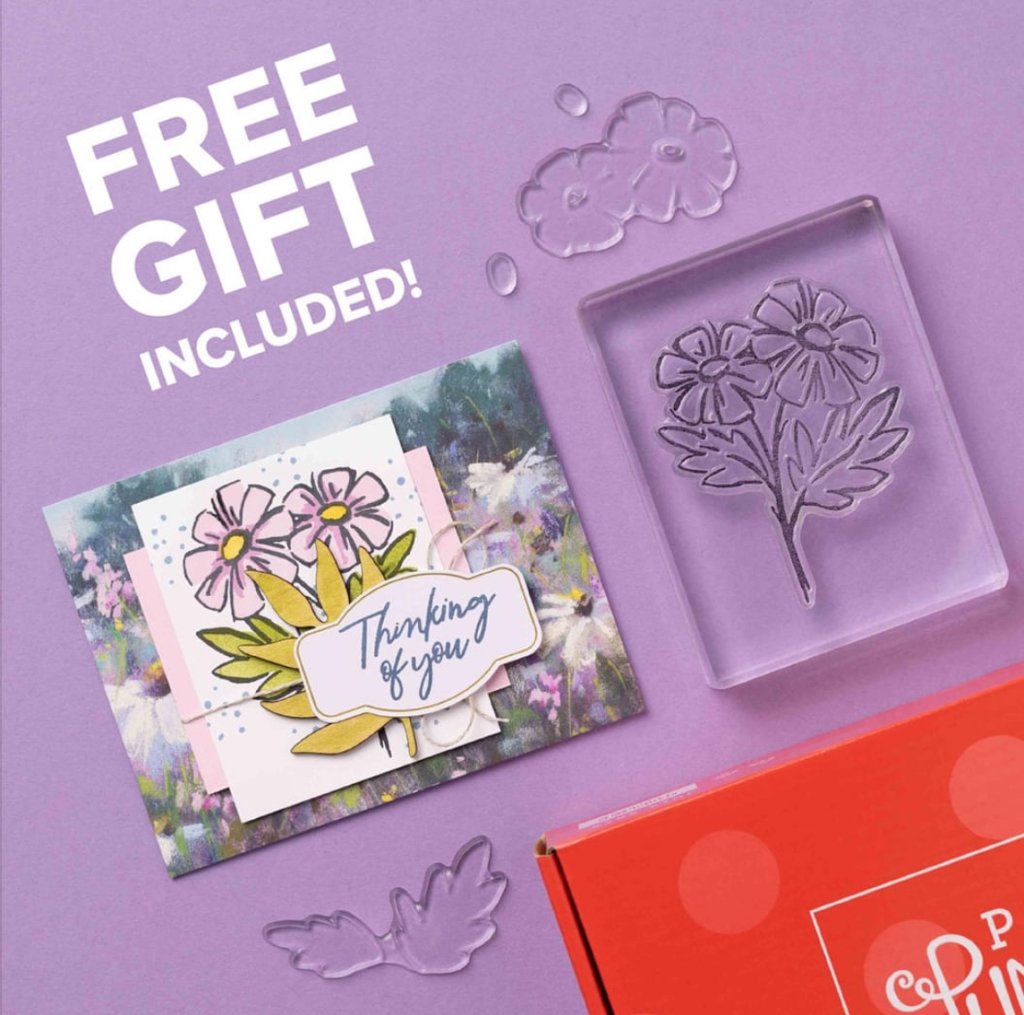
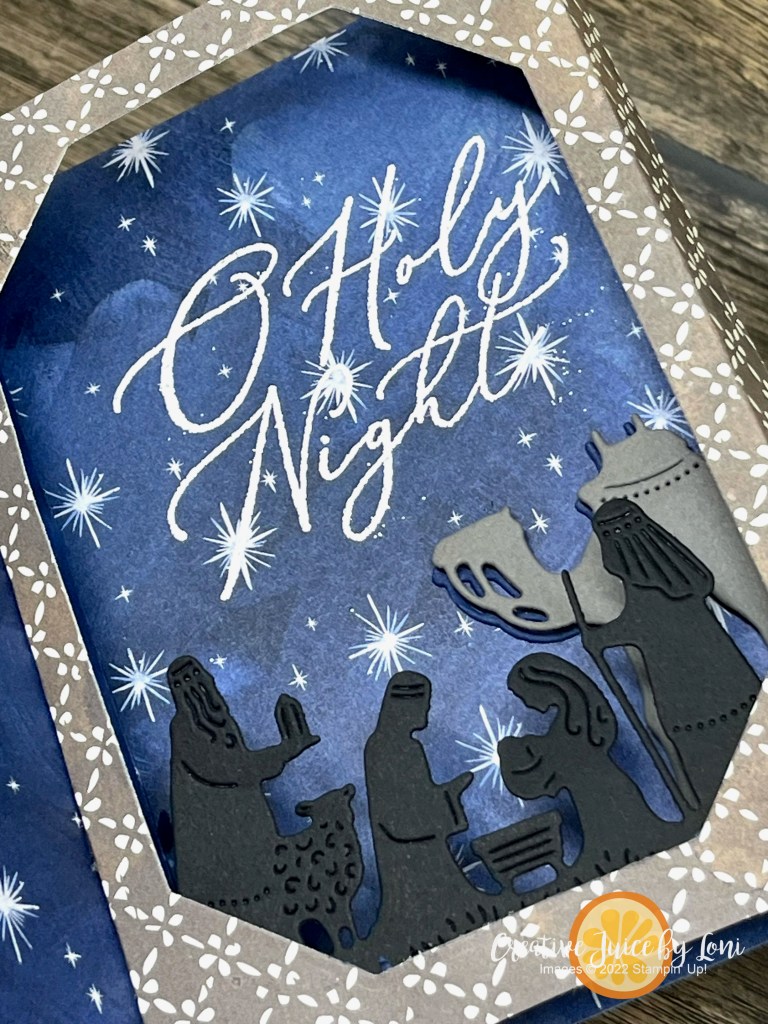
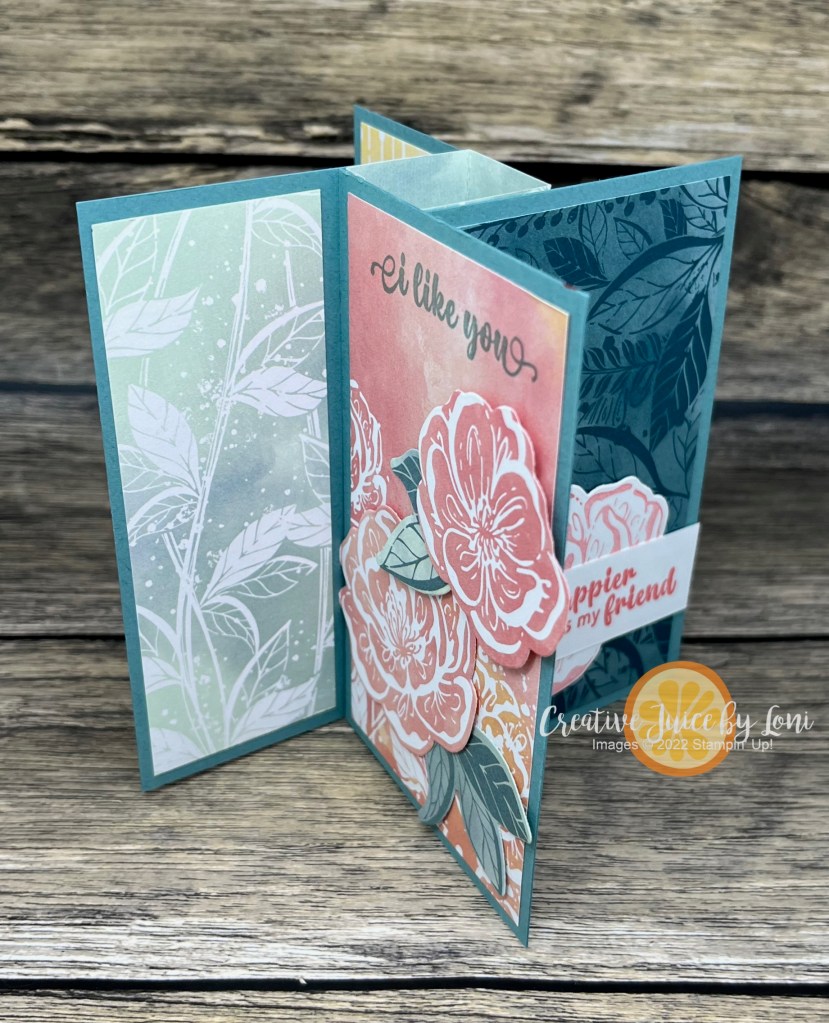
Masks (the fancy Stampin’ Up! term for stencils) make coloring stamped images speedy and simple!

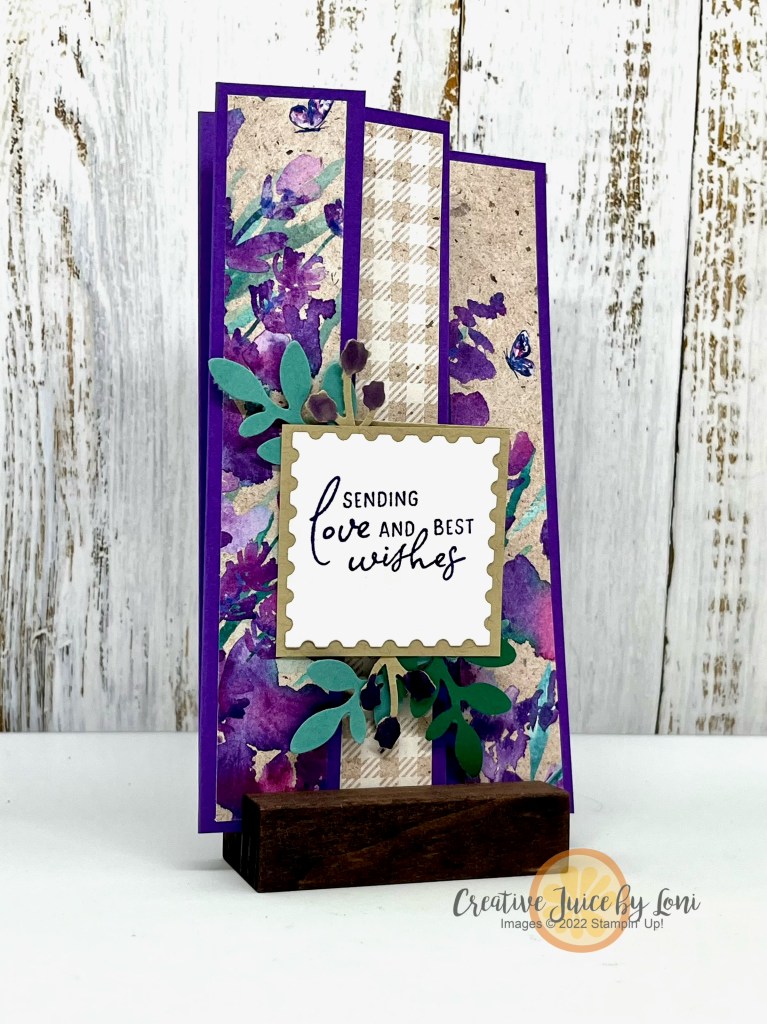
I was truly WOWed with how quickly I was able to color the floral spray image from the Enduring Beauty bundle with the coordinating masks, blending brushes and ink pads. This is a technique you may embrace if you don’t love to color, OR if you are just getting started, you can stamp and color this image with just two ink pads! Watch & learn how:
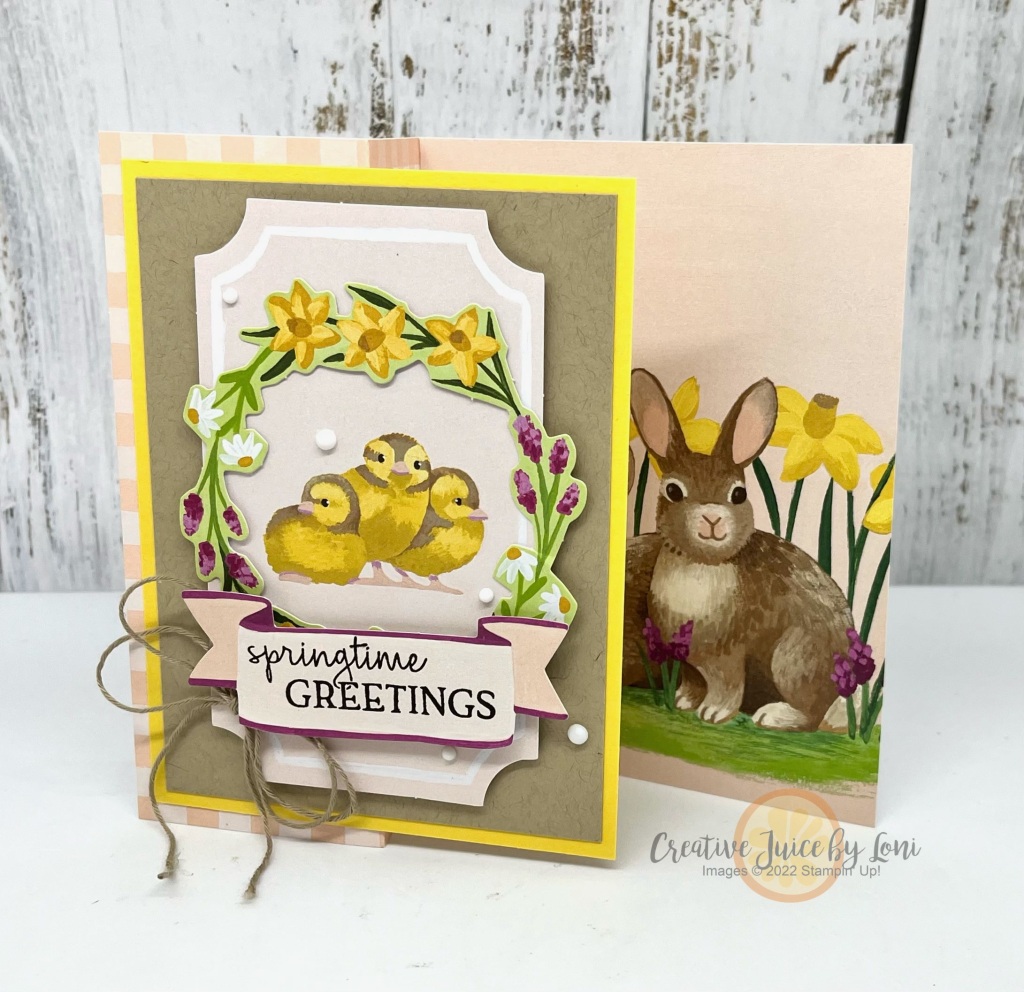
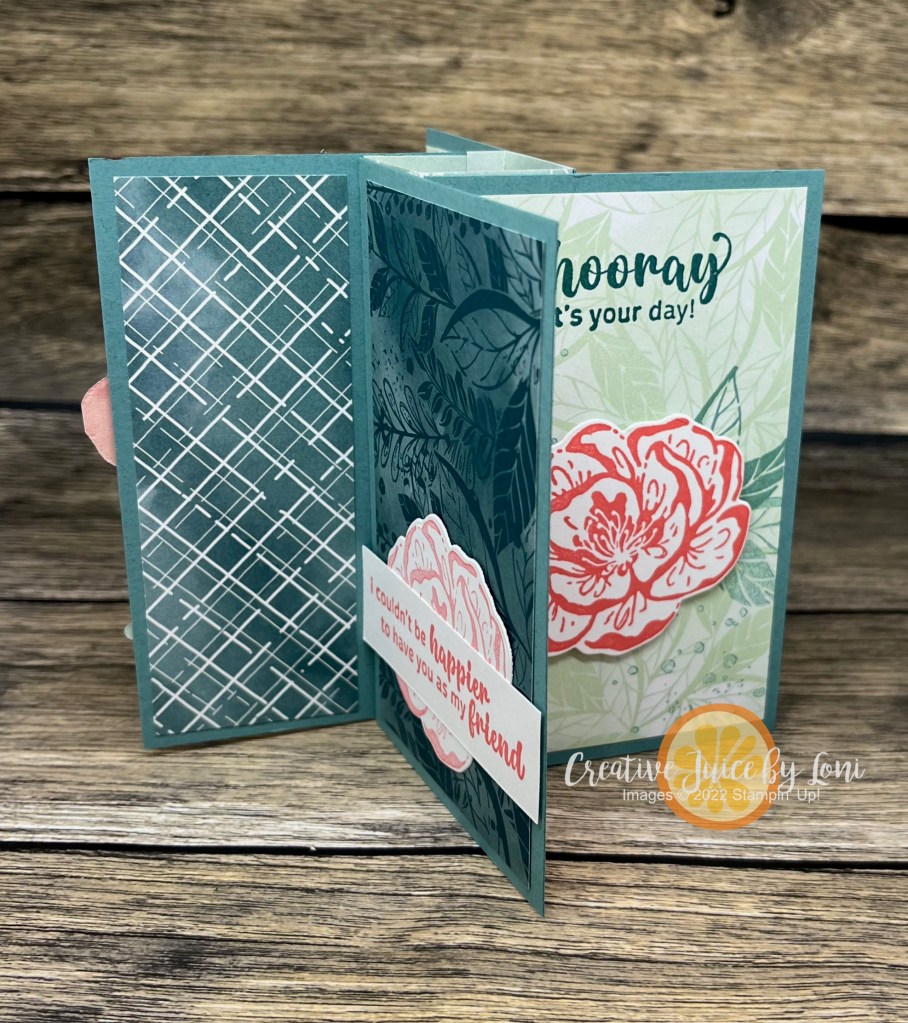
Did you catch how to die cut just half the image so you can add a layer of Designer Series Paper as the background? For the video, I added a second fold that opens on the right:
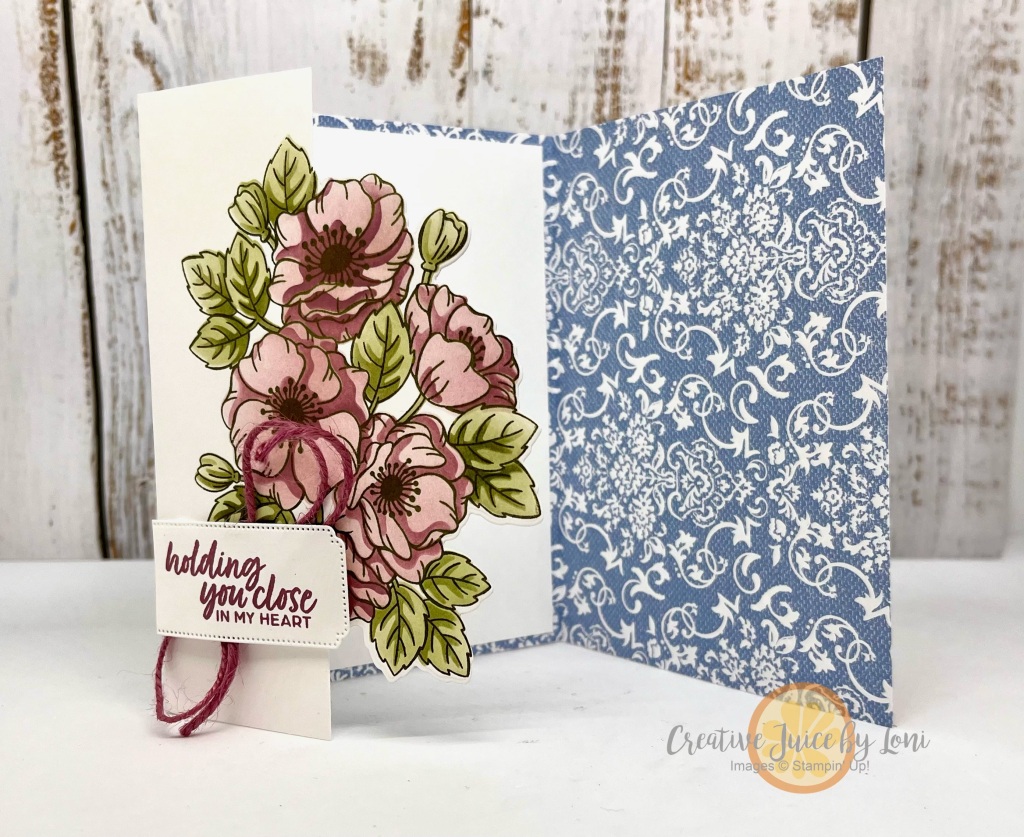
But you can just add a 4 1/4″ x 5 1/2″ layer of Designer Series Paper behind the flowers to make it a regular card. I really like the look of the Poetic Expressions designs with the flowers, and used the colors of that paper for coloring the flowers, as well.
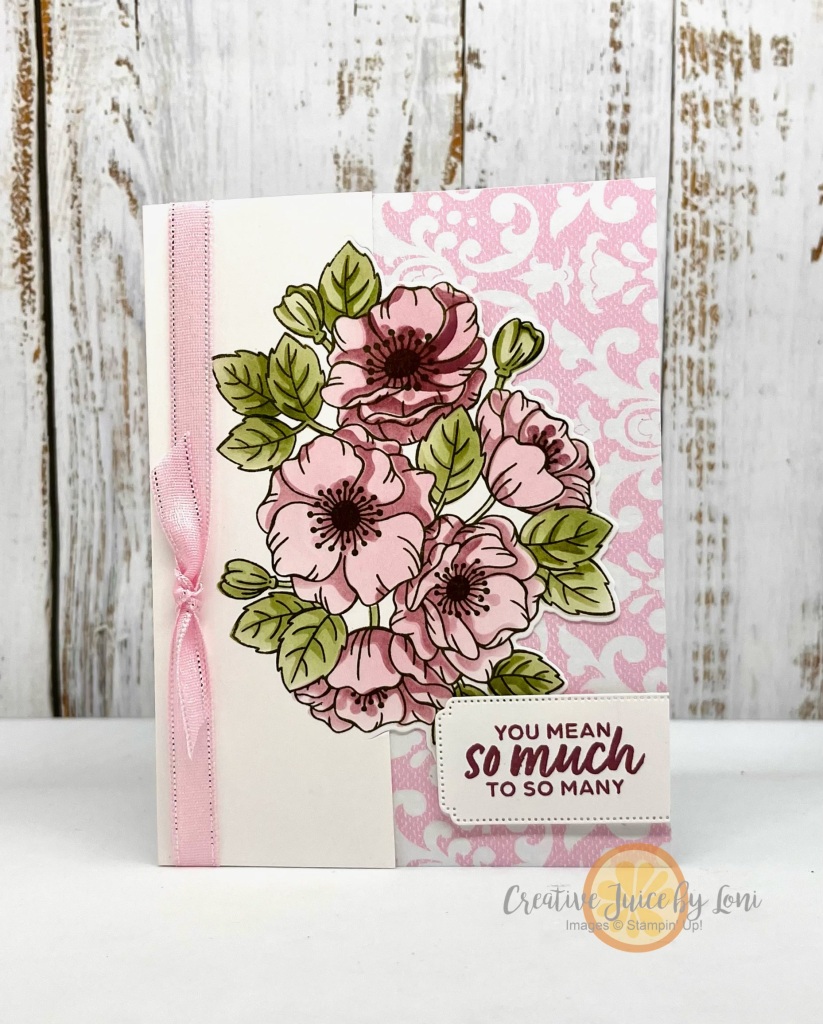
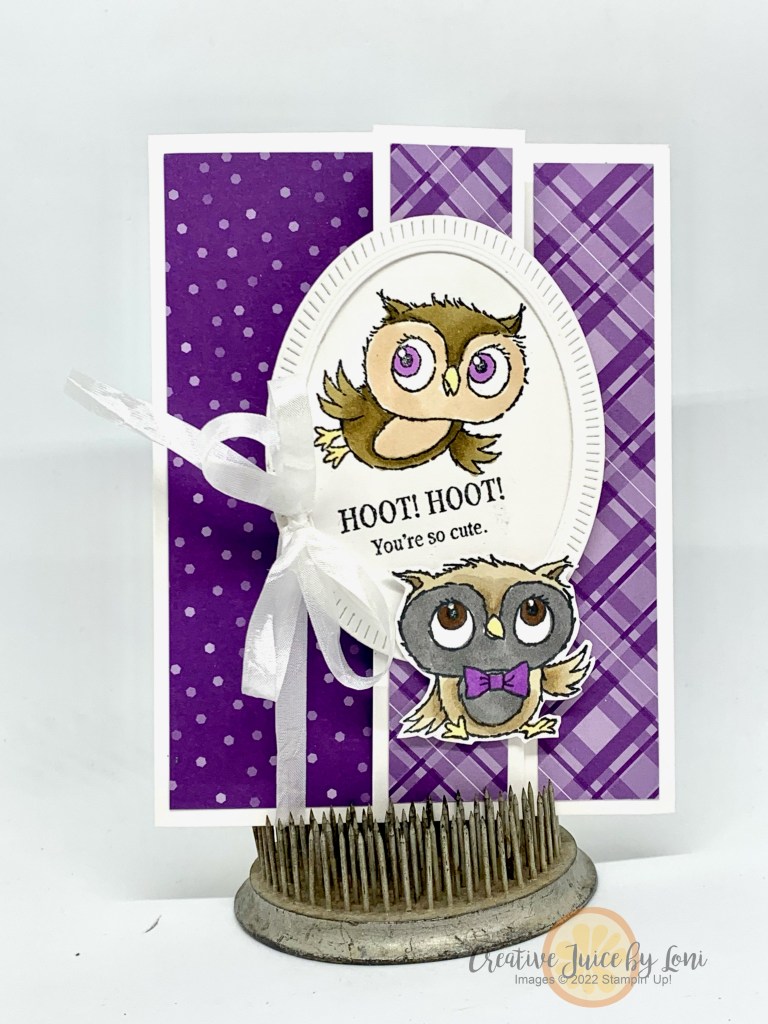
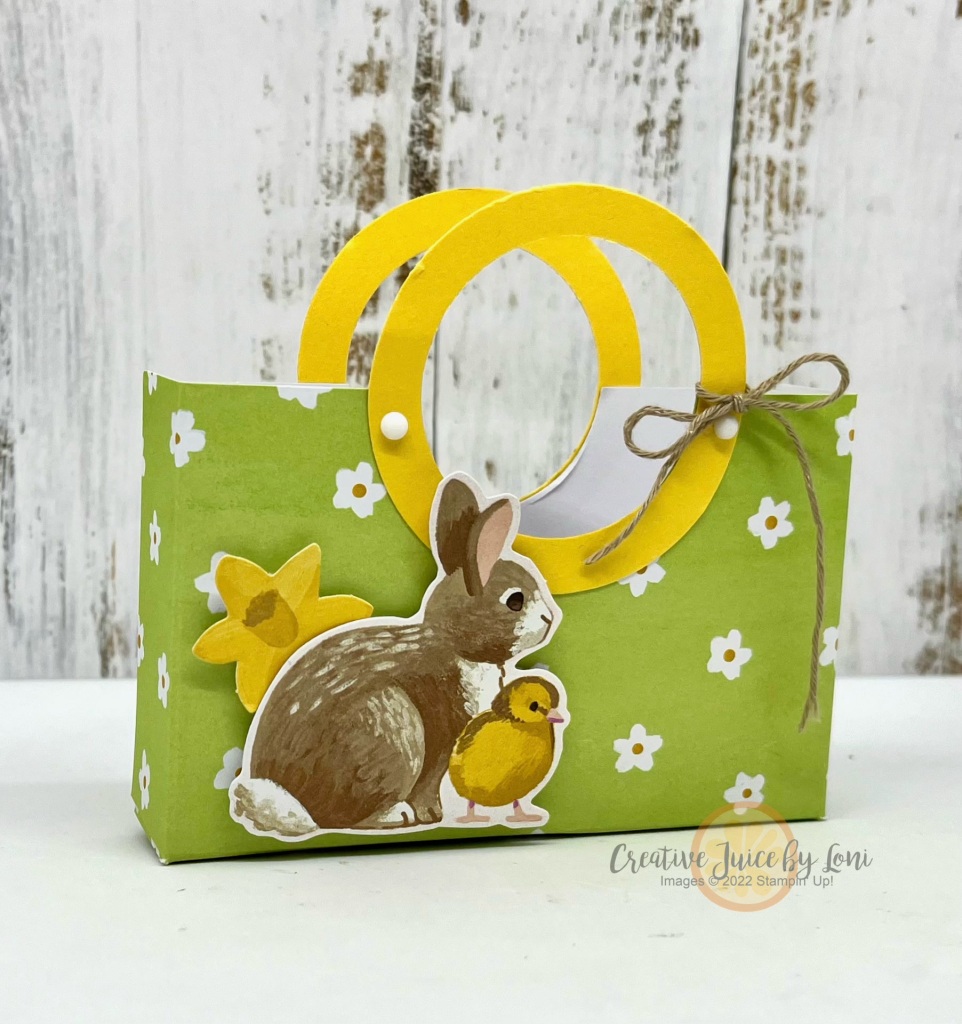
Turn the design sideways and try different colors, too.

It’s a beautiful stamp set to use for so many projects, and if you haven’t seen my two previous posts using this set this week, check out the Notebook Cover project HERE and the color challenge card HERE.
THANK YOU for shopping in my Stampin’ Store for GENUINE Stampin’ Up! products!!! It enables me to continue bringing you creative ideas and you are guaranteed high quality products with service from someone who cares about you.
Product List")
 Designer Series Paper")


 Designer Series Paper")
")


")
 Specialty Designer Series Paper")


 Designer Series Paper")
")


 Designer Series Paper")
")


")
")


 Designer Series Paper")
 Designer Series Paper")


")