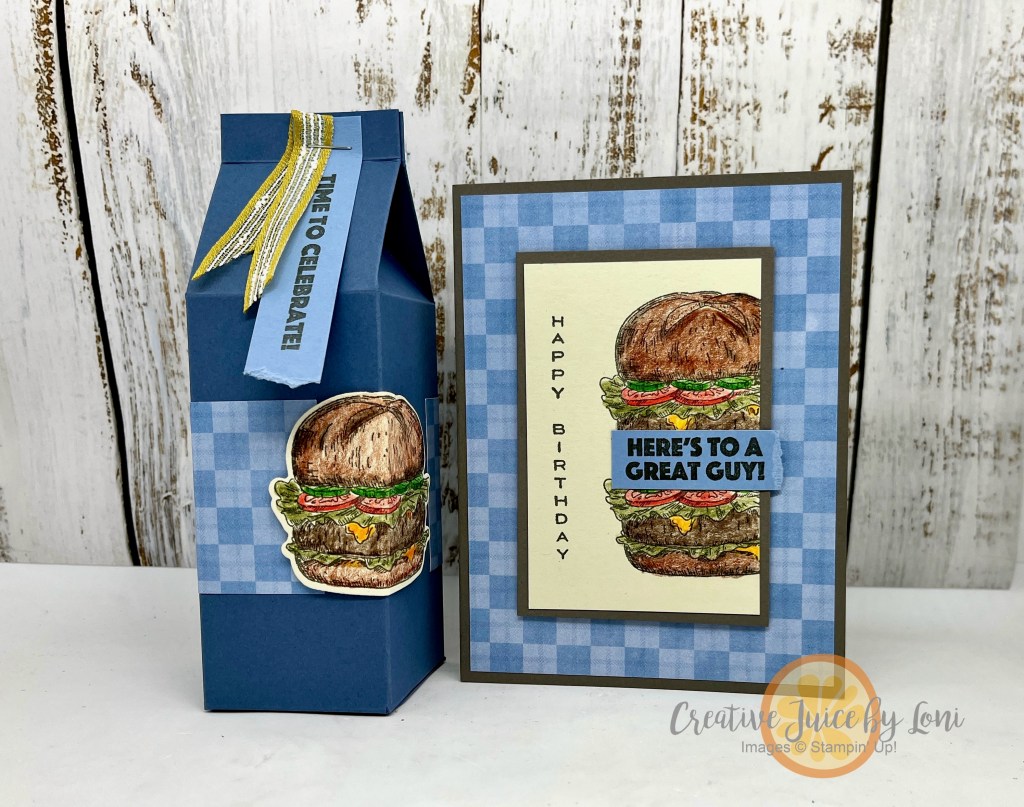
A double-patty burger is a satisfying meal for a birthday celebration AND makes a terrific card, thanks to Stampin’ Up!’s Burger Bistro bundle (stamps & dies). In particular, it also pairs well with the Timeless Plaid 6″ x 6″ Designer Series Paper, as you’ll see…
I like coloring this stamped image with our Watercolor Pencils, which you can use without water!
You can watch the tutorial for both card and gift box here:
It’s hard to stop with one card, when the plaid paper makes each card so unique!
A useful gift for the man who likes to grill burgers would be a shaker of hamburger seasoning, and this 2-4-6-8 box is just the right size. It’s speedy to make, starting with an 8-1/2″ square piece of card stock (instructions in the video).
SAVE/PIN this post, then give this card and gift box duo a try the next time you need a masculine birthday gift!
Stampin’ Up! has the #bestcraftingkit (or kits) on the planet. Whether you just want to dip your fingers in the paper crafting ocean, or you want to commit to creativity each month…there’s a kit for you!
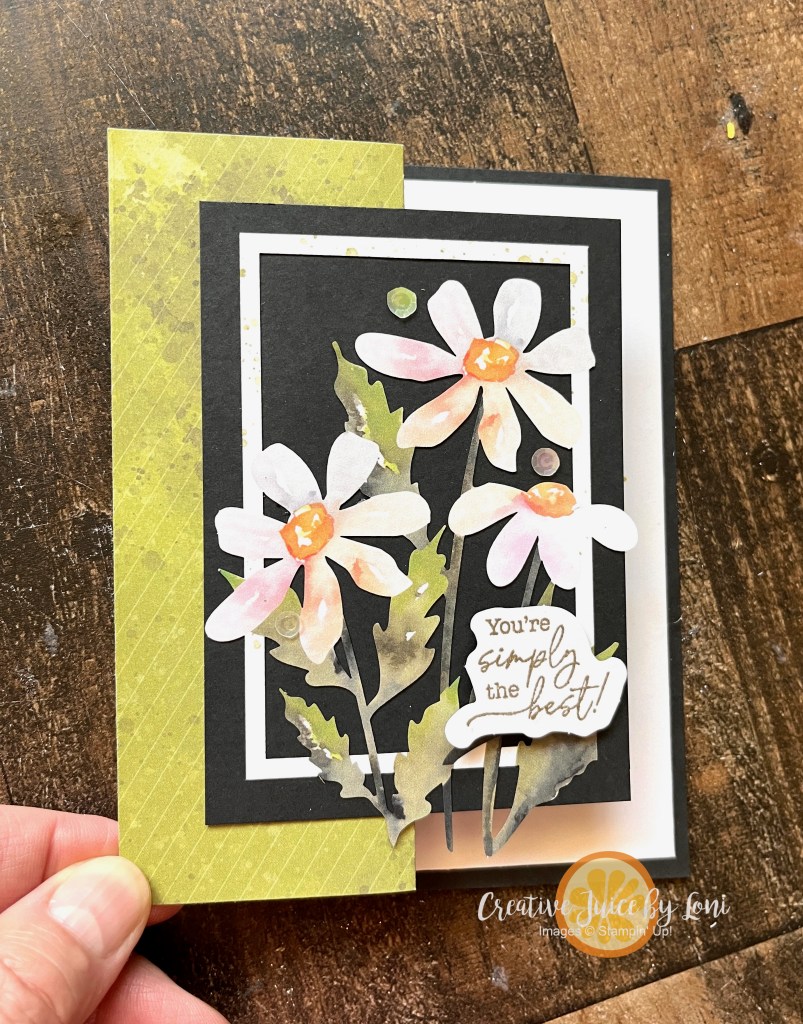
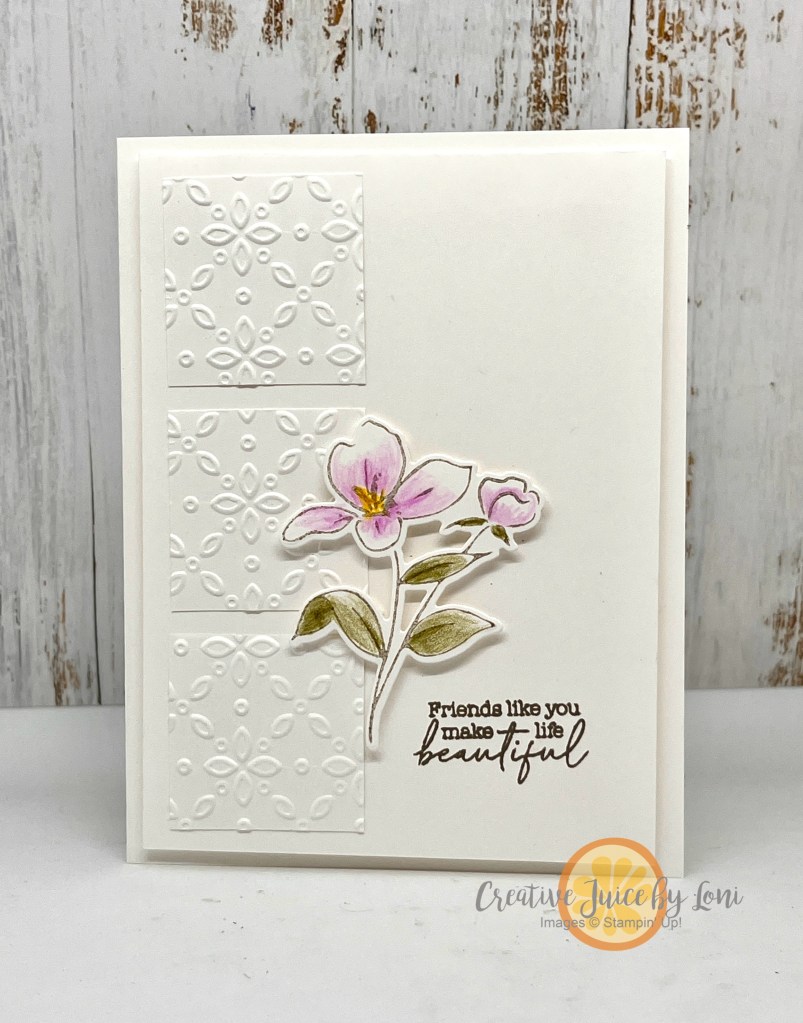
I wanted to showcase how amazing the July Paper Pumpkin kit “Painted Petals” was, and encourage you NOT TO WASTE A SECOND in subscribing for the August kit (and beyond).
After assembling one of the cards as intended from the kit, I created an “alternate” card by just adding a bit of Basic Black card stock. You may enjoy simply following the instructions, but if you want to stretch your artistic muscles, kits are a superb starting spot:
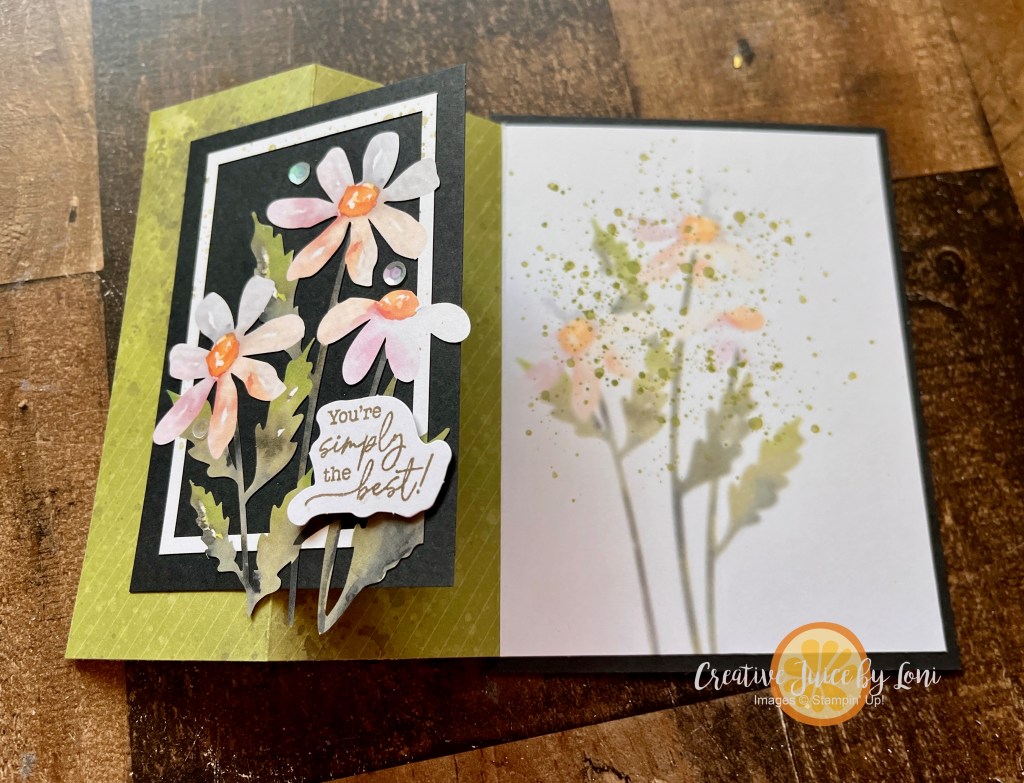
Fold the printed card base with the printed images INSIDE the card, then trim 1/4″ off the bottom and open side, making it 4″ x 8 1/4″ when open. Fold the front (colored) flap back on itself, add a 3″ x 4.25″ black card stock to the front left side of the card and attach your details. Adhere the card to a 5.5″ x 4.25″ black card stock base and voila:
Try turning your kit into scrapbook pages for your memory albums! The back side of the card became a faux strip behind my photo mats, and I added a simple floral border at the bottom:
Finally, don’t forget the box! On the months when the box matches the contents (usually Paper Pumpkin kits arrive in Poppy Parade boxes), you may want to gussy it up and use it as gift wrapping:
For the box top, I used one of the envelopes and the special Add-OnEvery Celebration Dies, which coordinate with the July, August AND September Kits:
Once your kit is completed, you are left with a small ink spot and the photopolymer stamps. With some basic supplies, you can create more fantastic cards, tags, gifts, etc.
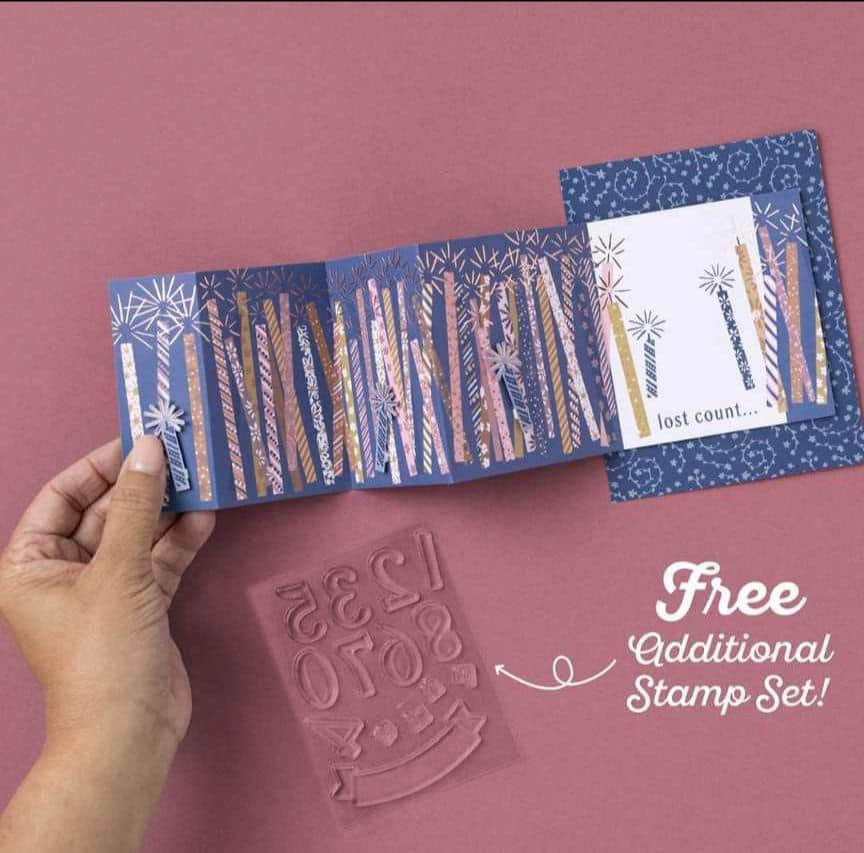
So what is the August 2024kit going to be? Birthday Cards!
Rose gold foil Accordion card folds A festive color palette A birthday sentiment stamp set
Subscribers will also receive a gift with their kit: an additional stamp set! Those number stamps will become an indispensable tool in your stamping arsenal.
We have MORE INCREDIBLE a la carte kitsthat you won’t want to miss – stock up for yourself, to make with friends, or to give as gifts! The selection is always growing, so check back every month to discover your inspiration.
The vibrant In Color combination from the Global Design Project challenge #gdp449 felt like just the ones to use for today’s Live Crafting project
Your stampin’ stash can be used for MORE than cards, and this little purse/shopping tote/beach bag template can be used for gifting things such as gift cards, candy, money, jewelry, etc. The finished size of the box itself is 3.75″ tall, 3.5″ wide and 1″ deep.
The inspiration for the gift bags in the shopping cart came from a swap from my team mate Heather Goins, a.k.a. the Crazy Cardmaker. I love how she stamped onto patterned paper and colored the tissue paper in!
Normally, I wouldn’t pair foil paper AND glimmer paper, but this time it really added all the shimmer needed for a birthday celebration.
This is the month to add the NEW Attention Shoppers bundle to your collection: A stamp set + die bundle is discounted 10% when it is new to a catalog or publication PLUS in June 2024, bundles are an *additional* 10% off!
I had created this pattern for a project that I shared with the Stampin’ Leaders Project Sheet group. The instructions will give you the same measurements for the Attention Shoppers version!
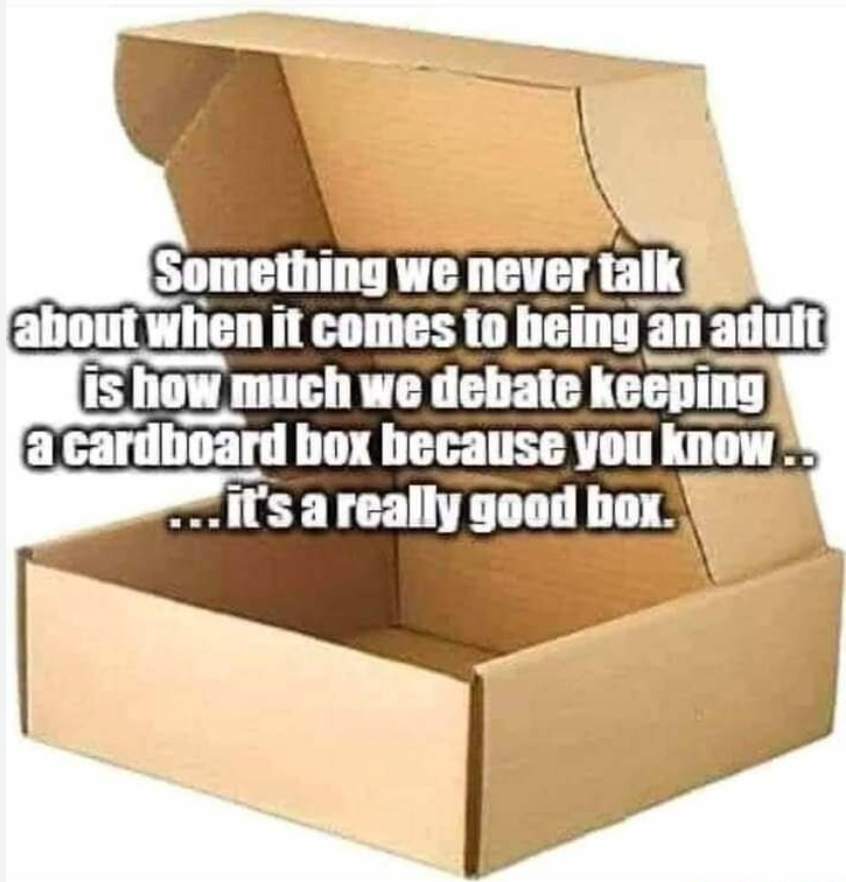
Maybe it’s because we’ve searched for a good box previously to no avail, but I am of the age that it’s difficult for me to throw away the boxes from Stampin’ Up! kits, or the pretty Paper Pumpkin boxes! They are such a perfect size for a half batch of BROWNIES, that it *almost* makes me want to bake a pan of ooey-gooey goodness, but then I’d want to eat the other half…
But what can we DO with those wonderful Stampin’ Up! boxes (aside from delivering goodies)??
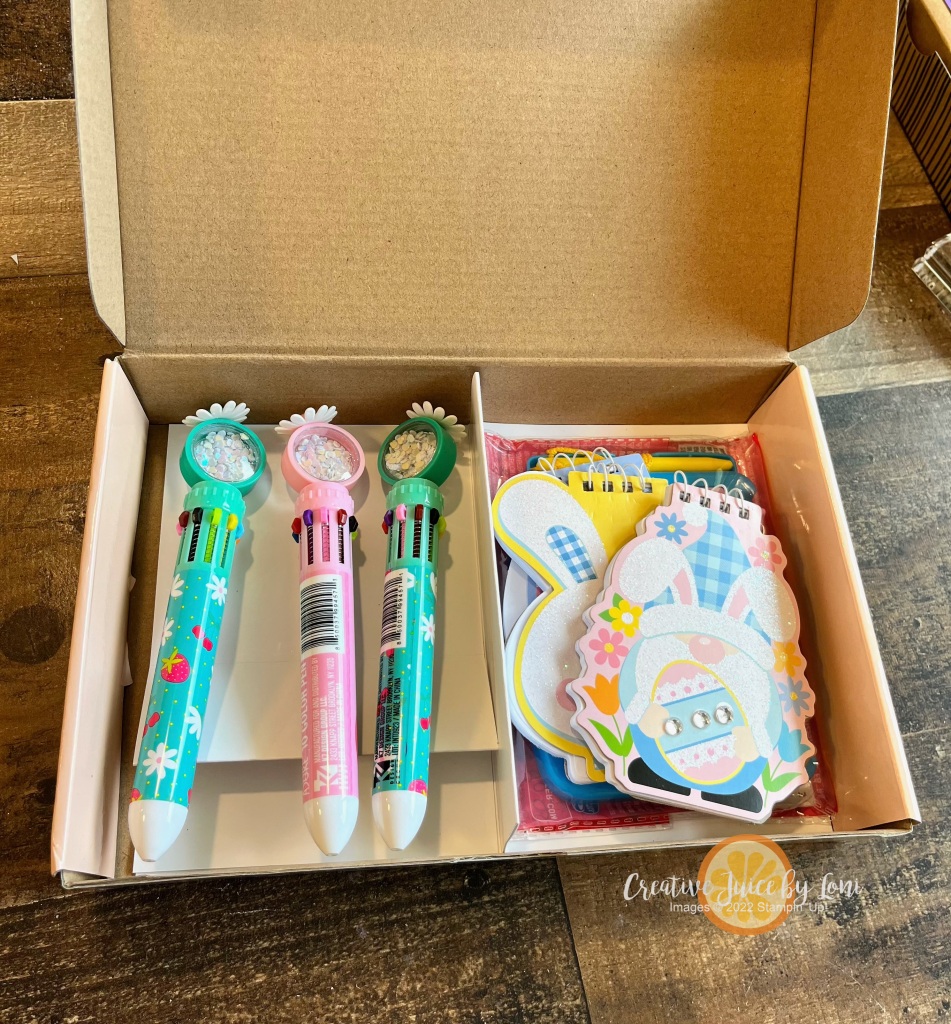
Turn them into STATIONERY GIFT SETS!
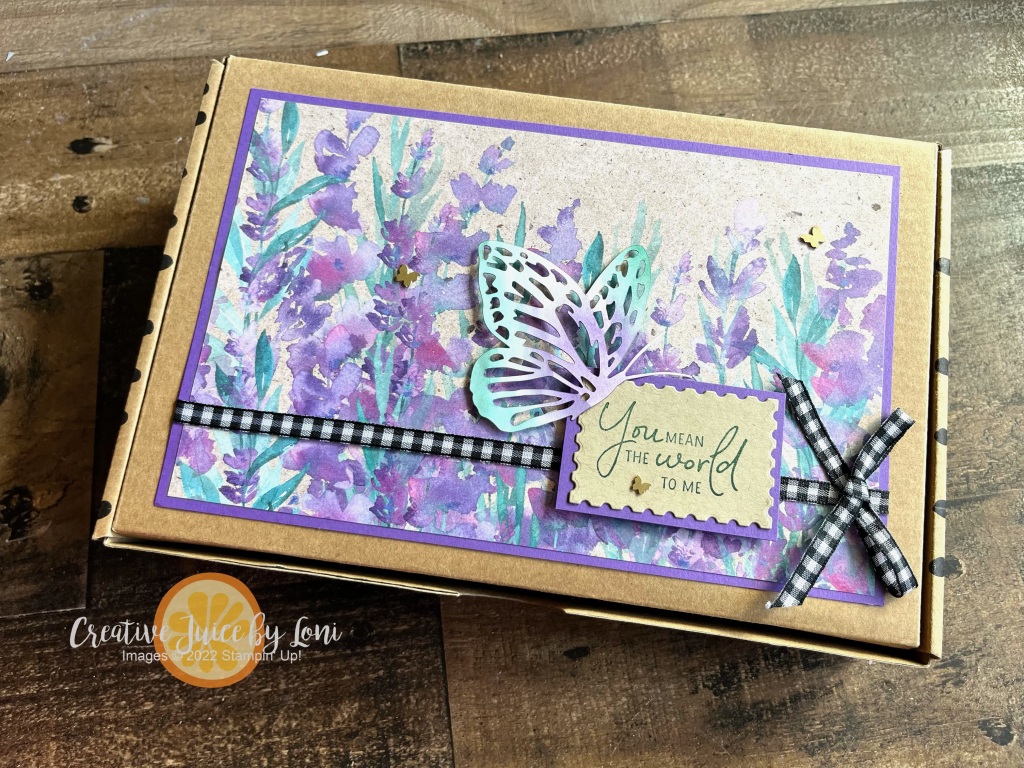
Begin by covering the top with a piece of card stock and/or Designer Series Paper and embellish as desired. The February Paper Pumpkin kit box was also one I kept to modify, and because it was pre-printed, it took a smaller piece of card stock that I embossed for the center:
Next, you’ll also re-cycle the cardboard backing from a package of Designer Series Paper by cutting it into two pieces:
12″ x 6 1/4″ – scored at 4 1/2″, 6″ and 7 1/2″
4 1/2″ x 9 1/8″ – scored at 2 1/2″, 4″ and 6 1/2″
Those two pieces will create the dividers for your box. These easily fit 6-8 cards & envelopes on the large sections, a small book of postage stamps in the smallest section and your could add tags, small gift enclosures, a pad of post-it notes or a treat in the medium section:
Here’s the video tutorial to discover how simple it is to make this handy project:
After the video, I remembered I had some Dollar Tree goodies to send to my grandkids, and lo-and-behold, they fit in a 2-section box… just leave out the second section divider and you could also put twice as many A2-sized cards inside:
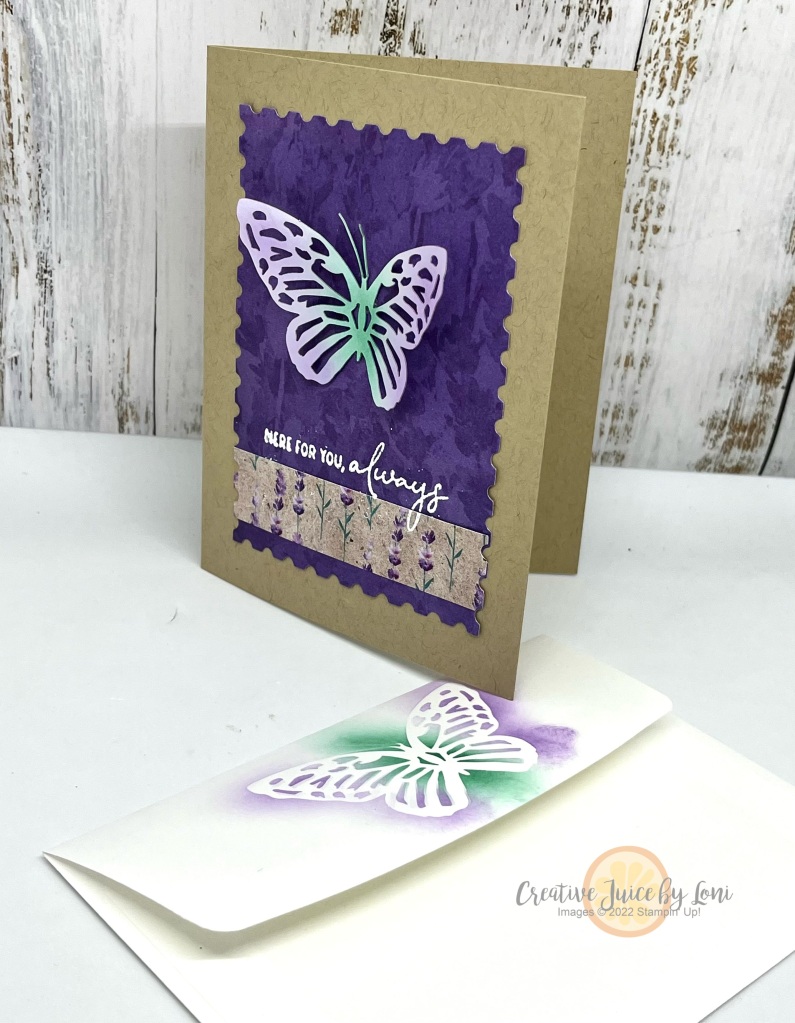
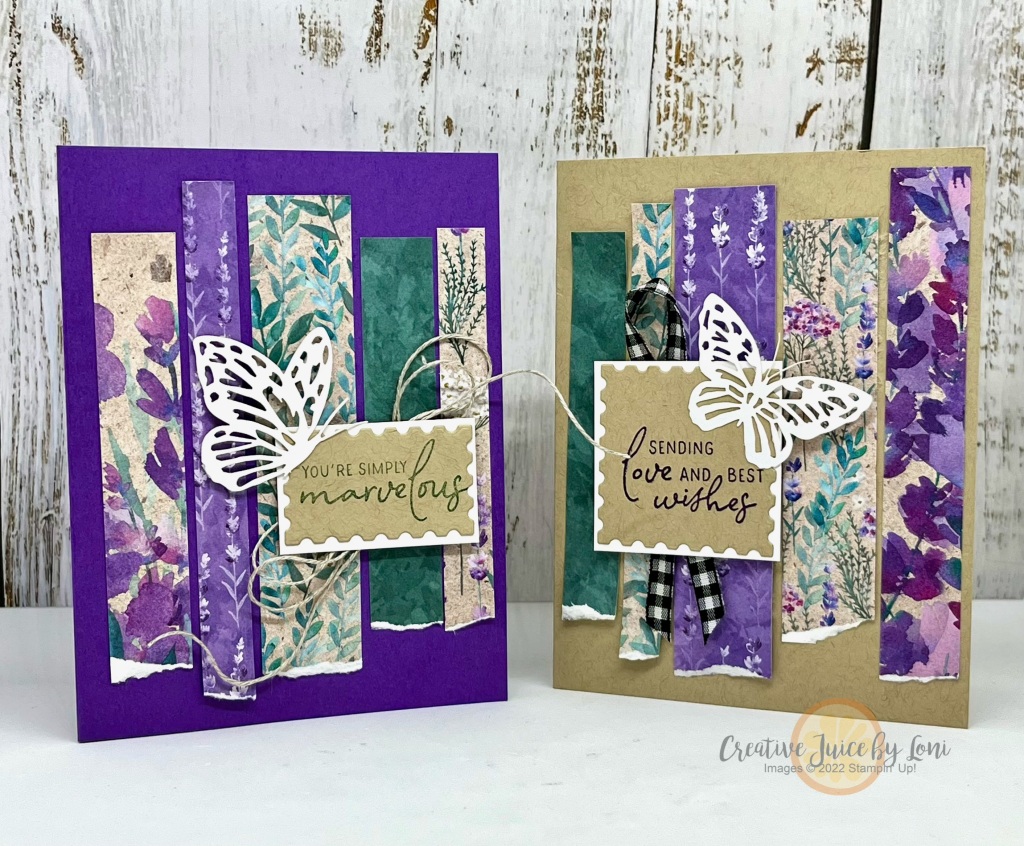
As demonstrated in the tutorial, I made a few simple cards using up the scraps from my pack of Perennial Lavender DSP and the Paper Butterfly Accents, along with the Perennial Postage bundle:
What are you going to put in your boxes? I’d love to see how *you* upcycle an empty kit box…share your creativity in my VIP Facebook Group!
Now that you’ve seen what you can make with the boxes, shop for more in the current Kit Collection:
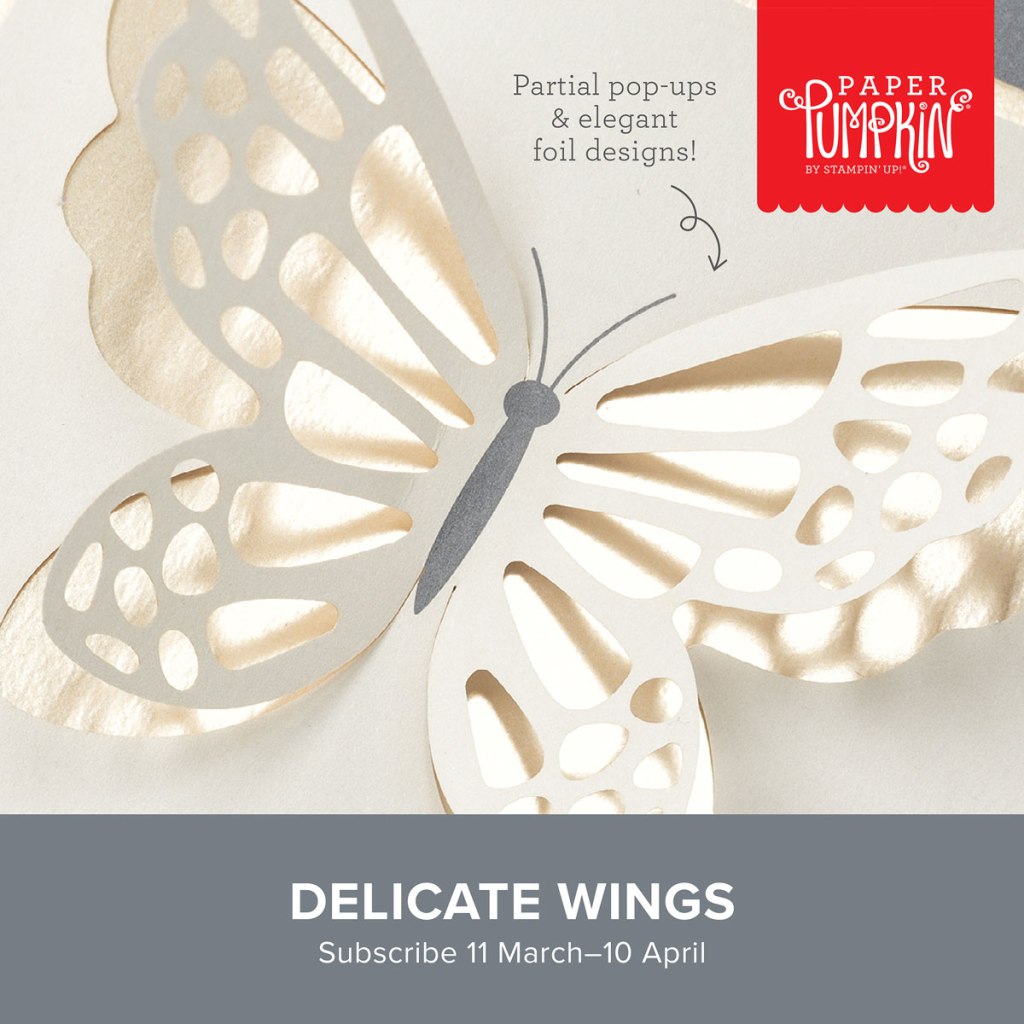
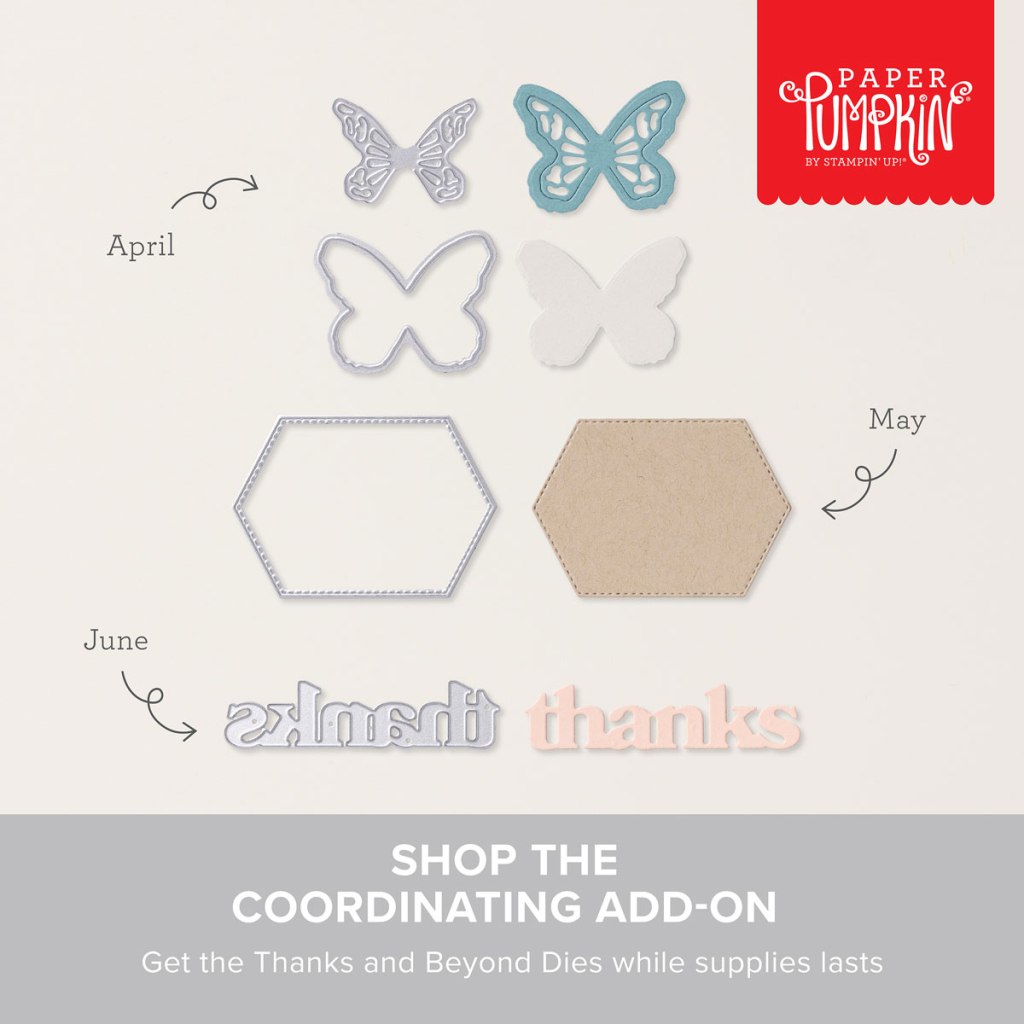
Don’t miss the chance to subscribe before April 10, 2024 for the Delicate Wings Paper Pumpkin Kit, and add the “Thanks & Beyond Dies” to coordinate with the April, May AND June Paper Pumpkin kits!
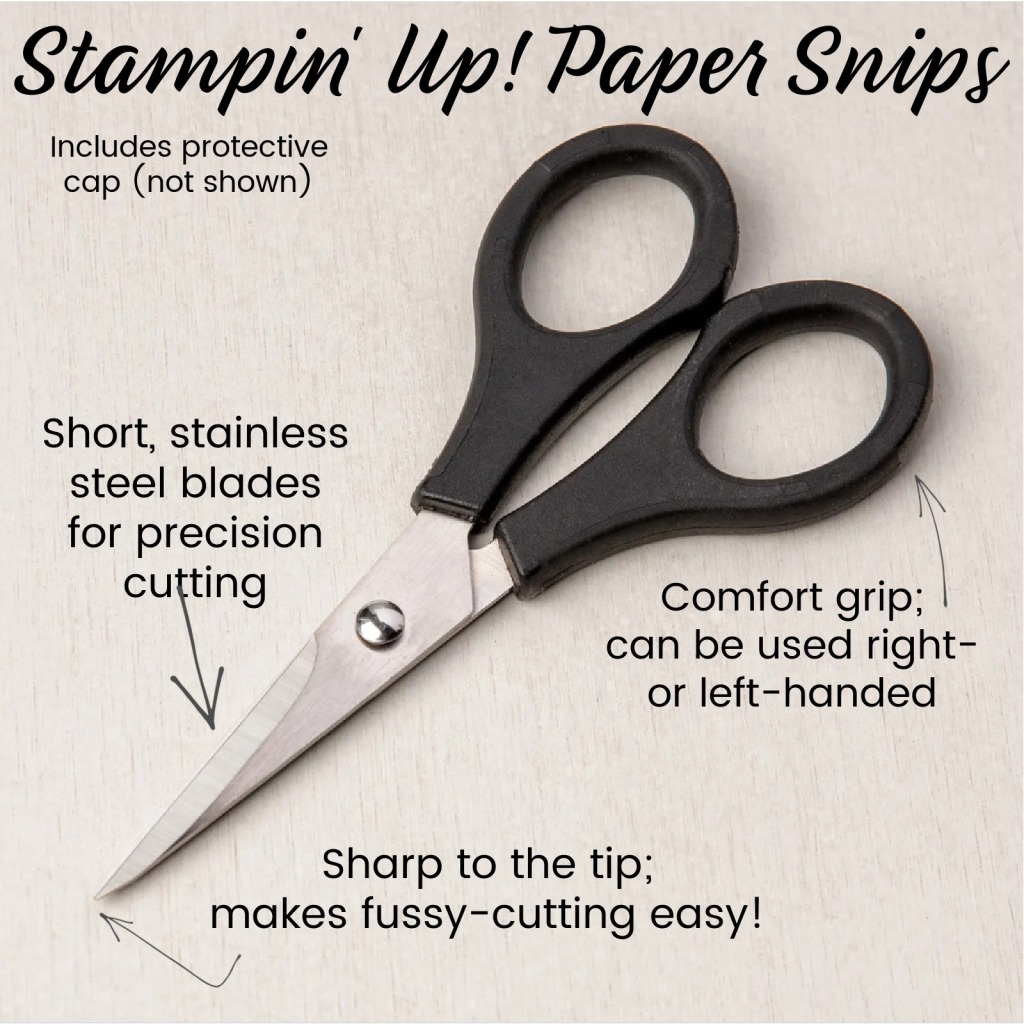
Just as bakers are always thrilled to receive a new spatula (my favorites are from Pampered Chef), CRAFTERS are delighted to add another set of scissors to their collection! The Paper Snips from Stampin’ Up! are essential for fussy cutting, plus you can make a second pair “ribbon only” scissors.
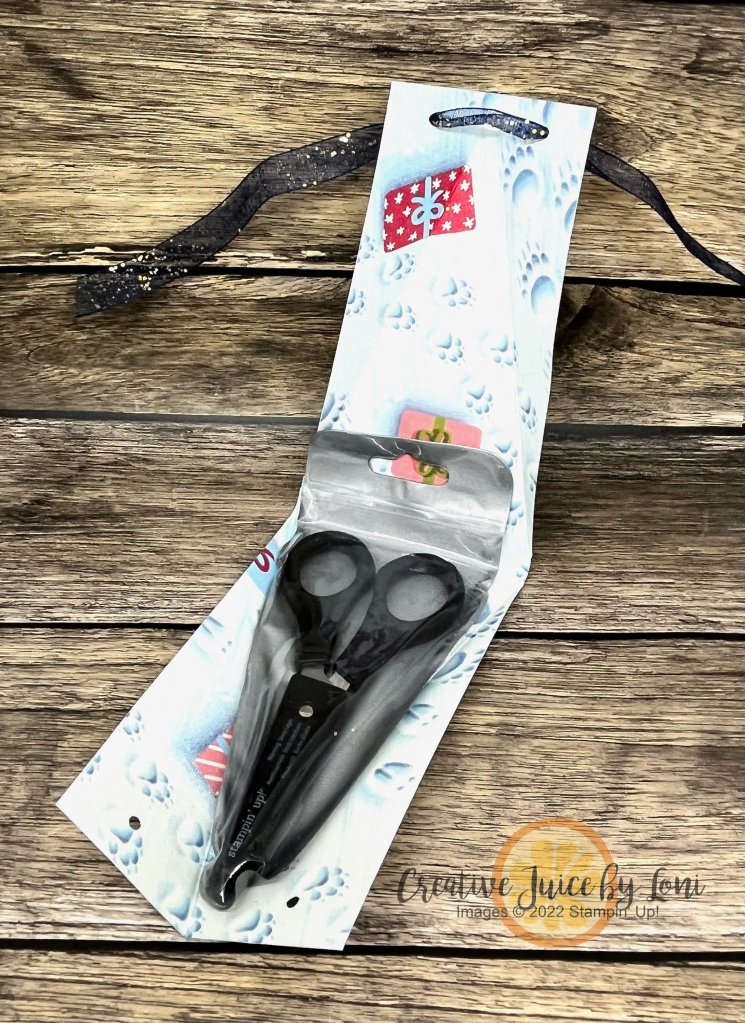
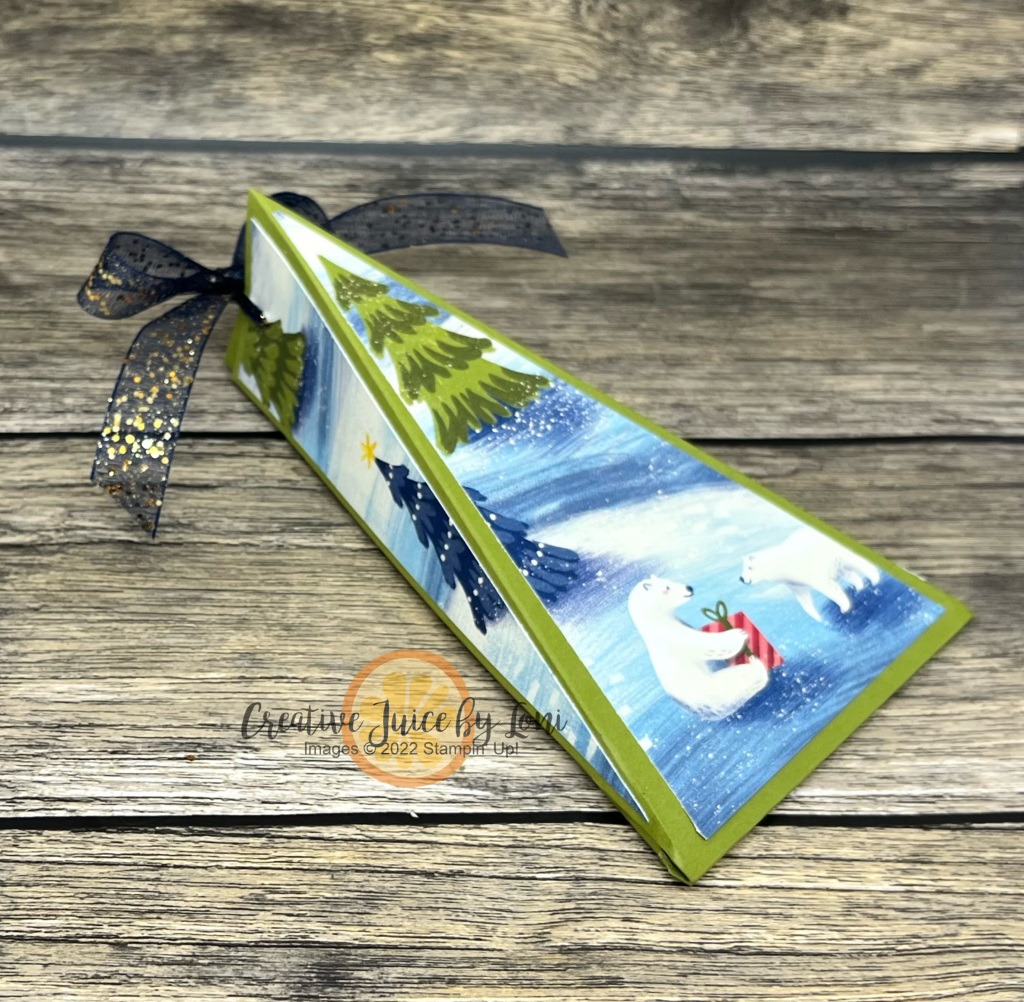
The trick is how to WRAP a gift that’s triangular shaped, and I have just the tutorial for you today!
This box is PERFECT for SNIPS and can be created for the holiday season OR any other time of gifting.
Start with a 12″ x 3.5″ piece of card stock OR Designer Series Paper, then follow the instructions here (warning: I make a mistake at the 6 minute mark, but quickly get back on track!). The layer starts with a 5.5″ x 3″ piece of card stock or Designer Series Paper.
Tip to make this box for any size: Measure the triangular object you want to wrap and add 1/2″ to the length and double it, then add 1/2″ to the width. That’s how I got the size of paper to begin my box with!
Here’s the box opened:
If you start with card stock and add Designer Series Paper, keep the two sides you trimmed off and layer them on the sides of the box- they fit perfectly and keep the “scene” wrapping around the edges:
I’d love to hear if you make these boxes- comment or tag me on social media @creativejuicebyloni on Facebook or Instagram.
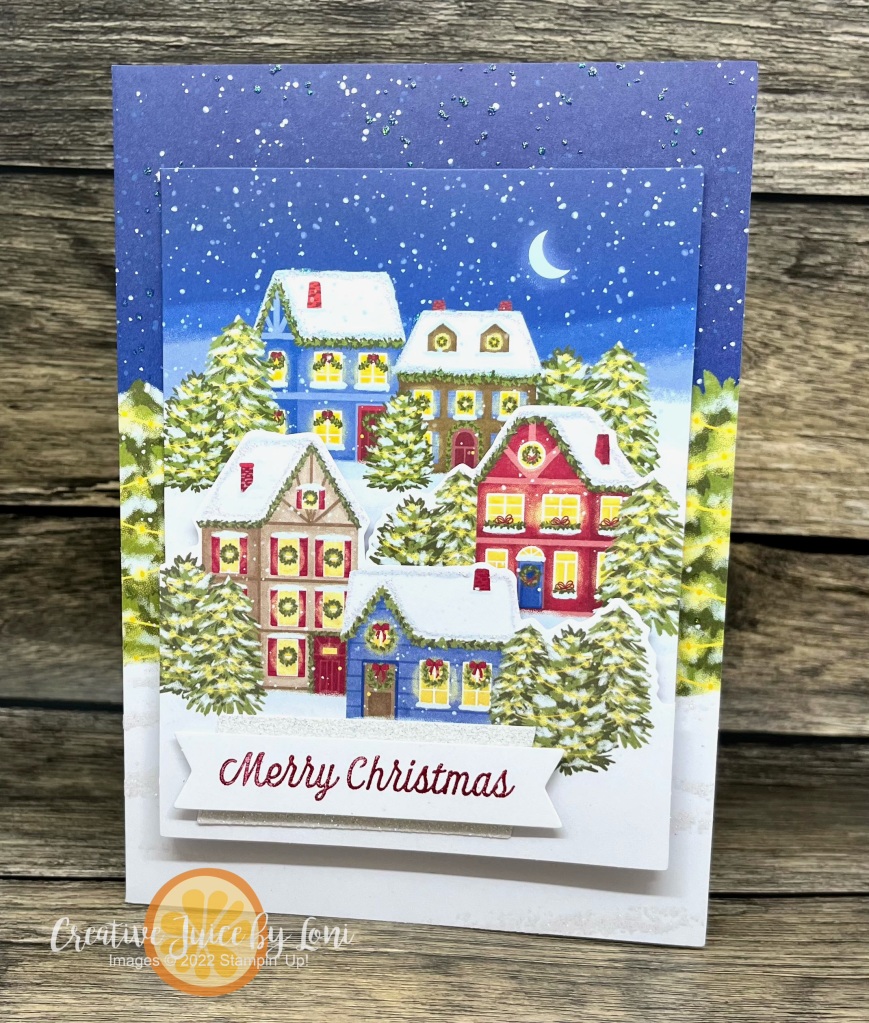
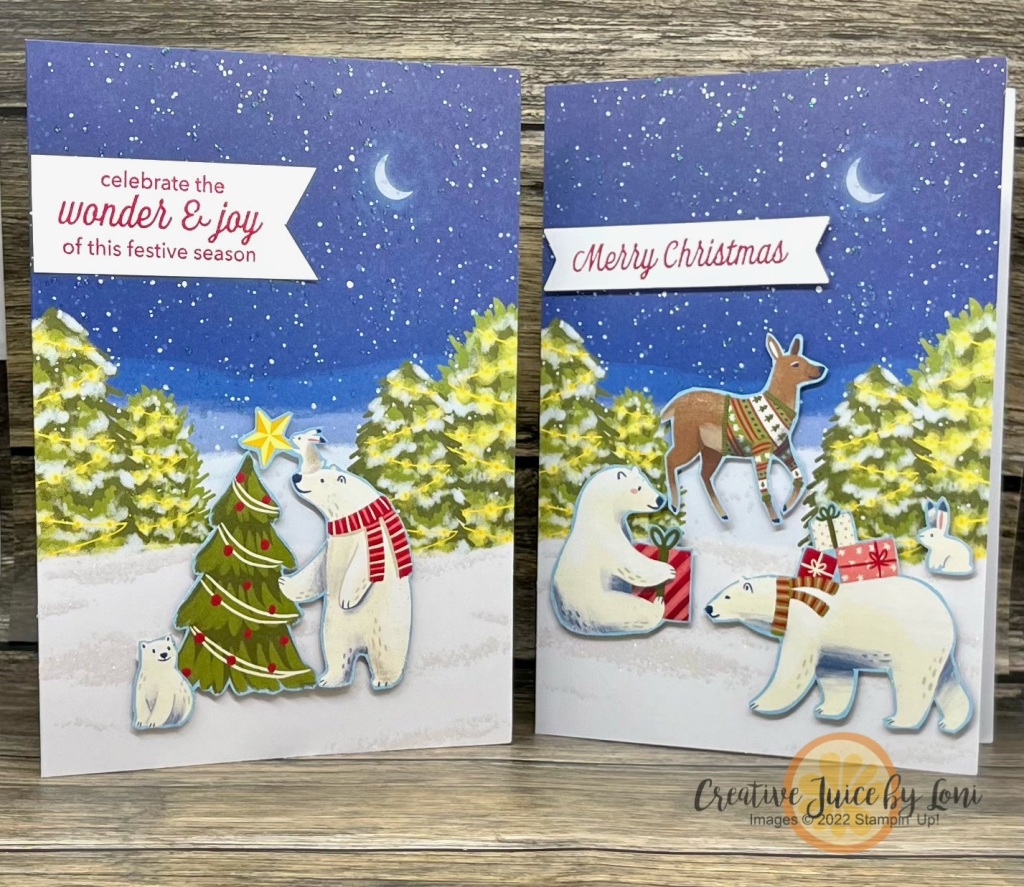
First, they also coordinated with the OCTOBER Home for the Holidays Paper Pumpkin kit (subscribers can grab the refills HEREwhile they last), so I just cut off the front of the landscape card from the kit and mounted it to the front of the card.
Next, you can add stamped, punched or fussy cut images from Designer Series Paper (like Beary Christmas) to the scene for a festive holiday card in the nighttime forest! I added sentiments using the stamps from the Oct. Home for the Holidays Paper Pumpkin Kit, and there will probably be more coming in the Warm Wishes kit in November…
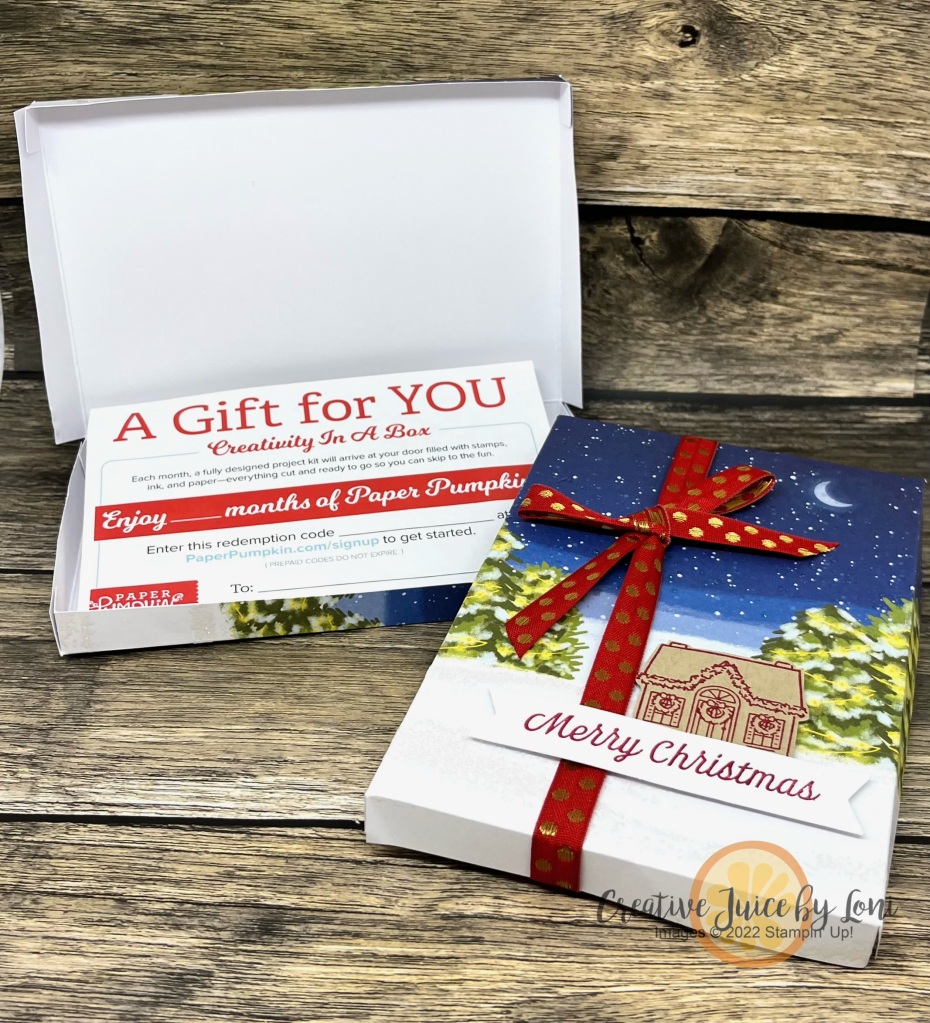
My creative friends voted on Facebook and 90% of them prefer an EXPERIENCE over a tangible gift. Good News! You can gift Paper Pumpkin subscription (which is both tangible AND an experience) to a friend with a 1-, 3-, 6- or 12-month pre-paid craft box to their mail box each month!
When the receipt is emailed to you, it includes a printable Gift Certificate you can dress up in a BOX made from the Warm Wishes Cards (or you can just forward the email to your friend and follow up to make sure they redeem the gift):
All of these projects were demonstrated in my Live Video today:
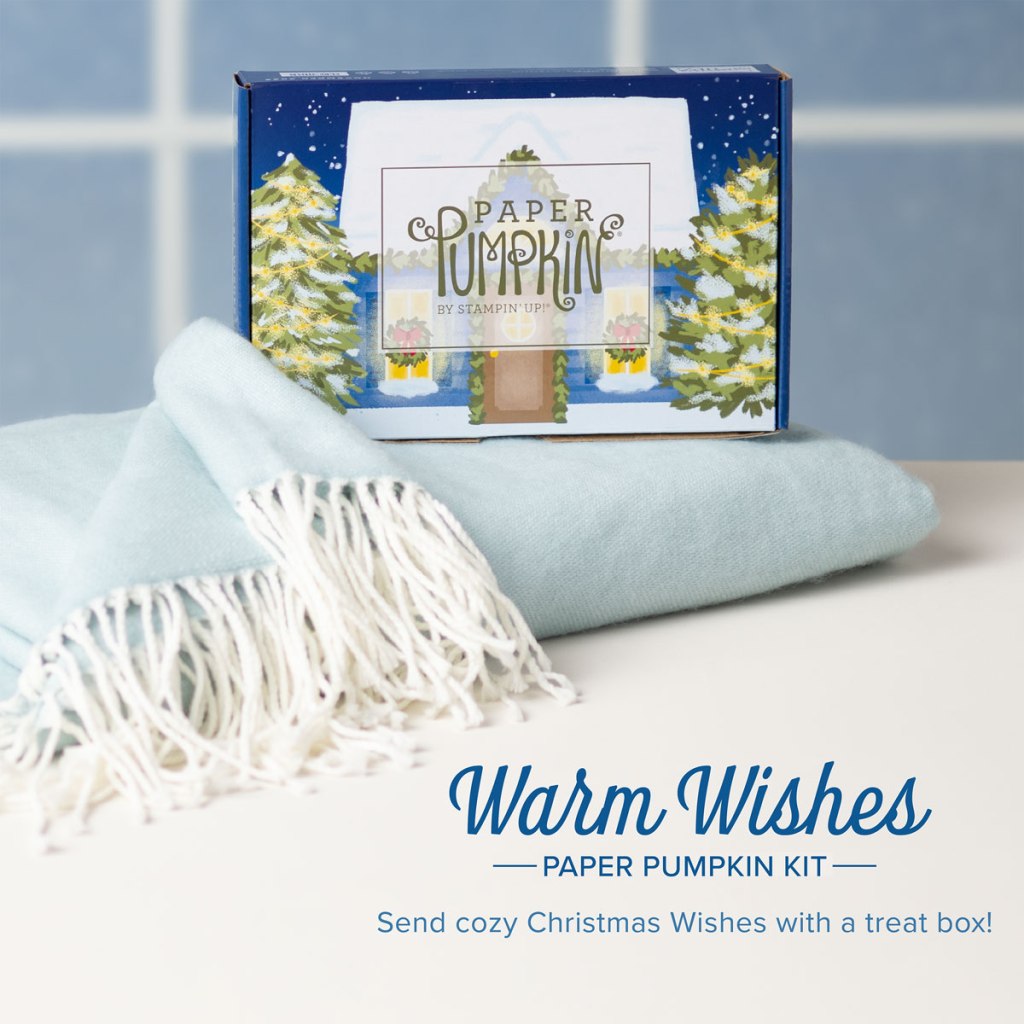
REMEMBER: The Warm Wishes Cards & Envelopes Add-On package are available WHILE SUPPLIES LAST and are ONLY available to Paper Pumpkin Subscribers, so SUBSCRIBE NOW!
I do expect them to sell out, so get yours QUICKLY, then you can enjoy using them with the November 2023 Warm Wishes kit as well:
The Warm WIshes kit will create 8 treat packaging boxes (4 each of 2 different designs), 1 Mossy Meadow ink spot, 8 clear food-safe bags, linen thread and a photopolymer stamp set.
I wanted to give the leaders in my Sprinkled Ink team a special gift when we attended BackStage last weekend. My Kit.sch pillowcase is one of my favorite things, so I knew it would be a special gift, but I needed a way to wrap them, so I came up with a gift bag/box that closes at the top with a TAG.
Both Sue and Kristi LOVE purple, so I used a piece of the Delighfully Eclectic Designer Series Paper to create the bag for them, but today I demonstrated it with a sneak peek piece of the Walk in the Forest Designer Series Paper that will be available beginning September 6, 2023:
It’s super simple to create and you can also slip a hand-stamped card inside along with a pillowcase (or any other gift about the same size). The finished bag is 1-1/4″ x 4-1/4″ x 7″
Grab a piece of Designer Series Paper and watch the video below to craft along, then reserve your paper share at the link after the video!
Would you like a 6″ x 6″ piece of every pretty patterned paper in the upcoming September-December Mini catalog? Reserve your share by September 5th (or inquire if I have any extra after the 6th).
NOTE: The Walk in the Forest Designer Series Paper is our “giveback” product and when you purchase a package, $3 will be donated to the Marine Toys for Tots program to deliver hope to economically disadvantaged children.
Last (but not least), on Wednesday, September 6th, make sure you check out the SPECIAL RELEASE of additional Designer Series Papers that are NOT in the mini catalog – but COORDINATE with select products in the mini catalog – which are available WHILE SUPPLIES LAST! Self-adhesive gold and silver glimmer paper? YES, PLEASE! And that’s just one of the papers…
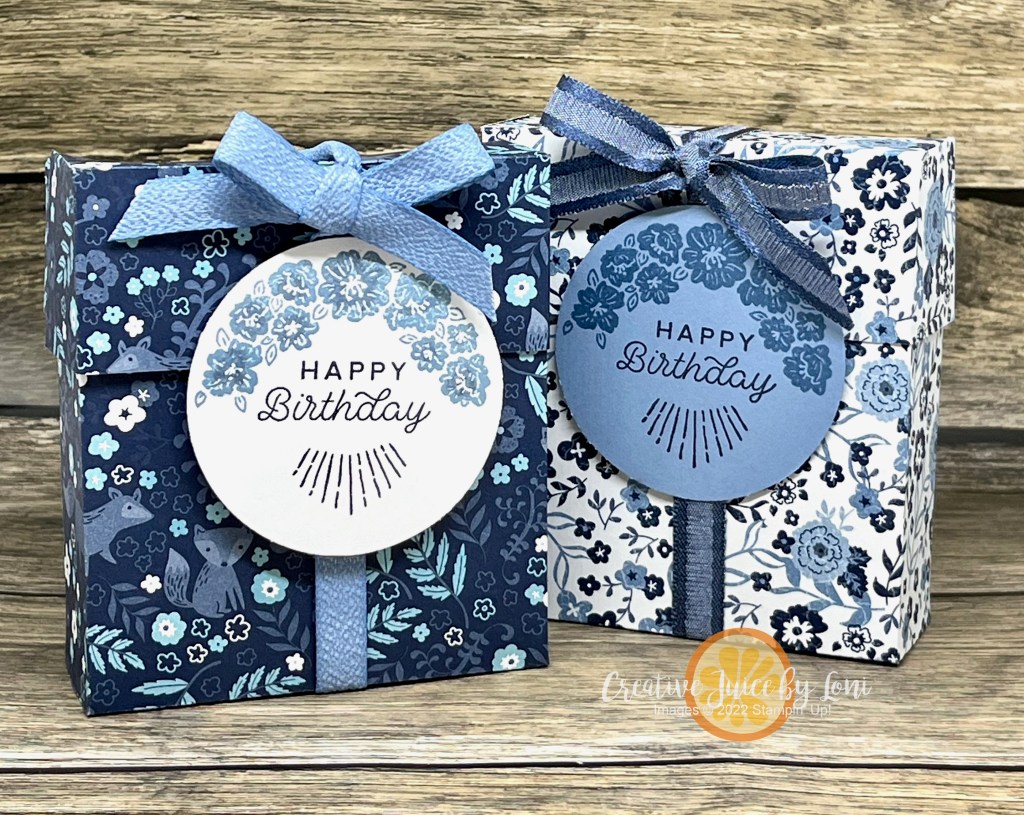
Today’s project encourages you to USE THAT PRETTY PAPER- Don’t hoard it! This hinge-lidded gift box (3.5″ x 4″ x 1-1/4″ finished size) is speedy to make, and begins with a 6″ x 12″ piece of Designer Series Paper.
Score along each long size at 1-1/4″ in (or if you are using a Simply Scored board, put the short end at the top and score at 1-1/4″ and 4-3/4″)
Turn the 12″ side of the paper along the top of your trimmer or Simply Scored, then score at 4″, 5-1/4″, 9-1/4″ and 10-1/2″. You’ll trim at each of these score lines from the long edges just into the intersecting 1-1/4″ score line.
**If your paper is DIRECTIONAL (meaning there is a top and bottom to the pattern), watch the video to see instructions- or make sure that the top of your design is at the left when you make the first 4″ score along the long side.
This box is ideal for 2 bolts of Stampin’ Up! ribbon (or one large bolt, like the Boho Blue one I showed in the video), and it’s tight, but will work for 2 classic ink pads, or a myriad of other small gifts!
Three things to note if you are reading this in June 2023:
Most of the Designer Series Paper in the Stampin’ Up! Annual Catalog is 15% off during June only!
You CAN add discounted paper to the Starter Kit+ Special Offer in June! It’s the best VALUE for anyone with a long wishlist or who wants to try a new adventure- no obligation to try it out.
The Circle Sayings 3-for-Free offer ends June 15th!
When you purchase the Circle Sayings bundle from my Stampin’ Store by 6/15/23, I’ll email you a tutorial for 3 exclusive cards you won’t find anywhere else PLUS I send you the supplies (card stock, ribbon, paper, etc) to make those three cards with your new stamp set and coordinating punch! This is the bundle I used on my box today:
Have you ever made a triangle gift box? It starts with a regular card base (8.5″ x 5.5″) and is quick to complete, no geometry required!
It felt like this triangle needed tacos, but you can put anything on it! Print the instructions below, then watch the video that follows for a few more finished samples and HOW TO!
Any supplies you need to craft your own can be found in my STAMPIN’ STORE! And heads up… tomorrow (Wednesday, April 19, 2023) is a FLASH FREE SHIPPING DAY on all orders over $75!
Thanks for allowing me to help you gain creative confidence!
Are you old enough to remember the cases a cassette tape came in? For you youngsters, that was what we recorded and listened to music on before CD’s, which were before MP3 players, which were before cell phones and music streaming services.
Never mind how long ago that was…let’s just focus on how cute this gift box is:
While this project is easier with the Stampin’ Cut & Emboss machine, the Sweet as a Peach bundle is discounted 20% off in March 2022 during the Savings Are In Bloom promotion, and sadly, this personal favorite Peach bundle is retiring at the end of April, so don’t miss the chance to add it to your crafting collection.
When I make these boxes, I like to imagine what might fit inside: candy, earrings, money, gum, lipstick, a personalized rubber stamp, a deck of cards, etc. With a finished size of 2-1/2″ x 4-1/4″ and 1/2″ deep, tell me what you can think of to wrap in this retro-design-inspired box!


")


 Designer Series Paper")
 Glimmer Specialty Paper")


 Circle Punch")
 Circle Punch")


")
 Designer Series Paper")


 Gingham Ribbon")


 Designer Series Paper")
 Cardstock")
 Glittered Ribbon")
")
")
 Specialty Paper")


 Designer Series Paper")
")


 Bordered Ribbon")


