Slide-Up Gift Card Holder for All Occasions

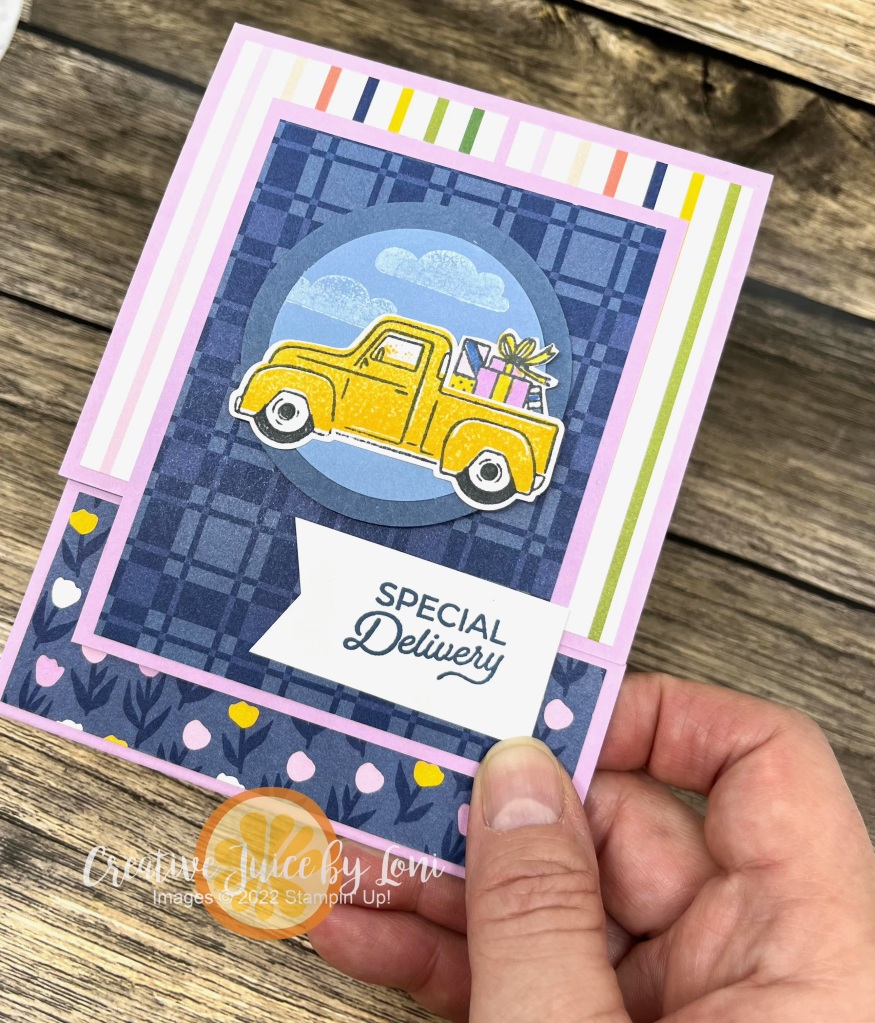
The Trucking Along bundle (an Online Exclusive in my Stampin’ Store) is an all-occasion crafting set of stamps and coordinating punch and today I’ll demonstrate how to make a slide-up gift card holder to present gift cards, money, gift certificates or other flat items for ANY occasion:

This is the outside of the holder and below you’ll see the holiday version we created at the Christmas Card Class in Cedar City a few weeks ago. When you open the card, the pocket slides up to show the gift inside!

You probably noticed the coordinating envelopes…as long as you are stamping the truck for the front of the card, you may as well stamp a second time on the envelope to make it festive!

Cutting and scoring instructions:

Card base (I used Fresh Freesia for the birthday version): 11″ x 4-1/4″ scored at 1-3/4″ and 7-1/4″, plus the same color card stock 3-1/4″ x 4-1/4″ for the mat on the top layer.

Sliding insert: THICK white card stock 6-3/4″ x 3-1/2″ scored at 1/2″, then flipped to the back side and scored at 5-1/4″ (I explain why in the video)

Designer Series Paper: 4″ x 3″ for top layer, 3-1/2″ x 4″ for top part of card and 1-1/2″ x 4″ for bottom section.

Watch for the tips to make this easy to assemble:
Product List

If your significant other starts asking what YOU WANT for Christmas (because it is now less than 2 weeks away 😆), did you know I offer gift certificates? They can be used on an order through me and/or toward one of my classes or events! Send them my way and I’ll take care of them (and you).

If they are really early, they could take advantage of a JUST ANNOUNCED one-day of FREE SHIPPING on December 14th (on orders over $75):

New at SU: This Piggy is Giving a Gift Card

Giving a gift card makes everyone happy: It’s easy for you to buy, and the recipient gets to choose what they want. But if it seems “impersonal”, the New at SU! design team is here to show you how to make gifting (and getting) a gift card EXCITING!

This Birthday Piggy is scooting in on a gift box that doesn’t even hint at what’s inside:

It’s a charming surprise when you open the box and a gift card pops up:

Don’t worry…it’s a simple box to make and the mechanism is a piece of (birthday) cake! Let me show you how:

This is my fancy project sketch and dimensions (bold lines are where you will cut). It may help as you follow along with the video tutorial (feel free to pause the video as you learn). You can get both pieces from one sheet of 8.5″ x 11″ card stock.

Once your box is assembled and decorated, simply attach your gift card to the front panel of the pop-up piece using a few glue dots!

I’ll list the supplies below and am happy to serve you if you are in the U.S. and don’t have a demonstrator. Now make sure you hop along to see the other clever gift card holders our International creative team are sharing…click a link below:

November New at SU! Blog Hop: Give a Gift Card

Powered by blogcarousel.com

Product List

IF GIFT CARDS ARE YOUR JAM, DON’T MISS SUBSCRIBING FOR THE DECEMBER PAPER PUMPKIN KIT!

Create fun gift card holders to help you celebrate your special occasions all year long! Personalize each gift with these reversible boxes and paper bands for a unique design every time. This kit includes:

  • Good Things Come in Small Packages Photopolymer Stamp Set
  • Garden Green Classic Stampin’ Spot
  • 16 gift card holders: 2 each of 8 reversible designs
  • Precut paper pieces, twine, and belly bands to customize all your crafts.
  • Enough adhesive for each project!
  • Finished box size: 3-5/8″ x 2-1/2″ x 1/2″

Coordinating Stampin’ Up! colors for the December Kit: Balmy Blue, Basic Gray, Blushing Bride, Calypso Coral, Crushed Curry, Garden Green, Tahitian Tide

Plus, you can take your crafting even further with a special add-on: Give a gift card box and a personalized card with the Good Things Cards & Envelopes add-on. You get 20 cards (5 each of 4 designs) and 20 coordinating envelopes…while supplies last!

New at SU! Designer Series Paper

We’re back with project ideas from around the globe to help you use your favorite Designer Series Paper! And what perfect timing, as many of our pretty patterned papers are ON SALE this month (July 2021) for 15% off:

While the Expressions in Ink paper is a SPECIALTY paper (and not on sale), I wanted you to see how gorgeous it is with the gold veins running through the watercolor images, so take a look:

This is a fancy fold that shows off BOTH sides of your DSP and you can use as a card (portrait) OR a pocket card (landscape).

To make the card, begin with a 5-1/4″ x 11-3/4″ piece of Designer Series Paper and score it along the long side at 1-3/4″, 4-3/4″ and 7-3/4″. Next, accordion fold it so that you have the piece you want on top, then adhere the back of the largest panel to a 4-1/4″ x 5-1/2″ piece of card stock for a sturdy matte around your paper.

Here is the card open. I did tie the ribbon around the smallest panel and adhere it down so the ribbon won’t slide off, but you can leave the front flap free, if you’d like.

The Expressions in Ink Designer Series Paper also coordinates with the 2021-2023 In-Colors, so you can mix and match the designs and colors!

For this version, the measurements are the same, but I tied the ribbon all the way around all the layers of DSP before attaching it to the card stock matte, creating two “pockets” where you can slide the card you’ll write in in the top pocket and a gift card into the shorter pocket.

The photos really don’t do the sparkle justice, but I hope you get the feel for what you could create with it! I’ll list the supplies used at the bottom of this post.

Now it’s time to hop over to Linda’s blog to see what she’s created with the Hand-Penned paper~

Product List
Expressions In Ink 12" X 12" (30.5 X 30.5 Cm) Specialty Designer Series Paper
$15.00
Basic White 8 1/2" X 11" Cardstock
$9.75
Fresh Freesia 8 1/2" X 11" Cardstock
$8.75
Fresh Freesia 3/8" (1 Cm) Open Weave Ribbon
$7.00
Polished Pink 8 1/2" X 11" Cardstock
$8.75
Polished Pink 3/8" (1 Cm) Open Weave Ribbon
$7.00
Pale Papaya 8 1/2" X 11" Cardstock
$8.75
Pale Papaya 3/8" (1 Cm) Open Weave Ribbon
$7.00
Label Me Fancy Punch
$18.00
Dressed To Impress Photopolymer Stamp Set (English)
$18.00
Biggest Wish Photopolymer Stamp Set (English)
$17.00
Tuxedo Black Memento Ink Pad
$6.00
Versamark Pad
$9.50
Heat Tool (Us And Canada)
$30.00
Heat & Stick Powder
$6.00
Gilded Leafing Embellishment
$9.00

July 2021 New at SU!: Designer Series Paper

Tricia’s Stamping Creations: Tidings of Christmas DSP

Stamping the Cape: In Good Taste DSP

De Kijkkast: Hand-Penned DSP

Creative Juice by Loni: Expressions in Ink Specialty DSP << YOU ARE HERE!

Moore Fun Stamping: Hand-Penned DSP

The Flying Stamper: Bloom Where You’re Planted DSP

Gifted Hands, Ink!: Simply Elegant Specialty DSP

Joni in the Spotlight Stamping: Expressions in Ink Specialty DSP

Stamping Flair: Sweet Symmetry DSP

Mamie & Papyrus: You’re a Peach DSP

Playing with Papercrafting: Hand-Penned DSP

Scraphexe: In Color DSP

Stamping with the Copper Cropper: Bloom Where You’re Planted DSP

24/7 Inkspiration: Bloom Where You’re Planted DSP

New at SU! ~ Papaya, Peaches & Pockets

New Stampin’ Year, NEW IN COLORS! Welcome to our May 2021 New at SU! Blog Hop where we are sharing the 2021-2023 In Colors with you in a fresh new way: by sharing Fun Fold Cards to try in your own craft studio! You’ll want to PIN all these terrific card ideas, so let’s get hopping around the world with our design team so you can give it a try sooner than later!

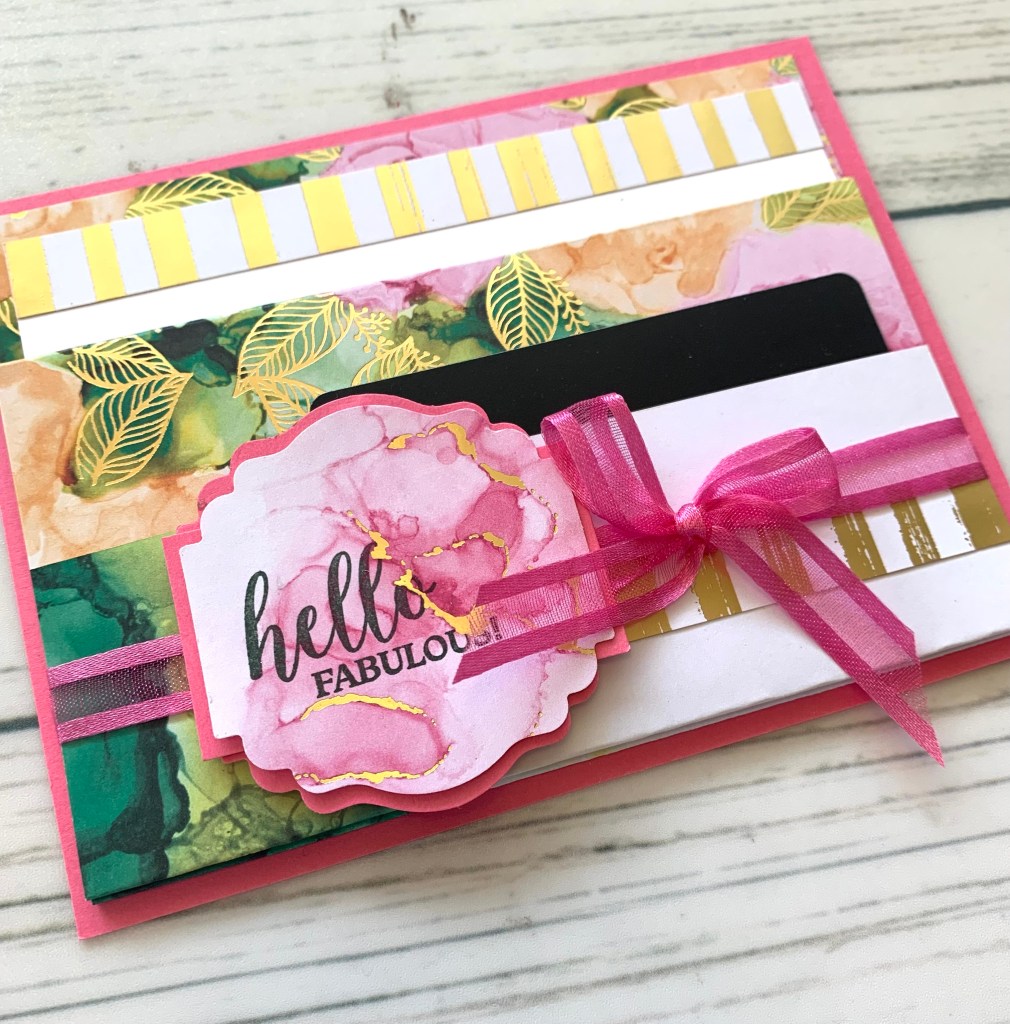
I chose to focus on the Pale Papaya color because it happens to match my favorite Designer Series Paper, “You’re a Peach” and I started with the In Color Vellum – which is shimmery on one side, and oh, so pretty!

On to my project, a Vellum Slide-Out-Pocket gift card holder:

My card was inspired by fellow demonstrator Rachel Tessman

What a PEACHY way to give a gift card!

Here are the pieces you need to make this card:

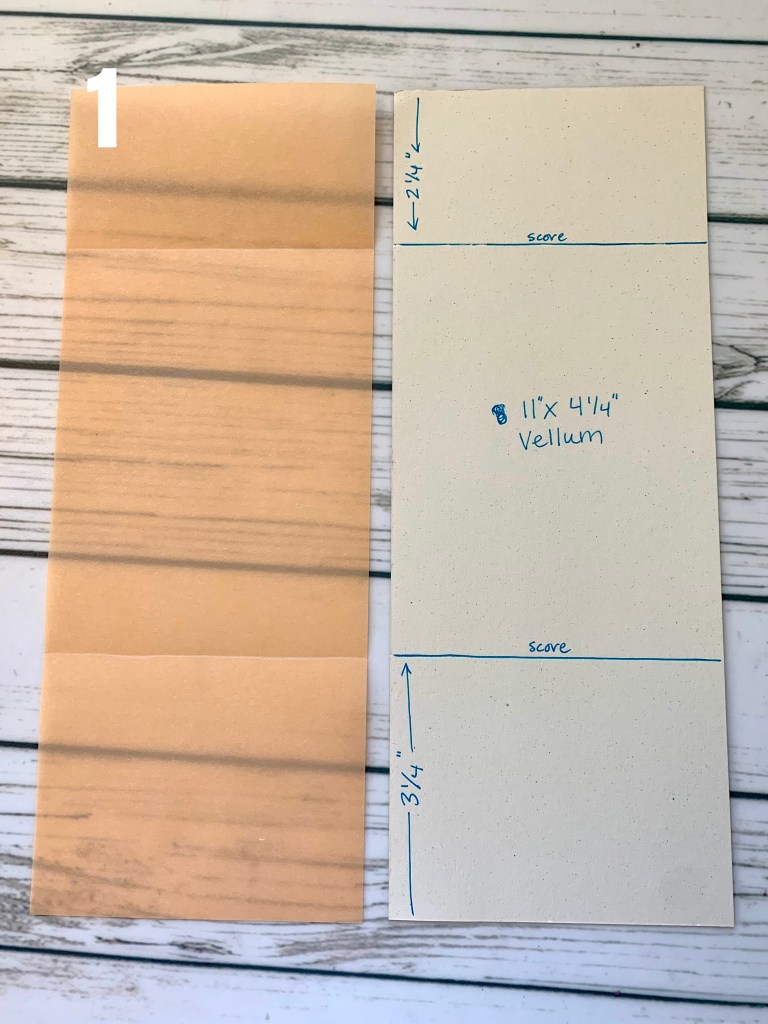
  1. Pale Papaya Vellum: 11″ x 4-1/4″ scored at 2-1/4 from one end and 3-1/4″ from the opposite end.
  2. Designer Series Paper: 7-3/8″ x 3-1/2″. If your paper has a direction, you’ll want to score at 2-5/8″ from the top (so your pattern will go the correct way on the pocket) and 3/8″ from the bottom. When you assemble the pocket, the 3/8″ edge will actually adhere toward the top of the card (see image 3)
  3. Basic White card stock: 3-1/2″ x 2-1/2″ plus scraps to stamp on
  4. Pear Pizzazz card stock: 3-3/8″ x 2-3/8″
  5. Pale Papaya ribbon: 18″

I embossed the Pear Pizzazz card stock with the lovely Stitched Greenery die, then stamped and die cut my peach images (TIP: Ink up your peach stamp with Pale Papaya ink, then use a sponge dauber to lightly add a bit of Polished Pink ink to the edges)

Then follow these steps to assemble your card:

There is only Tear & Tape adhesive on the edges of the Designer Series Paper pocket and the 3/8″ top edge of the pocket, and then on the same spot on TOP of the vellum to adhere the card stock panel to the front of the card. No other adhesive is necessary!

I stamped “Happy BIrthday” on the back side of the front panel before assembling the card so it shows through when you open it.

Products used are listed below, and I appreciate your comments! Then jump over the pond to our Columbian in Germany~ Ximena’s post to find another fancy fold card featuring the In Colors:

Product List
2021–2023 In Color Shimmer Vellum
$12.00
You're A Peach 12" X 12" (30.5 X 30.5 Cm) Designer Series Paper
$11.50
Sweet As A Peach Bundle (English)
$36.75
Basic White 8 1/2" X 11" Cardstock
$9.75
Pear Pizzazz 8-1/2" X 11" Cardstock
$8.75
Pale Papaya Classic Stampin' Pad
$7.50
Polished Pink Classic Stampin' Pad
$7.50
Pear Pizzazz Classic Stampin' Pad
$7.50
Stitched Greenery Die
$32.00
Stampin' Cut & Emboss Machine
$120.00
Pale Papaya 3/8" (1 Cm) Open Weave Ribbon
$7.00
Tear & Tape Adhesive
$7.00
Sponge Daubers
$5.00
Simply Scored
$30.00

May 2021 New at SU!: In Colors & Fun Folds Blog Hop Roll

Tricia’s Stamping Creations: Simple Fun Fold

Scraphexe: Inside Pop Up 

24/7 Inkspiration: Z-Fold 

Mamie & Papyrus: Gate Fold 

Stamping Flair: Double Fan Fold

De Kijkkast: Zig-Zag Tower

Stampin’ Scrapper: Triple Accordion Fold

Playing with Papercrafting: Corner Flip Fun Fold

Moore Fun Stamping: Pop Up Vase

Creative Juice by Loni: Vellum Slide-Out-Pocket YOU ARE HERE

Stampin’ Xime: Square Flap Card

Lilypad Stamper: Z-Fold

CarterIe Plus: Double Gate Fold

Best Catch: What’s New At SU! Blog Hop

It’s easy to make a frilly, pretty card…but sometimes it’s a challenge to create something for the guys. Never fret: We are here to help!

whats new at su header

These are some talented demonstrators from all over the globe who have come together to jump-start your “masculine” card making skills, so make sure you hop through all the blogs and tell us what you love and what you want to see more of!

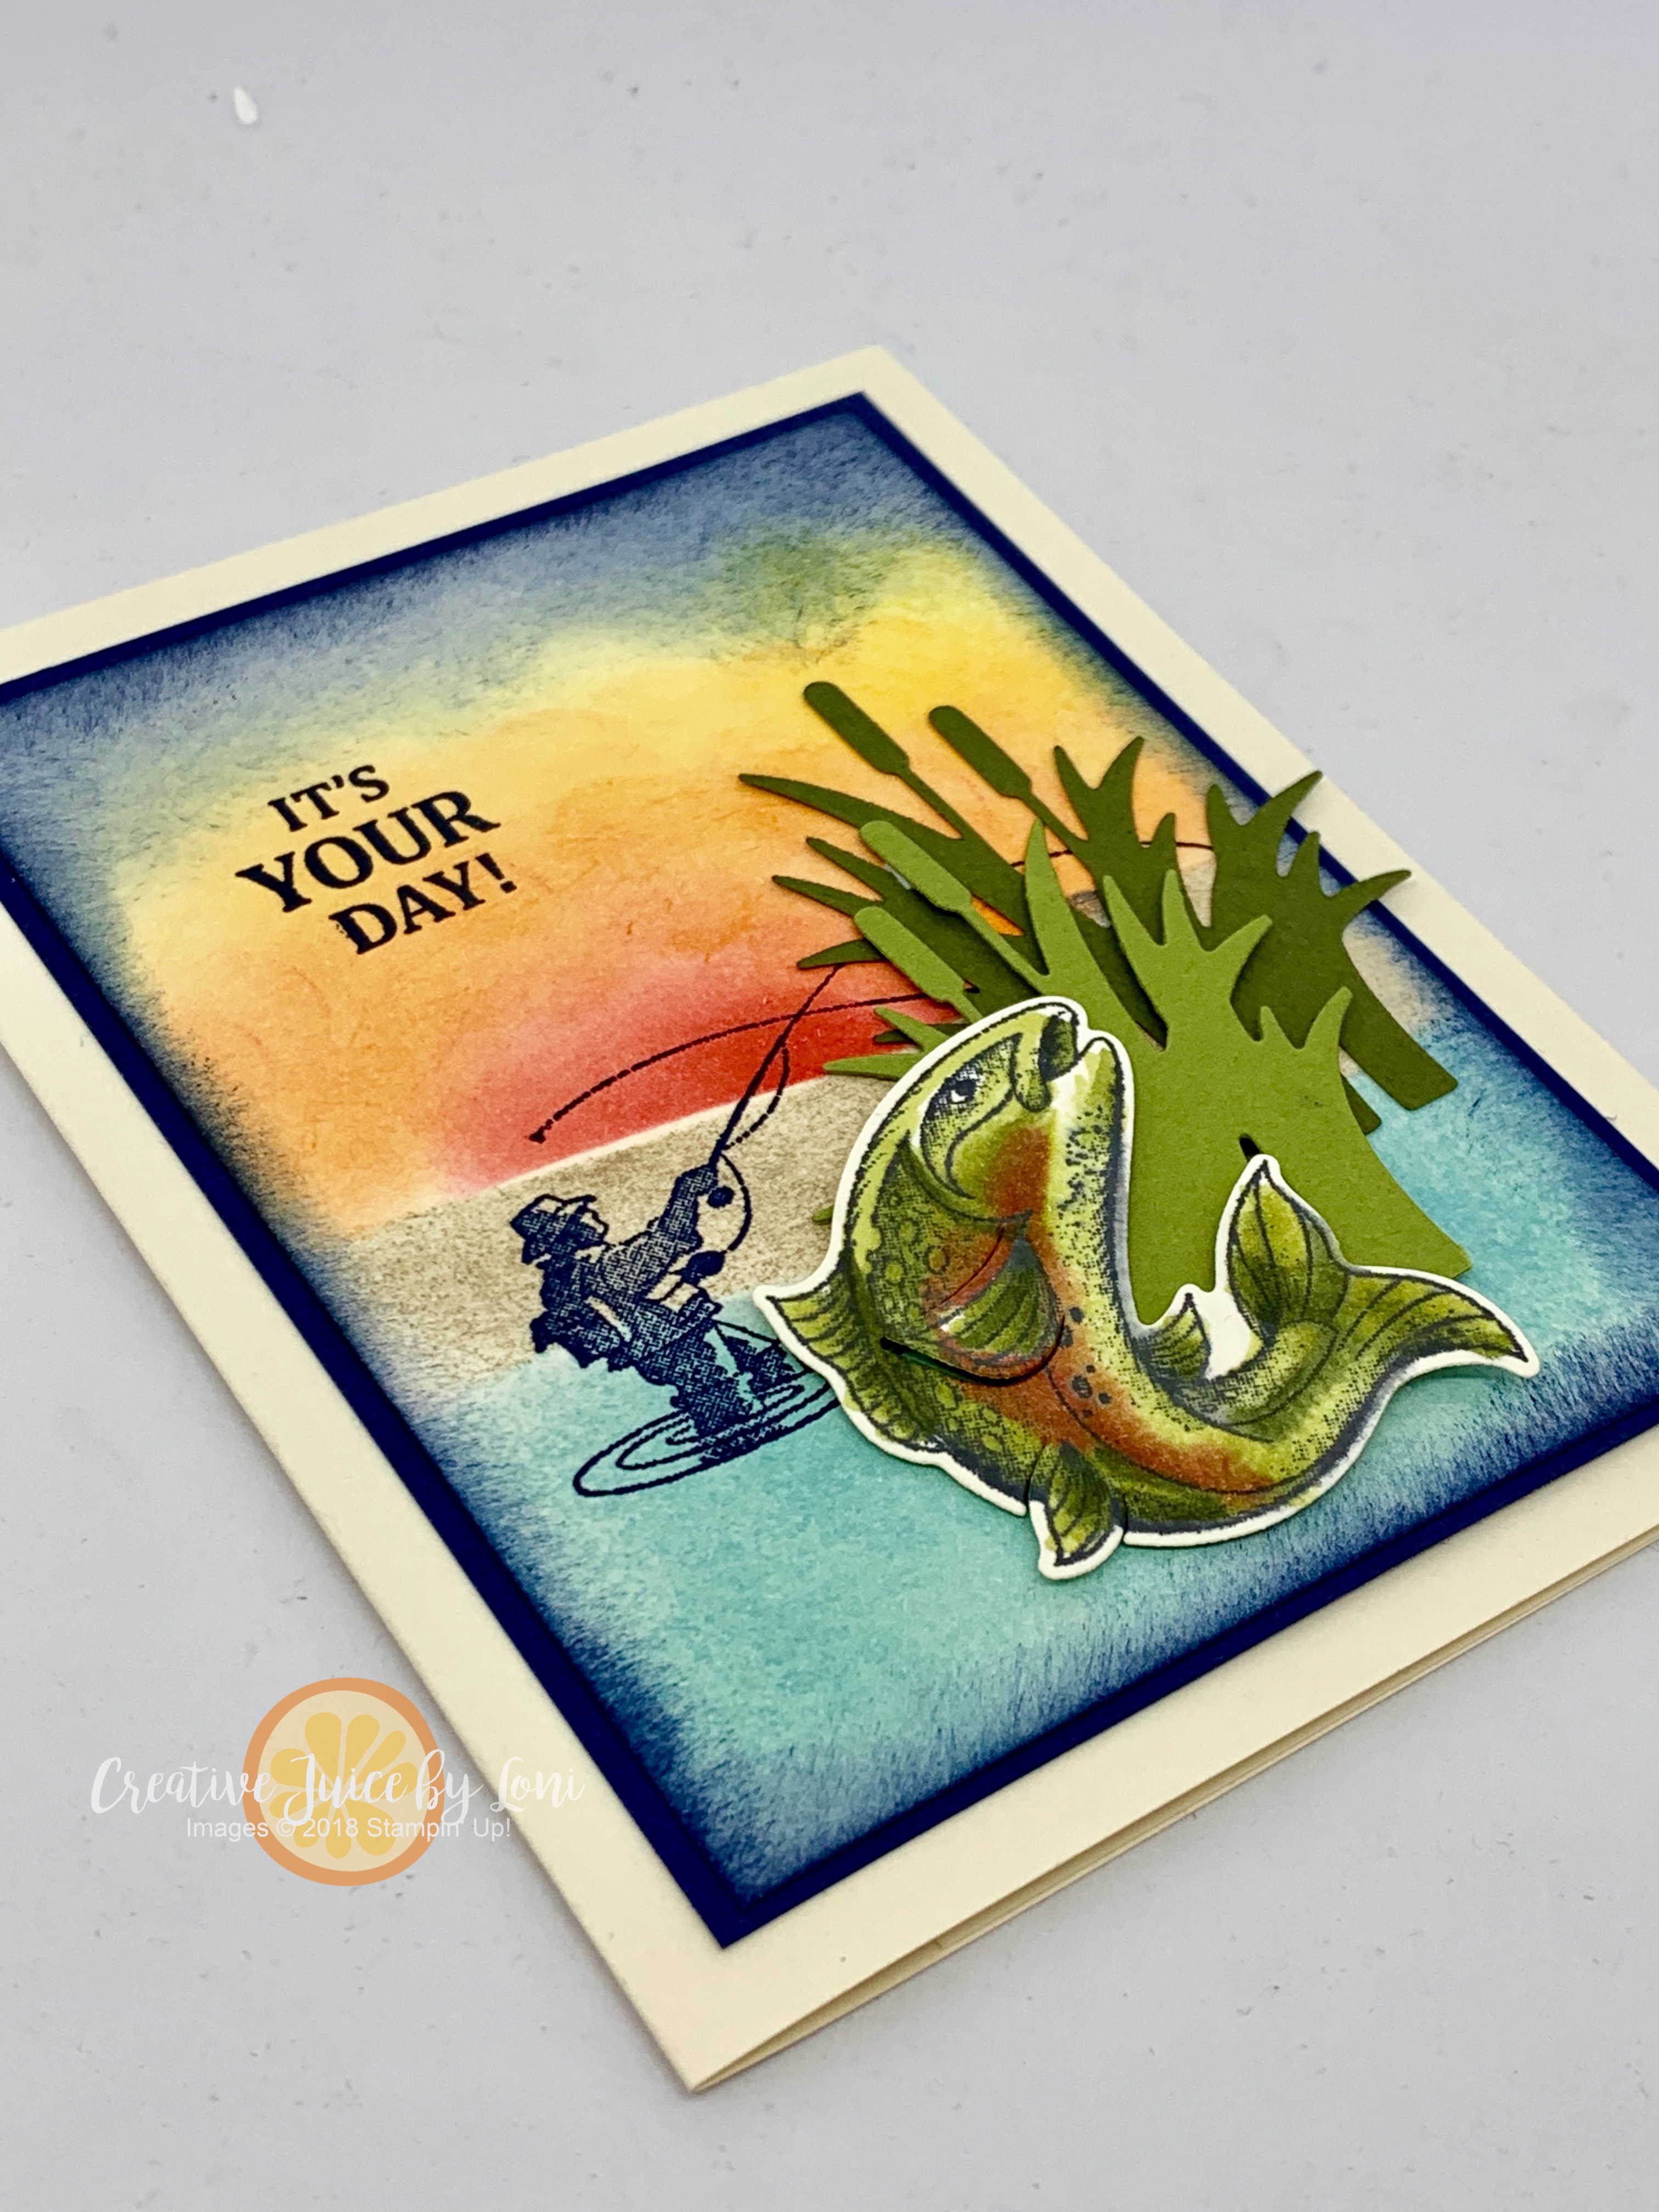
I’m sharing a gift card holder I created for my husband’s birthday using the BEST CATCH bundle from the Occasions Catalog:


To create the card base, I used a piece of 12″ x 5.5″ Very Vanilla card stock and scored it at 4-1/4″ and 8-1/2″. On the last panel, you can cut diagonally OUT from the 8-1/2″ score mark and then fold it inside the card, adhering it to the bottom of the card with Tear & Tape adhesive, forming a pocket. You could insert cash, a gift card or a photo into the pocket. Not just for birthdays, but Father’s Day or Anniversaries, too!

Watermarked1(2019-05-01-1205)

For the front of the card, I started with a 3-5/8″ x 4-7/8″ panel of Very Vanilla card stock and cut a mask from a piece of scratch paper, laid it over the panel about 1/3 of the way up and sponged water with Pool Party ink. Keep the other piece of the mask to lay over the water and sponge the sandy shore above the water with Crumb Cake ink.

Next you’ll cover your sand with a mask and sponge a sunset: I started with Poppy Parade and then blended in Pumpkin Pie, Mango Melody, and Daffodil Delight ink with my sponges. Finally, sponge Night of Navy all the way around the edges and layer it on a 3-3/4″ x 5″ Navy Mat.

The fish is stamped in Black Memento Ink and colored with Stampin’ Blends, then cut, along with the reeds, using the coordinating dies. I love blending different colors on the fish! HINT: Save 10% when you purchase the stamps & dies together in a bundle by June 3rd.

Diane always has something amazing to share, so hop over to her blog next, or skip back to Cheryl’s blog to see her guy-inspired project~ Both featuring the Geared Up Garage product suite!

PreviousNEXT

The whole blog hop roll:

A Happy Hello/Goodbye Sale-a-Bration

5 days left of Sale-a-Bration and I’ve had fun demonstrating these boxes at my March parties from the Happy Hello Card Kit:

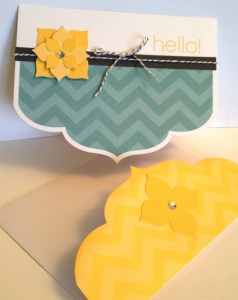
The instructions for the boxes are on Barb’s website HERE...and my only change/suggestion to make it easier is to put your card on the Simply Scored with the flat side flush against the left side and score at 1″, then flip the card over so the other flat edge is flush against the left side and score again at 1″. Turn the card so the blue chevrons are on the left edge and score down the edge of the pattern at 3″.

I used a clear envelope with the sticky flap cut off for the “bag” inside the box and filled it with chocolate, my favorite treat.

They are really fun to make, but since the kit comes with 8 cards and envelopes (and everything else to make these cards)…

…I had a lot of these cute envelopes left over! What to do with them?? So I came up with this:

It’s a gift card holder!

Here are the simple steps to make your own:

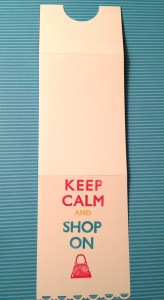
1. Cut white card stock 2-3/4″ x 9-3/4″. Score at 1-7/8″ and 5-7/8″ on the Simply Scored Tool (122334).  Punch a half circle (I used the 1-3/8″ punch) on the smaller flap edge and the Scallop Trim Border punch (118402) on the larger side edge. Adhere sticky strip to the very edge of the smaller flap sides.

2. On the opposite side of the card stock, stamp your image. NOTE: This image is from the Carry On set which is only available when you host a party and will be retired at the end of May…call me today to schedule a private class 🙂

3. Remove red from sticky strip and fold in to create pocket. Add a small strip of colored card stock under the decorative edge and mount the pocket to a 4-1/4″ x 3″ piece of card stock.

4. Take the envelope from the Happy Hello Sale-a-Bration card kit and score at 1-3/8″ and 4-1/2″ using the Simply Scored.

5. Insert a 3-3/4″ x 3″ piece of Designer Series Paper into the scored envelope and mark with pen so you know where to trim:

6. Remove the DSP, trim and adhere to center front section of envelope. Trim into the envelope flap along score lines, fold and adhere to sides (or remove). Insert card into envelope.

7. Punch 8 layers of Creped Filter Paper (129393) using 1-1/4″ scallop circle punch (127811) and push brad through the center of all circles. Scrunch each layer up to form flower. Spray flower with Stampin’ Spritzer (126185) filled with rubbing alcohol and 4 drops of re-inker (I used Melon Mambo). Create a belly band with the Dotted Scallop Ribbon Border punch (119275) and insert flower brad to secure in the front.

Voila! A beautiful way to present a gift card AND use up those gorgeous envelopes from the Happy Hello Card Kit from Sale-a-Bration!

to purchase the items used in this tutorial and get the Happy Hello Card Kit FREE when you spend $50…but hurry! It’s only available through Friday, March 22nd when we must say GOOD-BYE to Sale-a-Bration 2013 😦

post signature

Dress Up a Holiday Gift Card

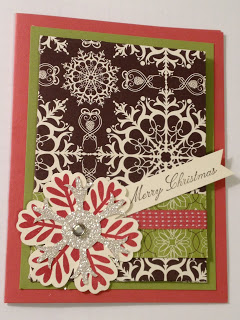
The sketch over at Create with Connie & Mary this week gave me an idea: A hidden gift card pouch! Here’s my card for the CCMC 229 sketch:

 But here is the fun little twist: It swings on the Rhinestone Brad!

 And here is the back closure:

When you untie it, surprise! A pocket to put a gift card in!

I created the pocket/envelope using the Simply Scored tool and Diagonal plate from Stampin’ Up!: Cut a piece of Designer Series Paper (from the Candlelight Christmas pack in the Holiday catalog) to 6 1/2″, then score on two sides at 3 1/4″ and on the other two sides at 2 3/8″.

Christmas Card Class

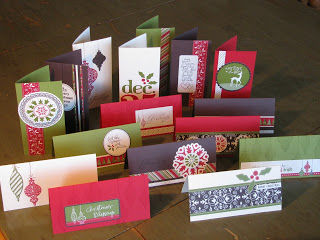
Let me make your holiday correspondence simple and fun: You can create these cards in the wink of Santa’s Eye at the “Jingle All The Way” Christmas Card Class
Saturday, November 14th, 7 p.m. 
Lion’s Head Clubhouse, Washington, UT
or
Saturday, November 21, 7 p.m.
Down Spendlove Lane, Spanish Fork, UT
Christmas Jingle Cards: 16 cards in a “jingle” from a Simply Scrappin’ Kit $20 (second set just $15)
AND/OR
Dasher Cards: Create 10 cards~includes Dasher (reindeer) stamp! $20 (second set only $10)
BONUS: Retired stamp sets available to purchase 20%-50% off!
*Bring: Scissors, SNAIL adhesive, paper trimmer and bone folder (optional). Registration required 5 days before event.

Gift Card Holder

‘Tis the giving season, and if you are giving gift cards, this simple and sweet gift card holder is a beautiful presentation. We’ve been making them in our workshops this month! I used the Basic Brown stamp pad to stamp on the shimmery white card stock because it dries quickly enough to watercolor over without smearing.

Recipe: Ski Slope Designer Series Paper, To You & Yours stamp set, Old Olive and Shimmery White card stock, Basic Brown and Baja Breeze classic stamp pads, Chocolate Chip grosgrain ribbon, Aquapainter and Scallop Edge, Word Window and 1 1/4″ circle punches.

Score a piece of 6″x12″ designer series paper at 6″ and 3.25″ from each short side. Fold into a “W” and glue around the inside bottom of the “W” to create a pocket (DON’T glue along the fold…that is where your card will go in). Punch two word window slots on the edge of the fold and a half circle to open the card pocket. Embellish as desired.

I love giving (and receiving!) gift cards and money, but if you need more fun ways to present them to friends and family, click here.