New at SU!- Blueberries Simple to Stepped Up

Welcome to the February New at SU! Blog hop! We want to show you how to use products from the January-April Mini catalog to create simple cards, with the option to “step them up”. Hop all around the world to see what our design team created for you!

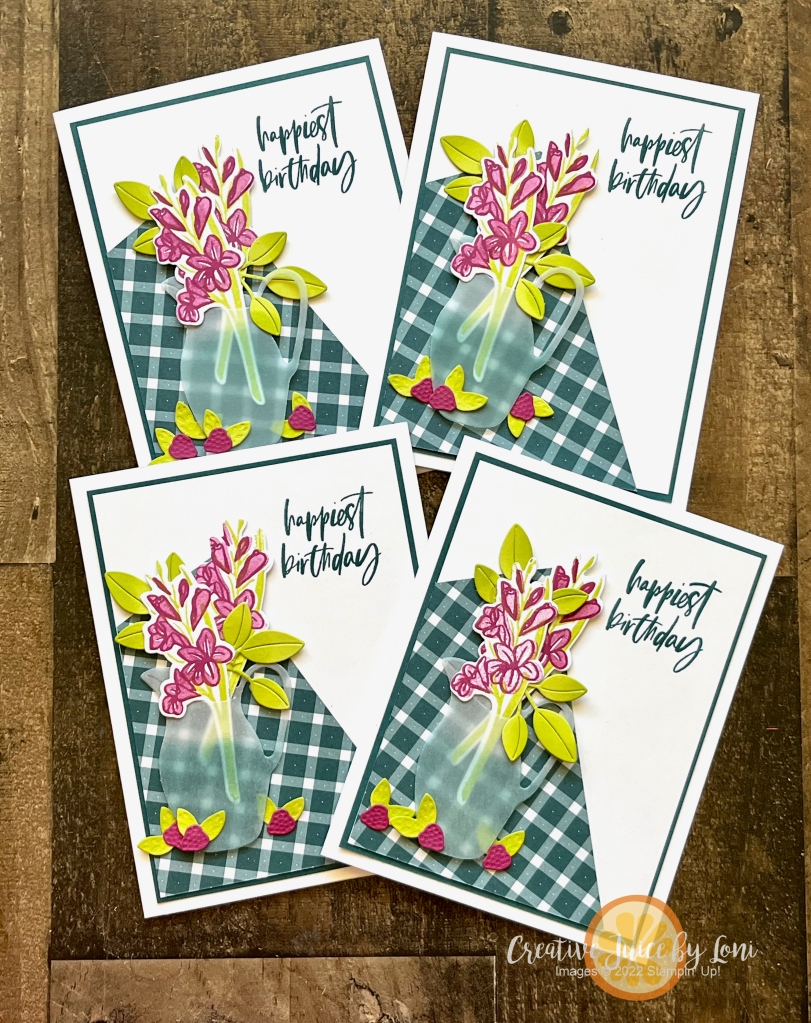
Starting off simple: Blueberry Bunches are beautiful simply stamped on a Crumb Cake background and a white focal point! A strip of Glorious Gingham DSP brings a country-fair feel to this simple card.

Step it up by die cutting the top layer from the Everyday Details dies and color the blueberries with Stampin’ Blends.

For AVID crafters, you can really create a masterpiece when you:

  • Emboss blueberry branches in white on a Blueberry Bushel card base
  • Add a few layers of card stock and Designer Series Paper
  • Watercolor the fruit on watercolor paper using ink refills or watercolor pencils (use StazOn ink to stamp image for watercoloring).
  • Fussy cut the blueberry bunch and pop it up using dimensionals
  • Use Stampin’ Blends to color basic rhinestone jewels for added sparkle

Remember to stamp a layer for inside the card, if the base is a dark color, and don’t forget to stamp your envelope to match!

Scoot off to visit these simple-to-stepped-up ideas and leave a comment on your favorite posts or projects…and save them to give it a try:

February New at SU! Hop: Mini Catalog, Simple & Stepped Up
Previous BlogNext Blog
1.Joni in the Spotlight Stamping (US) Thoughtful Expressions Simple &am
2.Nature’s INKspirations (US) – Enduring Beauty
3.iHeartCards2 (US) – Stippled Roses
4.Creative Juice by Loni (US)- Blueberries Simple to Stepped Up
5.Attelyootje (NL) – Simple Stepped Up
6.Tricia’s Stamping Creations (US) – Perennial Lavender Suite
7.The Joy of Stampin’ with Rachael (US)-Easter Lilies
8.scraphexe (DE) – Stippled Roses | Rare Rose
9.247 Inkspiration (US) – Hills of Tuscany
10.Rebecca-Jo Unwin (AU)- Everyday Details
11.Stamping Flair (AU) – Beach Day Bundle
12.De Kijkkast (NL)- Lovely & Sweet

Powered by blogcarousel.com

It makes my day when you leave a comment!

Product List

Limeade, So Refreshing for Summer

Obviously, I’m a citrus girl, but if I had to choose between lemons or limes, limes win!

Now that the color Lemon-Lime Twist is back in the Stampin’ Up! core color family, I used it to whip up a card recipe. And if you are looking for a recipe to DRINK, check out the Brazilian limeade recipe below.

If it looks good enough to drink and your mouth is watering, try this BRAZILIAN LIMEADE recipe to cool off with…you’ll come back to thank me, for it truly is SO REFRESHING.

INGREDIENTS:

DIRECTIONS

  • Place sugar, limes, sweetened condensed milk, and 2 cups of water in a blender. Pulse for 5 seconds (until the limes are well incorporated) then pass through a strainer and add remaining 4 cups of water.

Just a few more days to earn BONUS DAYS coupons (ends July 31st) then you may begin redeeming your coupons in August!

DO YOU HAVE A FAVORITE CITRUS FRUIT? Tell me in the comments!

4 Backgrounds from 6×6 Paper: Corner Angle Layer Card

BREAKING NEWS: FREE SHIPPING day just announced! Set an alarm for Wednesday, June 21st and earn free shipping on your orders over $75 that day only!

Paper crafters pride themselves on using scraps, so when we find a way to NOT WASTE A PIECE of pretty paper, we must give it a try!

I appreciated this idea from fellow demonstrator Rachel Tessman, and with the Glorious Gingham Designer Series Paper ON SALE through June, knew it was time to share it with you! It’s a fabulous way to get 4 angled corner backgrounds from one 6″ x 6″ piece of Designer Series Paper, and you’ll love how simple it is.

Lay a ruler down and mark 1-1/2″ on each bottom right corner as you rotate the paper 90-degrees four times. Mark it on the BACK SIDE of the paper you want to use, then you don’t have to worry about erasing lines! Then connect the marks across from each other like this:

Use your Paper Trimmer to cut along each of your lines and you’ll have 4 angled pieces to put in the corners of your card fronts:

My card base is Thick Basic White Card stock: 5-1/2″ x 8-1/2″, scored in half at 4-1/4″

Pretty Peacock card stock: 5-1/8″ x 3-7/8″

Basic White card stock: 5″ x 3-3/4″

I used the So Refreshing Bundle to complete my cards, and here’s a video to watch & learn how to:

Filled my pitcher with “water” and stuck in the flowers:

Let me know if you try it, or share your version in my Creative Corner Facebook Group for my V.I.C.’s (Very Important Crafters). Now turn up the alarm to remind you to order on Free Shipping Day and add these supplies to your cart:

Product List