While I’m a native southwestern girl, I confess I’m not really into southwestern decor. However, the Flowering Cactus Product Medley caught my attention in the Jan-June Catalog with a fresh palette and adorable images and fonts that really made me want to play with it.
Enter the #GDP293 color challenge with 3 new In Colors, and they’ve got me reaching for that Flowering Cactus…
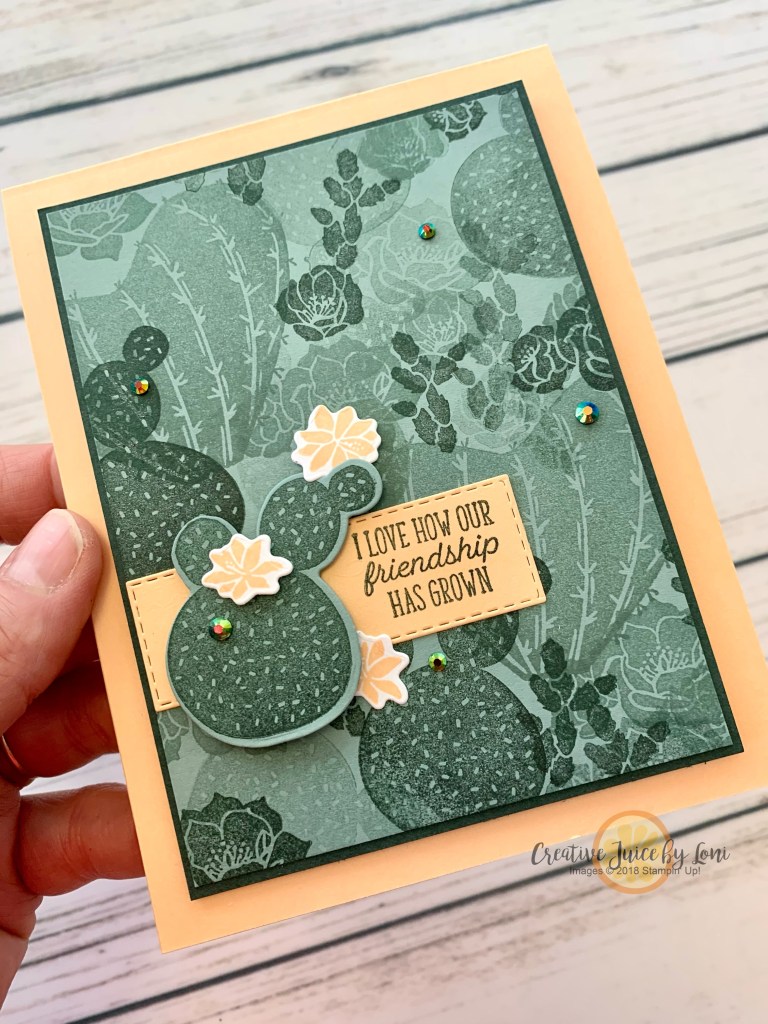
While stamping the background, it’s not going to look good until you are almost finished stamping…don’t worry if it looks a mess, it will all work out fine!
This is the type of card you have to intentionally mail: Can you think of a friendship that has become richer through the years because you’ve been through a lot of “sticky” situations and “dry” seasons? Write down those memories and be grateful that you are closer because of them.
Don’t miss the chance to add the Flowering Cactus Product Medley to your stamping stash: It retires in June!
New Stampin’ Year, NEW IN COLORS! Welcome to our May 2021 New at SU! Blog Hop where we are sharing the 2021-2023 In Colors with you in a fresh new way: by sharing Fun Fold Cards to try in your own craft studio! You’ll want to PIN all these terrific card ideas, so let’s get hopping around the world with our design team so you can give it a try sooner than later!
I chose to focus on the Pale Papaya color because it happens to match my favorite Designer Series Paper, “You’re a Peach” and I started with the In Color Vellum – which is shimmery on one side, and oh, so pretty!
On to my project, a Vellum Slide-Out-Pocket gift card holder:
My card was inspired by fellow demonstrator Rachel Tessman
What a PEACHY way to give a gift card!
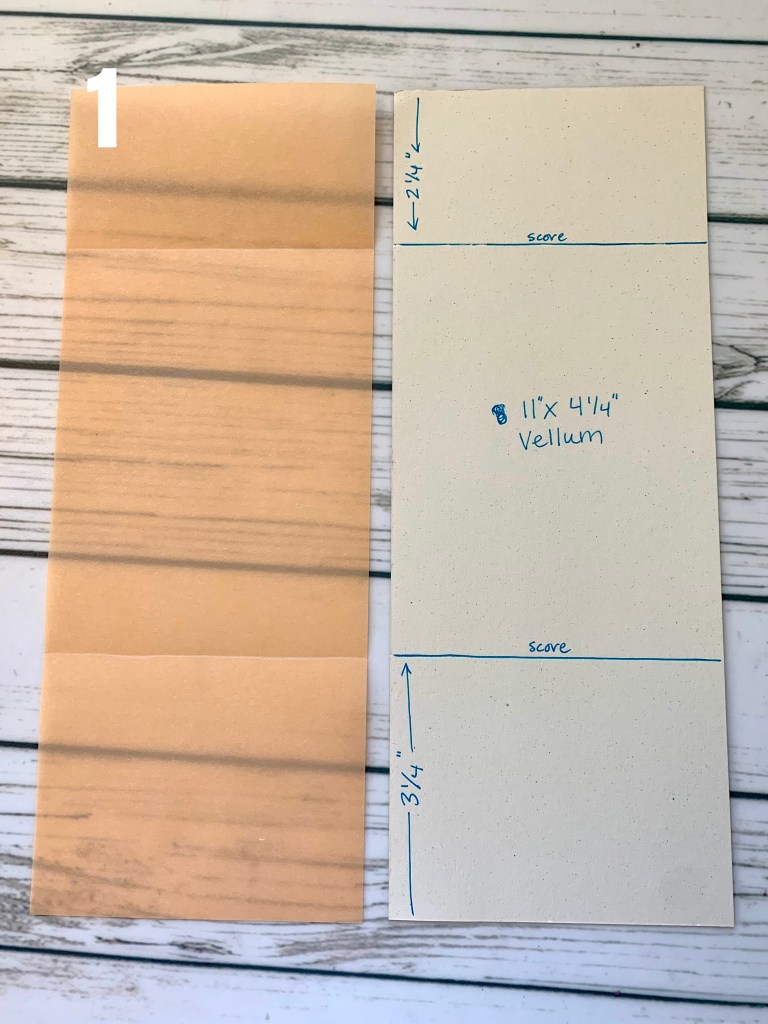
Here are the pieces you need to make this card:
Pale Papaya Vellum: 11″ x 4-1/4″ scored at 2-1/4 from one end and 3-1/4″ from the opposite end.
Designer Series Paper: 7-3/8″ x 3-1/2″. If your paper has a direction, you’ll want to score at 2-5/8″ from the top (so your pattern will go the correct way on the pocket) and 3/8″ from the bottom. When you assemble the pocket, the 3/8″ edge will actually adhere toward the top of the card (see image 3)
Basic White card stock: 3-1/2″ x 2-1/2″ plus scraps to stamp on
Pear Pizzazz card stock: 3-3/8″ x 2-3/8″
Pale Papaya ribbon: 18″
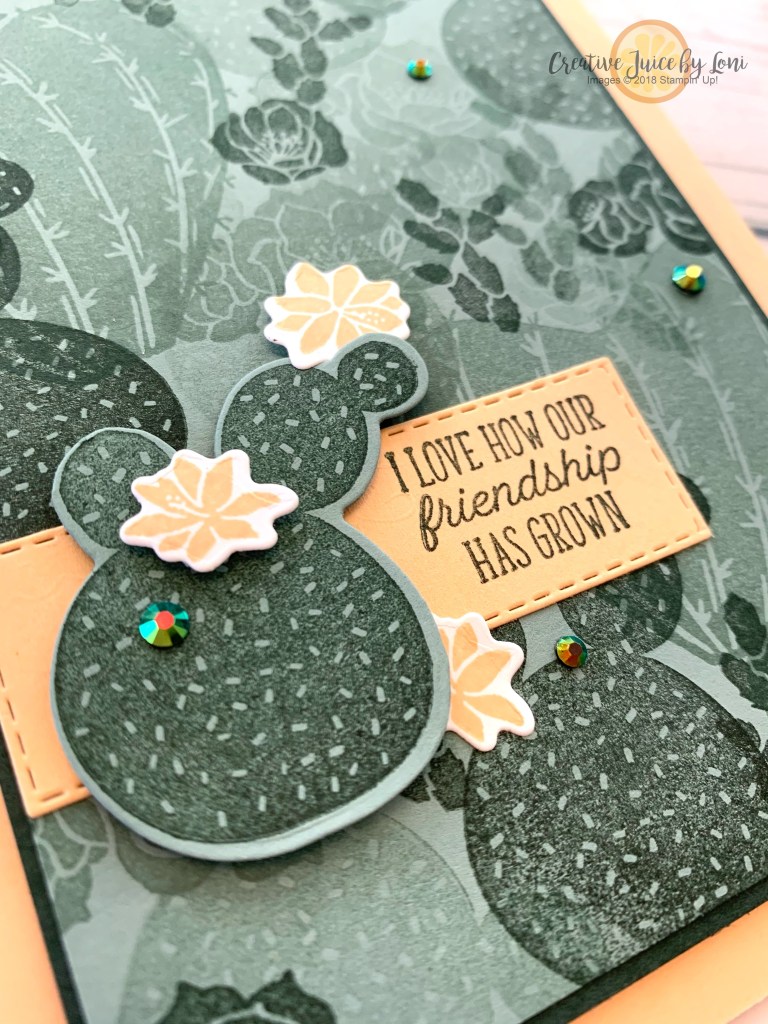
I embossed the Pear Pizzazz card stock with the lovely Stitched Greenery die, then stamped and die cut my peach images (TIP: Ink up your peach stamp with Pale Papaya ink, then use a sponge dauber to lightly add a bit of Polished Pink ink to the edges)
Then follow these steps to assemble your card:
There is only Tear & Tape adhesive on the edges of the Designer Series Paper pocket and the 3/8″ top edge of the pocket, and then on the same spot on TOP of the vellum to adhere the card stock panel to the front of the card. No other adhesive is necessary!
I stamped “Happy BIrthday” on the back side of the front panel before assembling the card so it shows through when you open it.
Products used are listed below, and I appreciate your comments! Then jump over the pond to our Columbian in Germany~ Ximena’s post to find another fancy fold card featuring the In Colors:

")


 Designer Series Paper")
")


 Open Weave Ribbon")


