Adding Color to Enduring Beauty

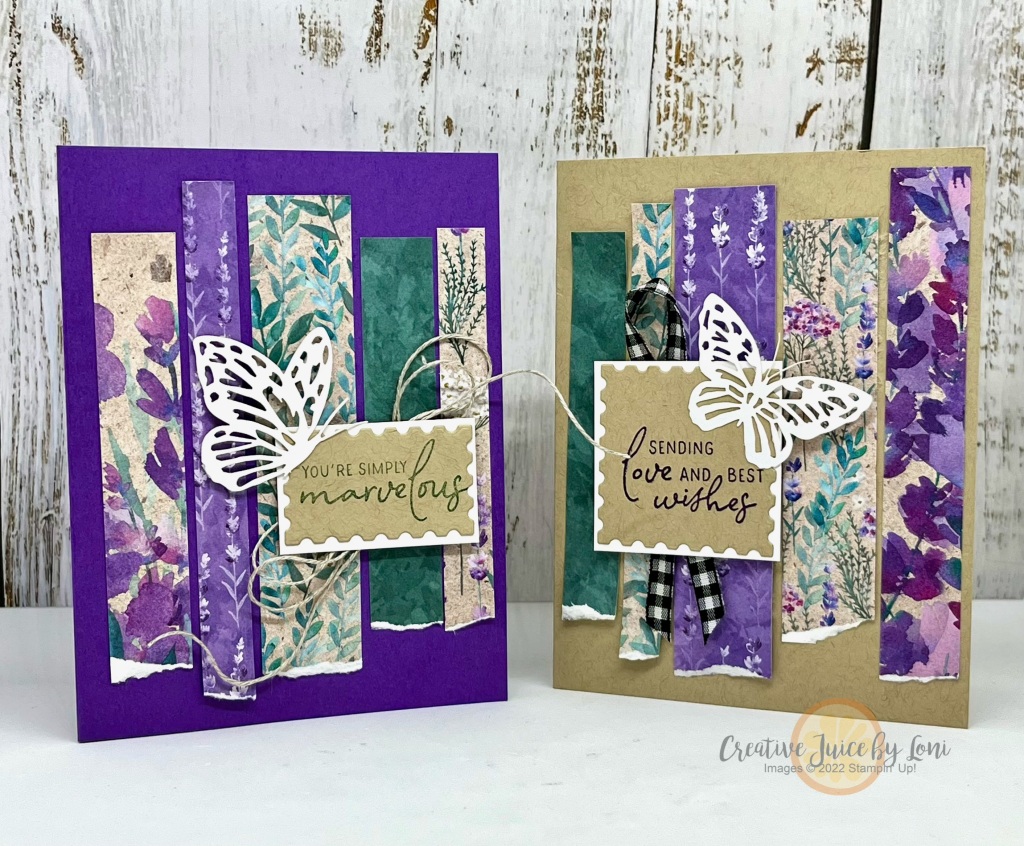
Florals are always timeless, and the many ways you can use the Enduring Beauty stamp set is endless! Today I’ve colored the blossoms using Stampin’ Blends for the Global Design Project #GDP437 color challenge:

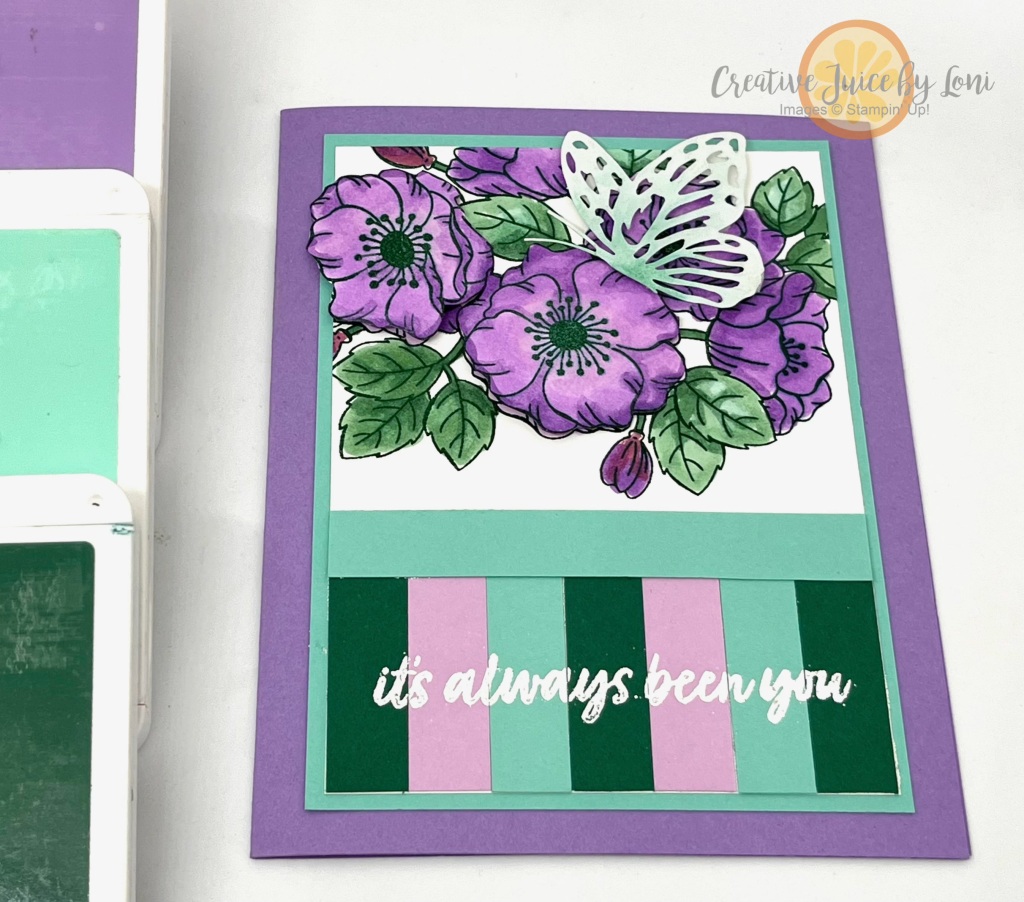
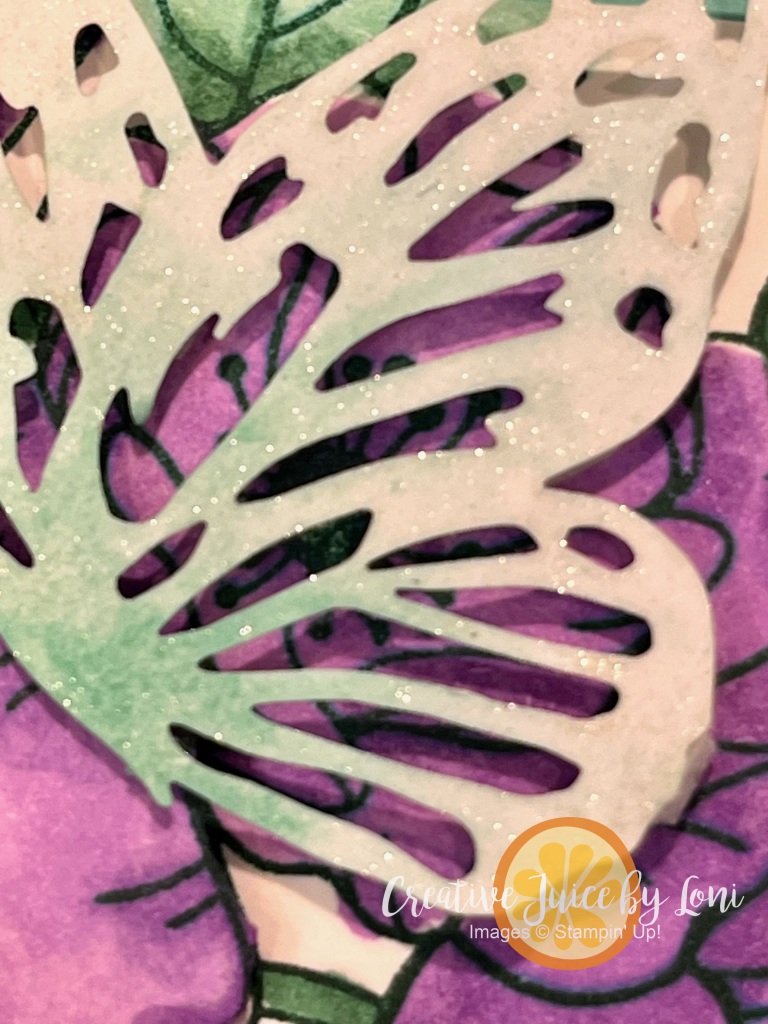
Shrinking the space to stamp the large floral image allows me to zoom in on just a portion where the butterfly lands:

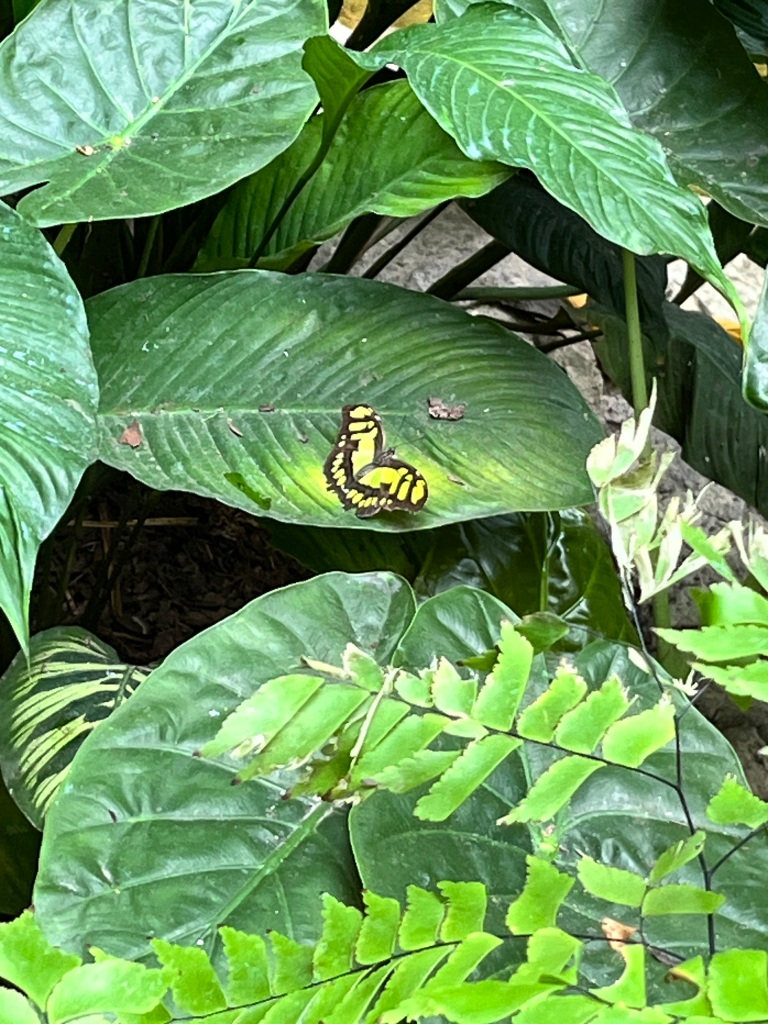
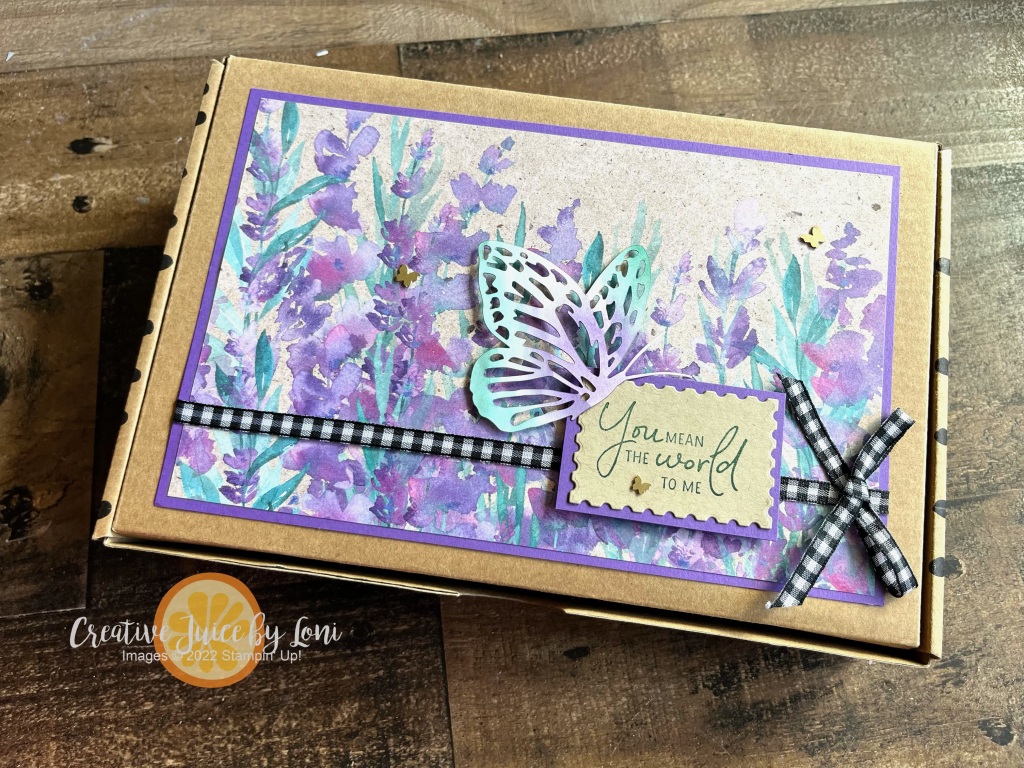
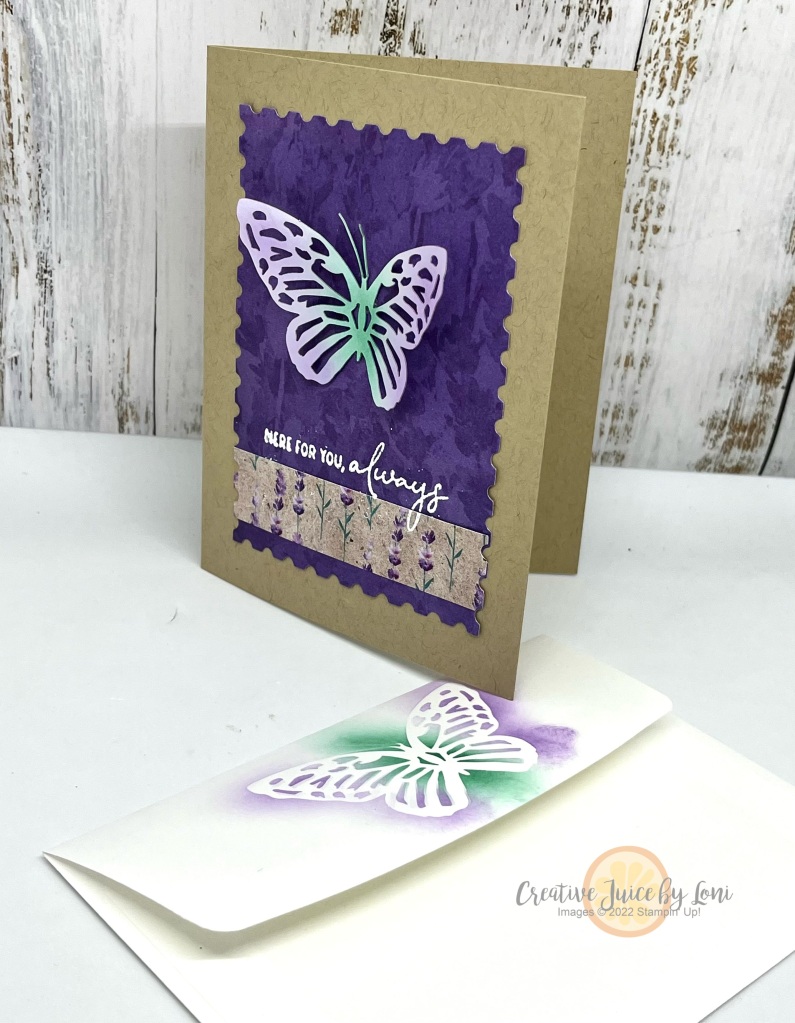
I added a hint of Coastal Cabana to the paper butterfly accent with blending brushes to give it color like some of the pretty butterflies we saw at the Cockrell Butterfly Center in Houston when we were there for Stampin’ Up! OnStage last week. We had a few close encounters (like my Sprinkled Ink teammate Kristi, shown here) and it was delightful to immerse ourselves in floating and fluttering winged things!

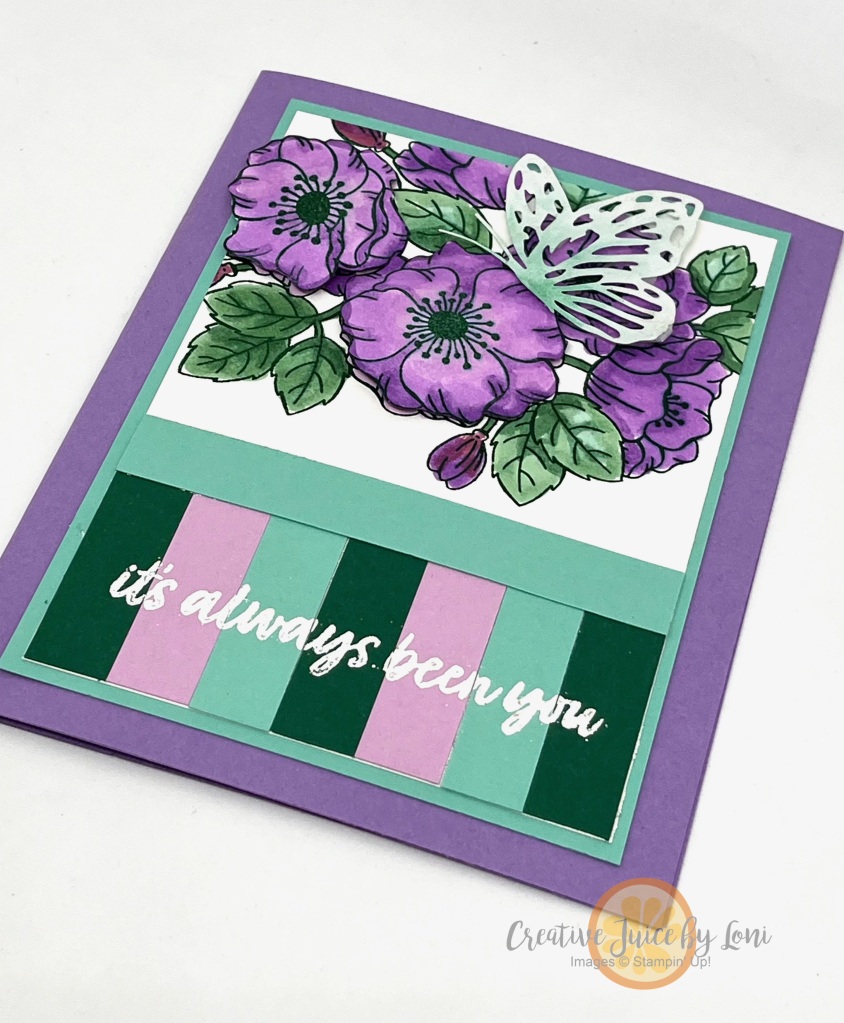
Cutting out a few of the flowers to curl and pop up on my card gives it the dimension to make it feel like it’s coming alive off the canvas- makes me want to let it land on my finger, just like our fun experience.

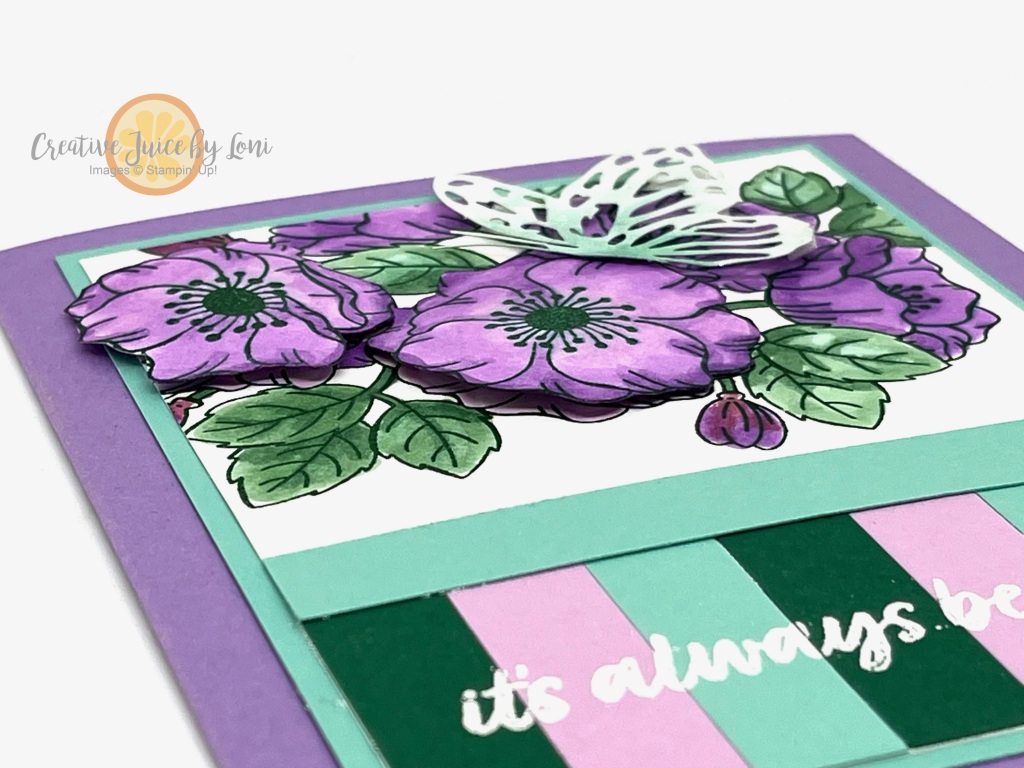
While difficult to see in photos, a bit of Wink of Stella brushed onto the butterfly wings gives it a pretty shimmer. Yes, WInk of Stella has been backordered for a LOOONNGG time, but we just heard from Stampin’ Up! that it should be back in stock SOON!

Stripes are a dynamic pairing with florals, so I added some 1/2″ strips of card stock at the bottom and embossed the sentiment over the the top.

On Monday, I’ll be demonstrating the coordinating masks that come with the Enduring Beauty BUNDLE which also includes the coordinating dies I used here, so tune in on my Creative Juice by Loni Facebook Page or YouTube Channel at 12:30 pm MT time to watch live, then order your own bundle from my Stampin’ Store to create with!

Upcycle a Kit Box into a Gorgeous Gift

Maybe it’s because we’ve searched for a good box previously to no avail, but I am of the age that it’s difficult for me to throw away the boxes from Stampin’ Up! kits, or the pretty Paper Pumpkin boxes! They are such a perfect size for a half batch of BROWNIES, that it *almost* makes me want to bake a pan of ooey-gooey goodness, but then I’d want to eat the other half…

But what can we DO with those wonderful Stampin’ Up! boxes (aside from delivering goodies)??

Turn them into STATIONERY GIFT SETS!

Begin by covering the top with a piece of card stock and/or Designer Series Paper and embellish as desired. The February Paper Pumpkin kit box was also one I kept to modify, and because it was pre-printed, it took a smaller piece of card stock that I embossed for the center:

Next, you’ll also re-cycle the cardboard backing from a package of Designer Series Paper by cutting it into two pieces:

  • 12″ x 6 1/4″ – scored at 4 1/2″, 6″ and 7 1/2″
  • 4 1/2″ x 9 1/8″ – scored at 2 1/2″, 4″ and 6 1/2″

Those two pieces will create the dividers for your box. These easily fit 6-8 cards & envelopes on the large sections, a small book of postage stamps in the smallest section and your could add tags, small gift enclosures, a pad of post-it notes or a treat in the medium section:

Here’s the video tutorial to discover how simple it is to make this handy project:

After the video, I remembered I had some Dollar Tree goodies to send to my grandkids, and lo-and-behold, they fit in a 2-section box… just leave out the second section divider and you could also put twice as many A2-sized cards inside:

As demonstrated in the tutorial, I made a few simple cards using up the scraps from my pack of Perennial Lavender DSP and the Paper Butterfly Accents, along with the Perennial Postage bundle:

What are you going to put in your boxes? I’d love to see how *you* upcycle an empty kit box…share your creativity in my VIP Facebook Group!

Now that you’ve seen what you can make with the boxes, shop for more in the current Kit Collection:

Don’t miss the chance to subscribe before April 10, 2024 for the Delicate Wings Paper Pumpkin Kit, and add the “Thanks & Beyond Dies” to coordinate with the April, May AND June Paper Pumpkin kits!

Product List