3 Unique Ways to Use Designer Series Paper

Patterned Paper may fade into the background for most paper crafting projects, but here are THREE different ways to make the most of this crafting staple:

  1. STAMP IT: Double up on your backgrounds to give it faux layers! For the first sample, I stamped the Drizzling Droplets stamp onto a piece of the Country Lace Designer Series Paper and the second card has the Leaf Collection stamped onto a piece of the Full of Life Designer Series Paper:

    2. Heat Emboss Over It: Embossing powder covers patterns beautifully! LIghter paper patterns allow you to color in parts of the embossed image.

    These samples use the same Designer Series Paper as the first cards, just different patterns from the same packages:

    3. Dry Emboss It: Stamp a sentiment first, then run it through an embossing folder. To bring out the pattern, rub a sanding block (or emery board) over the top of the ridges!

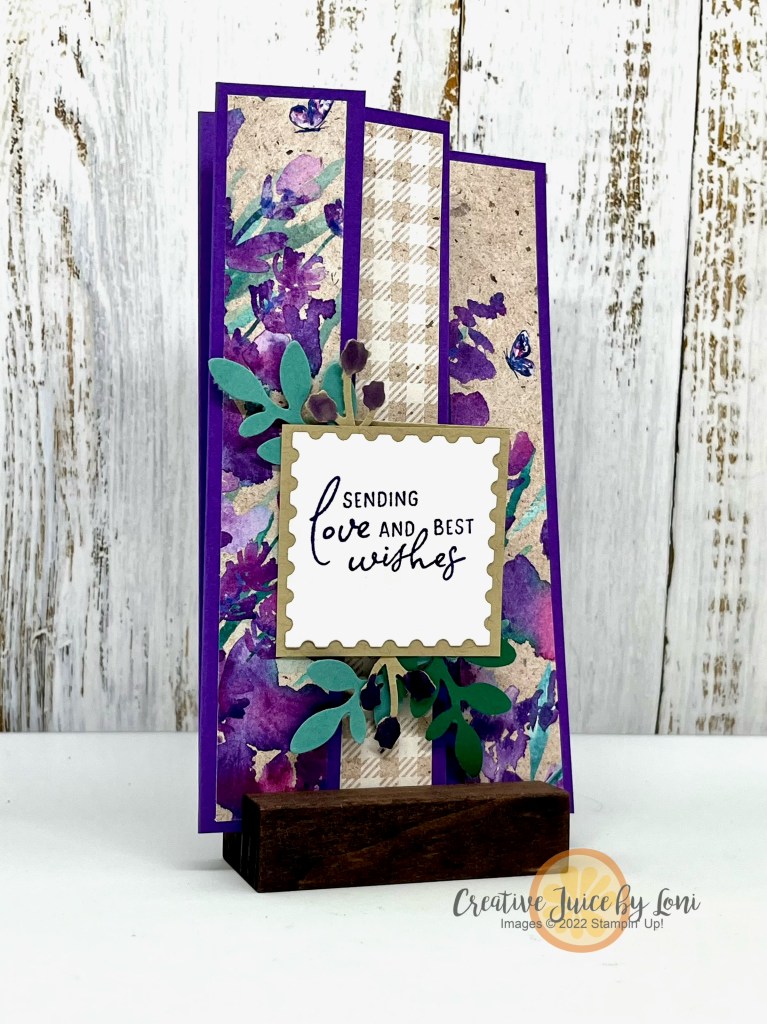
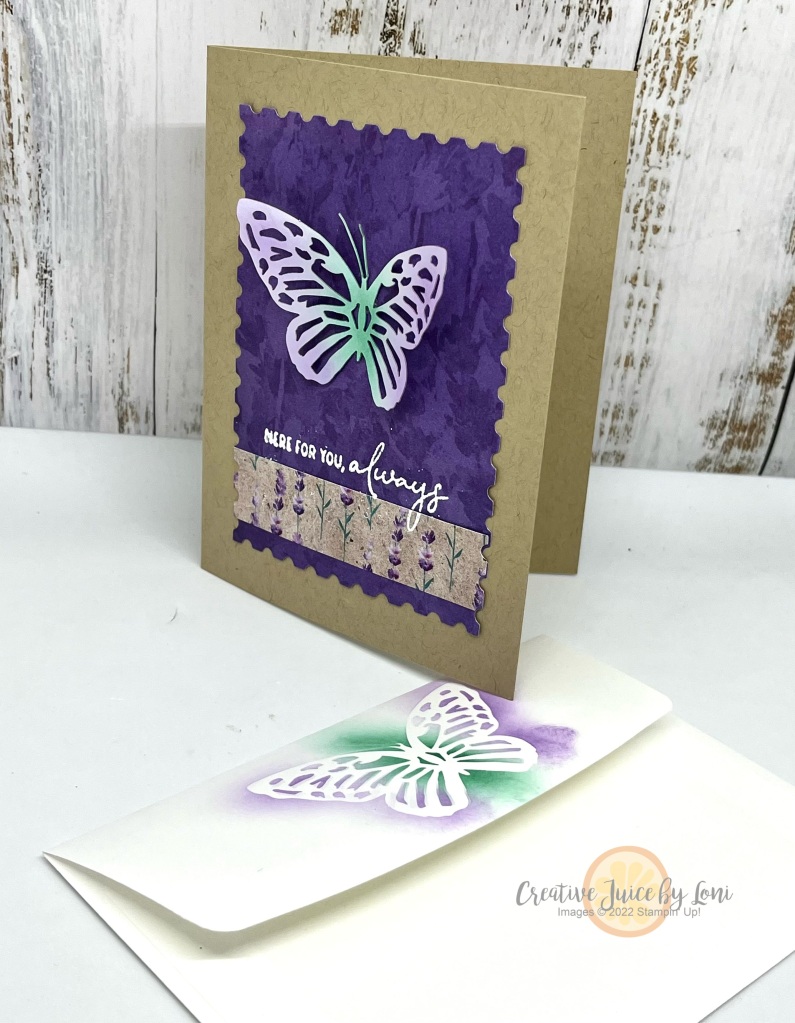
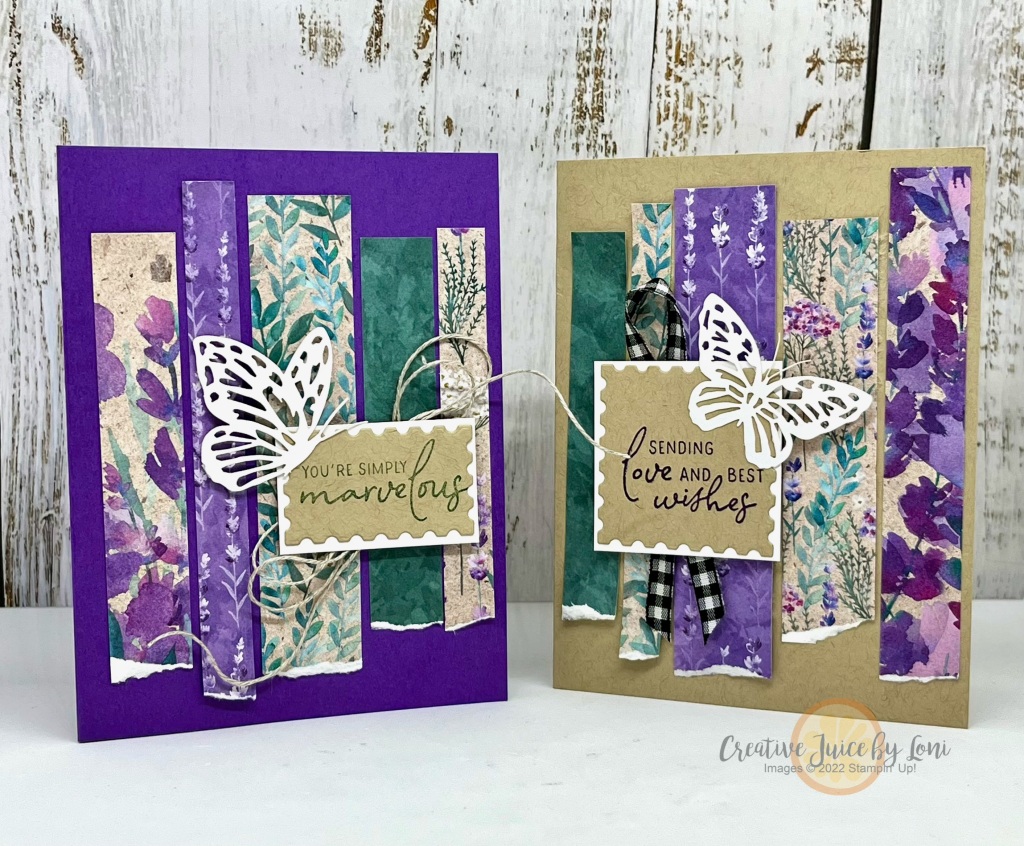
    The Sending Love & Hugs card uses the Perennial Lavender Designer Series Paper and a 3D embossing folder (EF) called “Forever Plaid” (available 8/4/24), while the Mediterranean Blooms version was embossed with the 3D Eyelet EF:

    Just 5 days left of the Designer Series Paper Sale (ends August 31, 2024) – featuring ALL OF THE PATTERNS USED TODAY!

    LOVE Stampin’ Up! Designer Series Paper?? Don’t miss the chance to reserve a 6″x6″ sample of (almost) every pattern in the upcoming September-December Mini Catalog:

    Watch today’s video showing these three techniques to try on Designer Series Paper :

    Upcycle a Kit Box into a Gorgeous Gift

    Maybe it’s because we’ve searched for a good box previously to no avail, but I am of the age that it’s difficult for me to throw away the boxes from Stampin’ Up! kits, or the pretty Paper Pumpkin boxes! They are such a perfect size for a half batch of BROWNIES, that it *almost* makes me want to bake a pan of ooey-gooey goodness, but then I’d want to eat the other half…

    But what can we DO with those wonderful Stampin’ Up! boxes (aside from delivering goodies)??

    Turn them into STATIONERY GIFT SETS!

    Begin by covering the top with a piece of card stock and/or Designer Series Paper and embellish as desired. The February Paper Pumpkin kit box was also one I kept to modify, and because it was pre-printed, it took a smaller piece of card stock that I embossed for the center:

    Next, you’ll also re-cycle the cardboard backing from a package of Designer Series Paper by cutting it into two pieces:

    • 12″ x 6 1/4″ – scored at 4 1/2″, 6″ and 7 1/2″
    • 4 1/2″ x 9 1/8″ – scored at 2 1/2″, 4″ and 6 1/2″

    Those two pieces will create the dividers for your box. These easily fit 6-8 cards & envelopes on the large sections, a small book of postage stamps in the smallest section and your could add tags, small gift enclosures, a pad of post-it notes or a treat in the medium section:

    Here’s the video tutorial to discover how simple it is to make this handy project:

    After the video, I remembered I had some Dollar Tree goodies to send to my grandkids, and lo-and-behold, they fit in a 2-section box… just leave out the second section divider and you could also put twice as many A2-sized cards inside:

    As demonstrated in the tutorial, I made a few simple cards using up the scraps from my pack of Perennial Lavender DSP and the Paper Butterfly Accents, along with the Perennial Postage bundle:

    What are you going to put in your boxes? I’d love to see how *you* upcycle an empty kit box…share your creativity in my VIP Facebook Group!

    Now that you’ve seen what you can make with the boxes, shop for more in the current Kit Collection:

    Don’t miss the chance to subscribe before April 10, 2024 for the Delicate Wings Paper Pumpkin Kit, and add the “Thanks & Beyond Dies” to coordinate with the April, May AND June Paper Pumpkin kits!

    Product List

    Use a 6″x6″ Designer Series Paper for This Card!

    Some patterned paper comes as 12″ x 12″ and a few of our fancy designs are 6″ x 6″, so today (and to help you use up your Paper Share!), I’ve got a fun fold slimline card which uses a 6″ x 6″ piece of Perennial Lavender Designer Series Paper:

    On the left is the card closed flat, and on the right, it’s open to see all the panels.

    Cut two 2″ wide and two 1″ wide pieces from one 6″ x 6″ piece of pretty paper to fit into each section. You’ll also need a 1″ x 6″ and 2″ x 6″ panel of card stock to fit where you will write a message. The finished size is 3.5″ x 6.25″ when folded flat.

    Here’s a different version with a piece of the Lighter Than Air Designer Series Paper, which already comes as 6″ x 6″-

    I created a belly band for this one to keep it closed, then when you slide it off, it opens to wish you a Happy Birthday:

    If you didn’t snag a stack of patterned paper in my Designer Series Paper Share, I have a few left! Get one piece of EVERY paper in the 2024 Jan-April Mini catalog for $18 (if you pick up from me in Hurricane, UT) or $22 shipped to you, while supplies last. Both pieces used on these cards ARE INCLUDED IN THE SHARE.

    Need more ideas to try for 6″ x 6″ paper?

    I love making Sour Cream treat containers or use the Corner Angle card technique to get 4 cards from one piece of paper!


    The Perennial Lavender Designer Series Paper (and Perennial Lavender suite) coordinates with the January Paper Pumpkin craft kit! Subscribe by January 10th to receive the Lovely Lavender kit:

    Make love-themed cards for special occasions, Valentine’s Day, anniversaries, and more with this all-inclusive kit that arrives in your mailbox in January. The kit includes a unique photopolymer stamp set and ink spot and…

    • Makes 8 cards: 4 each of 2 designs with 8 coordinating envelopes

    • 4 bonus tags that punch out from the card front

    • Precut paper pieces and linen thread

    • Coordinating colors: Garden Green, Pretty Peacock, Lost Lagoon, Highland Heather, Gorgeous Grape (Classic Stampin’ Spot), Berry Burst

    Product List