Start with a Sketched Plaid Background…

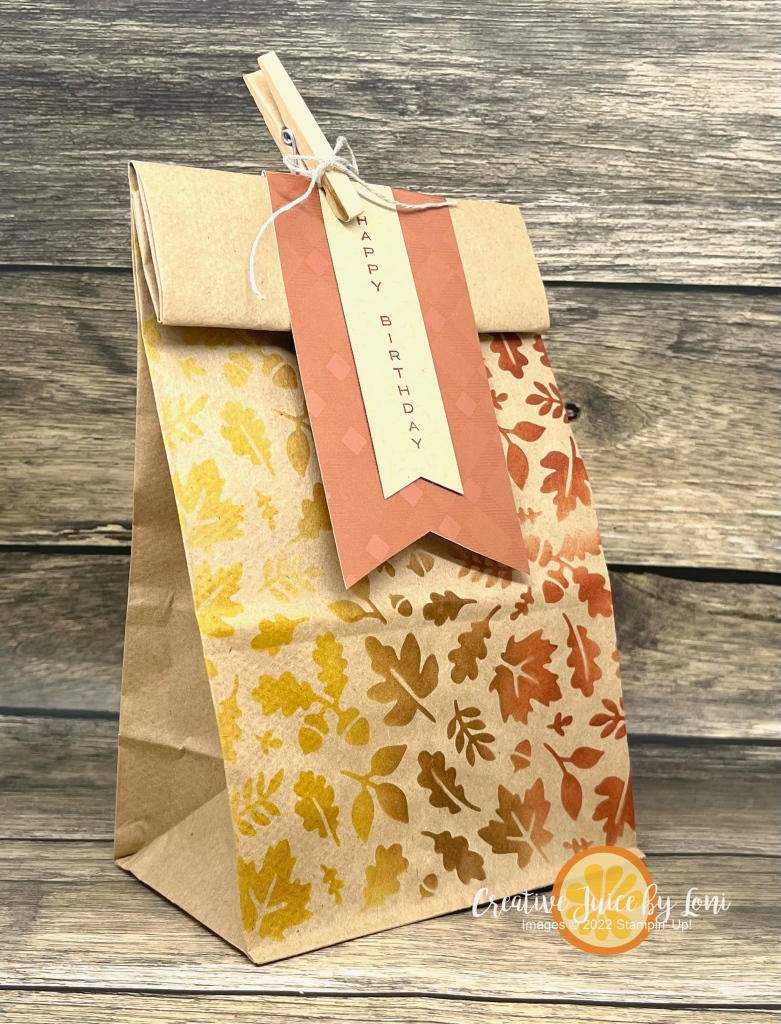
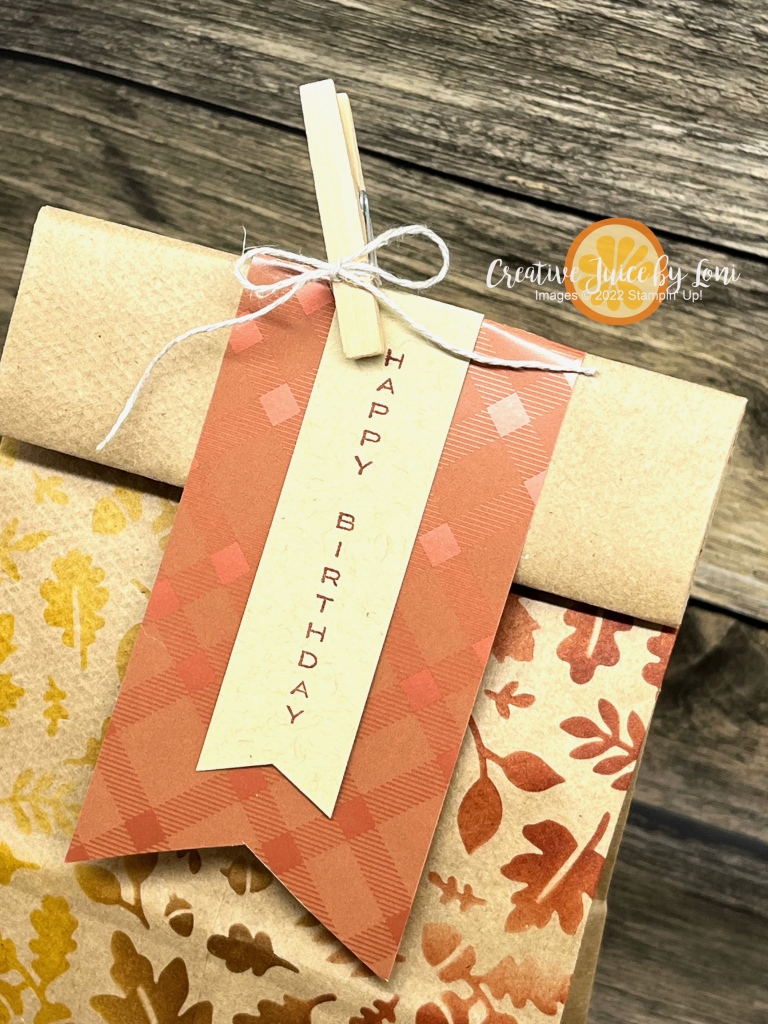
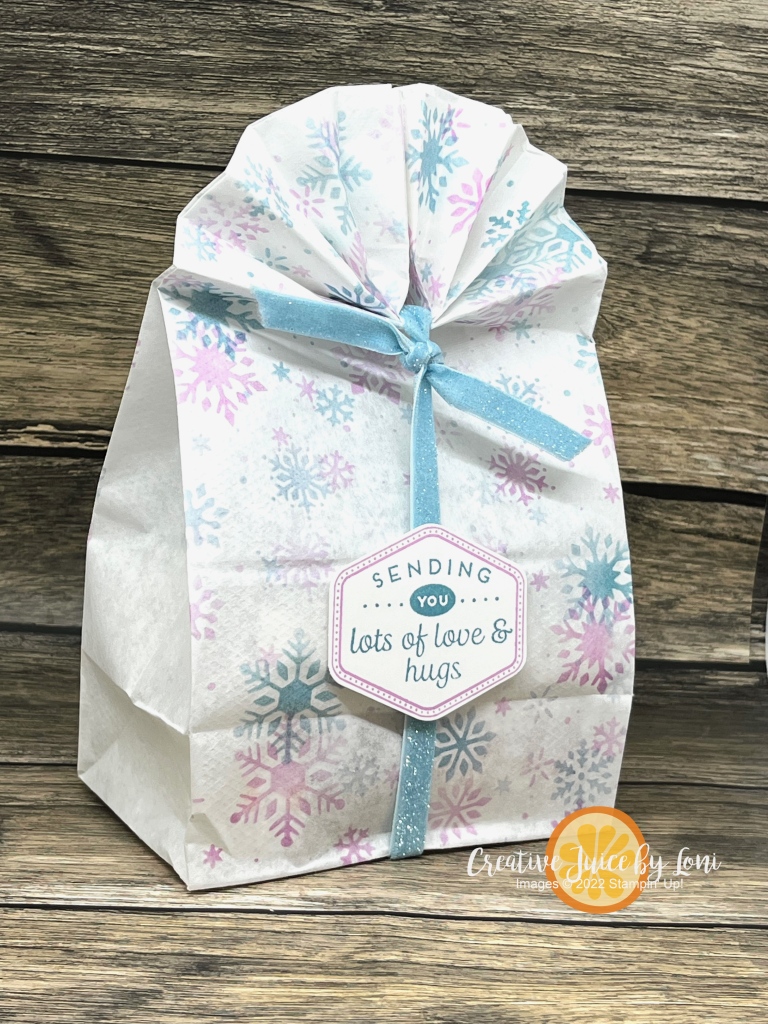
…let your creativity flow free! An excellent all-purpose stamp does more than just one thing, and the Sketched Plaid background is that versatile stamping staple that will elevate your card making. Let me show you 4 different ways to use it (with a few links to bonus projects).

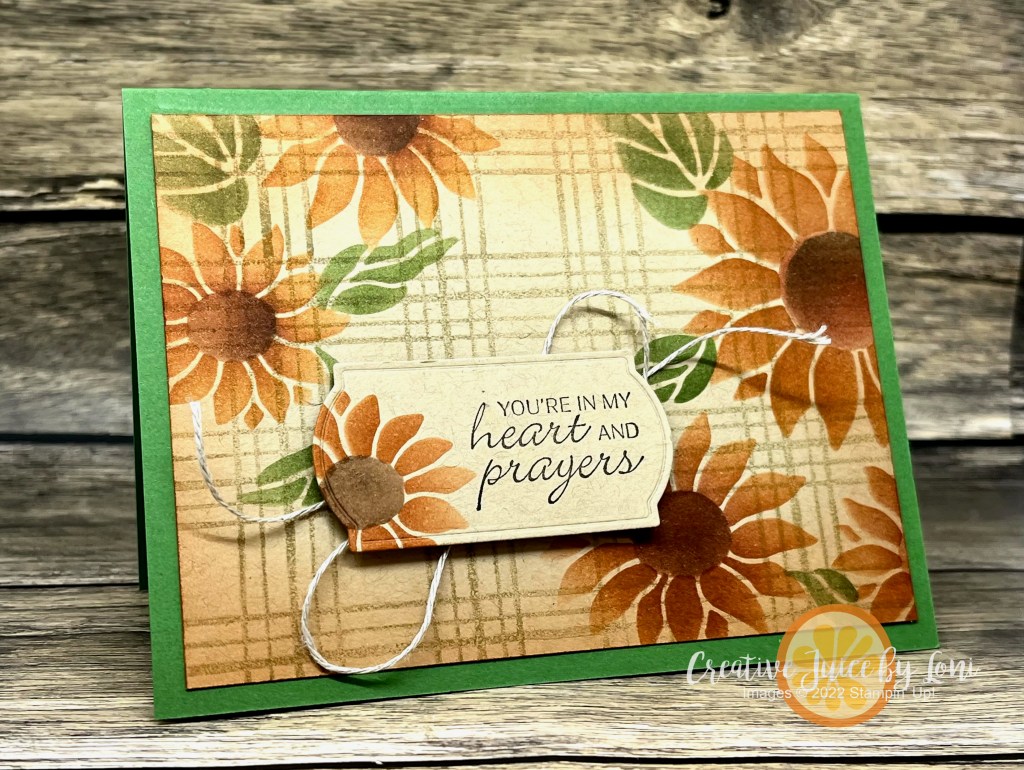
First, you can stamp the Sketched Plaid onto a card layer with the same color of ink (like this Best Wishes card previously stamped) ~ for today’s example, I blotted off the Crumb Cake ink once before stamping it a second time onto Crumb Cake card stock, making it a subtle canvas for masking my flowers onto:

Second, try stamping a small image inside the empty spaces, like the snowflake from the Beary Cute stamp set:

Third: Use a Stampin’ Blends or Stampin’ Write marker and a ruler to draw more lines in between the spaces, for a two-color plaid. You could adjust the thickness of these lines for a completely different look! This card also uses the So Very Merry stamp set, an online exclusive in my store.

Fourth, stamp the plaid in black (or emboss in black!) and color in some of the sections with Stampin’ Blends (I used the 2022-2024 In Colors, plus Daffodil Delight). I get such a KICK out of the groovy Curved Occasions bundle and with this kaleidoscope of color, the roller skates felt fitting:

Ready to watch HOW-TO? Here’s today’s demonstration to teach you how:

ONE MORE idea to share with you for visiting my page today: There is nothing that’s stopping you from cutting up your plaid layer and using it like I did with this card earlier this year…

After my Live Video (join me each Monday at 12:30 PM MT on my Facebook page or YouTube channel), I added a few embellishments to a few of the cards, including some retired In Color Matte Dots to the roller skate birthday card, and some of the new Adhesive-Backed Glimmer Paper from my store to the Santa Stained Glass card:

Remember- you can add any/all of these products to a Starter Kit this month and save 35% off the regular price OR get 35% more product FREE! Only 8 days left to get that special offer…click image below to choose what you’ll get in your Starter Kit:

Transform Lunch Bags into Gift Bags

Have you ever spent as much on the wrapping as you did on a gift? Save some of your gift budget with this hack!

Perhaps you remember the embossed kraft gift bag I posted earlier this year, and today I’ll show you how to use the Abundant Beauty Decorative Masks (back in stock!) to dress up your ordinary lunch sacks. Keep your “present”-ation game at the top, without breaking the bank.

I asked for a fall color combination suggestion and Nila (one of my Sprinkled Inkers) suggested Crushed Curry, Pecan Pie and Cajun Craze, all of which blended together over the mask beautifully!

Top it off by rolling your bag down twice and folding over a 2-1/2″ strip of Designer Series Paper. The Tartan Foil is an Online Exclusive and has a lovely shimmer! Stamp a sentiment on a strip of card stock, punch a banner end and clip the bag closed with a mini clothespin.

Next, I had to use the Snowflake mask (there are 7 masks in the set, 4 of which make a sunflower as I demonstrated last Monday). This one used Balmy Blue and Fresh Freesia for a winter feel:

Recognize the fan-fold top? It’s the same style I did earlier, and it tops off the gift so prettily!

This one uses a hexagon from the new Heartfelt Hexagon bundle (with a punch!) which can also be found in my online store.

Now a video tutorial for both bags with handy tips on using the masks:

Have fun transforming your bags from ordinary to EXTRAORDINARY!

Product List

New At SU!- Autumn Leaves That Shimmer

Anything that sparkles, shines or shimmers catches the eye, and the New at SU! Design team is here to show off all the new GLITZ in the September-December Catalog or Online Exclusives! Make sure you hop around the globe (links below) and PIN your favorites to remember.

The Autumn Leaves bundle is magnificent and I chose to pair it with the Online Exclusive Tartan Foil Specialty Designer Series Paper:

With a little shimmer to the colored side, it makes you want to tip and turn the card to see it reflect the light! TIP: Use the Foam Adhesive strips behind the Designer Series Paper panels to lift them off the background.

With a few Speckled dots and a double bow of linen thread, this card mixes natural and shiny elements for just the right amount of beauty. It makes me look forward to the changing seasons and colorful trees.

Keep your eyes open as you move on to another post where you’ll be dazzled by something that Shimmers, Shines or GLOWS!

September New at SU! Blog Hop: Shine, Shimmer & Glow

1.Carterie Plus (CA) Scintillement, brillance et lueur/ Shimmer, shine
2.Creative Juice by Loni (US) – Autumn Leaves That Shimmer
3.My Fluttterby Moments (USA)- Adhesive Backed Glimmer Paper
4.Stamping Flair (AU) – Snowflake Magic
5.The Joy of Stampin’ with Rachael (USA)- Tricks & Treats Glow
6.Annette Elias- De Kijkkast – NL – Magic of the Season
7.Tricia’s Stamping Creations (US) – Translucent Florals
8.Nature’s INKspirations (US) – Fruitful Blessings
9.iHeartCards2 (US) – Joy Of Christmas Suite Collection
10.247 Inkspiration (US) – Tartan Pumpkins

Powered by blogcarousel.com

Product List