This was the #tgifc479 challenge to start our creative cogs turning:
The So Very Merry stamp set is not in the catalog, but *IS* still in the Online Exclusive section of my Stampin’ Store, and I embossed the gingerbread house on a banner cut from the Nested Essentials dies, then colored it with watercolor pencils and added Wink of Stella to the candy for sparkle (all supplies listed below). Though it’s hard to see in a photo, trust me that the treats glisten in the light!
Speaking of Online Exclusives, there are NEW ADDITIONS to that section of my store, and you’ll have a hard time choosing between the frightfully fun Halloween, the elegant Autumn or the gorgeous Holiday offerings. You have my permission to choose all of them! And there is MORE than just these shown.
Back to my gingerbread house card, the supplies I used are below and feel free to use the idea for your holiday mail, if you love it!
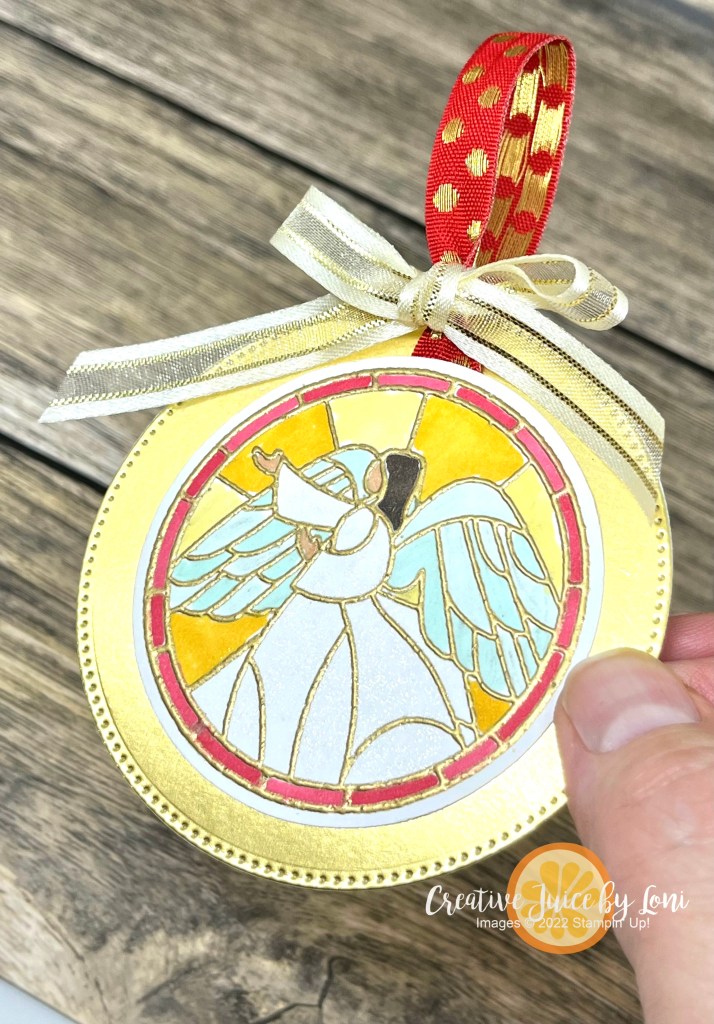
Each Monday, I think about what I can create to serve you, my crafting community. It wouldn’t be lying to say sometimes I loose sleep over it! But I count it as a blessing to bring you inspiration, so I took the opportunity to figure out a Christmas Card that would also have an ornament to hang on the tree because I know that things may be tight for some folks right now, and this pretty card + gift is a thoughtful way to share some light this season with friends and neighbors without breaking the bank.
The card is very simple: A 8.5″ x 5.5″ Wild Wheat card base with a 3.5″ x 4.75″ Pool Party stamped layer on top of a 3.75″ x 5″ Real Red layer.
Thick white card stock is needed for the banner at the top, but as I explained in the video tutorial (below), you can also cut out two banners and glue them together for more stability. I only added dimensionals to the left side, so you can slide the ornament off the right side. Remember to slide the card into the envelope fold-first, so when the recipient pulls it out, the ornament comes with it!
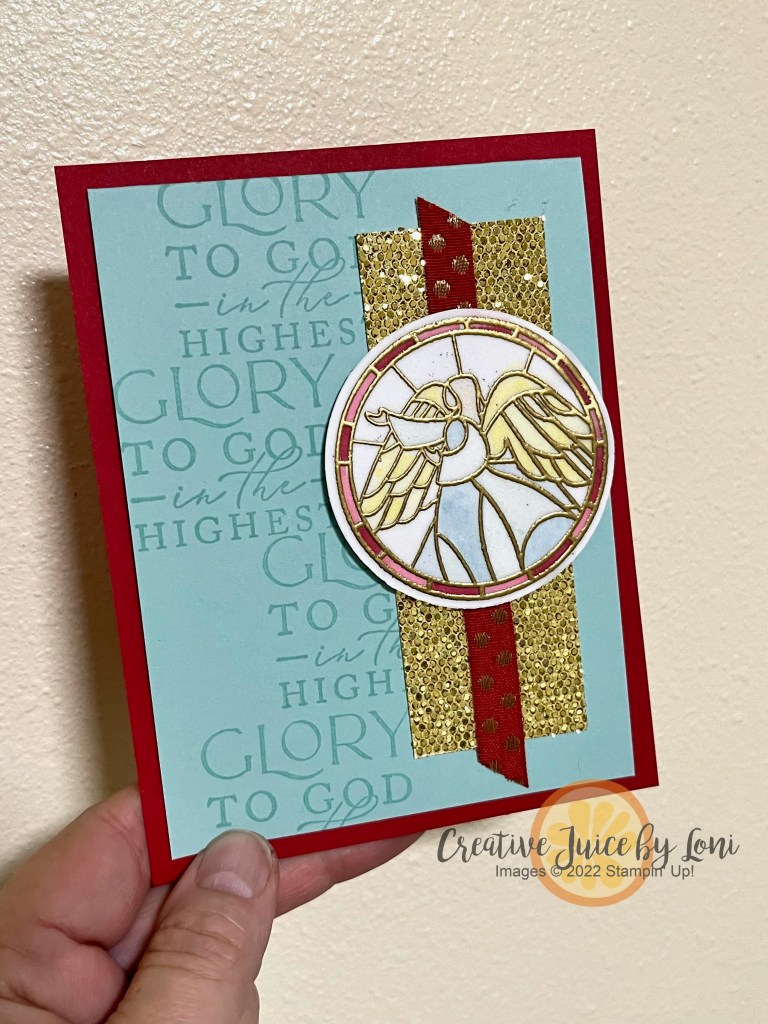
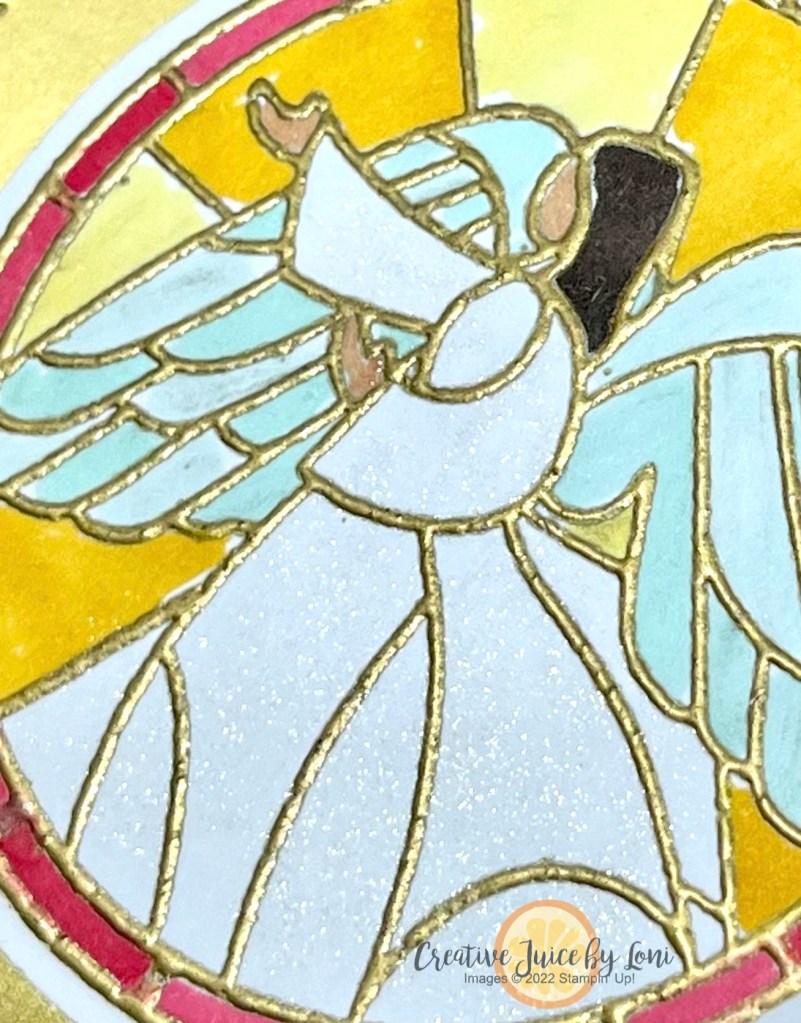
Embossing the angel image makes coloring with Stampin’ Blends (or watercolors) really easy to stay inside the lines, because they are raised! Plus, the gold makes it look LUXE! I left the angel’s dress white and just added Wink of Stella for a subtle shimmer.
Watch the video tutorial, then I would appreciate you ordering any of the supplies you need from my Stampin’ Store, if this inspired you to make some!
Good news if you are finding this soon after it’s posted: The Seasonal Sale begins tomorrow, Tuesday, November 14th, 2023 and ends on 11/16/23 at 11:59 PM MST.
The SEASONAL SALE includes:
10% off ribbons and trims.
15% off inks, including pads, refills, markers, and Blends. Bundles are not included.
20% off papers, including cardstock, specialty paper, and Designer Series Paper.
Shop online to see the full selection of discounted products. Discounts are automatically applied when sale items are added to any order, including Starter Kits.
Need paper crafting ideas? Look no further than any Stampin’ Up! catalog!
In today’s live video, I demonstrated how to use the So Very Merry stamp set to re-create cards made with the Circle Sayings bundle (if you have one, you *need* the other!).
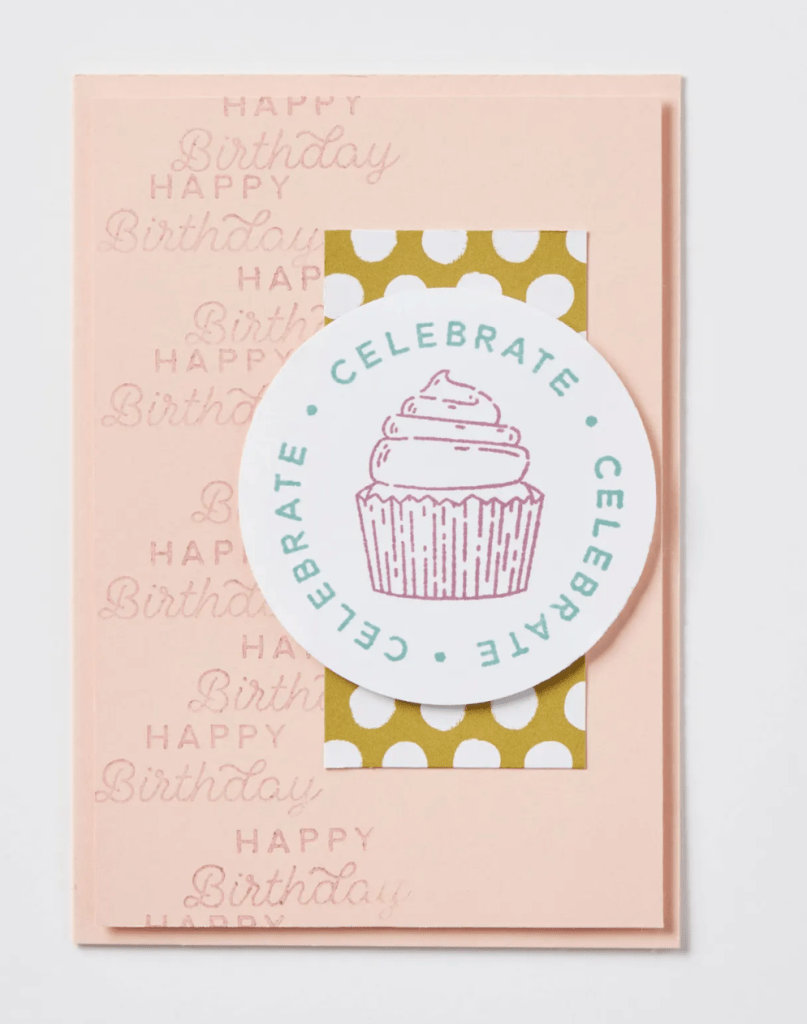
The card on the left is found on page 147 of the annual catalog and the card on the right is the one I stamped:
Let me show another example. Card on left from catalog, card on right I created to show you how well these two sets interchange!
In my Angel version of the cupcake card from the catalog, the More Dazzle paper is truly heavenly, and I embossed the angel image on Vellum cardstock in gold embossing powder, then colored it from the back with Stampin’ Blends markers. TIP: To adhere the vellum to the white background, lightly sponge liquid glue to the back of the vellum for a no-show adhesive.
With two days left of our 35th Anniversary Starter Kit promotion, you may consider getting the starter kit for 35% off -OR- choosing 35% more in the starter kit ($168.75 product value) for the regular price of $99…and if you don’t know what to choose, these two interchangeable sets/bundles are a good place to begin, plus you can copy the cards I showed! More Starter Kit suggestions in the video:
Happy you stopped by! Have you ever copied an idea from the catalog and put your own “stamp” on it?
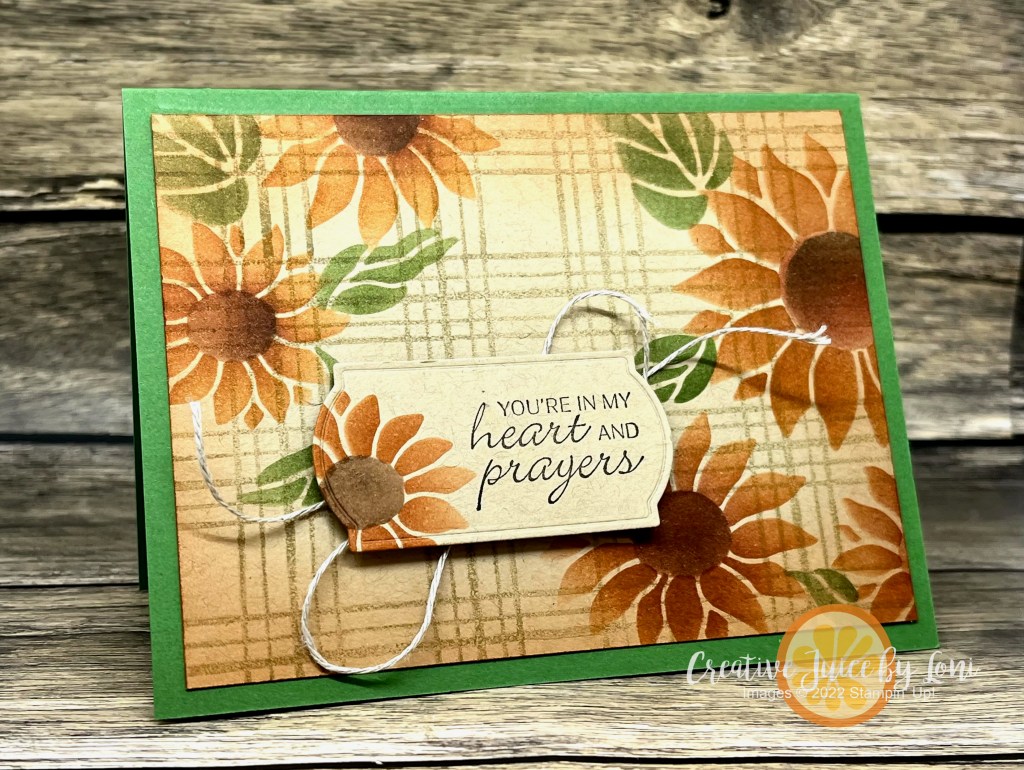
…let your creativity flow free! An excellent all-purpose stamp does more than just one thing, and the Sketched Plaid background is that versatile stamping staple that will elevate your card making. Let me show you 4 different ways to use it (with a few links to bonus projects).
First, you can stamp the Sketched Plaid onto a card layer with the same color of ink (like this Best Wishes card previously stamped) ~ for today’s example, I blotted off the Crumb Cake ink once before stamping it a second time onto Crumb Cake card stock, making it a subtle canvas for masking my flowers onto:
Second, try stamping a small image inside the empty spaces, like the snowflake from the Beary Cute stamp set:
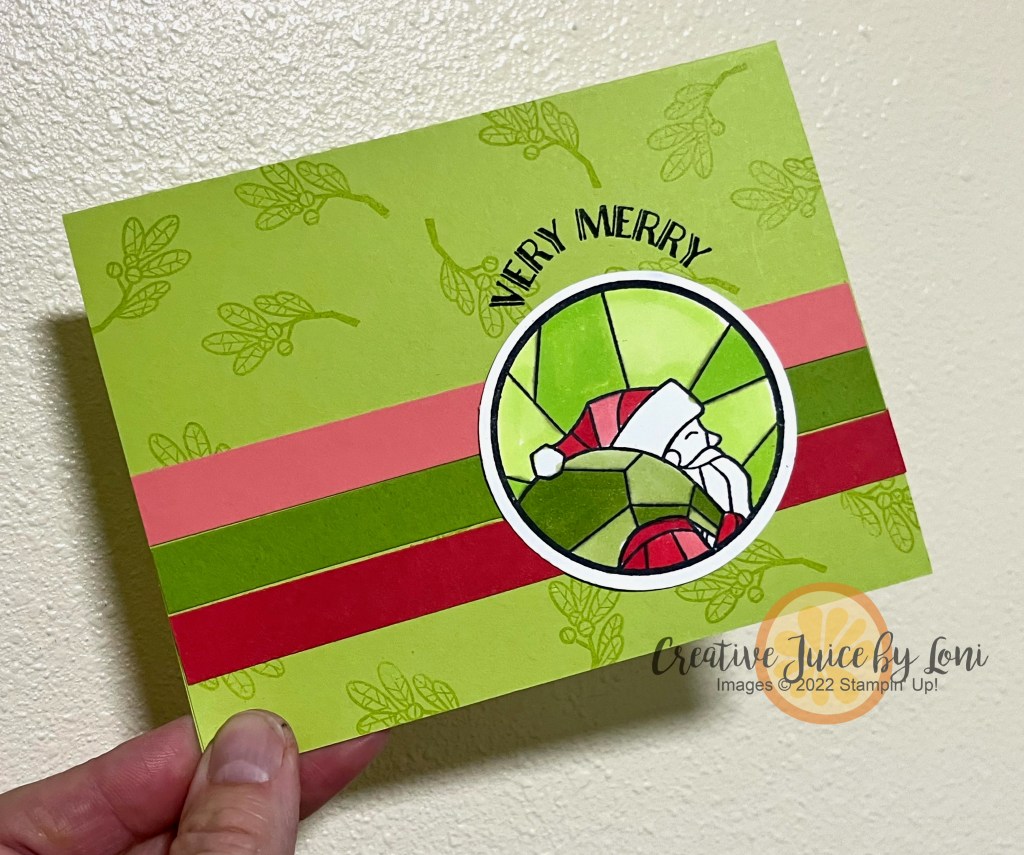
Third: Use a Stampin’ Blends or Stampin’ Write marker and a ruler to draw more lines in between the spaces, for a two-color plaid. You could adjust the thickness of these lines for a completely different look! This card also uses the So Very Merry stamp set, an online exclusive in my store.
Fourth, stamp the plaid in black (or emboss in black!) and color in some of the sections with Stampin’ Blends (I used the 2022-2024 In Colors, plus Daffodil Delight). I get such a KICK out of the groovy Curved Occasions bundle and with this kaleidoscope of color, the roller skates felt fitting:
Ready to watch HOW-TO? Here’s today’s demonstration to teach you how:
ONE MORE idea to share with you for visiting my page today: There is nothing that’s stopping you from cutting up your plaid layer and using it like I did with this card earlier this year…
After my Live Video (join me each Monday at 12:30 PM MT on my Facebook page or YouTube channel), I added a few embellishments to a few of the cards, including some retired In Color Matte Dots to the roller skate birthday card, and some of the new Adhesive-Backed Glimmer Paper from my store to the Santa Stained Glass card:
Remember- you can add any/all of these products to a Starter Kit this month and save 35% off the regular price OR get 35% more product FREE! Only 8 days left to get that special offer…click image below to choose what you’ll get in your Starter Kit:


")


")


")
")


 Dotted Ribbon")
 Satin Edged Ribbon")