Say What You Wanna Say

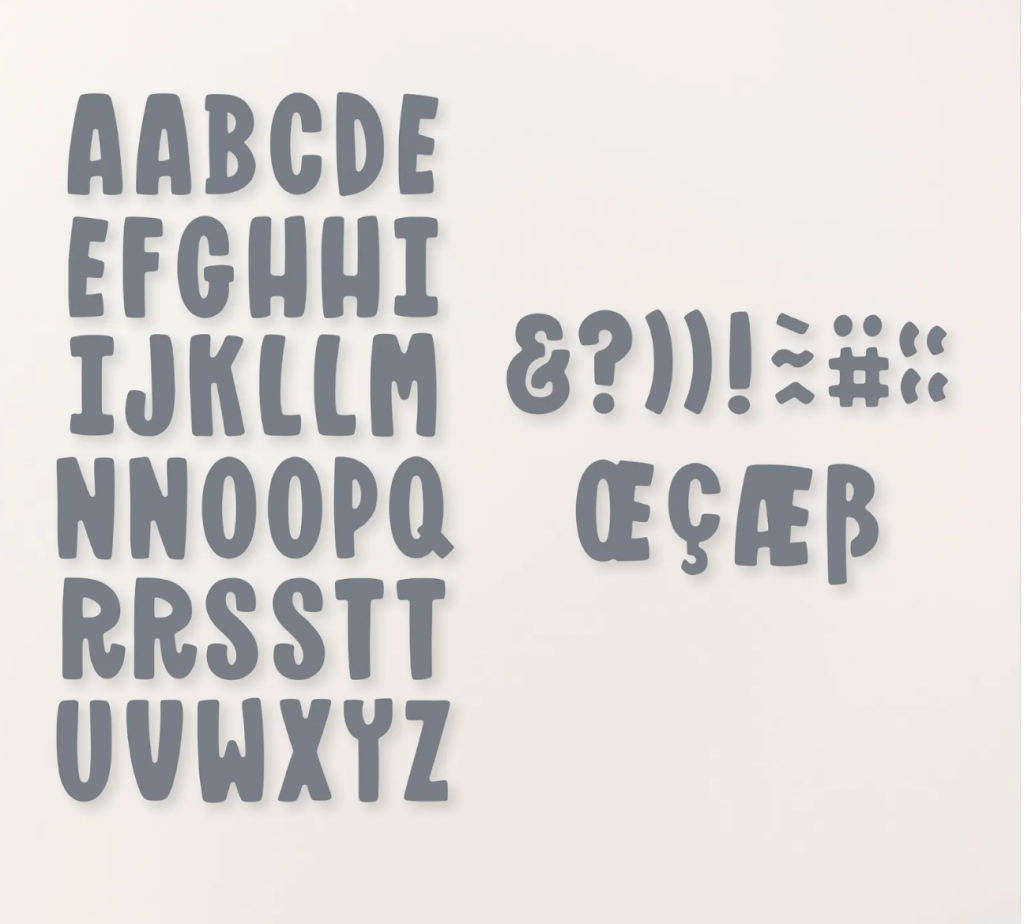
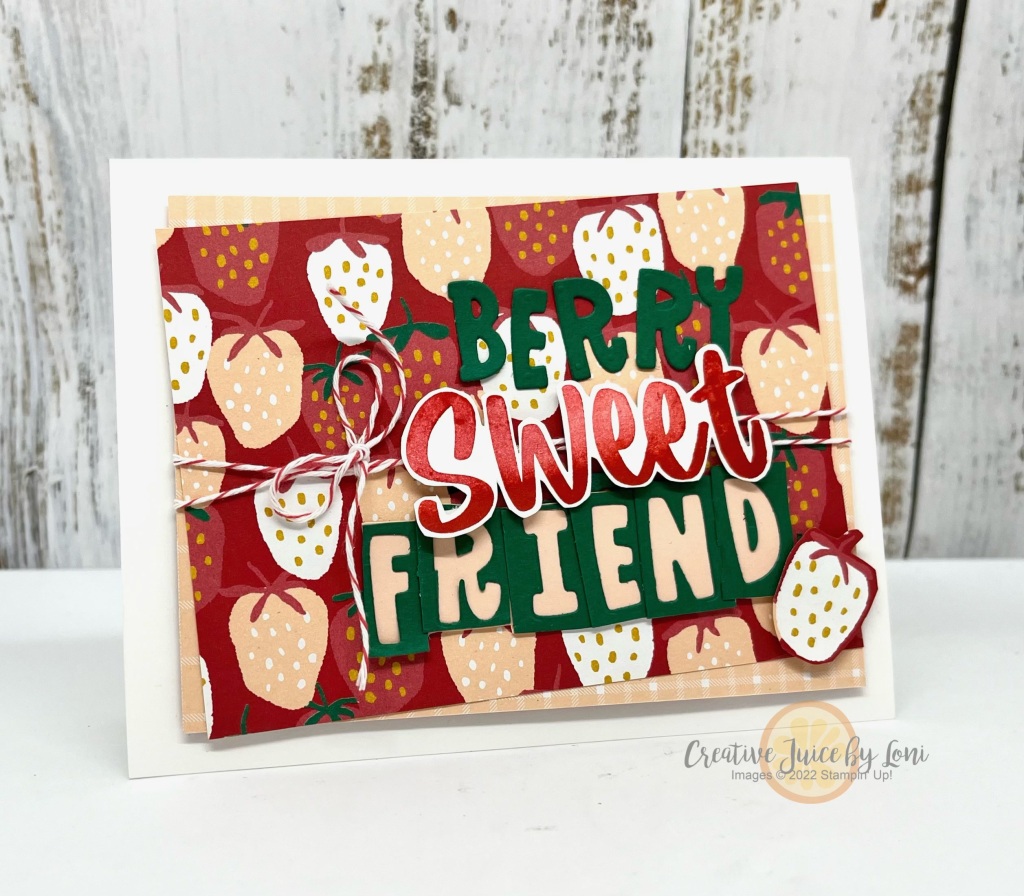
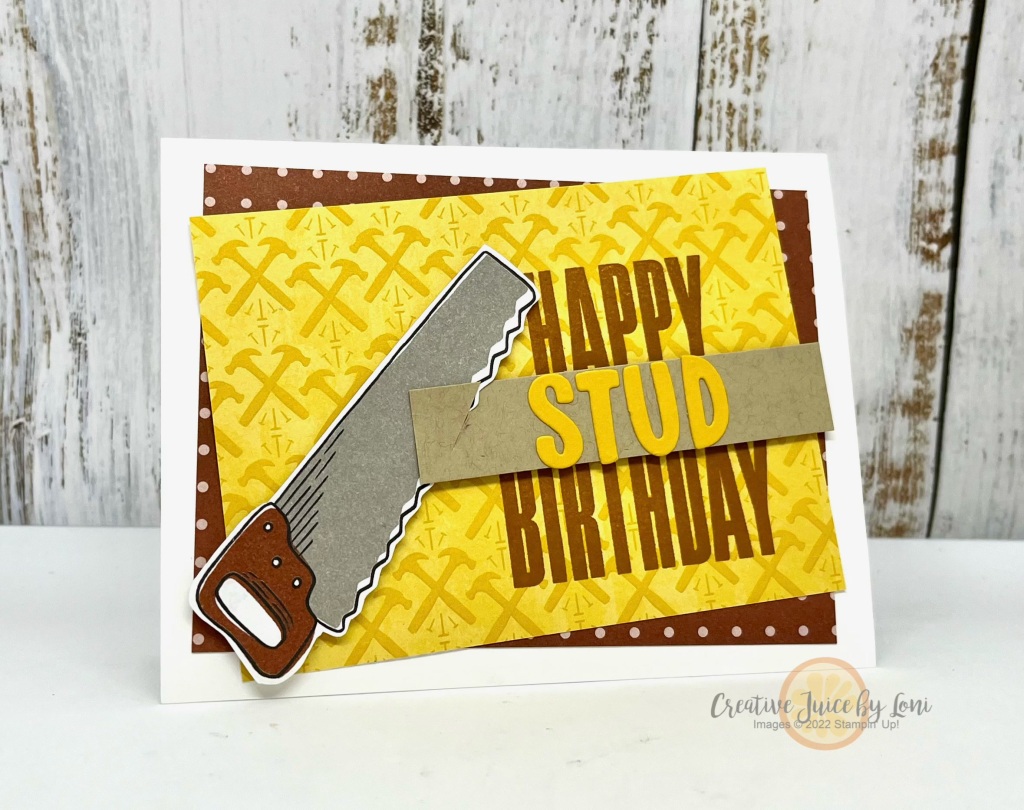
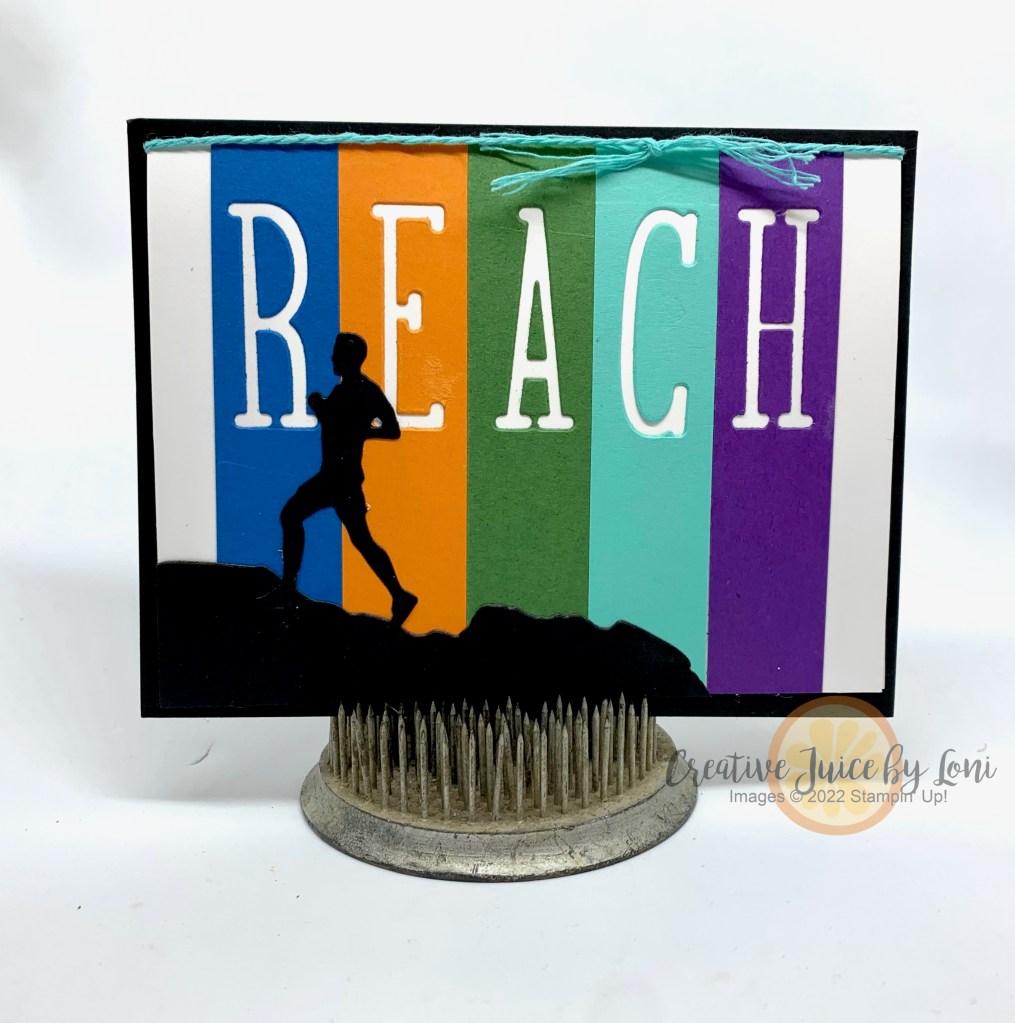
When you don’t have the right stamps to express yourself (or your quirky personality), reach for the Mini Alphabet Dies and spell it out (or make it personal)!

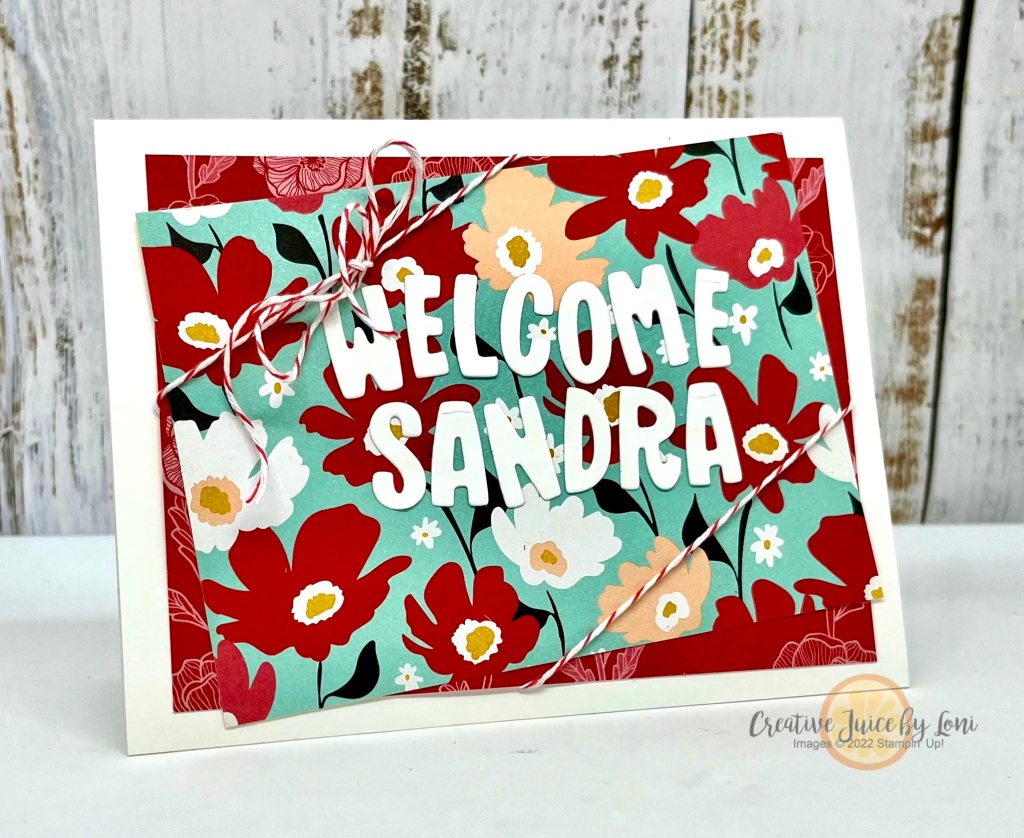
I demonstrated tips and tricks for using these very versatile letters to set you up for success in your crafting in a live video, and remember that while I used two Sale-a-Bration Designer Series Papers for my simple card designs (which papers are only available FREE with purchase for a few more days- through 2/29/24), you can use ANY patterned paper collections you have to make similar cards!

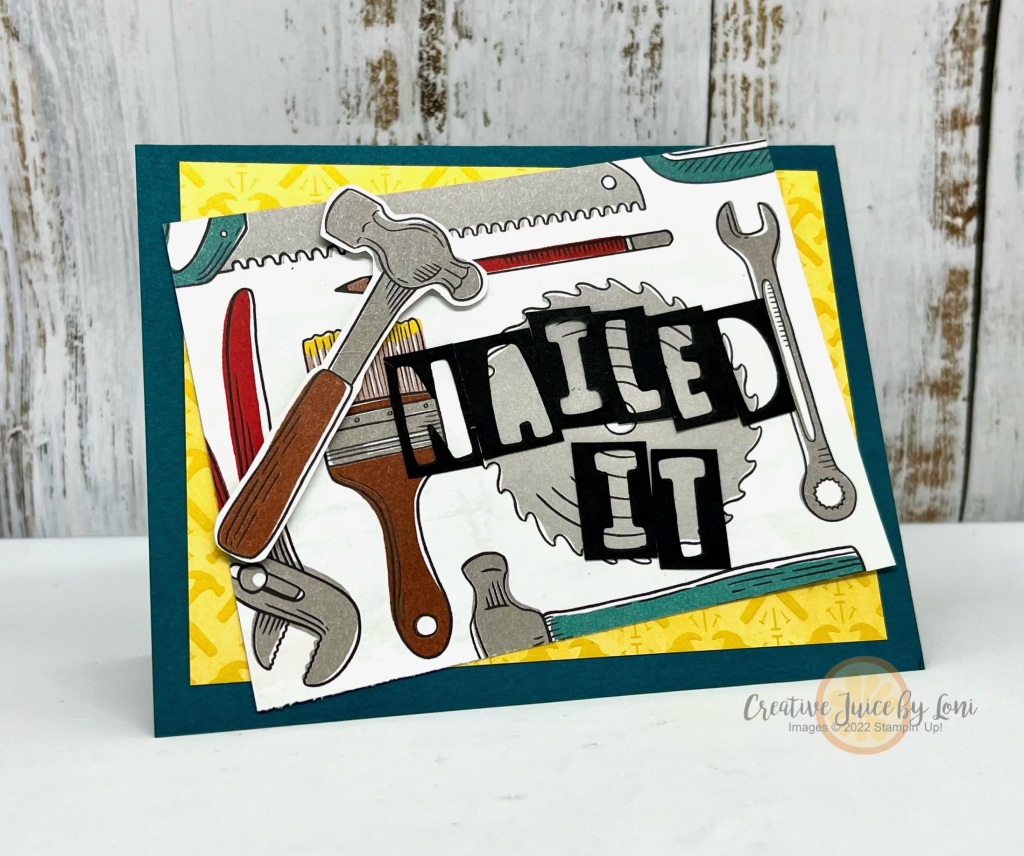
For the first card (above, top) I showed how to use Adhesive Sheets to cut a whole alphabet, for letters ready to adhere to a card anytime (plus how to store the leftover letters), but don’t throw away the negatives! Cut them into squares and use the outlines, too:

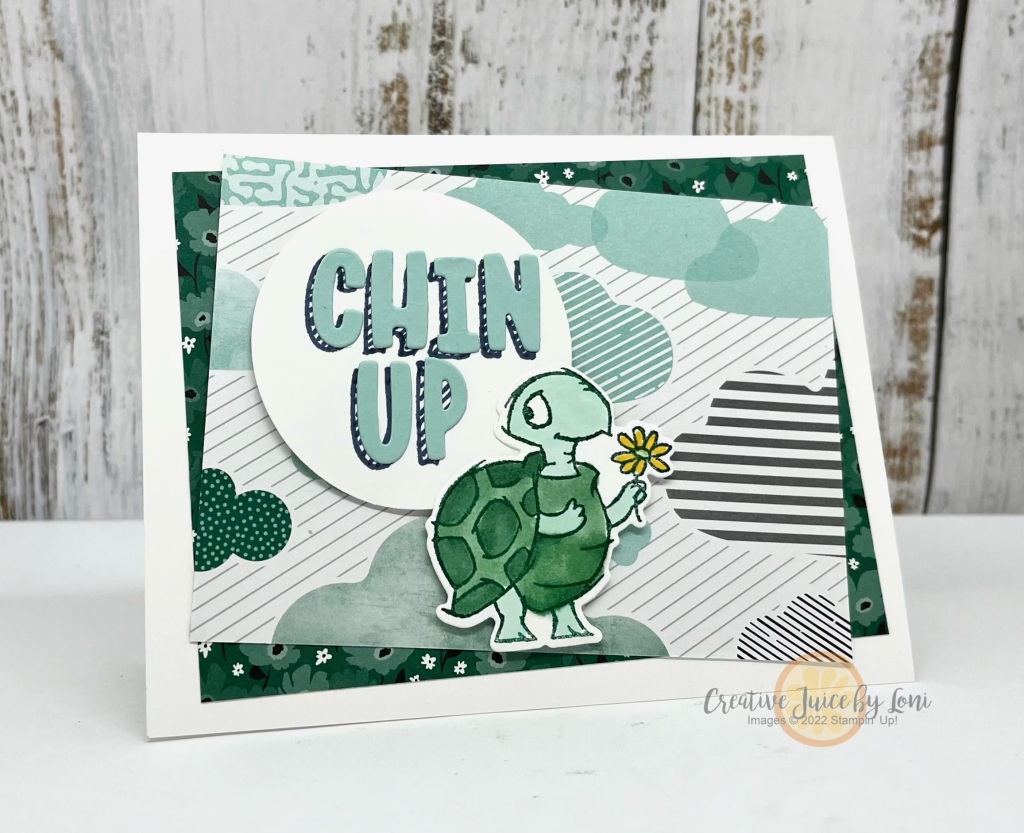
You can also make a master template with a window sheet to trace letters, add diagonal lines to create a shadow effect, then adhere die cut letters over the top of each letter:

Mix & Match them with other stamps you have, or use both letters and outlines:

If you’ve read this far, here’s a bonus card and tutorial to download!

It’s a pleasure to serve your creativity~ Share what you make with the Mini Alphabet Dies when you buy them from my Stampin’ Store, and I may spotlight your creativity in my VIP Facebook Group: Creative Juice Crafter’s Corner!

Product List

New at SU! – Spell It Out!

With all the awesome alphabet products Stampin’ Up! currently carries, the New at SU! design team is showing up to demonstrate ways to say what you want to say in our March 2023 Blog Hop!

I’ve paired the Alphabet a la Mode dies with the Greatest Journey dies to create a card of encouragement for someone who is working toward a goal:

The trickiest part of this card was making sure I cut out the letters the same distance from the top of each strip of card stock, and to remember to keep the inside of the letter “A” to adhere inside the negative image. I did add an adhesive sheet to the back of each 7/8″ x 4″ piece of card stock before die cutting, so I could easily adhere the strips to the card AND use the letters I cut out for another project.

TIP: Use a piece of washi tape to hold the letters in place as you run the dies through the Cut & Emboss machine!

After that, it was all downhill (so to speak): die cut the runner and mountain from Basic Black, and layer the card onto a black mat.

I stamped the “This Moment” sentiment inside the card, because we don’t always recognize that our hard work now will pay off later.

Now, discover MORE ways to use letters and alphabets in your paper crafting with these ideas from our International New at SU! Group of Demonstrators:

March 2023 New at SU! Blog Hop: Spell It Out!
1.Creative Juice by Loni (US) – Spell it Out, Alphabet a la Mode
2.The Joy of Stampin’ with Rachael (USA)- Playing in the Rain
3.JONi in the Spotlight Stamping (US)-ALPHABET A LA MODE
4.De Kijkkast (NL)- Classic Letters & Sweet Citrus
5.Playing with Papercrafting (CAN) – Spelling Bee
6.Tricia’s Stamping Creations (US) – Spell It Out Alphabest Bundle
7.Stamping Flair (AU) – Love You More Dies with Paradise Palms
8.247Inkspiration (US) – Milkshake Love
9.iHeartCards2 (US) – Spell it Out, Love For You
10.scraphexe (DE) – Angesagtes Alphabet
11.TanjasKartenwelt (DE)- Angesagtes Alphabet
12.Carterie Plus (CA)- Épeler/Spell it out

Powered by blogcarousel.com

Product List