Stampers LOVE to exchange handmade cards! We swap our creations at any Stampin’ Up! event and my Sprinkled Ink team (& friends) are hands-down the BEST group to swap with (I’ve participated in a TON of swaps in 31 years, and they are better than all of them).
Would you like to see their talents? I thought so!
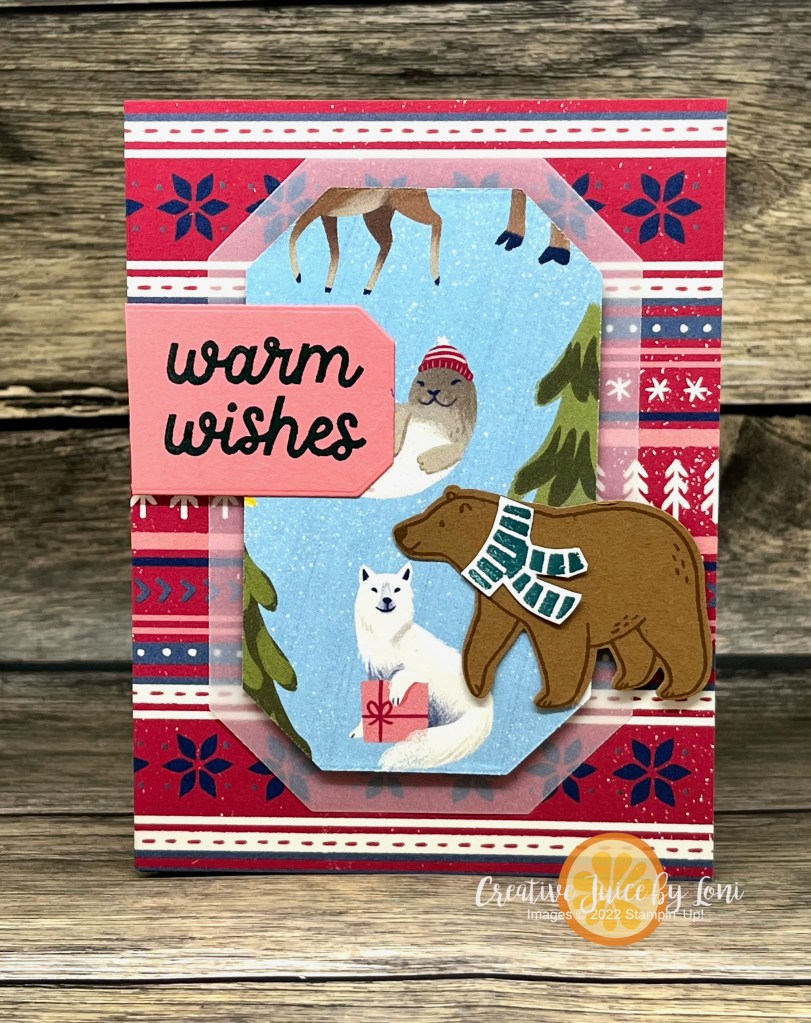
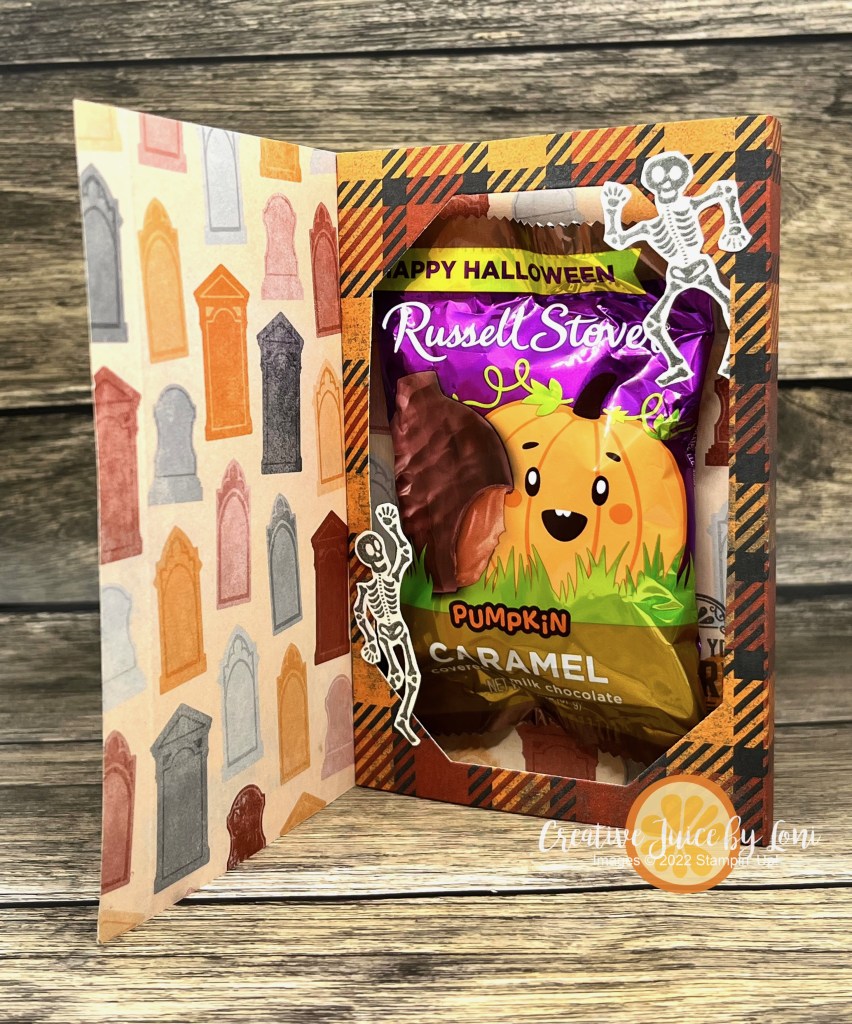
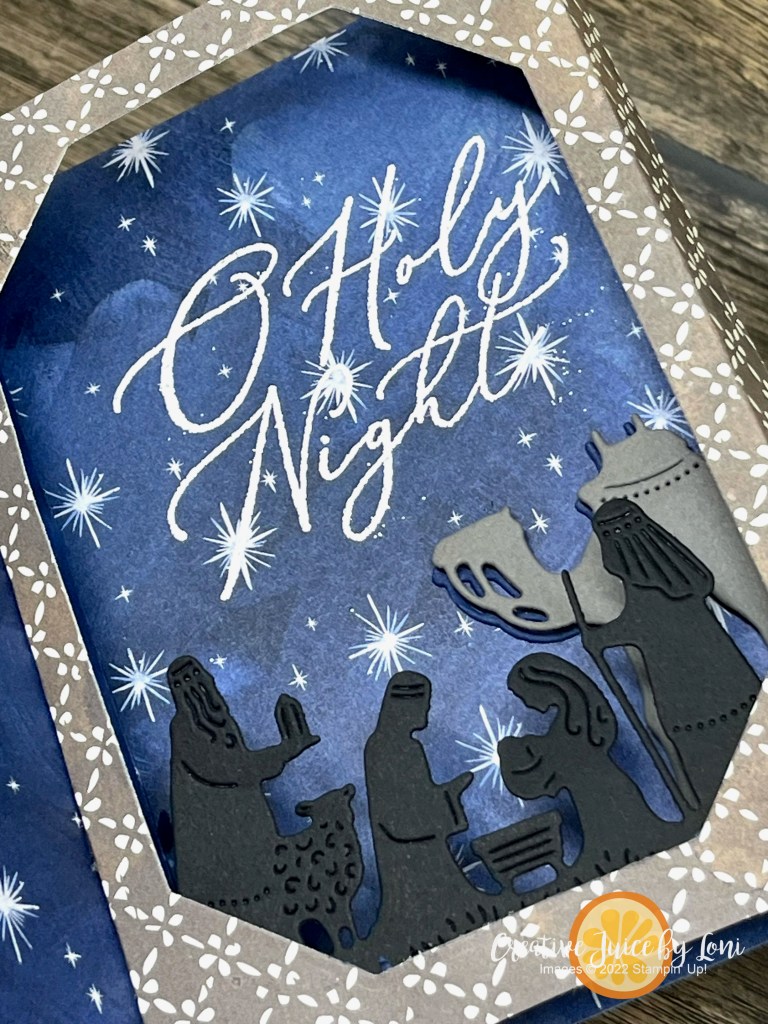
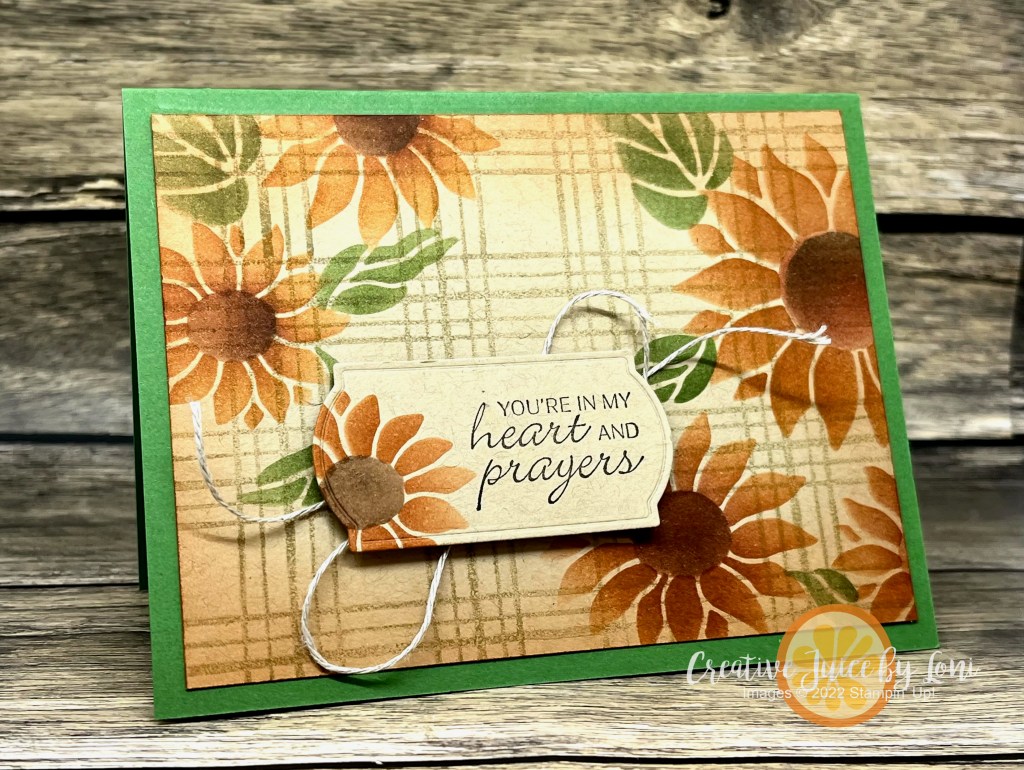
This was our September-December Mini Catalog Swap… you may have seen some of these cards if you’ve attended an event with me in the past few months:

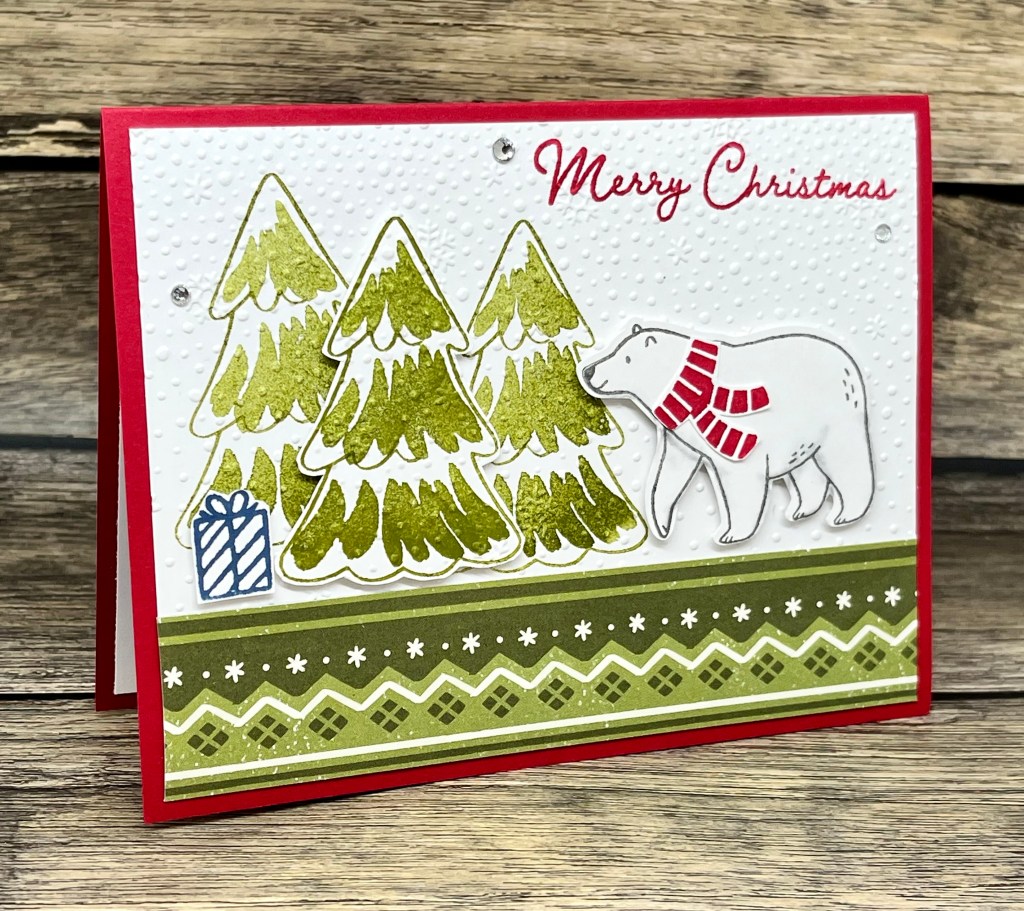
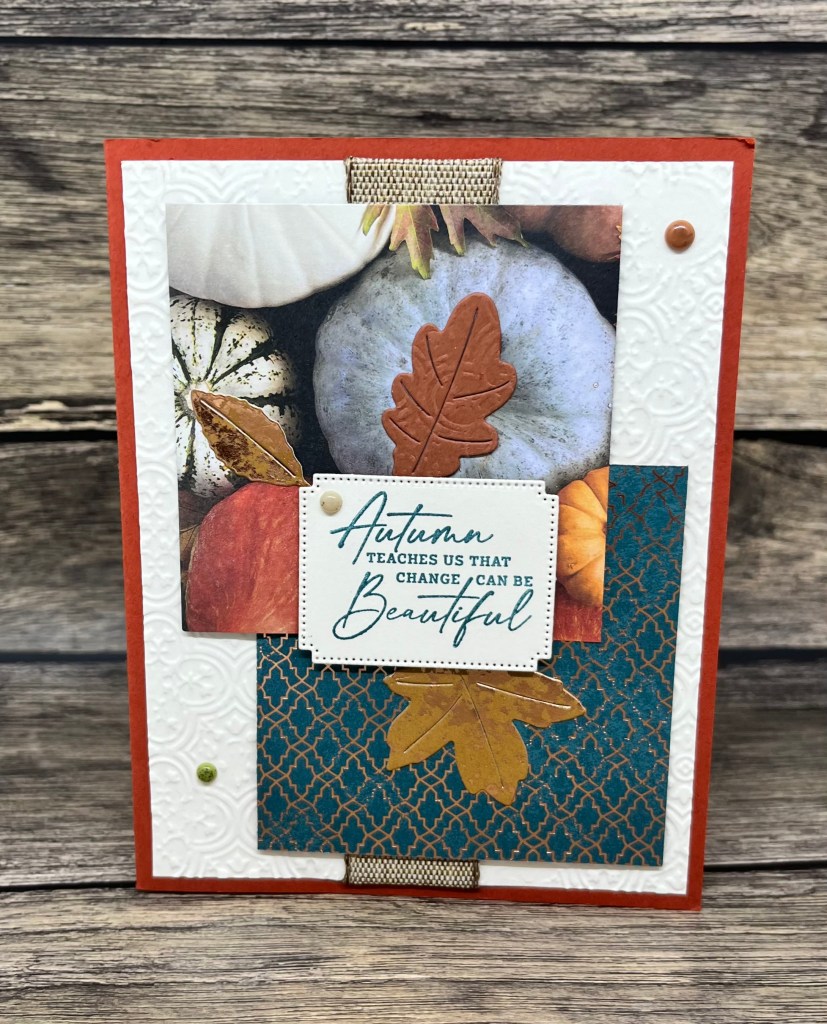

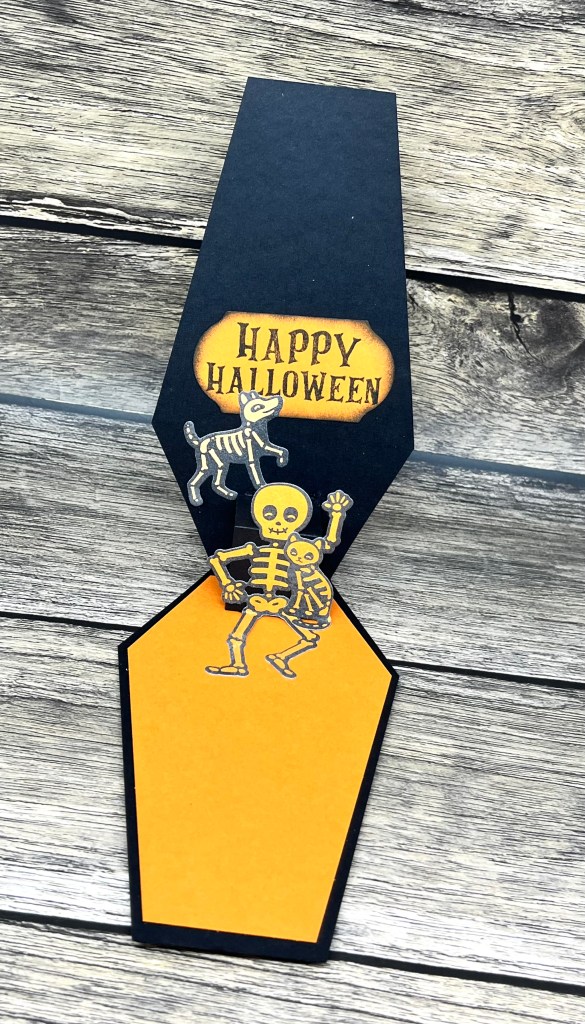


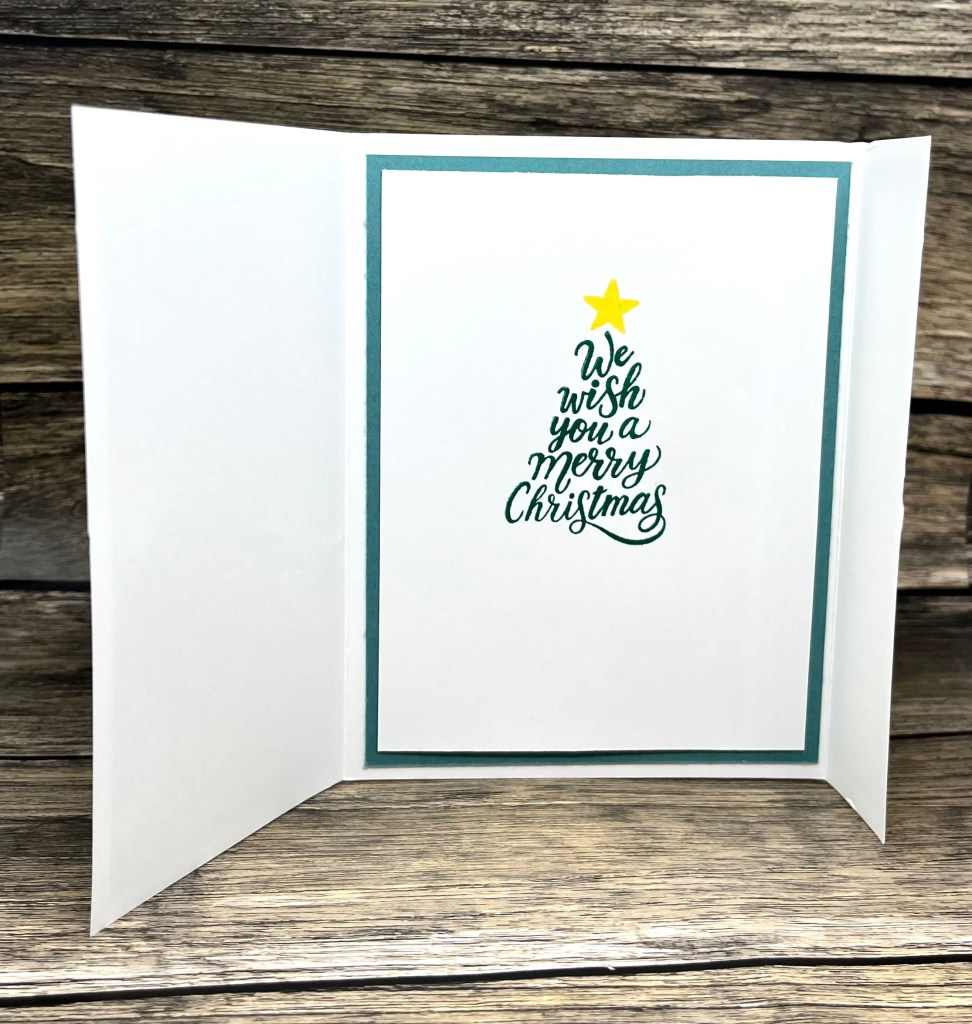


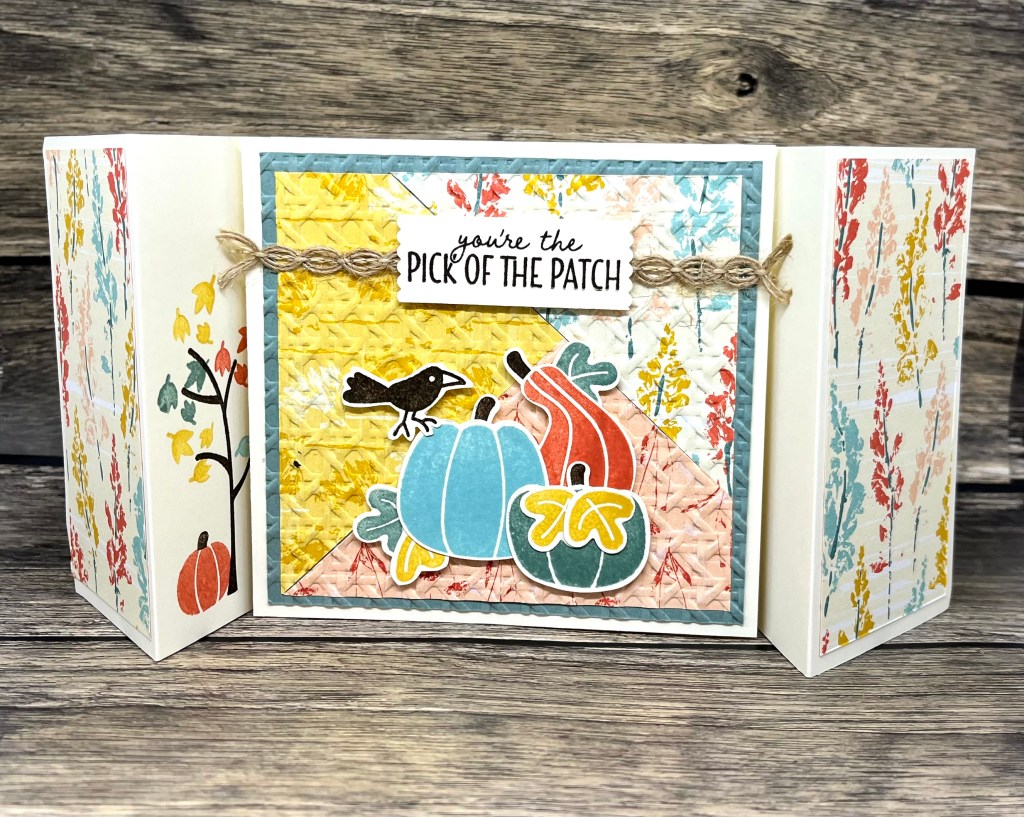


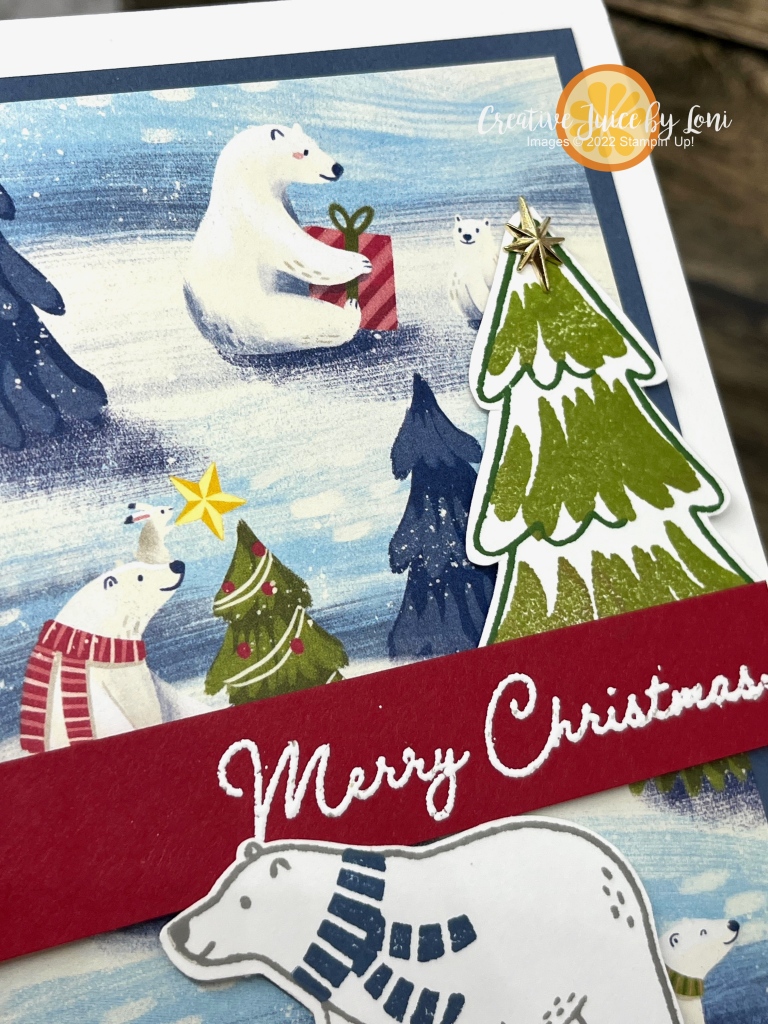
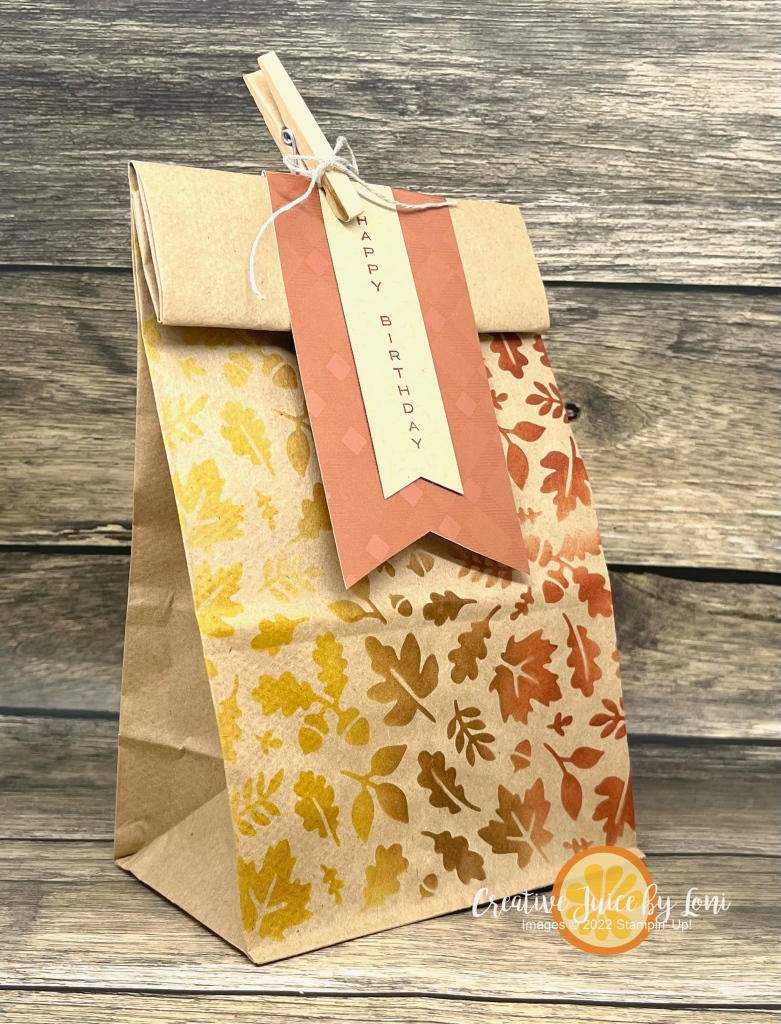
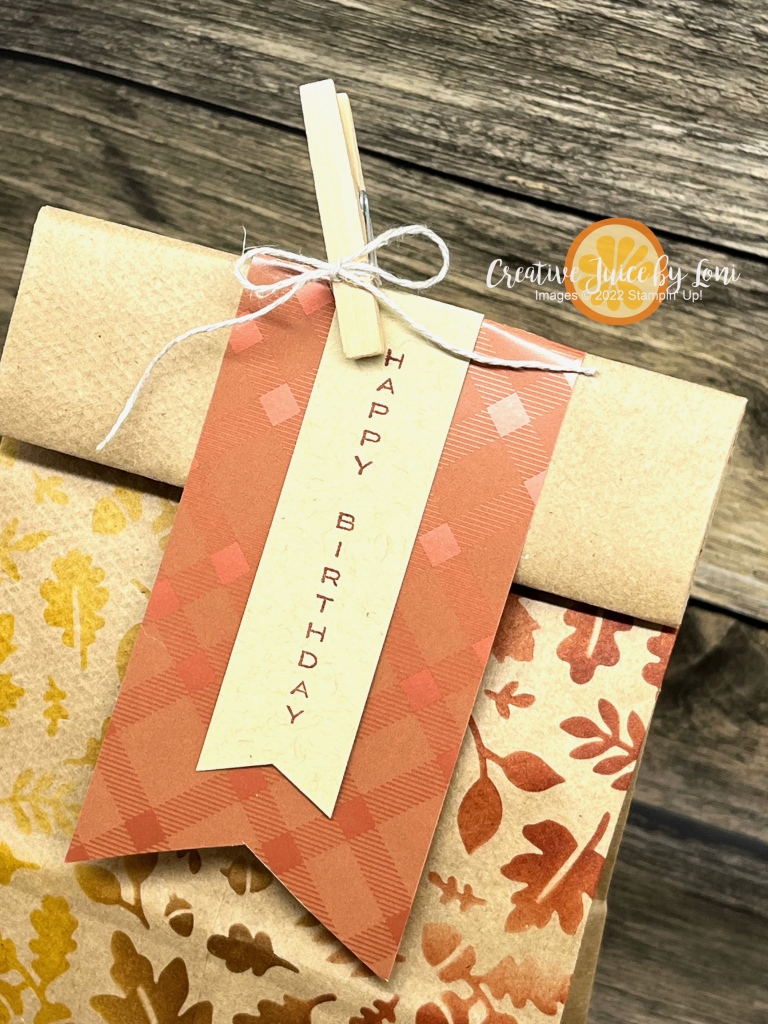
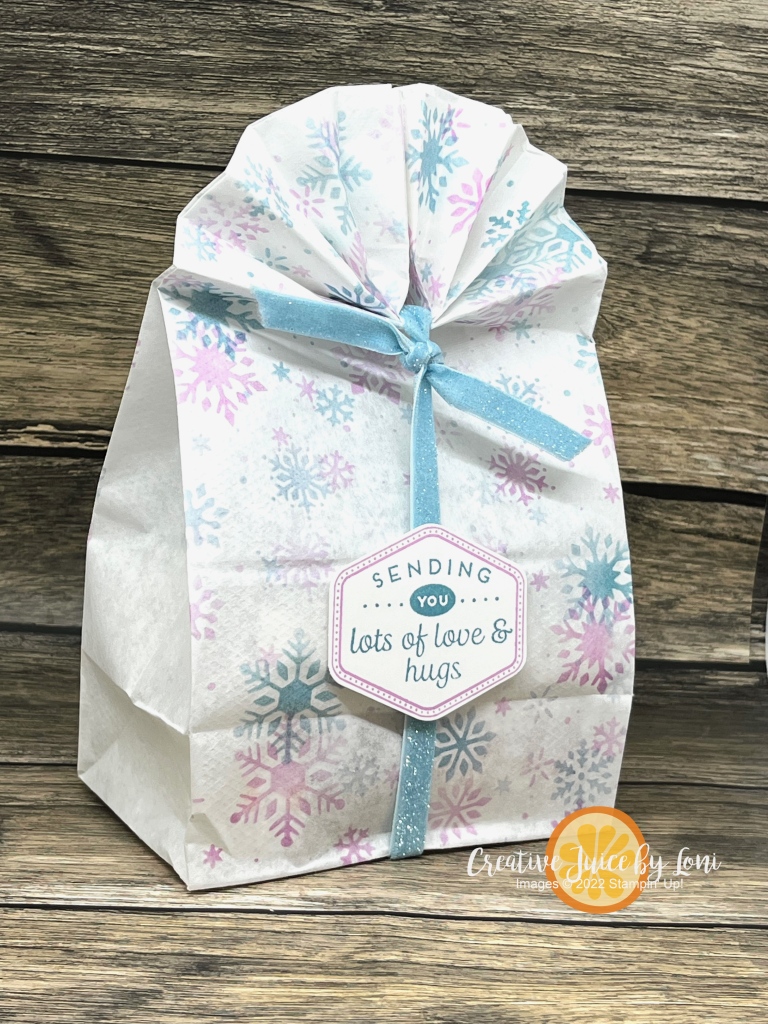
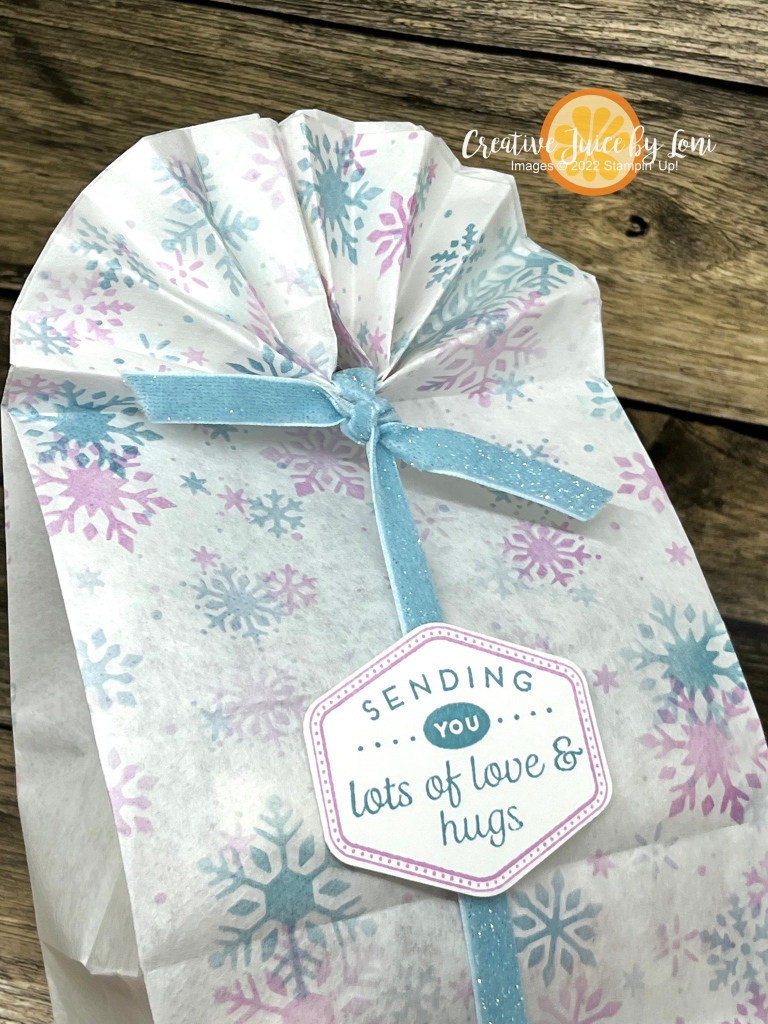
Aren’t they spectacular? There are fun folds, embossing, foil paper, background stamps, die cuts, rubber stamping, Designer Series Paper and techniques galore to share with our customers and be inspired by. I’m certainly going to make a version of Robin’s fun fold and order the embossing folder Michelle used!
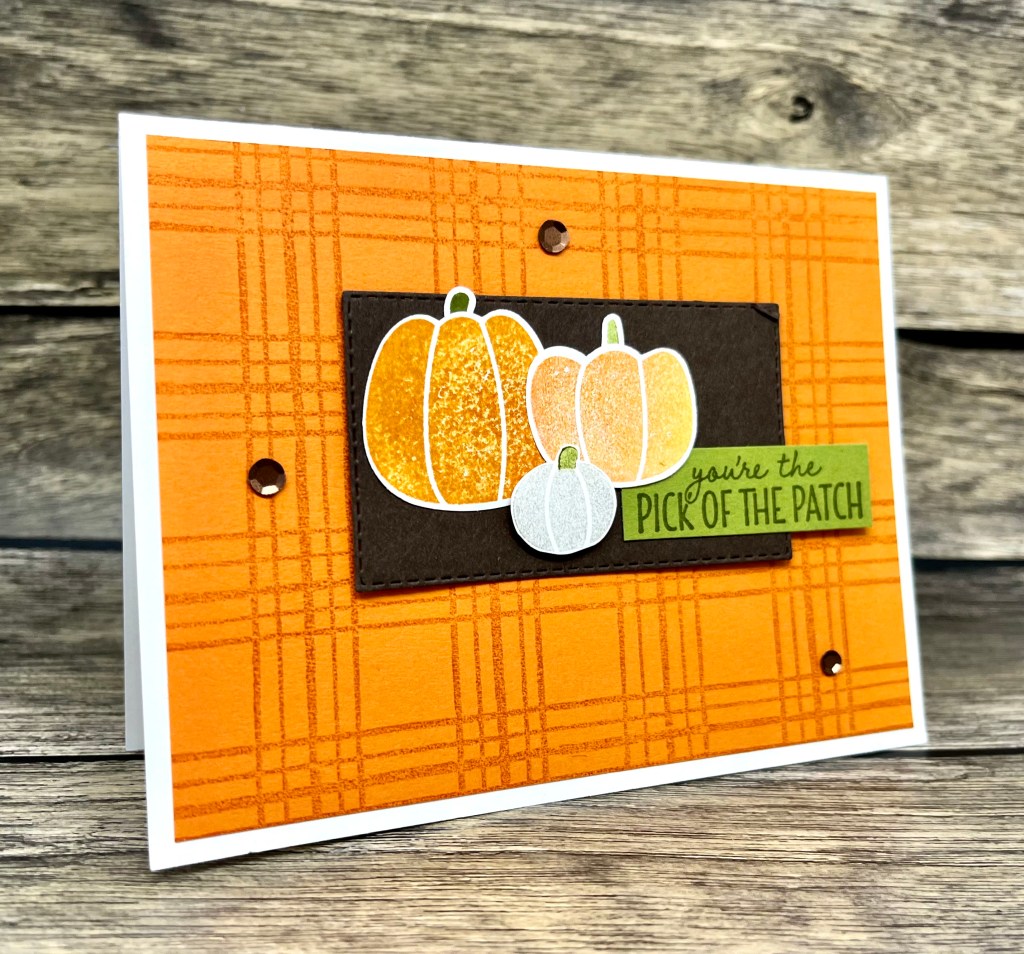
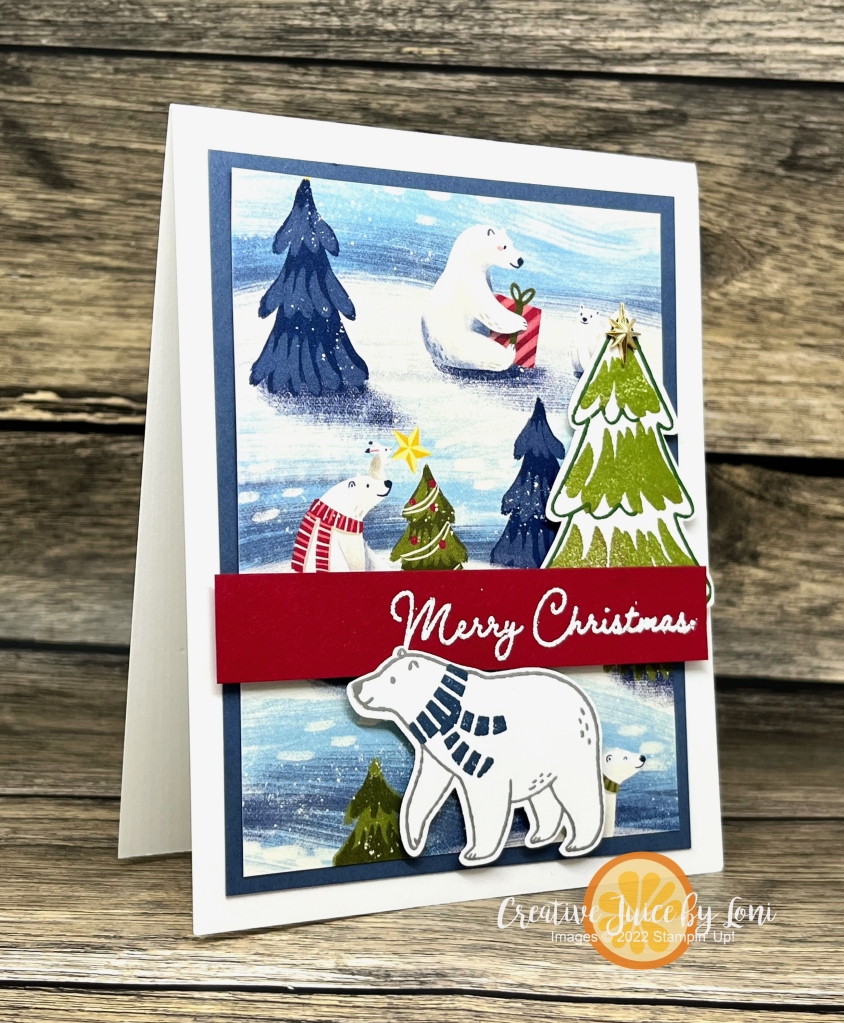
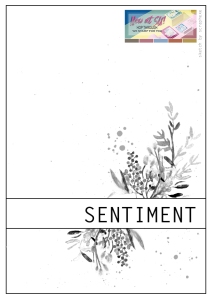
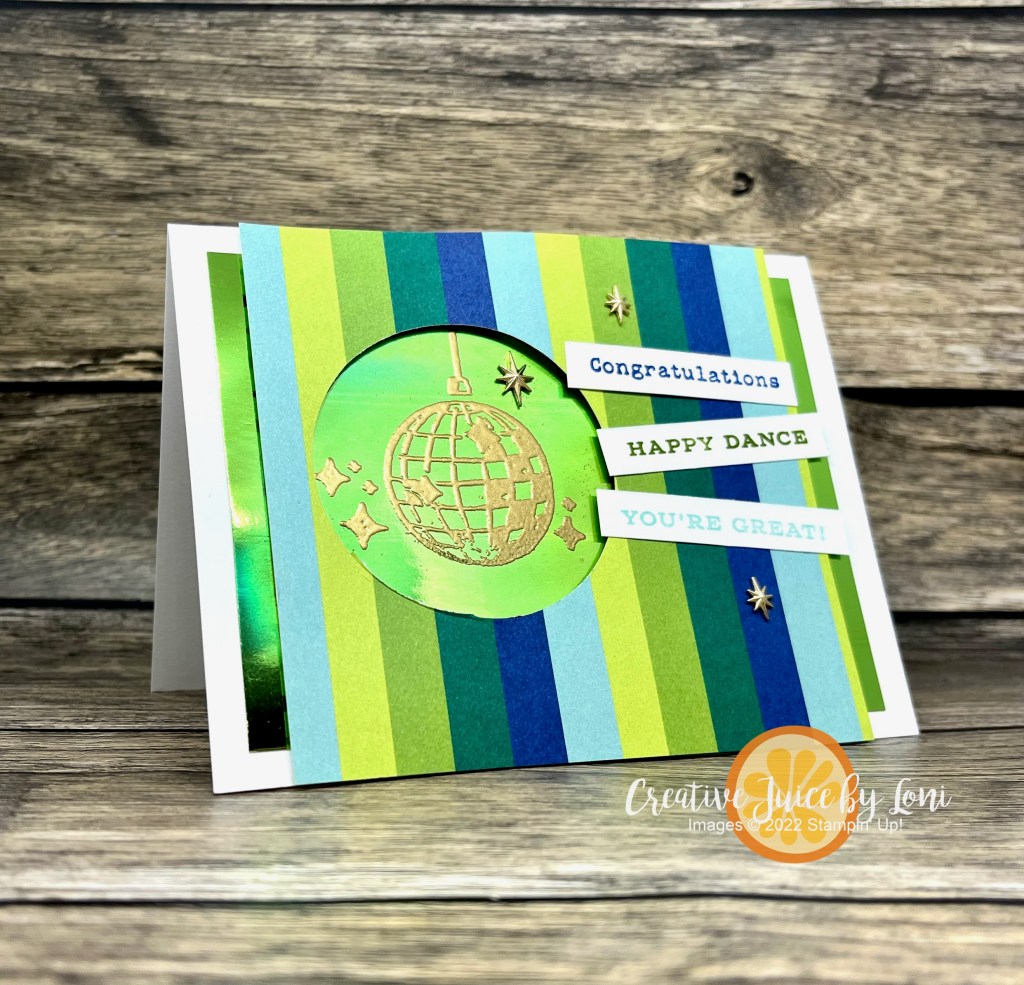
This was the card I crafted for the swap using the Curved Occasions stamp set (click link below card for stampin’ supplies):


We swap cards each time a new catalog launches, which means our next swap will be in January. As demonstrators, we get to pre-order from the publication the month before…it’s a nice perk!
Speaking of perks, there are 7 days left to take advantage of the 35th Anniversary Starter Kit Special! This is your chance to get a divine discount on crafting supplies AND see if you want to SHINE as a demonstrator!

There are no strings attached to the purchase of a starter kit, and you’ll get 20% off your future purchases through April 2024 (or forever, if you decide to stay with the Sprinkled Inkers as a hobby or business demonstrator!).
In addition, you’ll get a free ticket to OnStage@Home (our virtual Stampin’ Up! convention) on November 11th…it will be an amazing peek at the goings-on in the life of a demonstrator, and will give you insight into the possibilities of a bright future.
Finally, you’ll have the opportunity to swap cards with our friendly demonstrator family, participate in events and creative challenges, learn and grow personally and creatively, plus gain a new tribe of very talented, kind and supportive people! Why not??


")
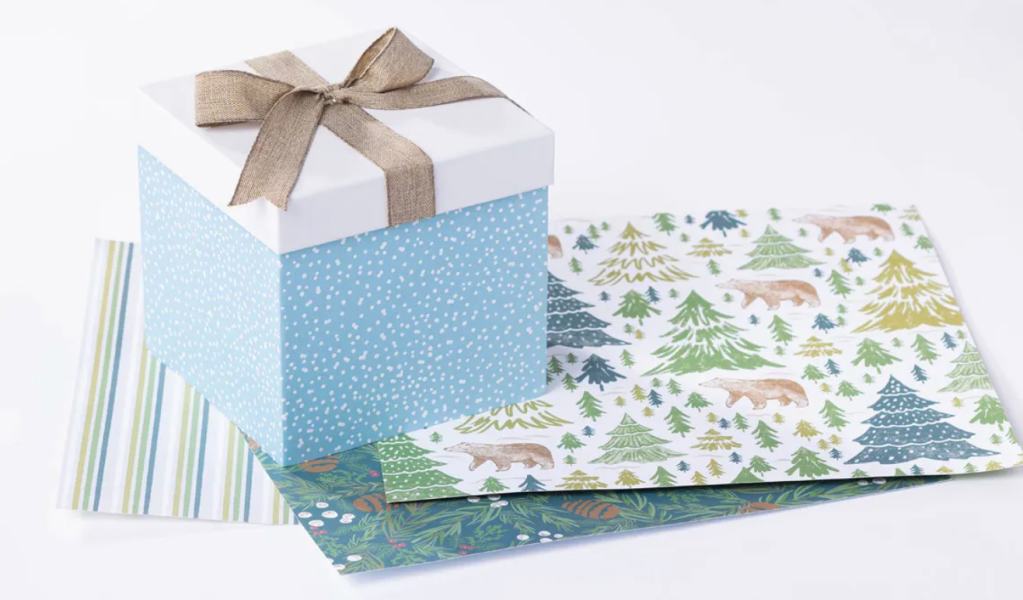
 Designer Series Paper")
 Designer Series Paper")


")


 Specialty Designer Series Paper")


")


")
 Sparkle Ribbon")


")


")
 Foil Sheets")
 Designer Series Paper")


 Circle Punch")


")


 Gingham Ribbon")


 Textured Ribbon")


")