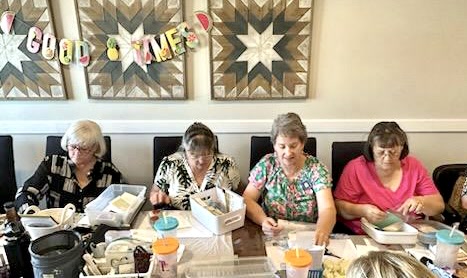
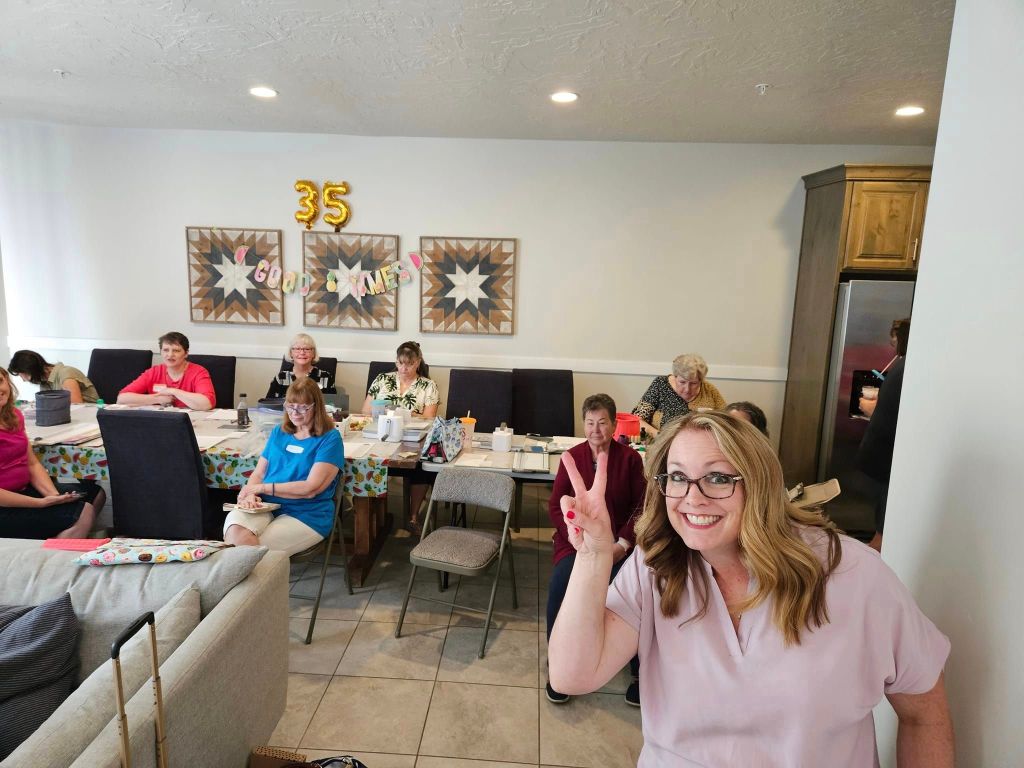
At the Sprinkled Ink Retreat last weekend, we participated in a Shoebox Swap, but that doesn’t mean we exchanged empty shoeboxes 😜

Each demonstrator brought a #simplestamping card (some were not so simple!) and had all the pieces cut and prepared for everyone else to make, in a box (about the size of a shoebox, hence the name). We passed boxes around the table and you would make one as it came to you. It was a **flurry** of activity for a few hours…


Who knew crafting could feel like a workout? We were exhausted – but happy stampers! – by the time we finished 15 cards.

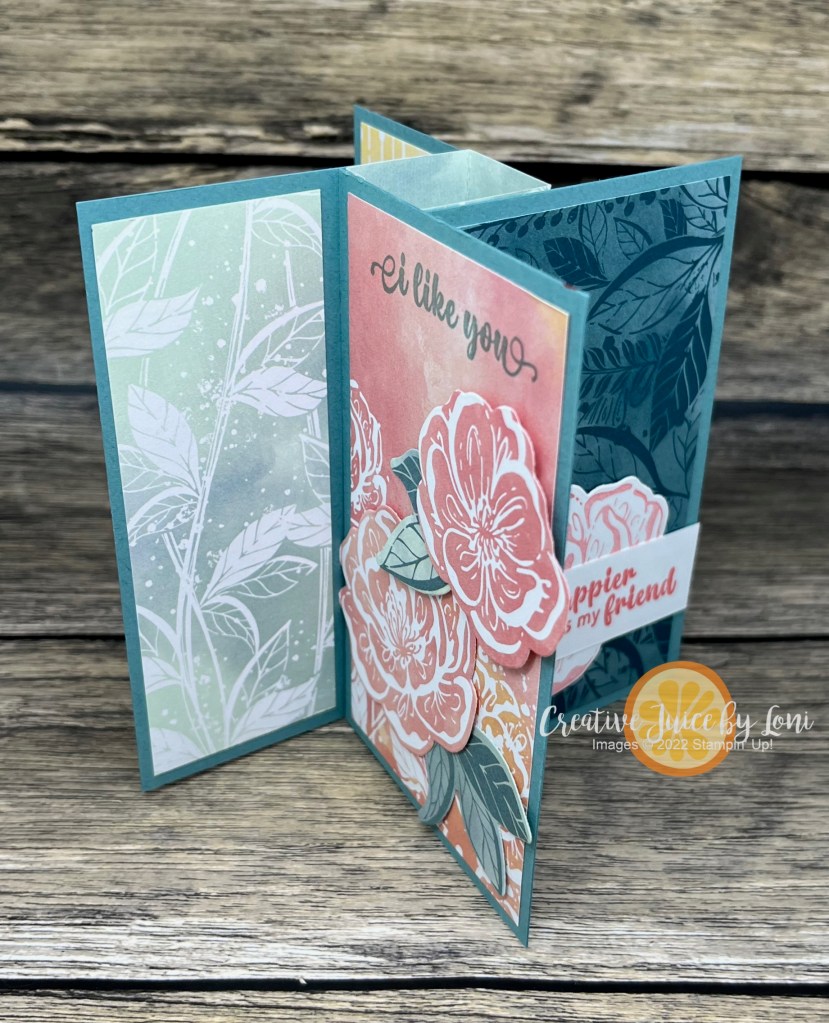
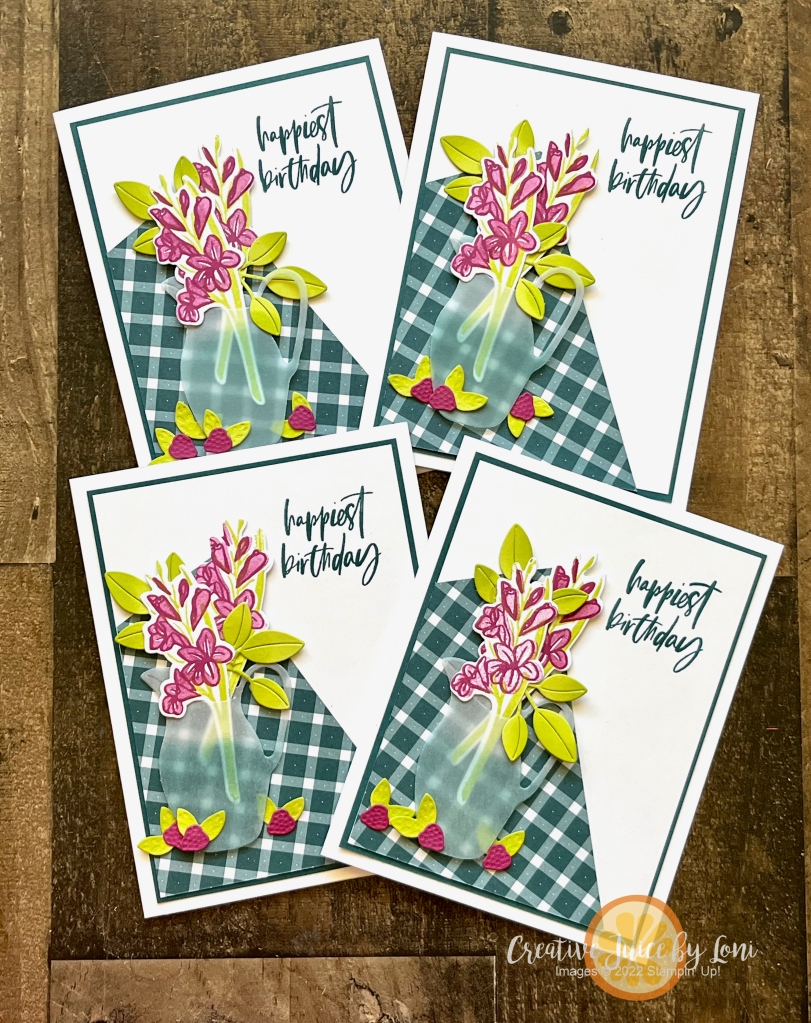
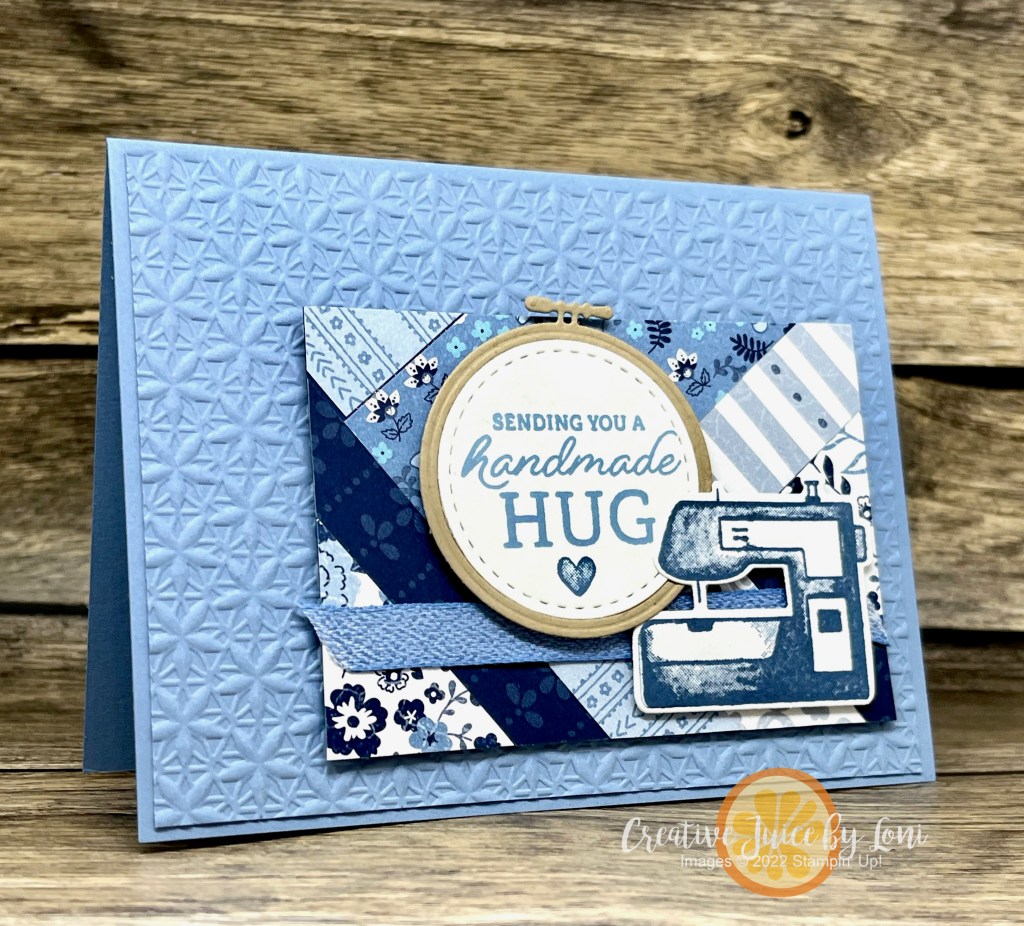
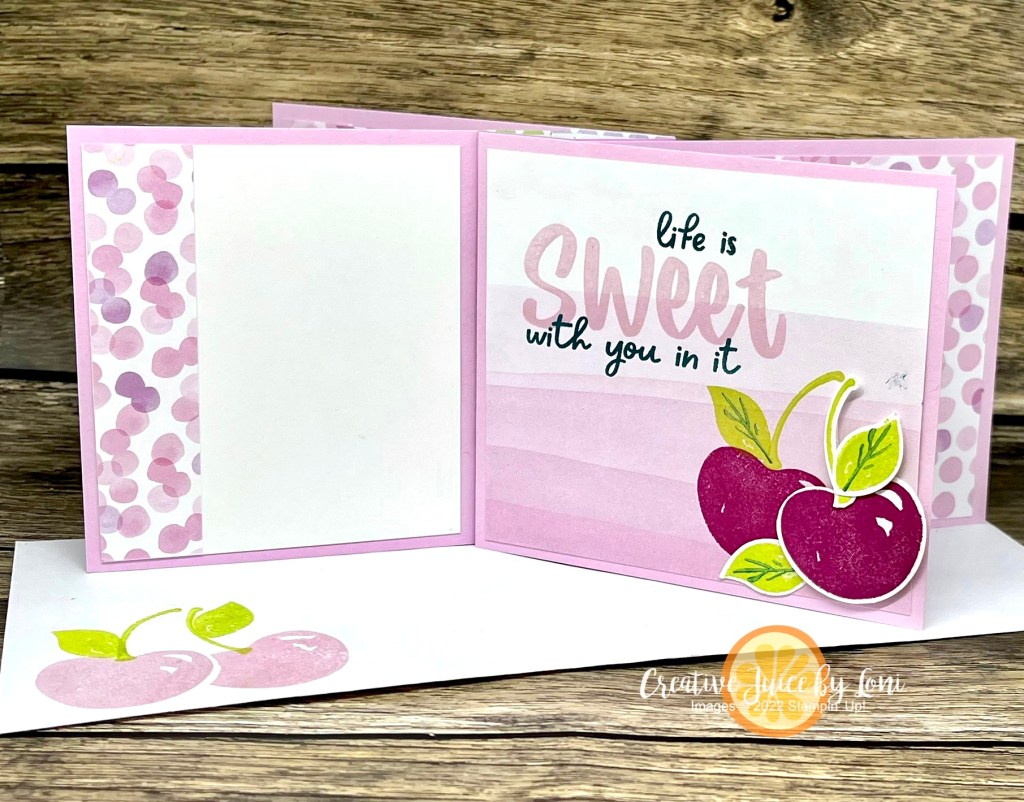
For my card, I used the Berry Harvest Background stamp and a sentiment from the Apple Harvest stamp set.

Want to make this card? Here’s how simple it is:
- Place background stamp face up and ink it with Soft Seafoam ink. Then dip a sponge dauber into Highland Heather ink and daub it onto the stamp where the berries are.
- Lay a 3″ x 4″ piece of Soft Seafoam card stock on top of the stamp, cover it with scrap paper and rub to transfer the image.
- Cut the stamped card into 1″ pieces on a paper trimmer and adhere in same order to front of Basic White 8.5″ x 5.5″ card using dimensionals, leaving a small space between each panel.
- Stamp sentiment on white scrap in Highland Heather ink and adhere to right panel(s).
- Add small bow of white twine on a glue dot.
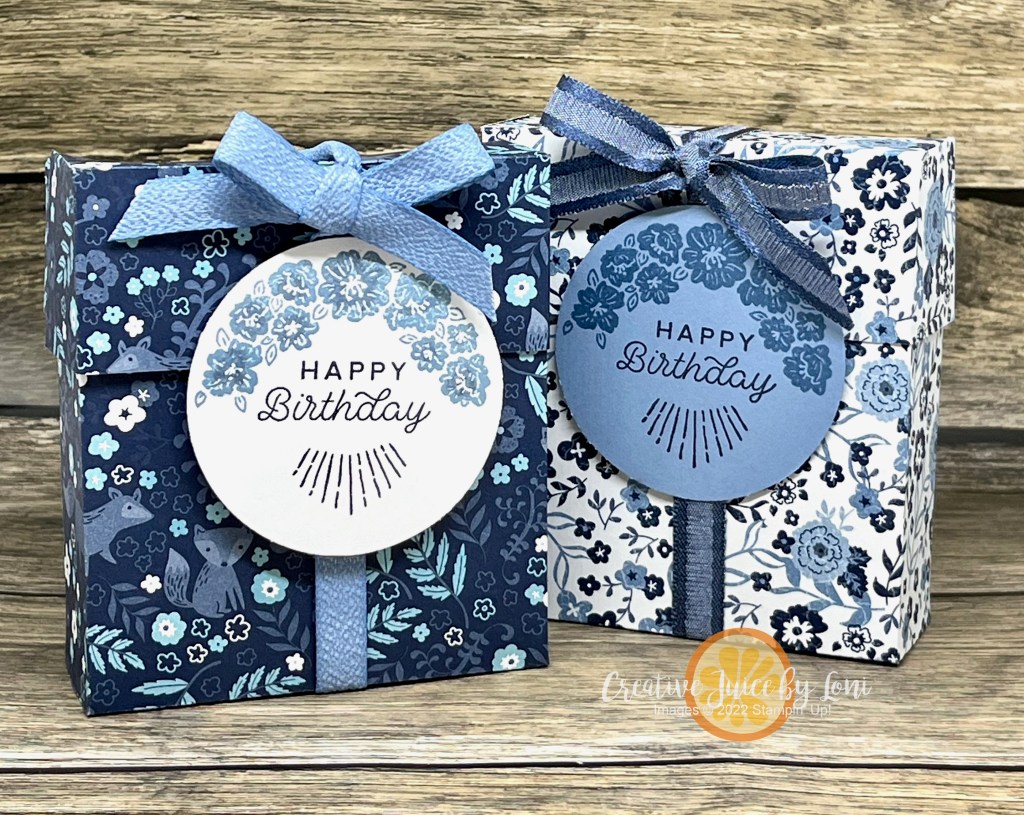
Here’s a quick look at all the cards we created that night! WOW!
Just a reminder- ANY DAY is a great day to join my Sprinkled Ink Family and start your own Stampin’ Up! journey, but TODAY (June 30, 2023) is the LAST DAY of the Starter Kit+ Promotion. There is no risk to give it a try…and I am here to help you get the most from your experience! Click the image to get going:


")


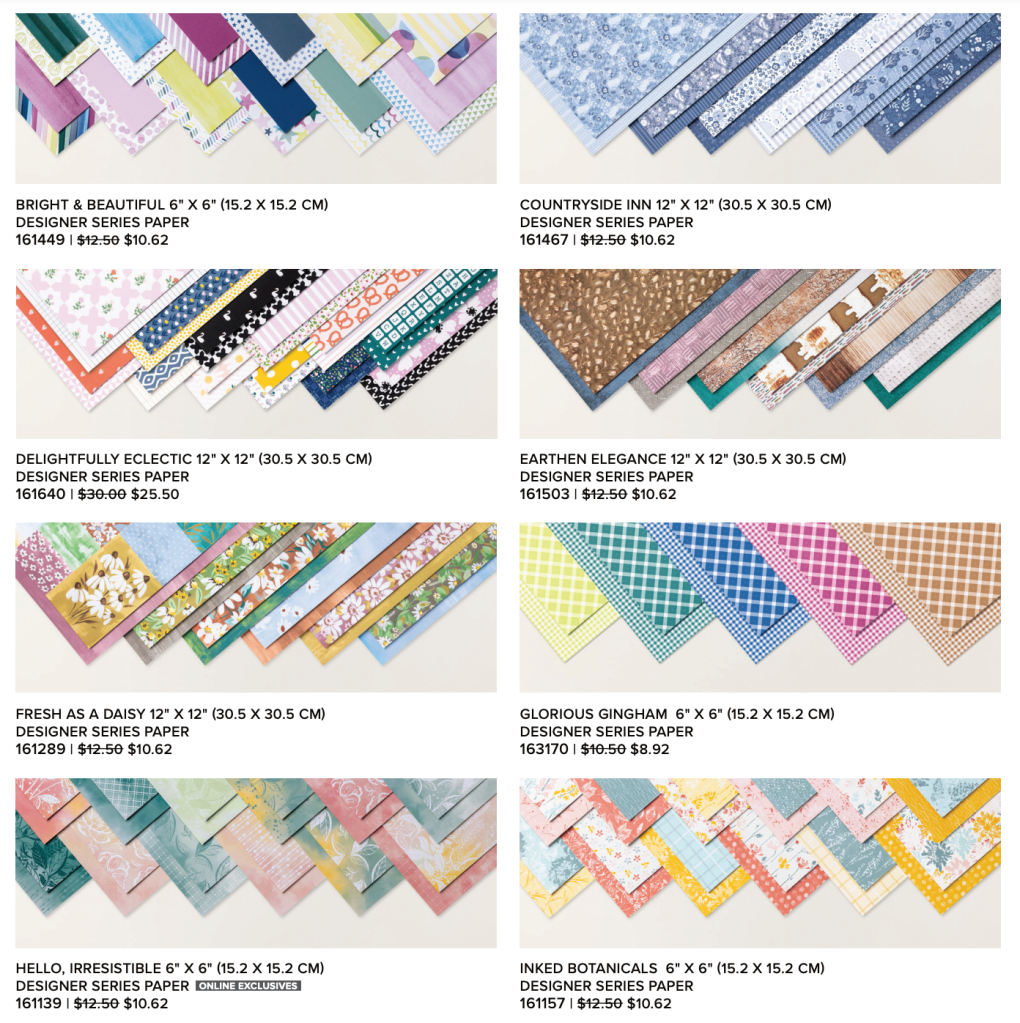
 Designer Series Paper")


 Designer Series Paper")


 Designer Series Paper")
")


 Bordered Ribbon")


")


 Textured Ribbon")


 Designer Series Paper")
")