When I taught piano lessons, I’d tell my students “Practice trumps talent when talent doesn’t practice”. If you’ve ever thought, “I’m not creative,” believe me when I say CREATIVITY CAN BE LEARNED!!
The easiest way to become more artistic is to have a starting point. Paper Pumpkin – a monthly craft box kit subscription – gives you a place to practice. Let me show you how:

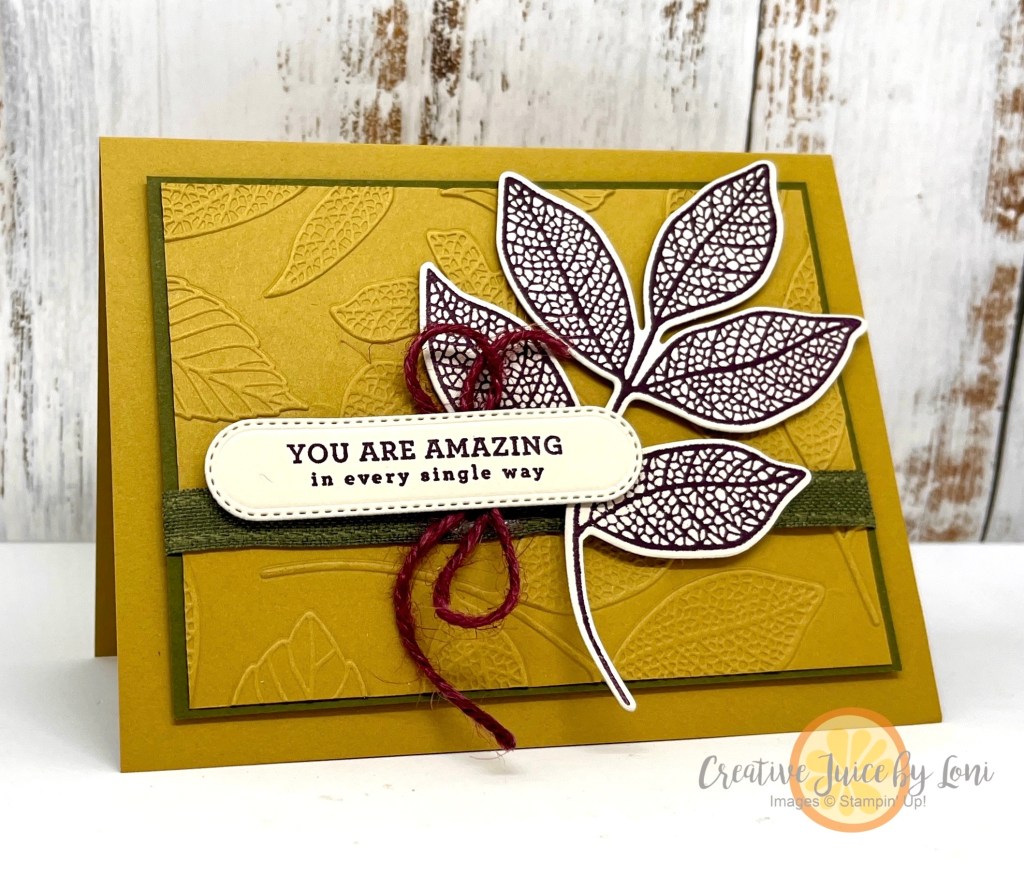
On the left is a card created as designed for the September Paper Pumpkin Kit (“Autumn Abundance”). It took me less than 5 minutes to make it, following the instructions in the box. I thought the colors were so pretty, I chose to use the same palette on another card. Using Cajun Craze, Crushed Curry and Night of Navy ink pads, I followed a sketch from the Stampin’ Up! Sept-Dec Mini Catalog (pg. 16) to make the second card. It was simply stamped on Very Vanilla card stock and used the Labeled with Love punch to make the trio of panels.


Each quarter, there is a coordinating die set available to add-on to the kits, so I used the same sketch & colors to create a second version with the die-cut leaves using the dies for last quarter. They are sold out, but you CAN order the Merry Tags & More Dies (which coordinate with the Oct-Dec 2024 kits) while supplies last.
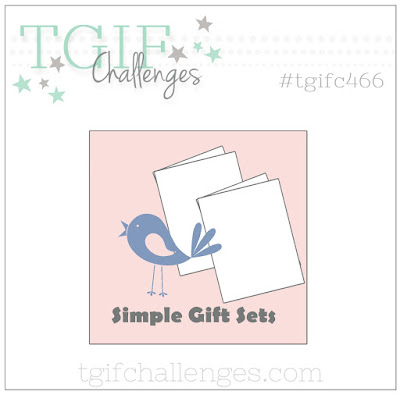
Next, this Thank You card in the kit (left) had a beautiful base. What if you needed a small gift package?

Make it into a box, of course! I’m teaching you how to make all these alternate projects in today’s video, so watch here for instructions:
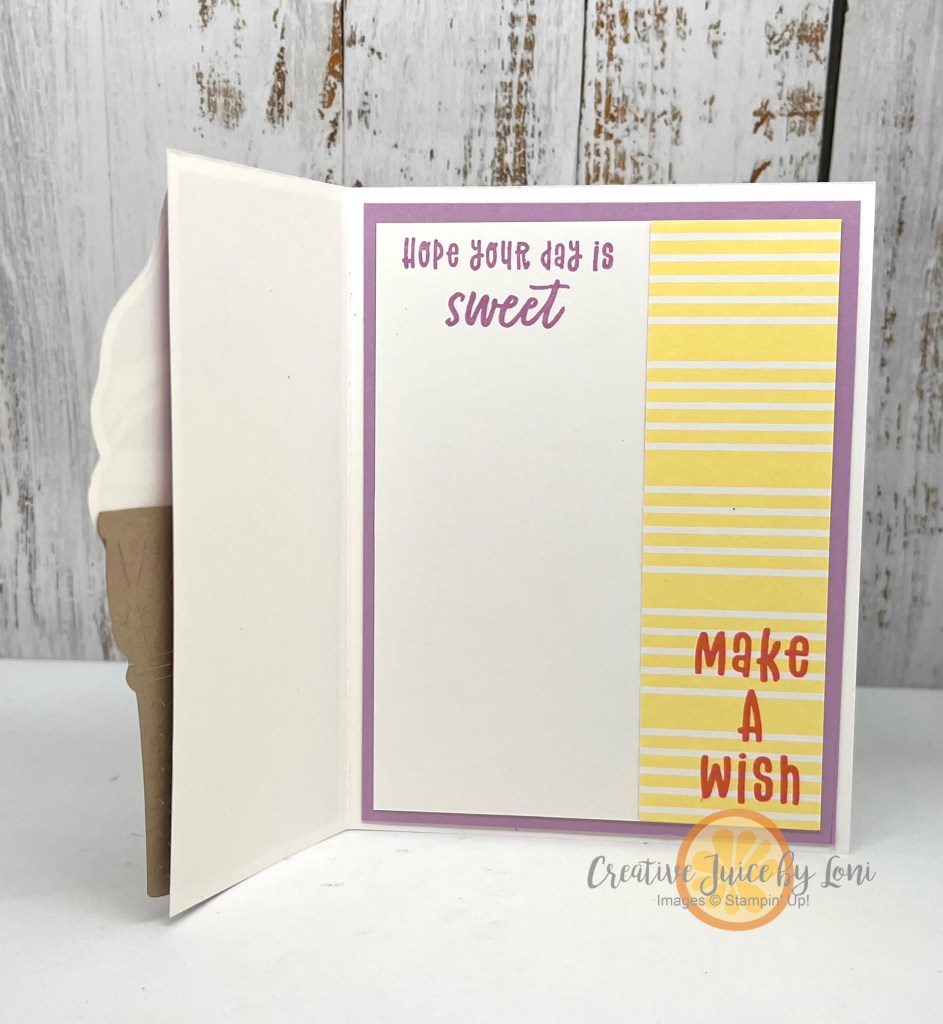
Also included in the kit this month was this third card project- it was a 4″ x 4″ Autumn card, then I looked at the window and it made me think of a shaker card:

The snail and leaves shake around inside!

The kit is terrific to get your creative juices flowing, and making the projects as intended, you will learn the basics of paper crafting. You can always make different projects with the supplies you have in the box, and I send an EXCLUSIVE email each month to my Paper Pumpkin subscribers with ways to use the stamp set and ink spot after the kit is complete!
HERE’S THE DEAL:
Try a Paper Pumpkin craft kit subscription with 40% off your first month (new subscribers only)! Use promo code HOLIDAY40 when you subscribe HERE by October 10, 2024!

You are peeking at the “Nest of Christmas” October Kit, which coordinates with the Nests of Winter Suite in the Sept-Dec Mini catalog, and you could try it at a discount! This kit will make 10 Christmas Cards.
While the September Autumn Abundance kit isn’t available as a full kit, the refill IS available in my store (limited supplies available) and you could use other stamps and ink pads you already have to make it. You must be a current Paper Pumpkin subscriber to order refills or add-ons, so sign up and then start shopping the extras, using the same email you subscribed with.


")


 Bordered Ribbon")


")


 Designer Series Paper")
 Glimmer Specialty Paper")


 Circle Punch")
 Circle Punch")


")
 Designer Series Paper")


")


")
 Designer Series Paper")


")

 Designer Series Paper")


 Gingham Ribbon")


")
 Designer Series Paper")