If you think you are not creative…THINK AGAIN!
Anyone can be crafty with a KIT, and I’m here to help you unbox some ways to be creative even when…
- You think you don’t have time
- You think you can’t afford it
- You think you don’t have the space for crafting
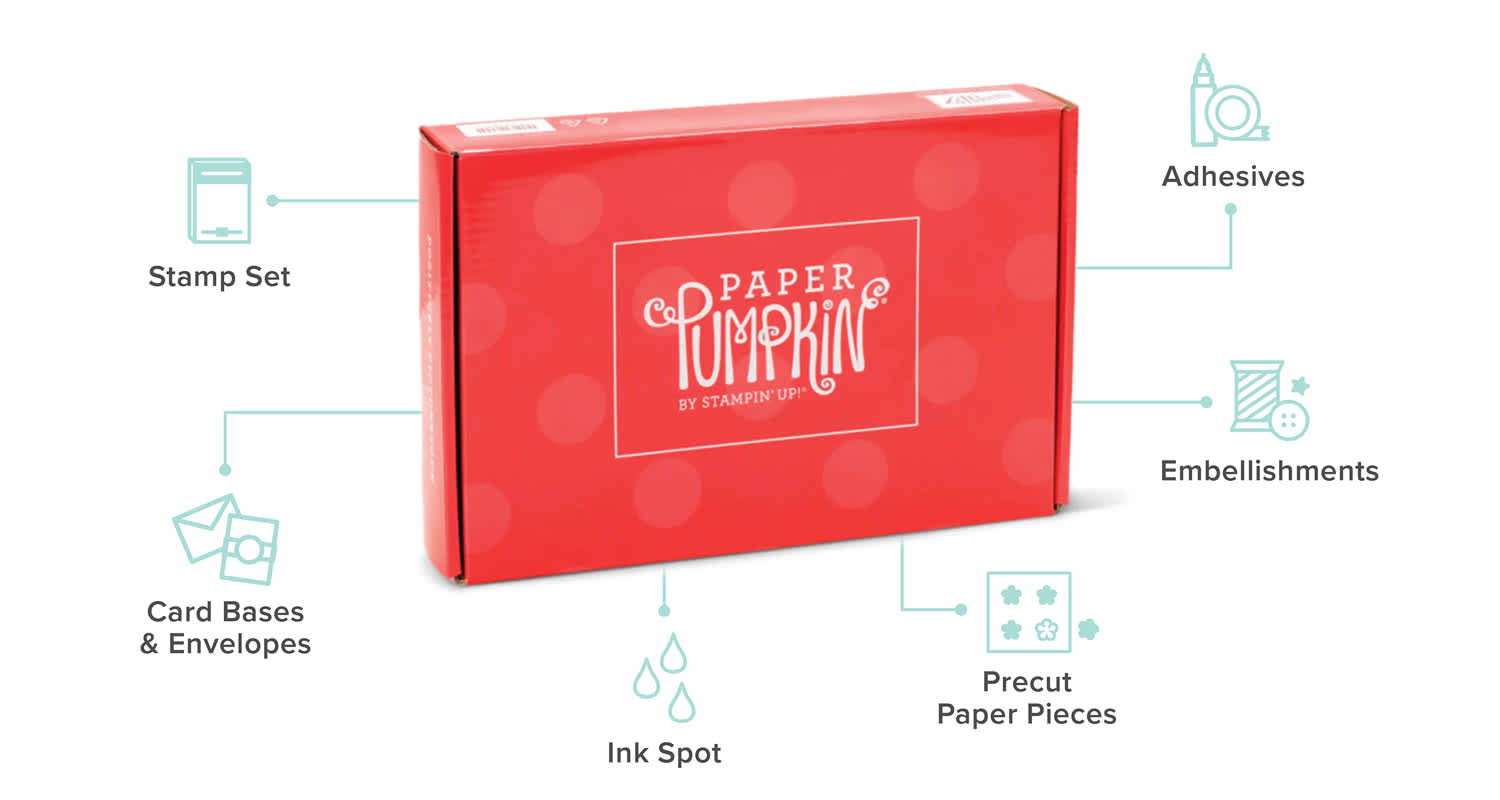
Paper Pumpkin is the BEST craft kit subscription in the world, and each monthly box you’ll receive:
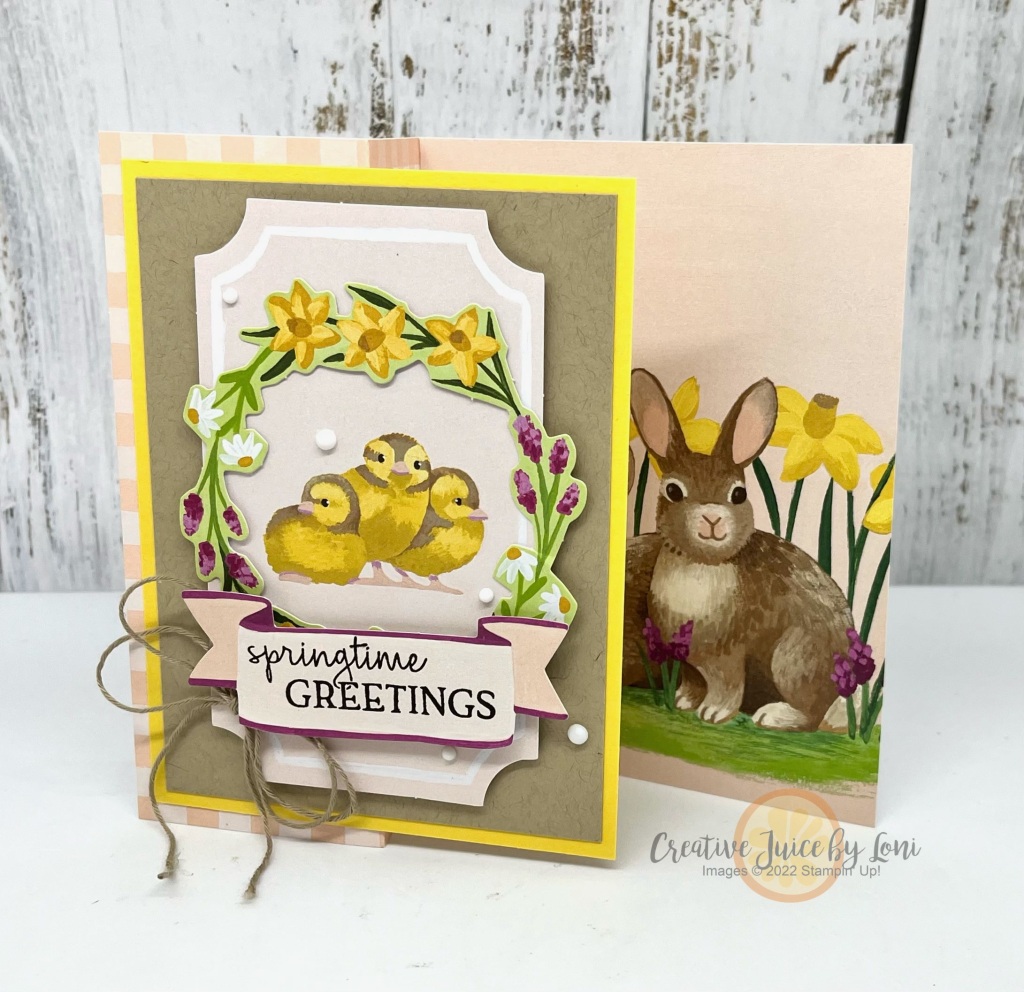
In this video, I show the Sweet Springtime Kit (February 2024), how to complete the projects as they are sent in the kit -OR- unleash your own ideas using the supplies from the kit or around your craft room:
While the full kits are sold out, there are refills for the Sweet Springtime kit (while supplies last) that you could easily add your own sentiment stamps to complete. They are available for subscribers only, so hurry and subscribe in the next step!
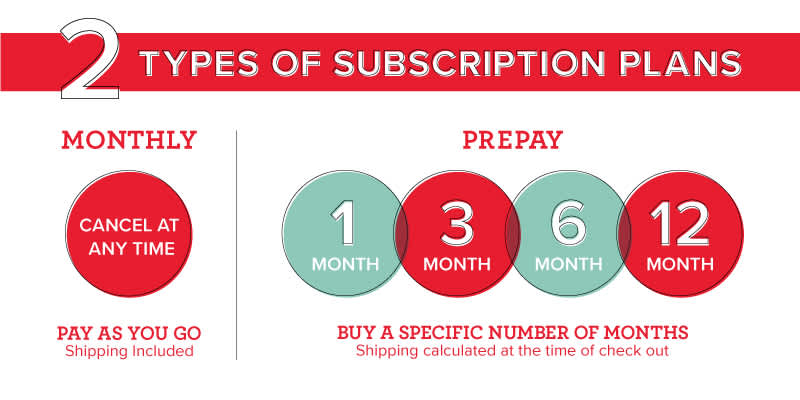
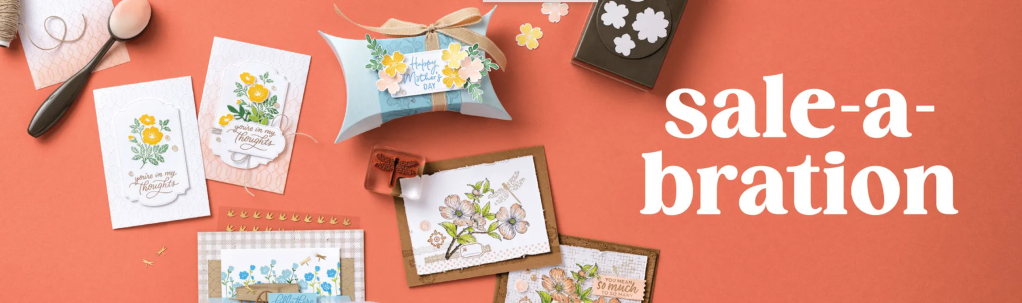
Click the button(s) to choose your Paper Pumpkin Path:
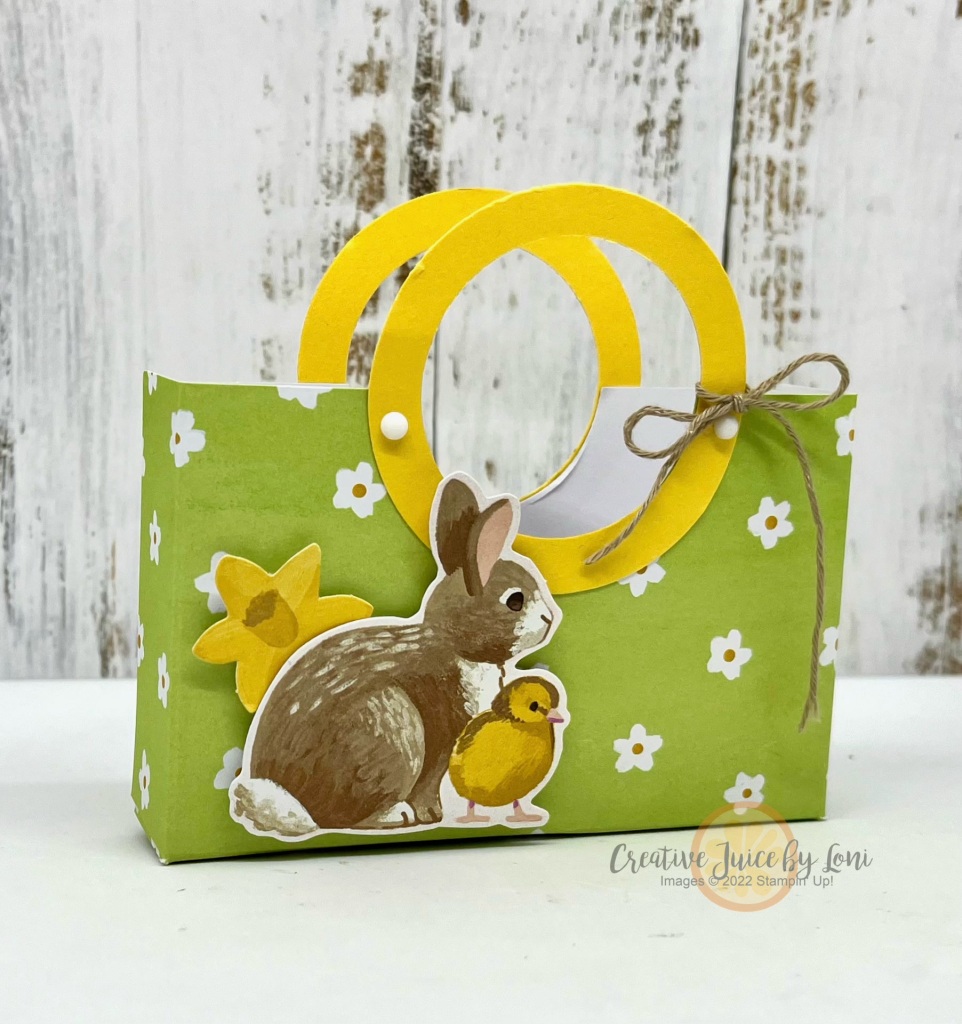
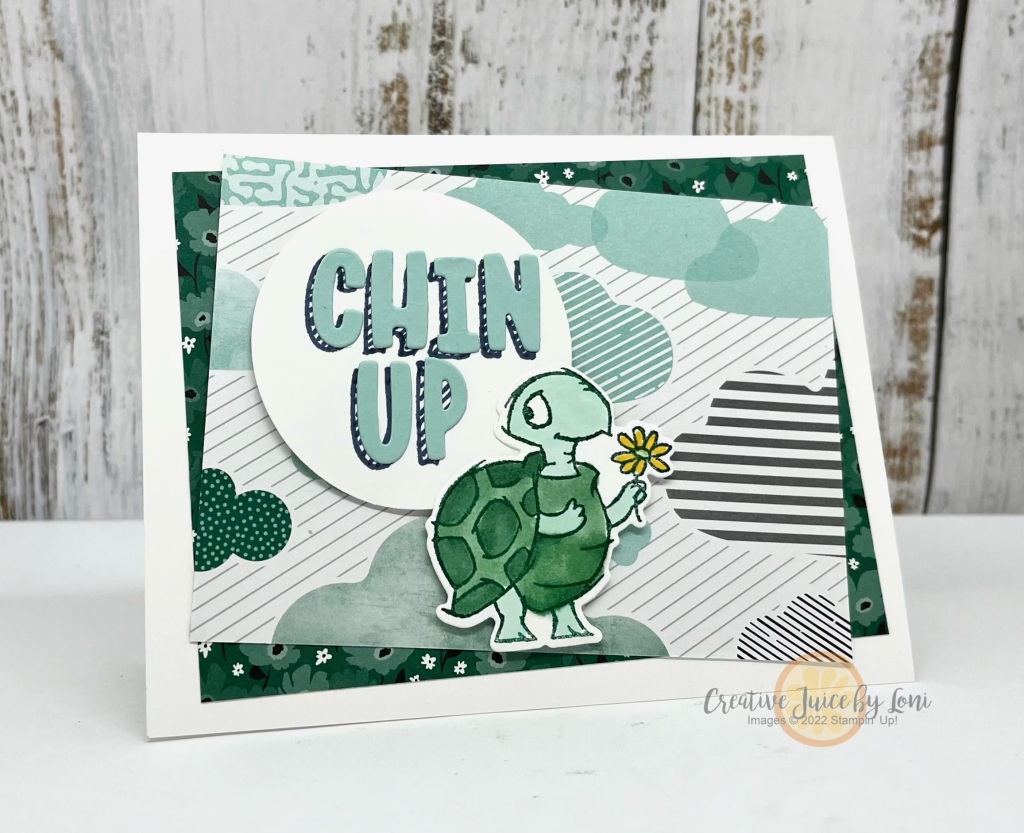
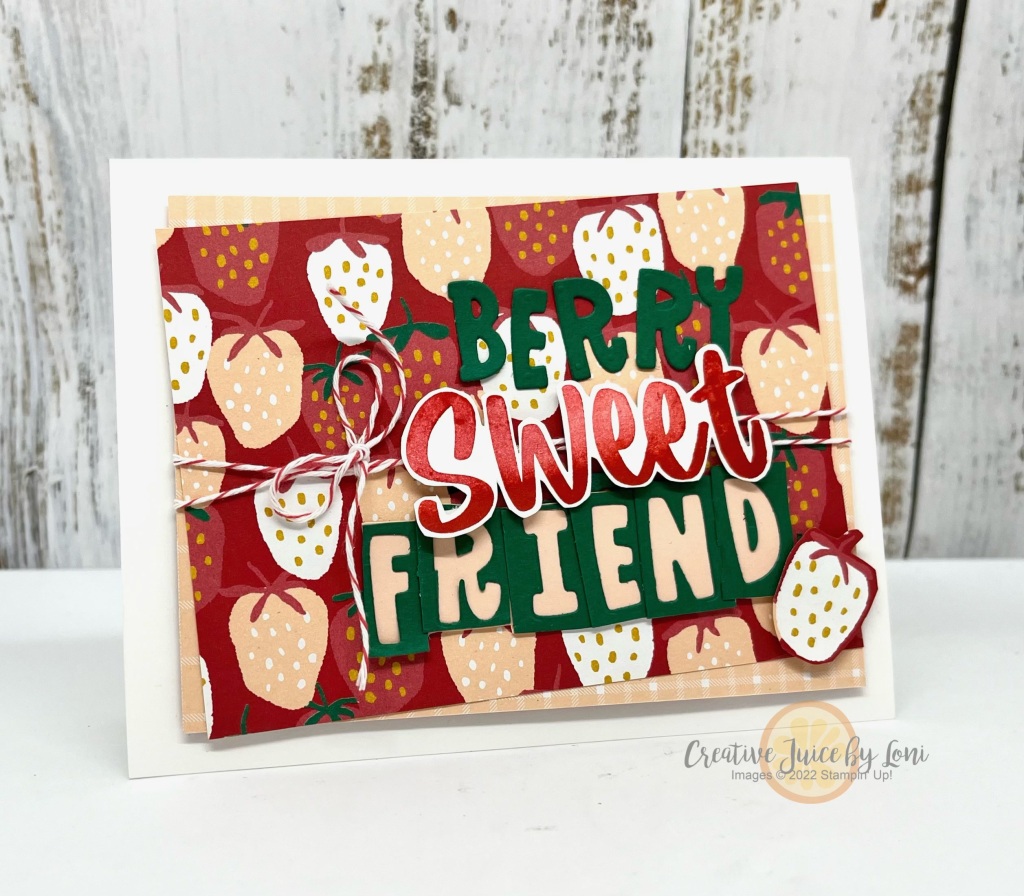
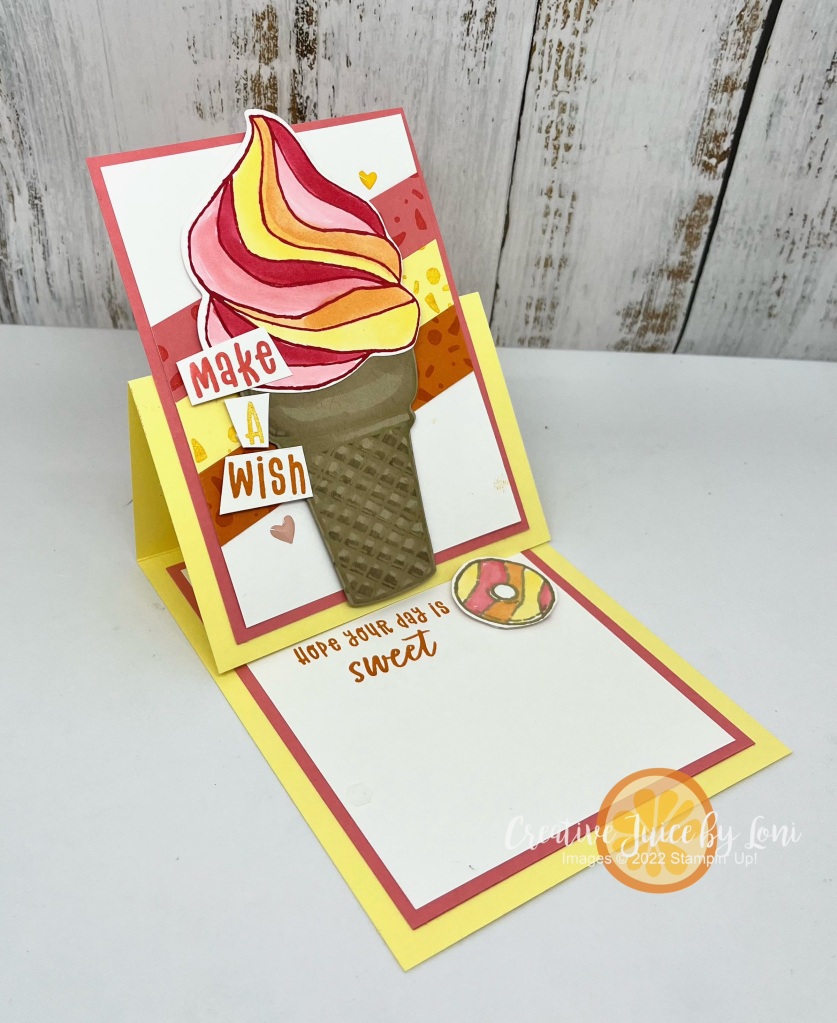
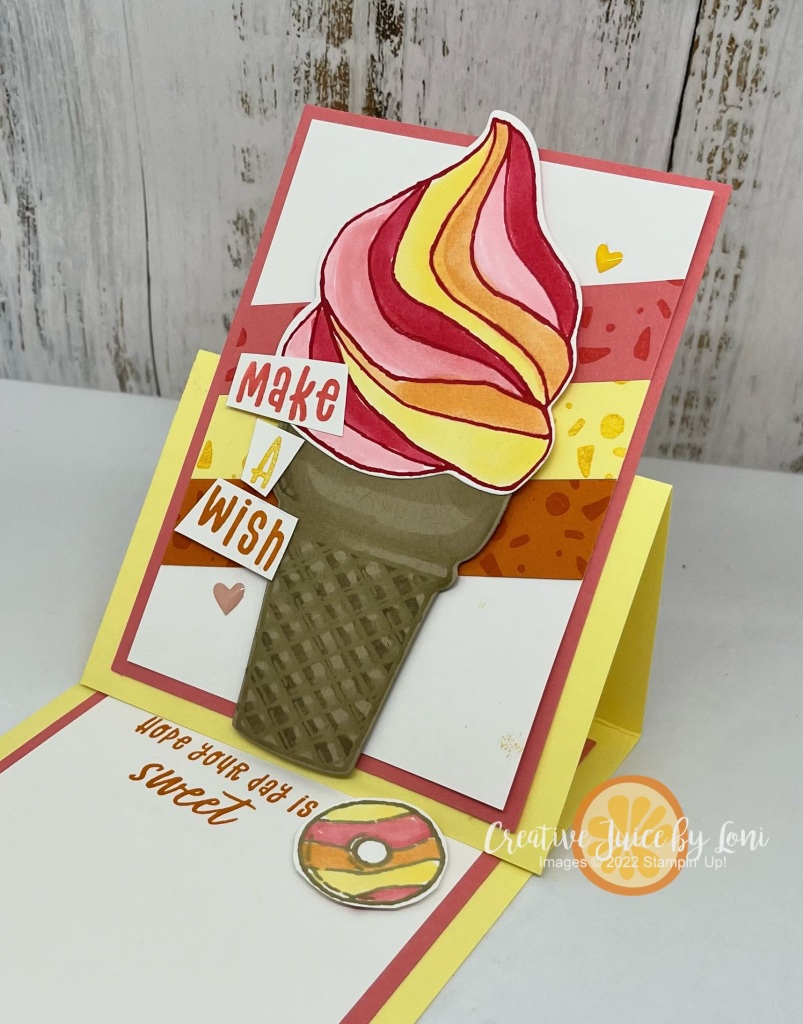
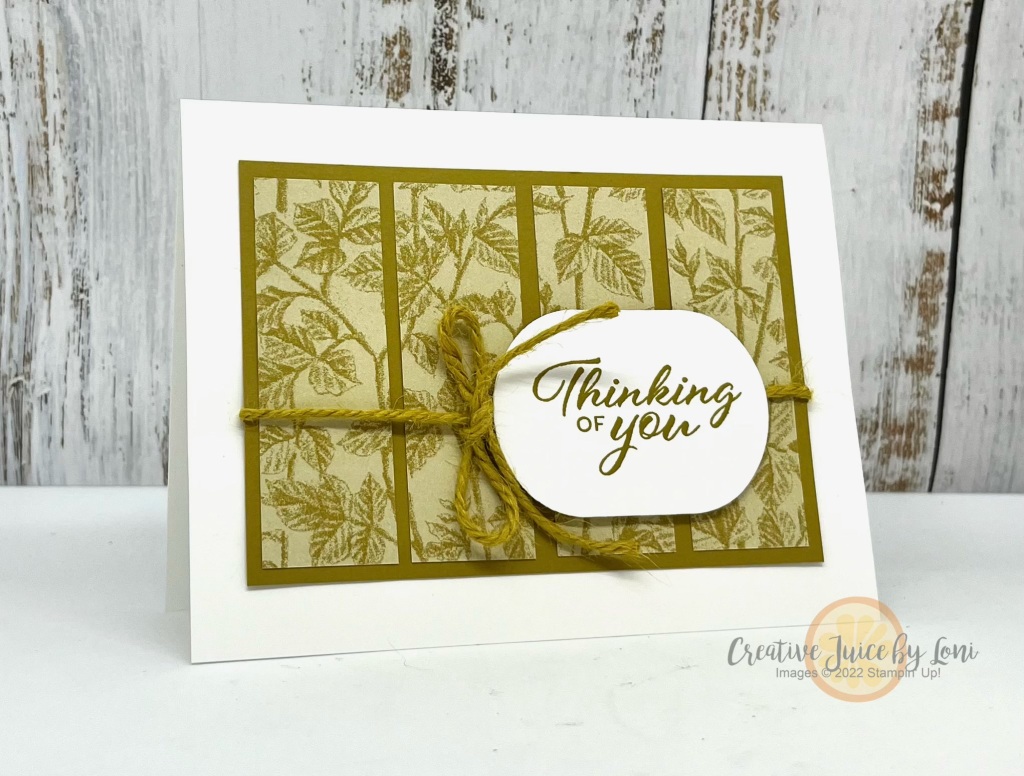
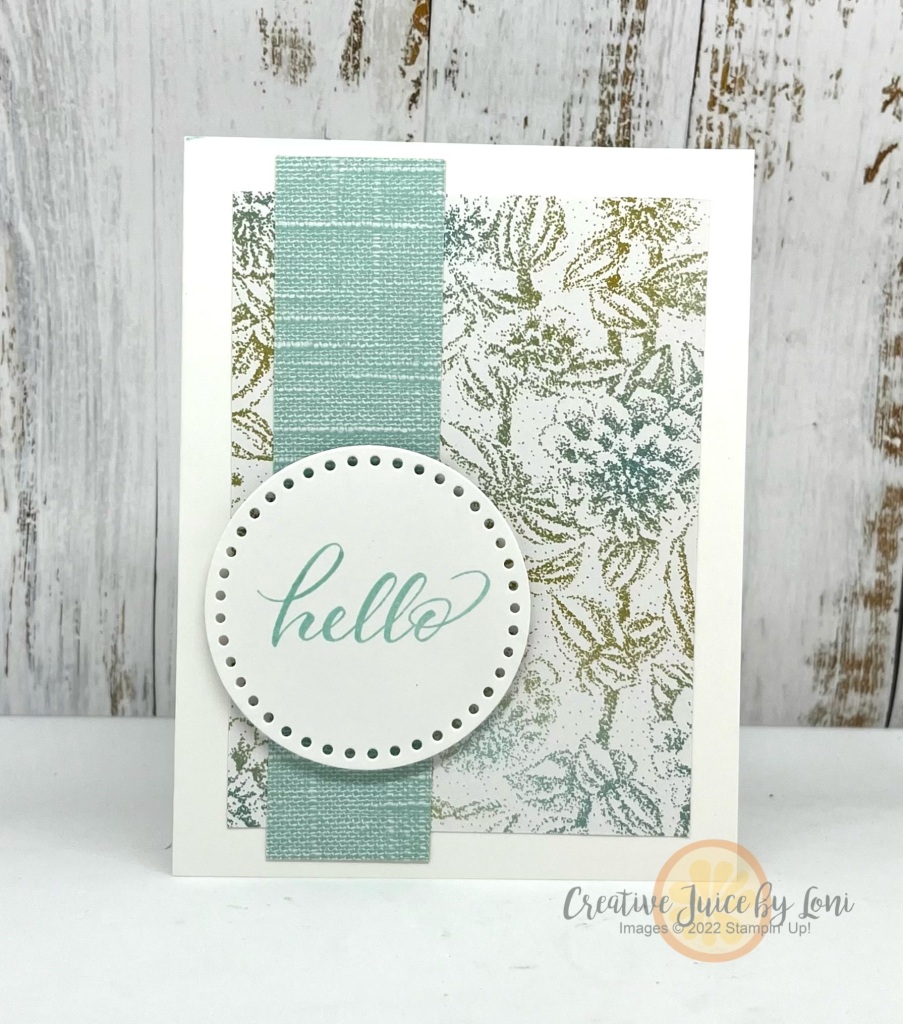
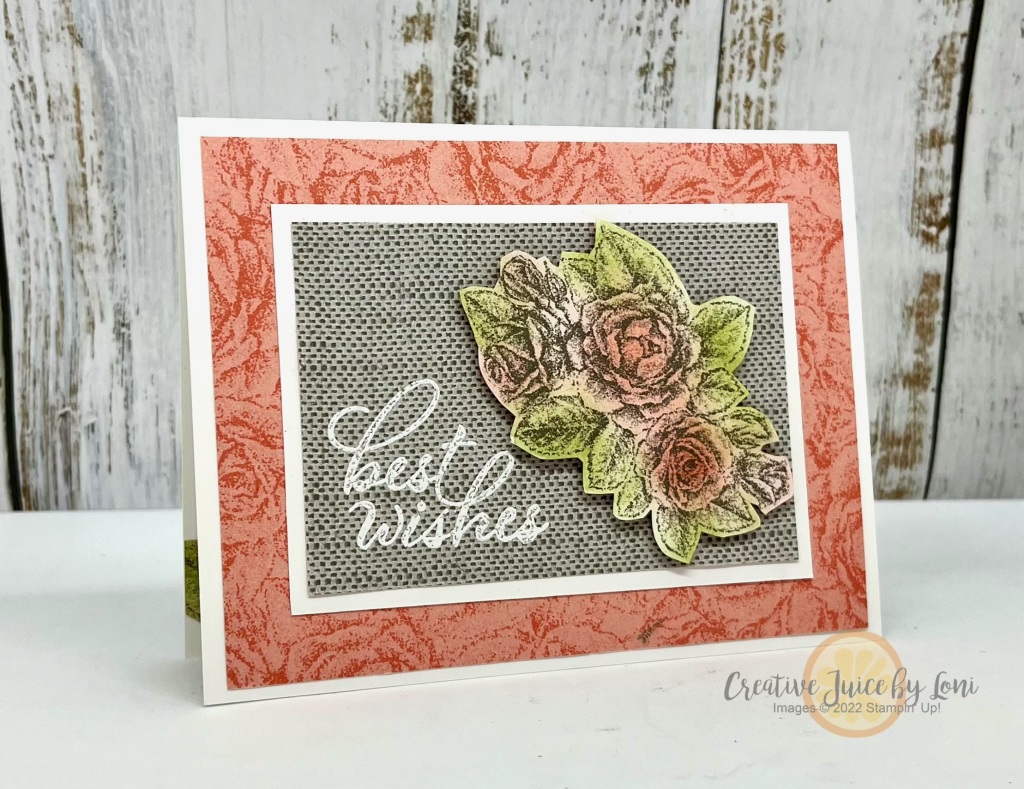
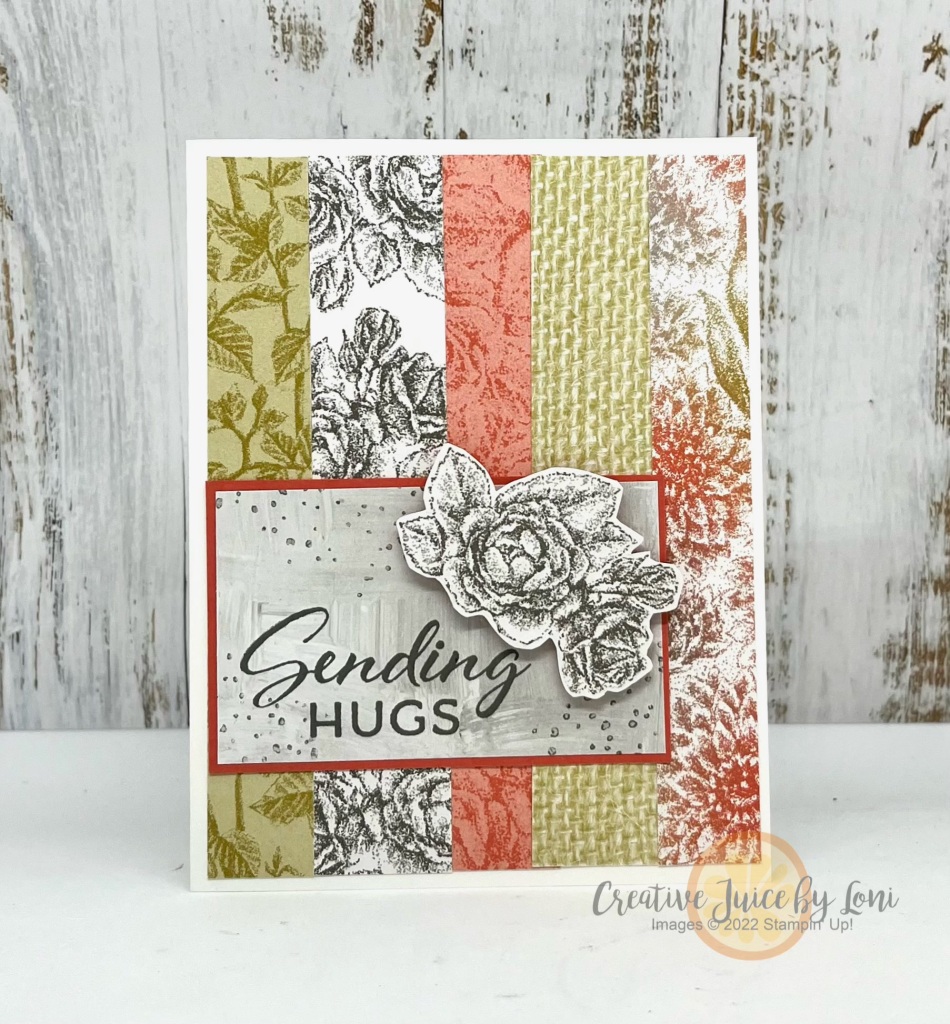
Here are the alternative projects I created with the Sweet Springtime Kit:
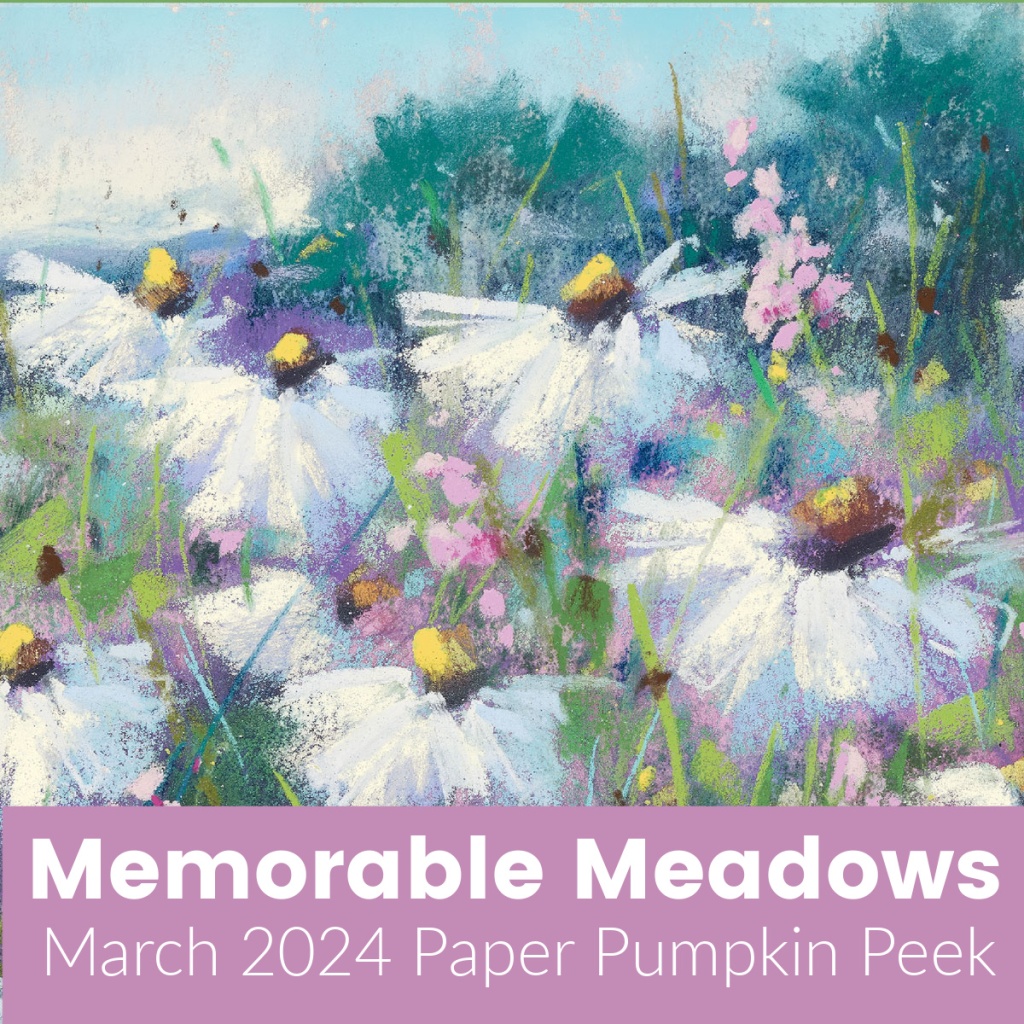
Now a look at what’s coming in the March “Memorable Meadows” Paper Pumpkin kit (SUBSCRIBE BY MARCH 10th to get this kit in your mailbox!!):
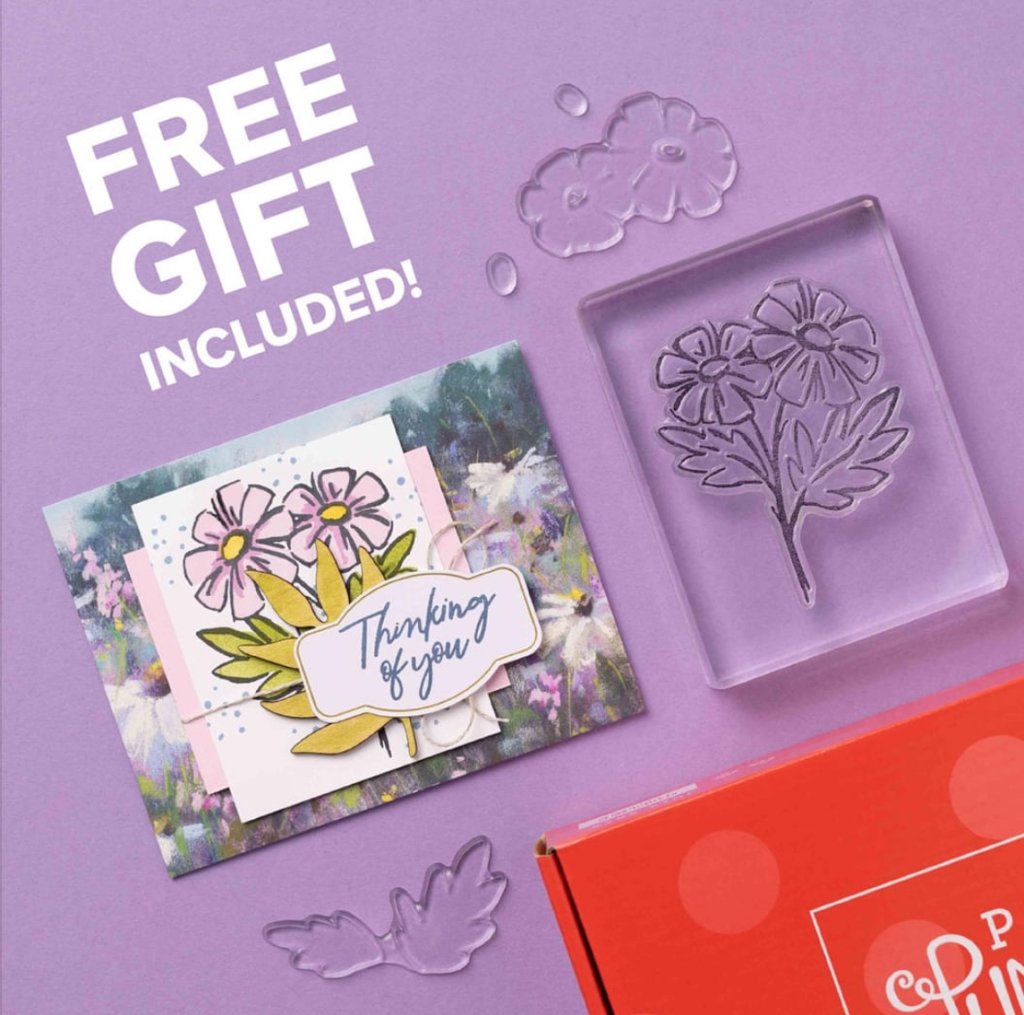
Share nature’s beauty with lovely all-occasion cards! Includes a free BONUS stamp set!
- Makes 9 cards: 3 each of 3 designs with 9 coordinating envelopes
- Precut vellum pieces & wood embellishments
- Coordinating colors: Granny Apple Green, Garden Green, Balmy Blue, Night of Navy, Gorgeous Grape, Fresh Freesia
Perhaps you aren’t ready to make the commitment to a monthly subscription, but want a one-time curated crafting experience. I’ve got just the thing(s) with the Kit Collection in my Stampin’ Store which you can choose a la carte:
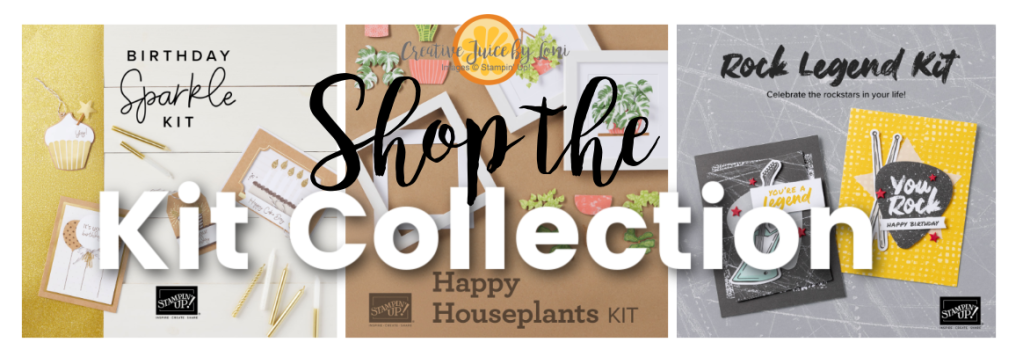
TWO NEW KITS are added to the collection every month, and while I indicated March 2024 kits would be added on Tuesday 3/5, I’ve learned that they are actually dropping into the store on THURSDAY, March 7th! I did get a peek at them today and I can tell you I’ll be grabbing BOTH kits…you’ll want to check them out in just a few days.
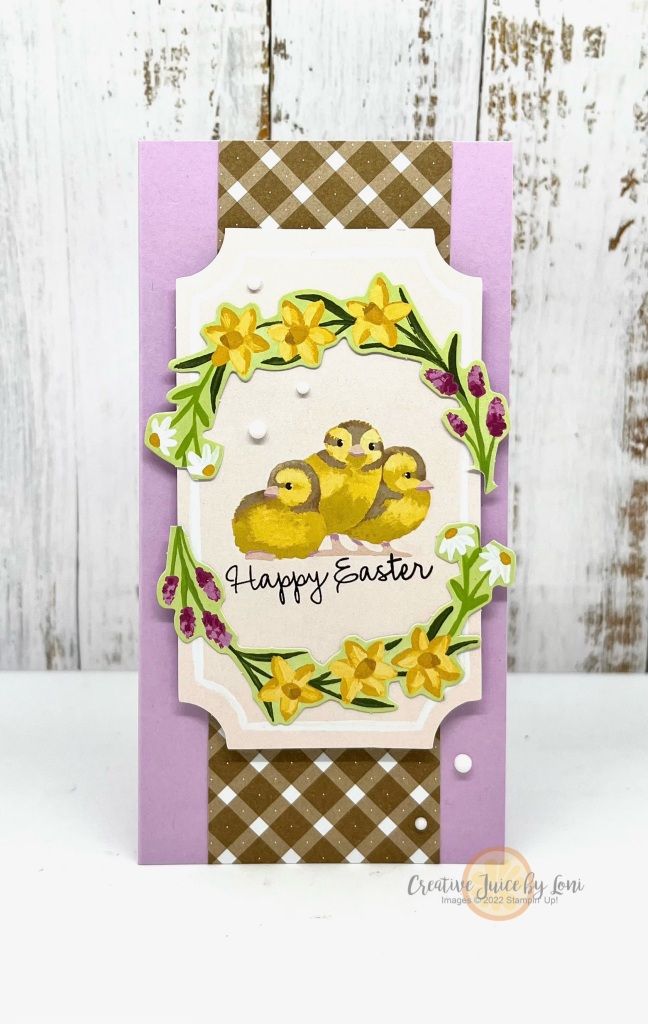
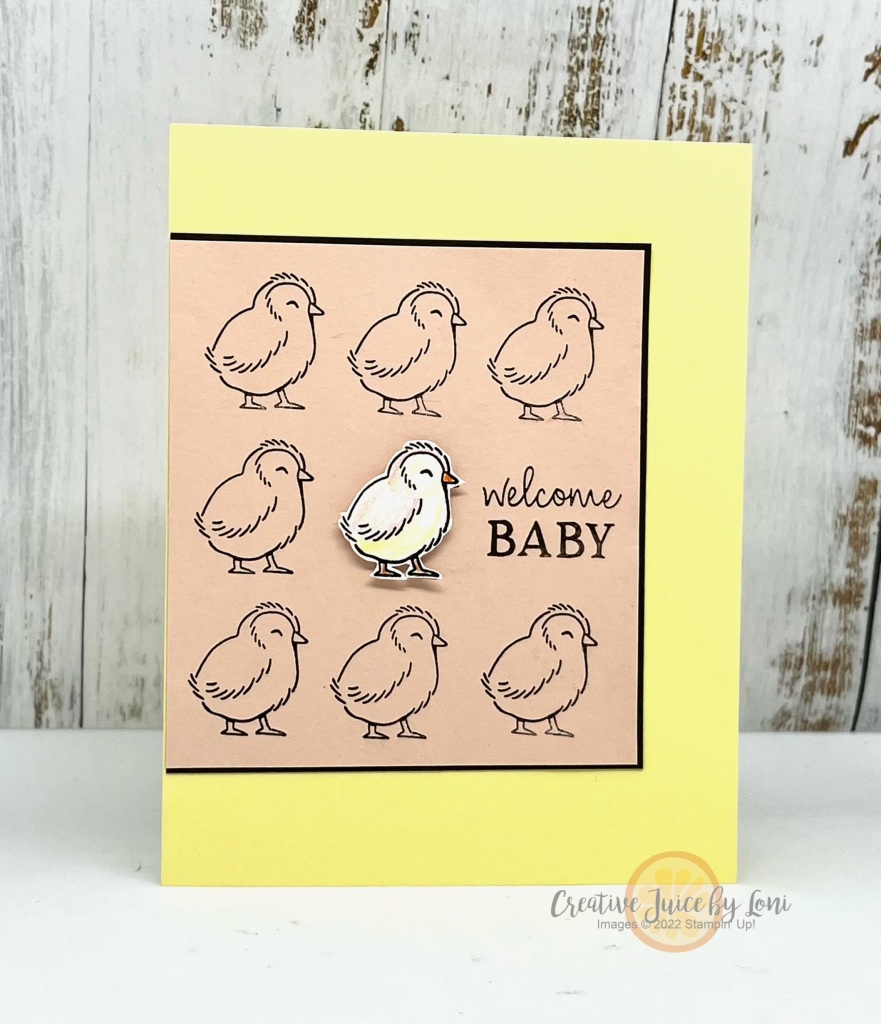
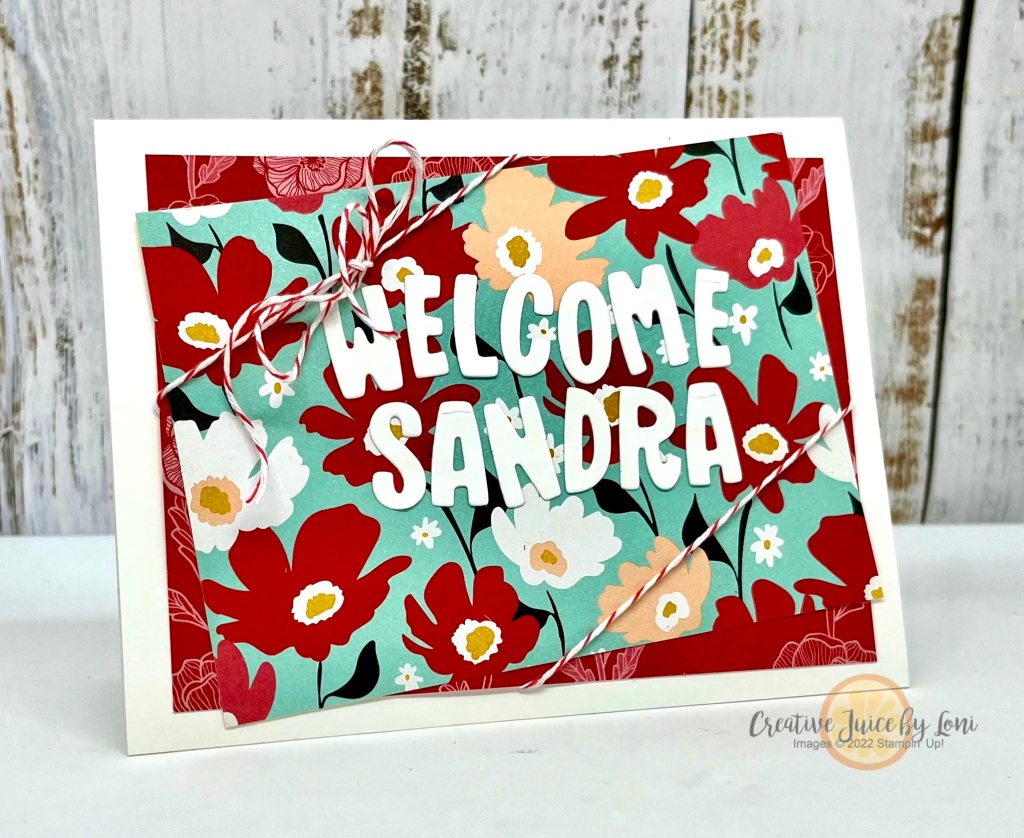
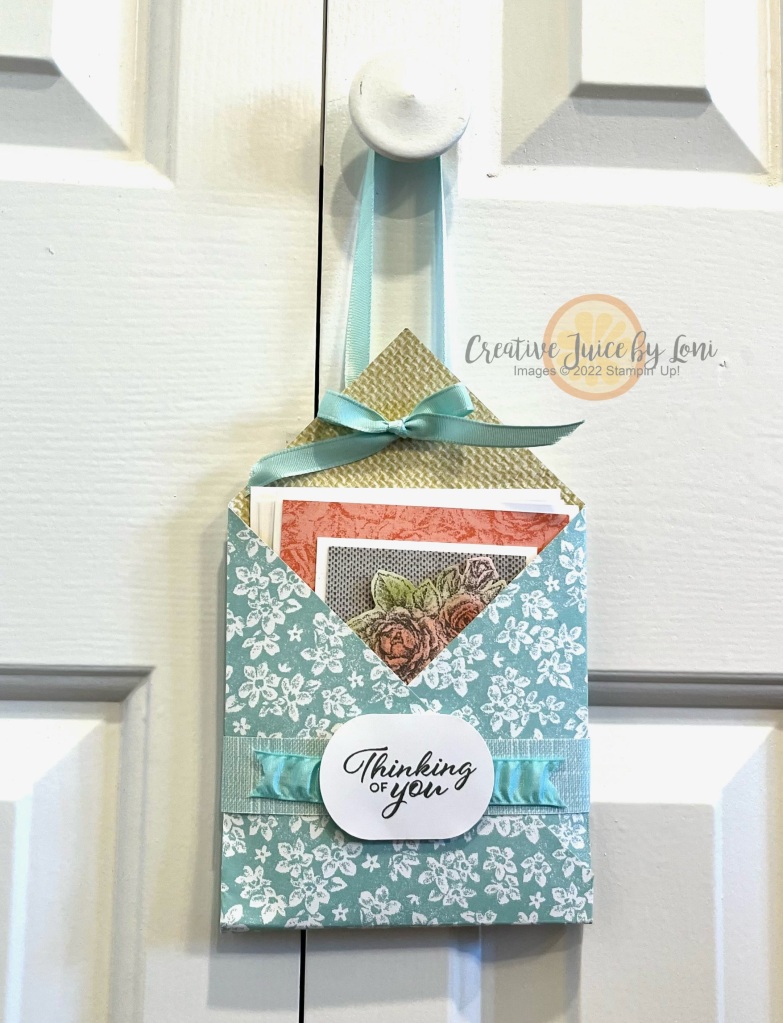
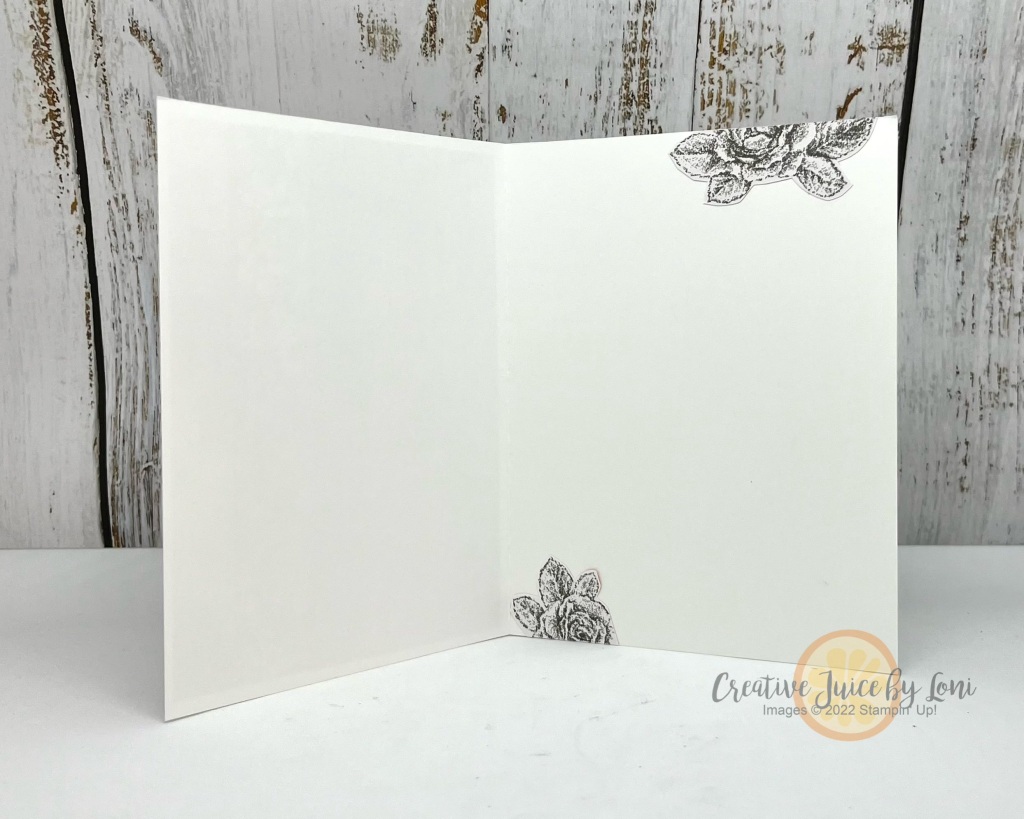
After the camera turned off, I did make a few more different cards with the leftover pieces from my kit (coudn’t let those gingham envelopes or adorable animals go to waste!). One of them I’ll share in my VIP Facebook Group and here’s the other:
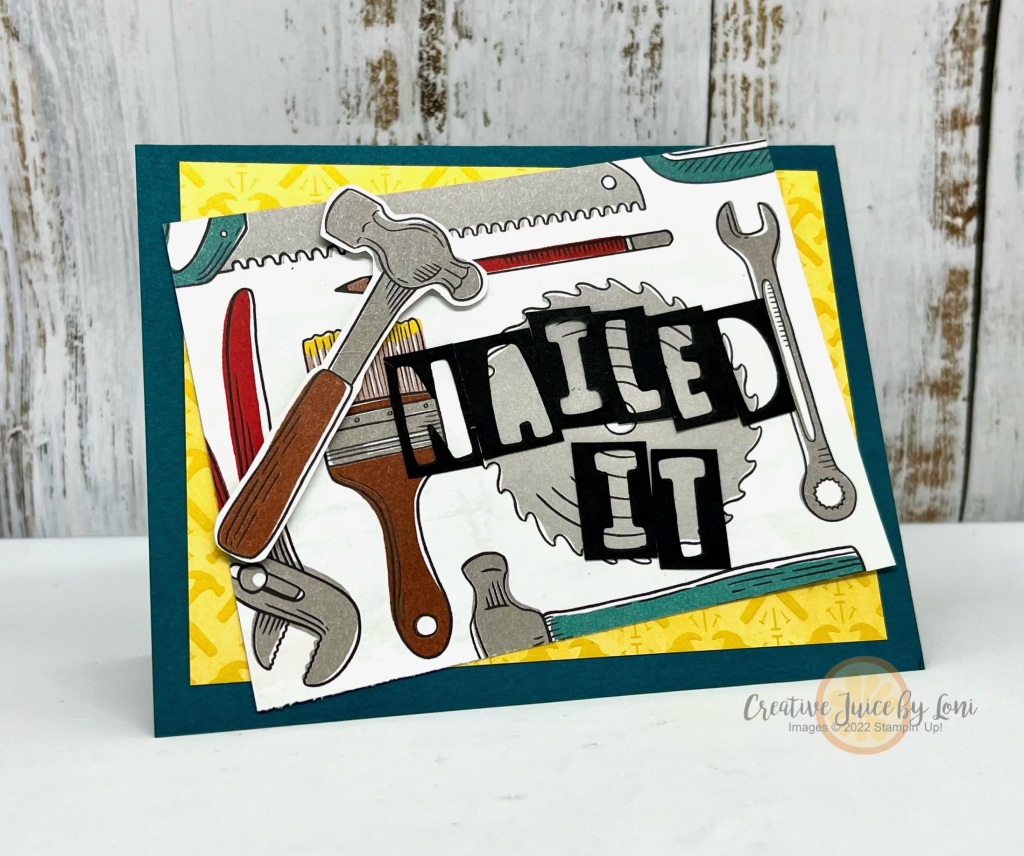
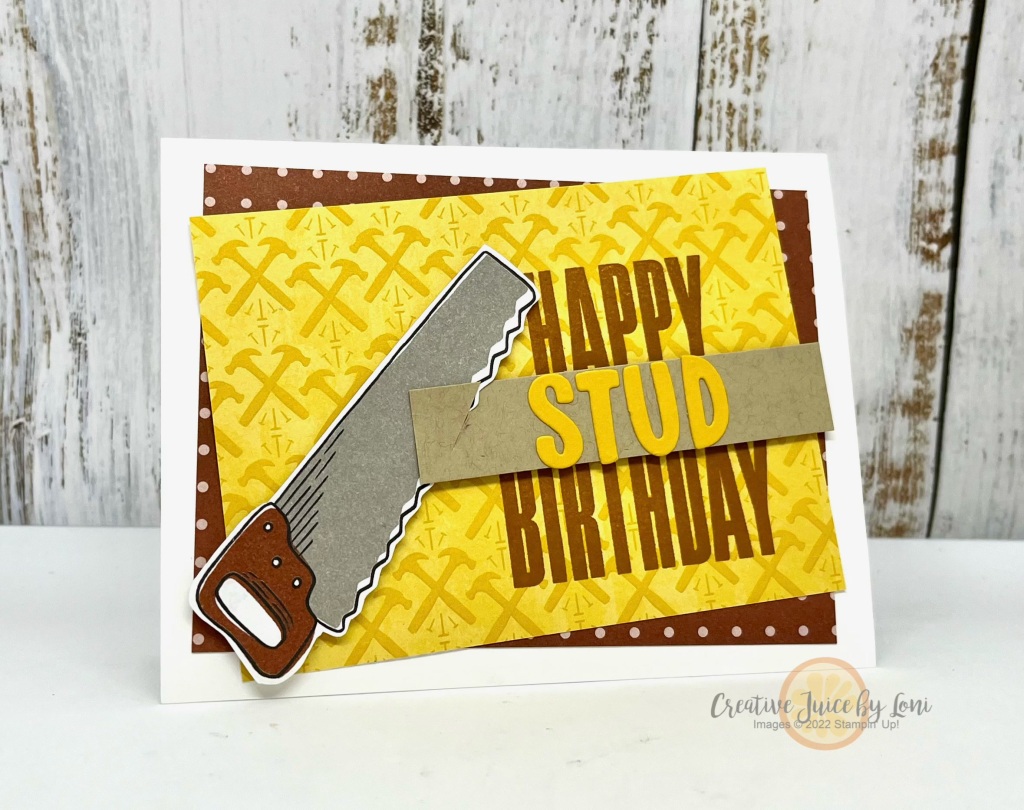
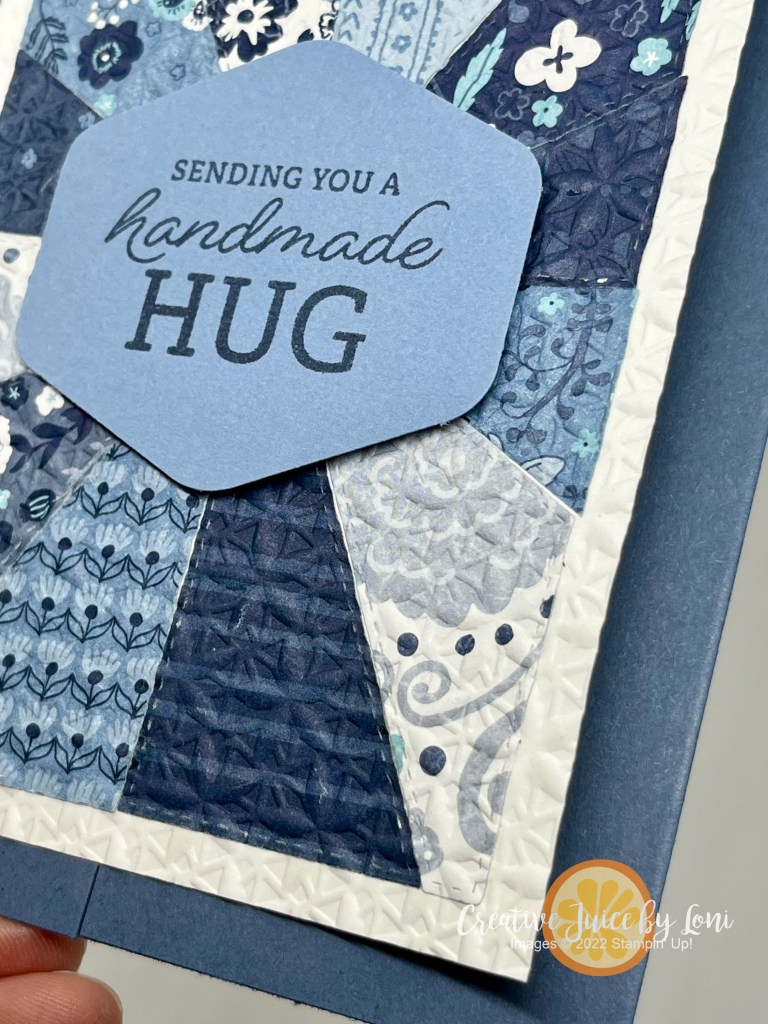
And ONE (of four) #simplestamping cards I shared in my exclusive Paper Pumpkin email for my subscribers~ after the kit is complete and you have just the stamp set and ink spot remaining:


 Designer Series Paper")
 Designer Series Paper")


")


 Designer Series Paper")

")


")

 Grosgrain Ribbon")
 Crinkle Ribbon")


 Designer Series Paper")


")
")


 Designer Series Paper")


 Designer Series Paper")
")


