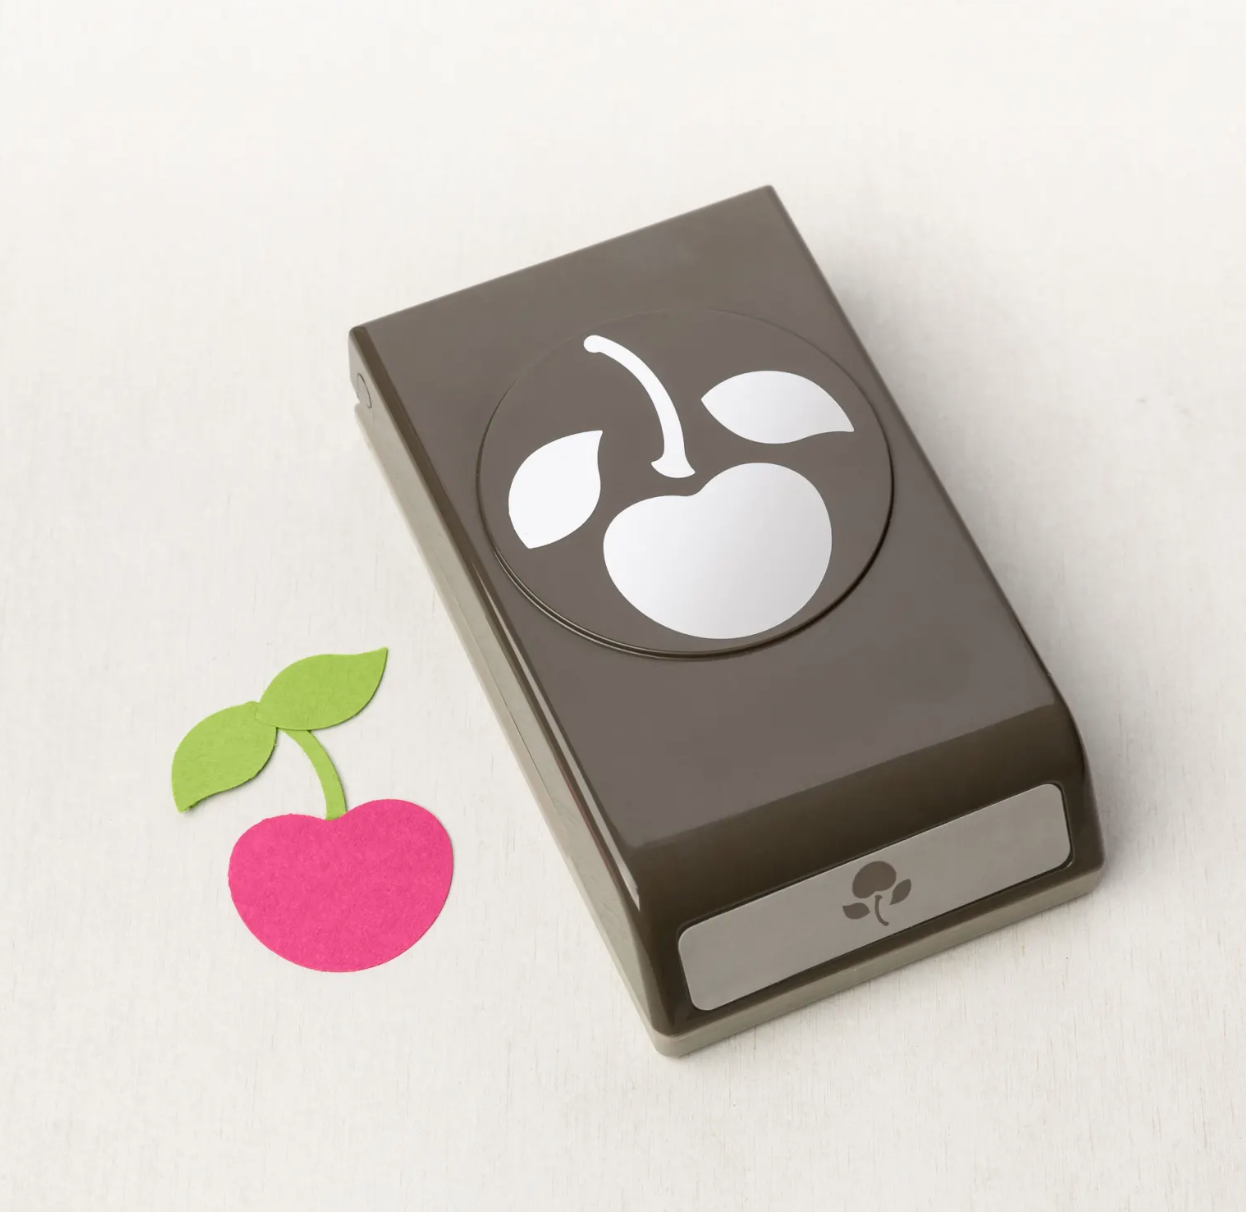
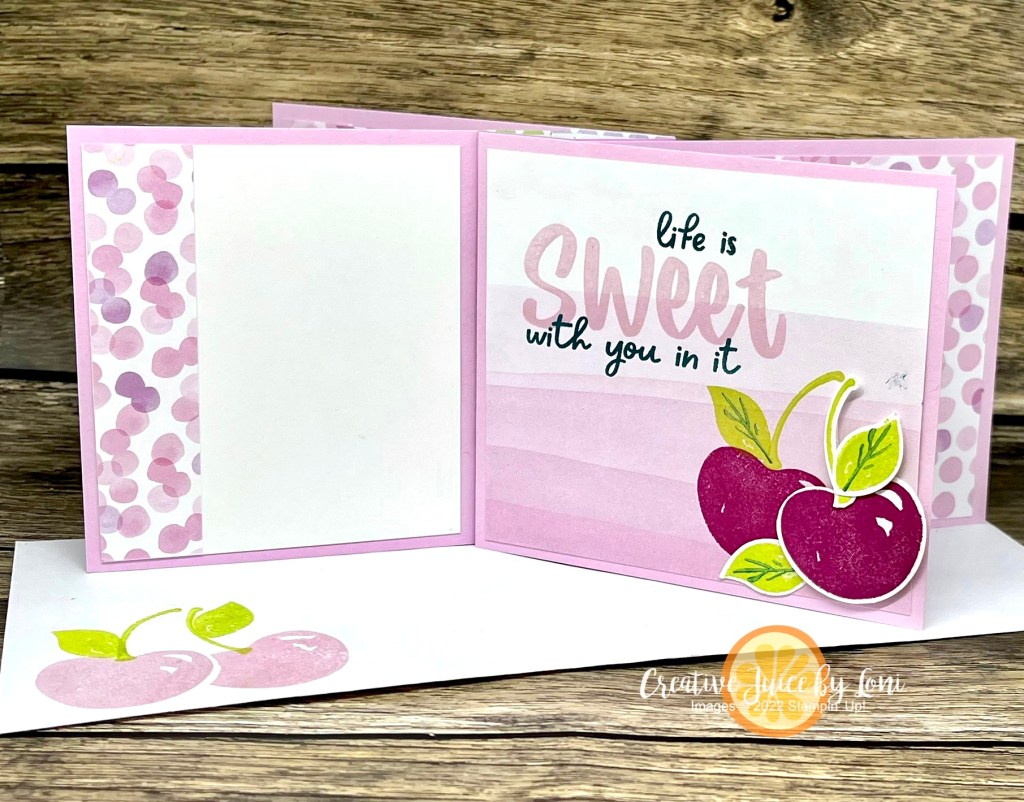
I’ve used the Sweetest Cherries stamp set with the coordinating Cherry Builder punch over the last few years for everything from Christmas to birthdays and will be sad to see it retire this month. Here is my card for a fond farewell to this crafting friend:
I made a “basket” for my cherries on this tall card base (11″ x 4.25″) by folding the bottom corners up to meet in the middle, stamped the cross-hatch designs on the front, then lined it with some Designer Series Paper before filling it with the mouth-watering fruit.
When I shared the retiring lists last week, I mentioned that the “Last Chance Sale” didn’t start until April 9th. What I *neglected* to mention that you may NOT WANT TO WAIT for the sale if there is something you REALLY want to get! There are already MANY products that are sold out and discontinued.
Check these lists to make sure you have collected the items you need in your craft room:
Since my crafty friends are spread across the continent, I wanted to try something new in 2024: Once a quarter, I’ll be offering a virtual stamping class which will feature a new product. Each class could also be stamped with products you already have!
When you sign up for the class, you’ll be sent a package with all the consumable supplies (card stock, envelopes, Designer Series Paper, etc) needed for 6 projects PLUS two full sized accessories (embellishments and ribbon) and a color copy of the completed projects.
The class will be privately streamed to *YouTube and you’ll receive a link to watch and craft along with me, or watch at your convenience anytime!
* You may need a free YouTube account to log in and access the video tutorial.
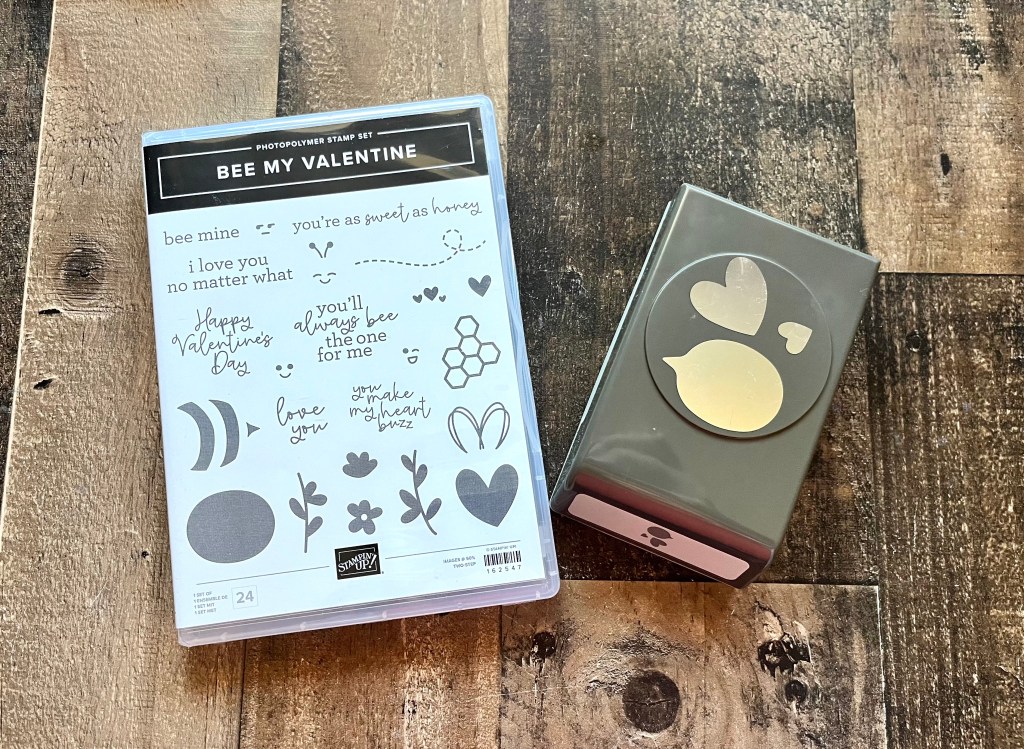
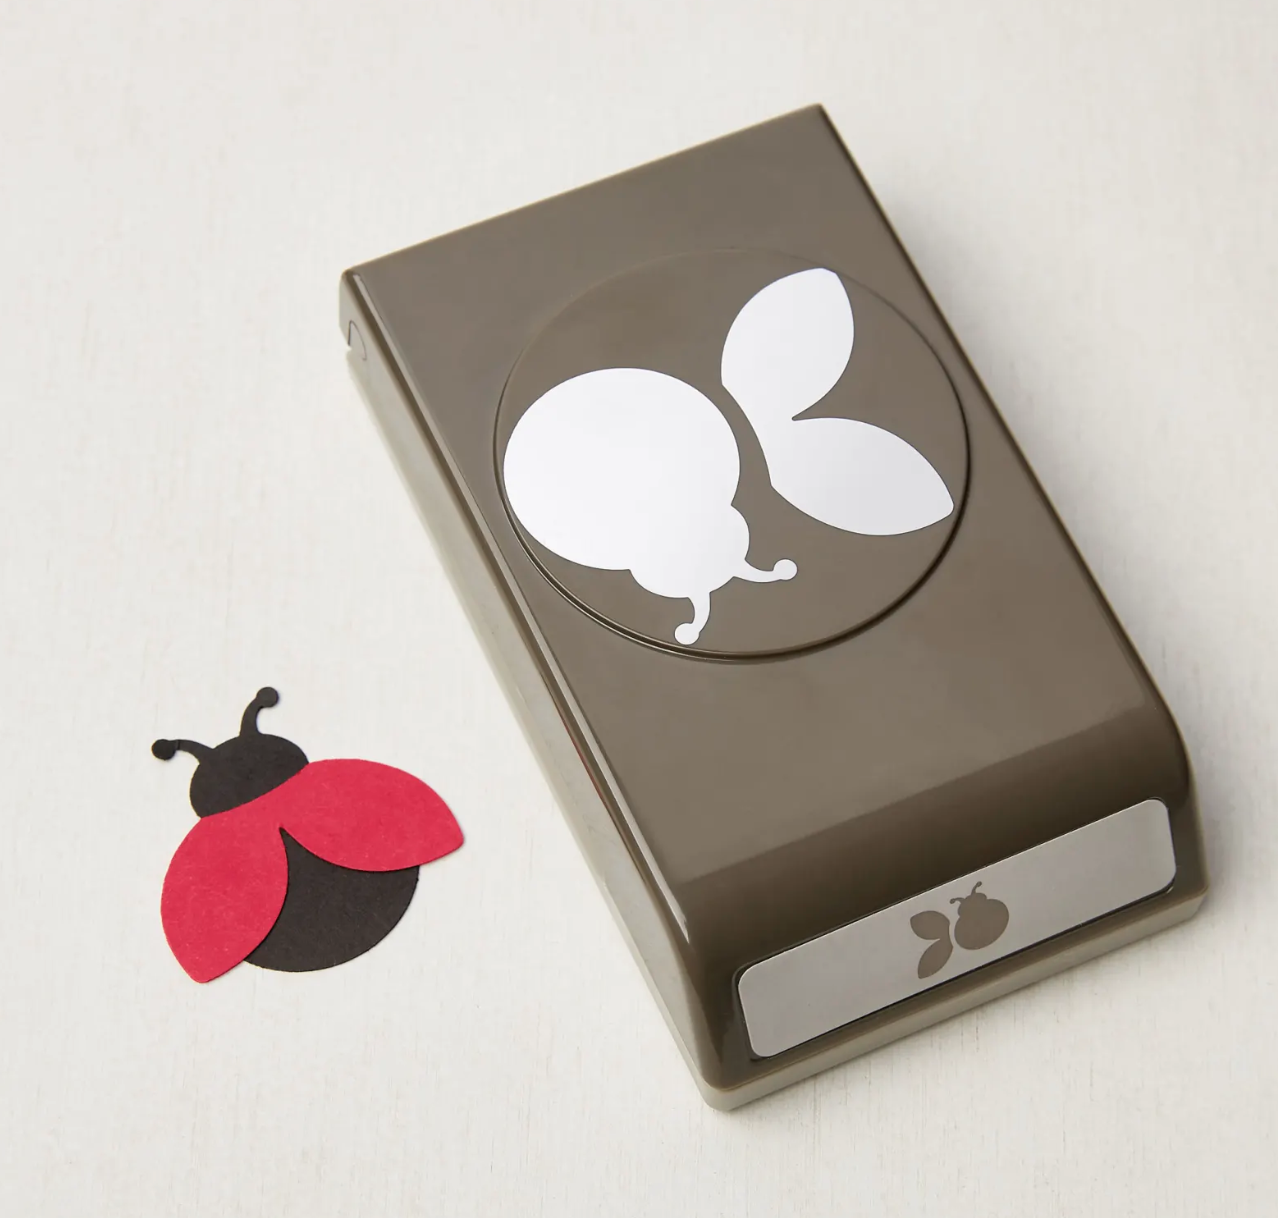
The first Creative Juice Virtual Class of 2024 will be streamed Friday, January 26th at 4 pm MT (or watched with private link later) and features the BEE MY VALENTINE bundle (shown above) from the January-April Mini catalog. This bundle is OPTIONAL for you to purchase from my Stampin’ Store starting on January 4, 2024, and it’s going to be a HOT seller, so buzz over early to get it in time for the class!
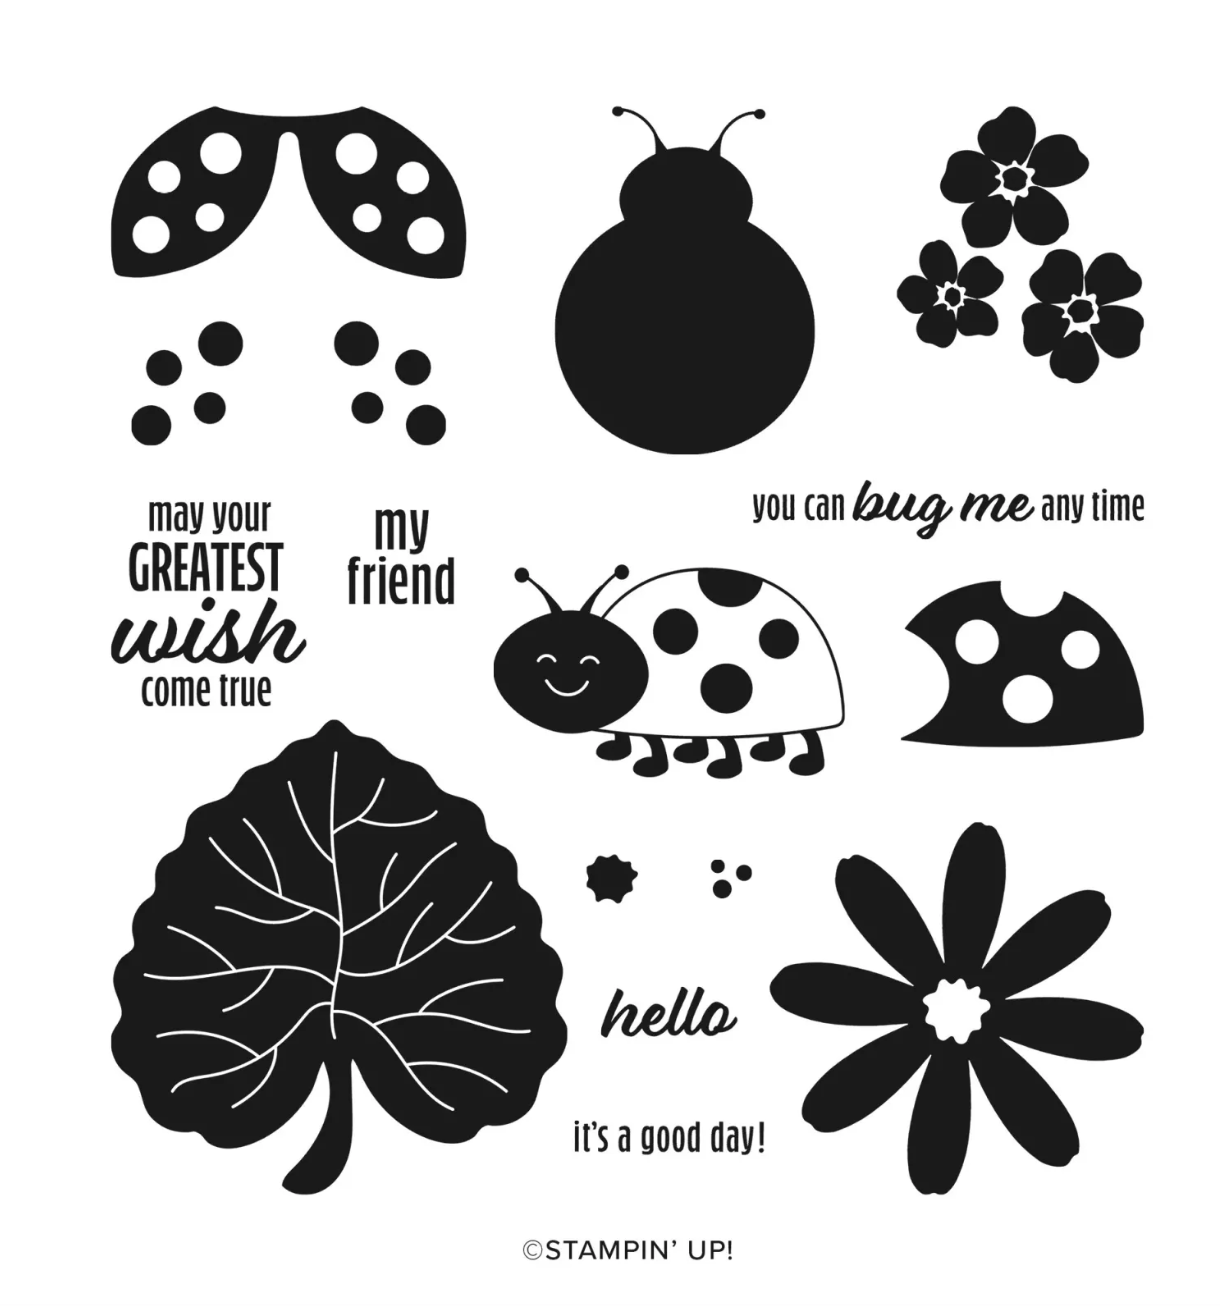
Alternatively, you will be able to complete the cards with the SWEETEST CHERRIES –or– HELLO LADYBUG stamp sets and coordinating punches (click image to view in store or add to cart):
This card is NOT one of the projects from the class. It was designed by my demonstrator friend Beth Olsen and shows how adorable this bundle is going to be! Hope you’ll join me at class- sign up ASAP!
You are going to want to make this card, believe me!
Since most of our Designer Series Paper is discounted through June 30th, I’ll be demonstrating some projects to inspire you to pull out your patterned paper and use every last scrap. You can set an alarm for Mondays and join me live on my Facebook Page or YouTube Channel at 12:30 pm MT, or watch the replay at your convenience.
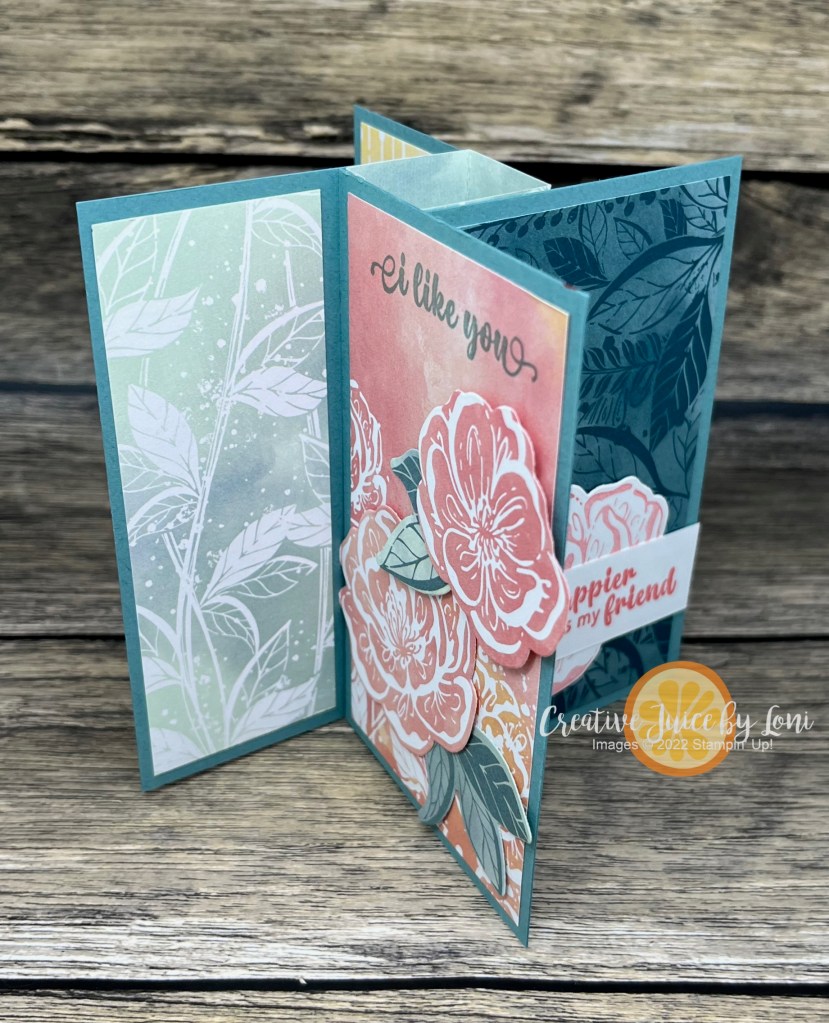
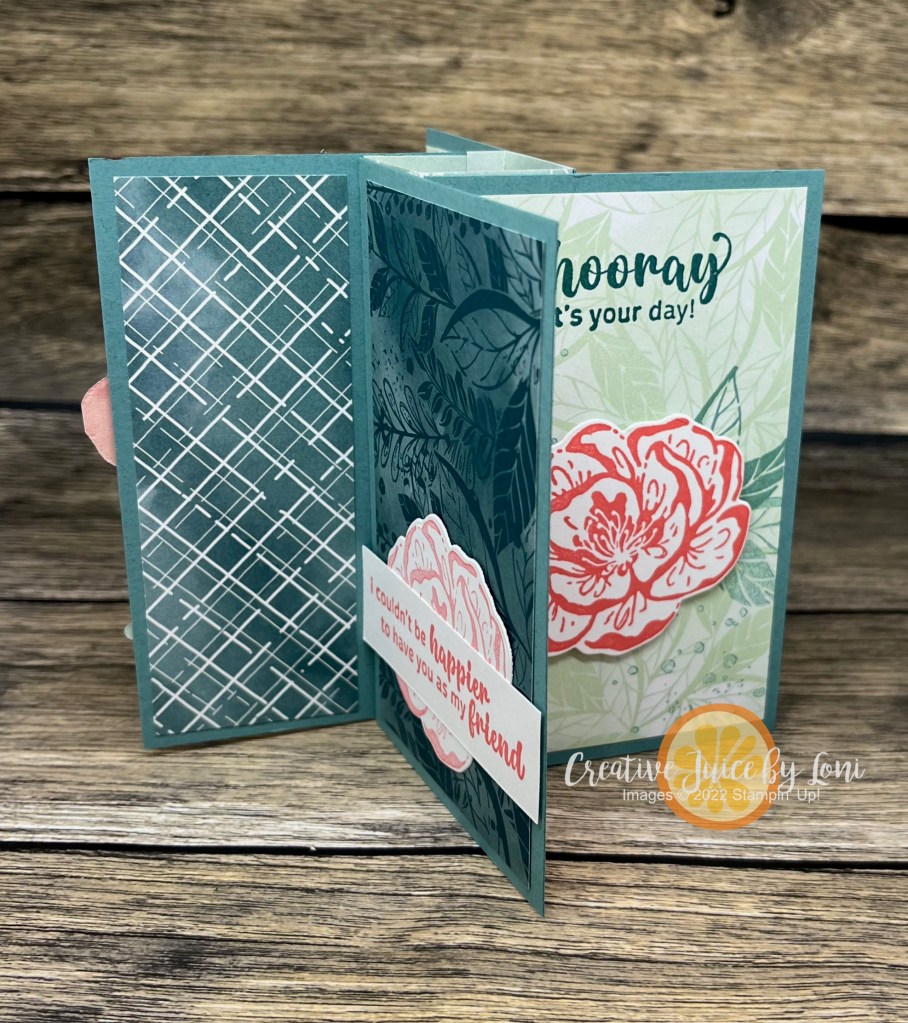
Without further adieu, here is the fabulous Pinwheel Tower Card I taught today:
It opens up to stand and displays 4 panels! This card is best created in landscape orientation, giving you plenty of area on each panel to decorate or write a message. The finished size of this card (laying flat) is 4.25″ x 5.5″, so it fits into our Basic Medium Stampin’ Up! envelopes perfectly.
You’ll be delighted at how EASY this fancy card is to create and if you want to craft along with my video below, gather these supplies:
One 4-1/4″ x 4-1/4″ piece of Designer Series Paper
Four pieces of 2-1/2″ x 4″ Designer Series Paper that coordinate (don’t have to be the same pattern, but from the same pack) with another four 1-1/2″ x 4″ pieces of Designer Series Paper.
Four 2-3/4″ x 4-1/4″ panels of card stock that match one of the colors from your Designer Series Paper
Simply Scored Board (or paper trimmer with scoring blade)
Adhesive
Once you’ve made a Pinwheel Tower Card, you may want to make a larger version in a slimline card, which could also be a “mini album” if you add photos to some of the panels!
This version is 9″ x 4″ when flat, so it fits into a legal envelope (don’t forget to stamp your envelope, too).
For this larger version, here are the supplies you’ll need (and adjusted measurements):
One 4″ x 4-1/4″ piece of Designer Series Paper (still score along the longest side at each inch)
Four pieces of 3-3/4″ x 4-1/4″ Designer Series Paper (or cardstock) with another four 3-1/4″ x 3-3/4″ pieces of Designer Series Paper (or cardstock and scraps of Designer Series Paper, as shown)
Four 4-1/2″ x 4″ panels of card stock that match one of the colors from your Designer Series Paper
Simply Scored Board (or paper trimmer with scoring blade)


 Designer Series Paper")
")