Interior Diorama Card, Many Ways!

When there is a “scene” printed on Stampin’ Up! Designer Series Paper, it’s perfect for creating a framed picture that pops up inside your card!

For this one, I used the A Walk in the Forest DSP, which is part of our “Making A Difference” Campaign ($3 from each pack purchased is donated to the “Toys for Tots” program). This paper coordinates with both the Beary Christmas Suite and the Merriest trees bundle!

Here’s a slightly different version of the same card using the Beary Christmas paper included in the Beary Christmas Suite:

Because it was so much fun -and simple- to make (I’ll share a how-to video below), I had to make multiple versions with different Designer Series Paper from the September-December Mini Catalog. It’s like the One Card, Two Ways challenge from the #tgifc438 WWYD? Challenge:

The design is roomy enough to sneak a treat inside (not a mailable option, obviously) and for this one I used Them Bones Designer Series Paper:

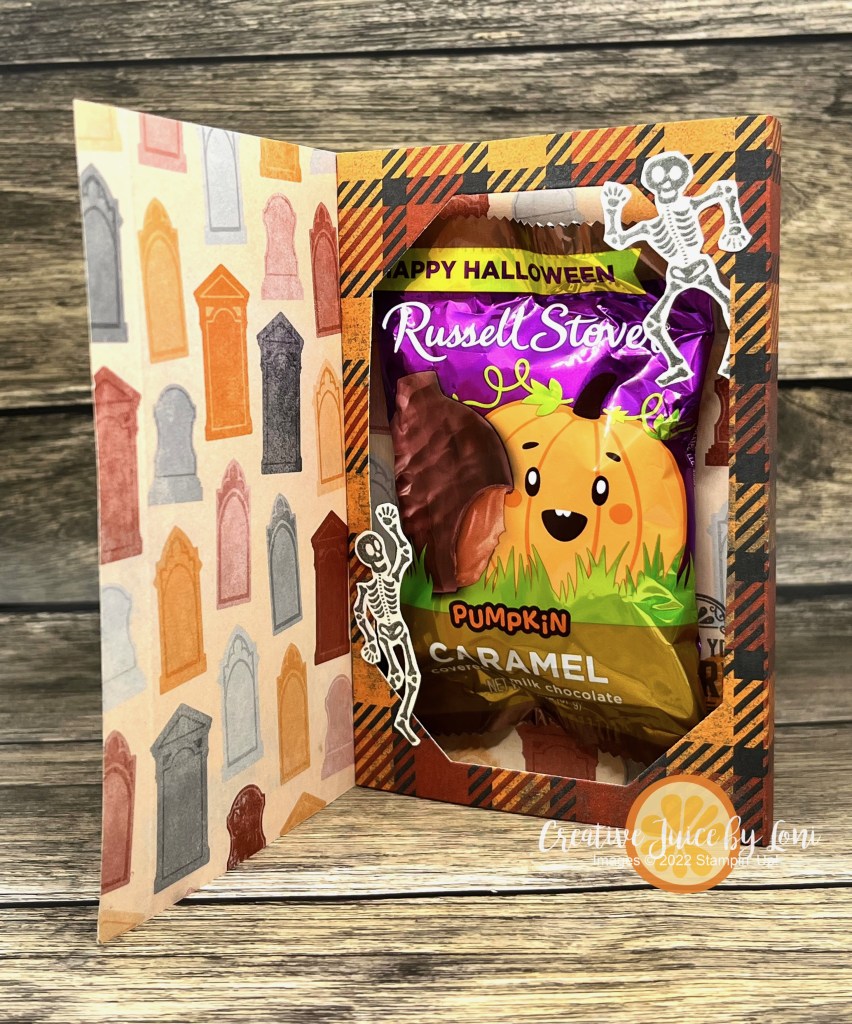
Sharp eyes may notice that the skeletons are smaller than those in the coordinating suite of Halloween products…because the stamp set I used was from the September 2019 Paper Pumpkin kit called “Bone Appetit”!

Before we get to the last version of the Interior Diorama card, here is the video tutorial:

The finished card (closed) is 4″ x 5-1/4″.

Begin with a 12″ x 5.25″ strip of Designer Series Paper and score at 1/2″, 4″, 4.5″ and 8″

Product List

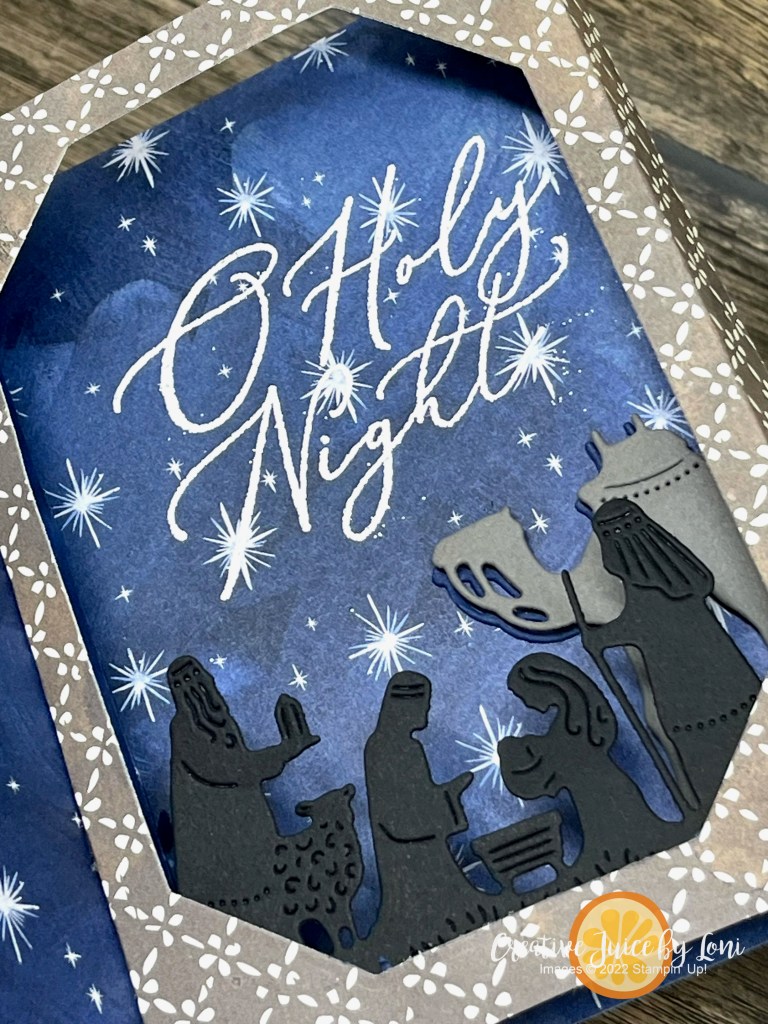
My final Interior Diorama card is a Christmas Version using the O, Holy Night Designer Series Paper and Night Divine Bundle:

Will you be trying this card? Let me know what you think in the comments!

Paper “Quilts” for TGIF Sketch

Paper Crafting is a LOT like quilting: Take scraps and put them together, and you’ve got a completely NEW object!

Late last night I “stitched” together a few panels to use for the #tgifc424 sketch challenge:

And because I couldn’t decide which I liked best, I made TWO versions, one for “paper-piecers” and the other for “fabric-piecers”!

Which version do you like best? I really want to know!

I can see a quilter including the second card with a comforter they would gift to a loved one!

My scraps were pieces of the Countryside Inn Designer Series Paper (15% off during June!) and I paired my paper quilts with the Basics Floral 3D Embossing Folder…have you seen this bundle of *indispensible* textures? Only available in my online store, they are the ones I reach for the most because one of them will go with [almost] anything I’m creating!

And can we take a minute to admire the Boho Blue Limited Edition Mini Cut & Emboss Machine I stamped on my card and the actual one in my Stampin’ Store? I really did stamp it in Boho Blue for my card, but the lighting at night doesn’t look quite right. I love the mini machine for quick cutting and it’s the one that sits on my desk, but remember; the regular size embossing folders only fit in the regular Cut & Emboss Machine.

Use up your Designer Series Paper scraps with this technique: Glue pieces next to each other on a piece of card stock (in line or randomly), then cut to desired size and use it like you would a regular piece of patterned paper!

Product List

Vellum Overlay Ladybug Birthday Card

I challenged my Sprinkled Ink team to use Vellum this month, and what kind of leader would I be if I didn’t do what I asked them to do? So it was delightful when Friday’s TGIF challenge went right along with it! Plus, I got to pull out my Ladybug builder punch to create Polished Pink bugs for a birthday card, so who wouldn’t have fun with that?

Have you played with the Vellum Basics Specialty Designer Series Paper? With SIX 12″x12″ pieces of printed vellum – 2 each of stripes, polka dots, and this pretty leafy vine that I used – it’s gives a soft layer of texture, which I enhanced by heat-embossing the blossoms on top of:

While I stamped and punched out the ladybugs for the Polished Pink version of the card, you can also just use the Ladybug Builder punch to punch the pieces out and stamp the polka-dots on the wings, as in the Real Red version-

You’ll have such an enjoyable time putting together these cards, and remember to order some Brushed Brass Butterfly embellishments to include inside your card as the birthday gift!

Here’s a step-by-step video to make it easy for you – simply pause the video and collect the pieces you need to create along with me.

Click the links to add the supplies you’ll need to your cart (Stitched Rectangle dies and Cut & Emboss machine are optional):

Product List

THE BEST DEAL is always the Starter Kit!! Add $125 of the products you want to your Starter Kit and only pay $99…PLUS, save every time you shop, and be a part of my fabulous Sprinkled Ink team of Stampin’ Up! demonstrators. It’s a WIN/WIN opportuntiy!