Peek-a-Boo Pocket Card

Every crafter loves the feeling of using up *every*scrap* of pretty paper. It’s a magical feat of unparalleled proportions! That’s how I feel today, after successfully finishing off a whole pack of Favored Flowers Designer Series Paper from Sale-a-Bration.

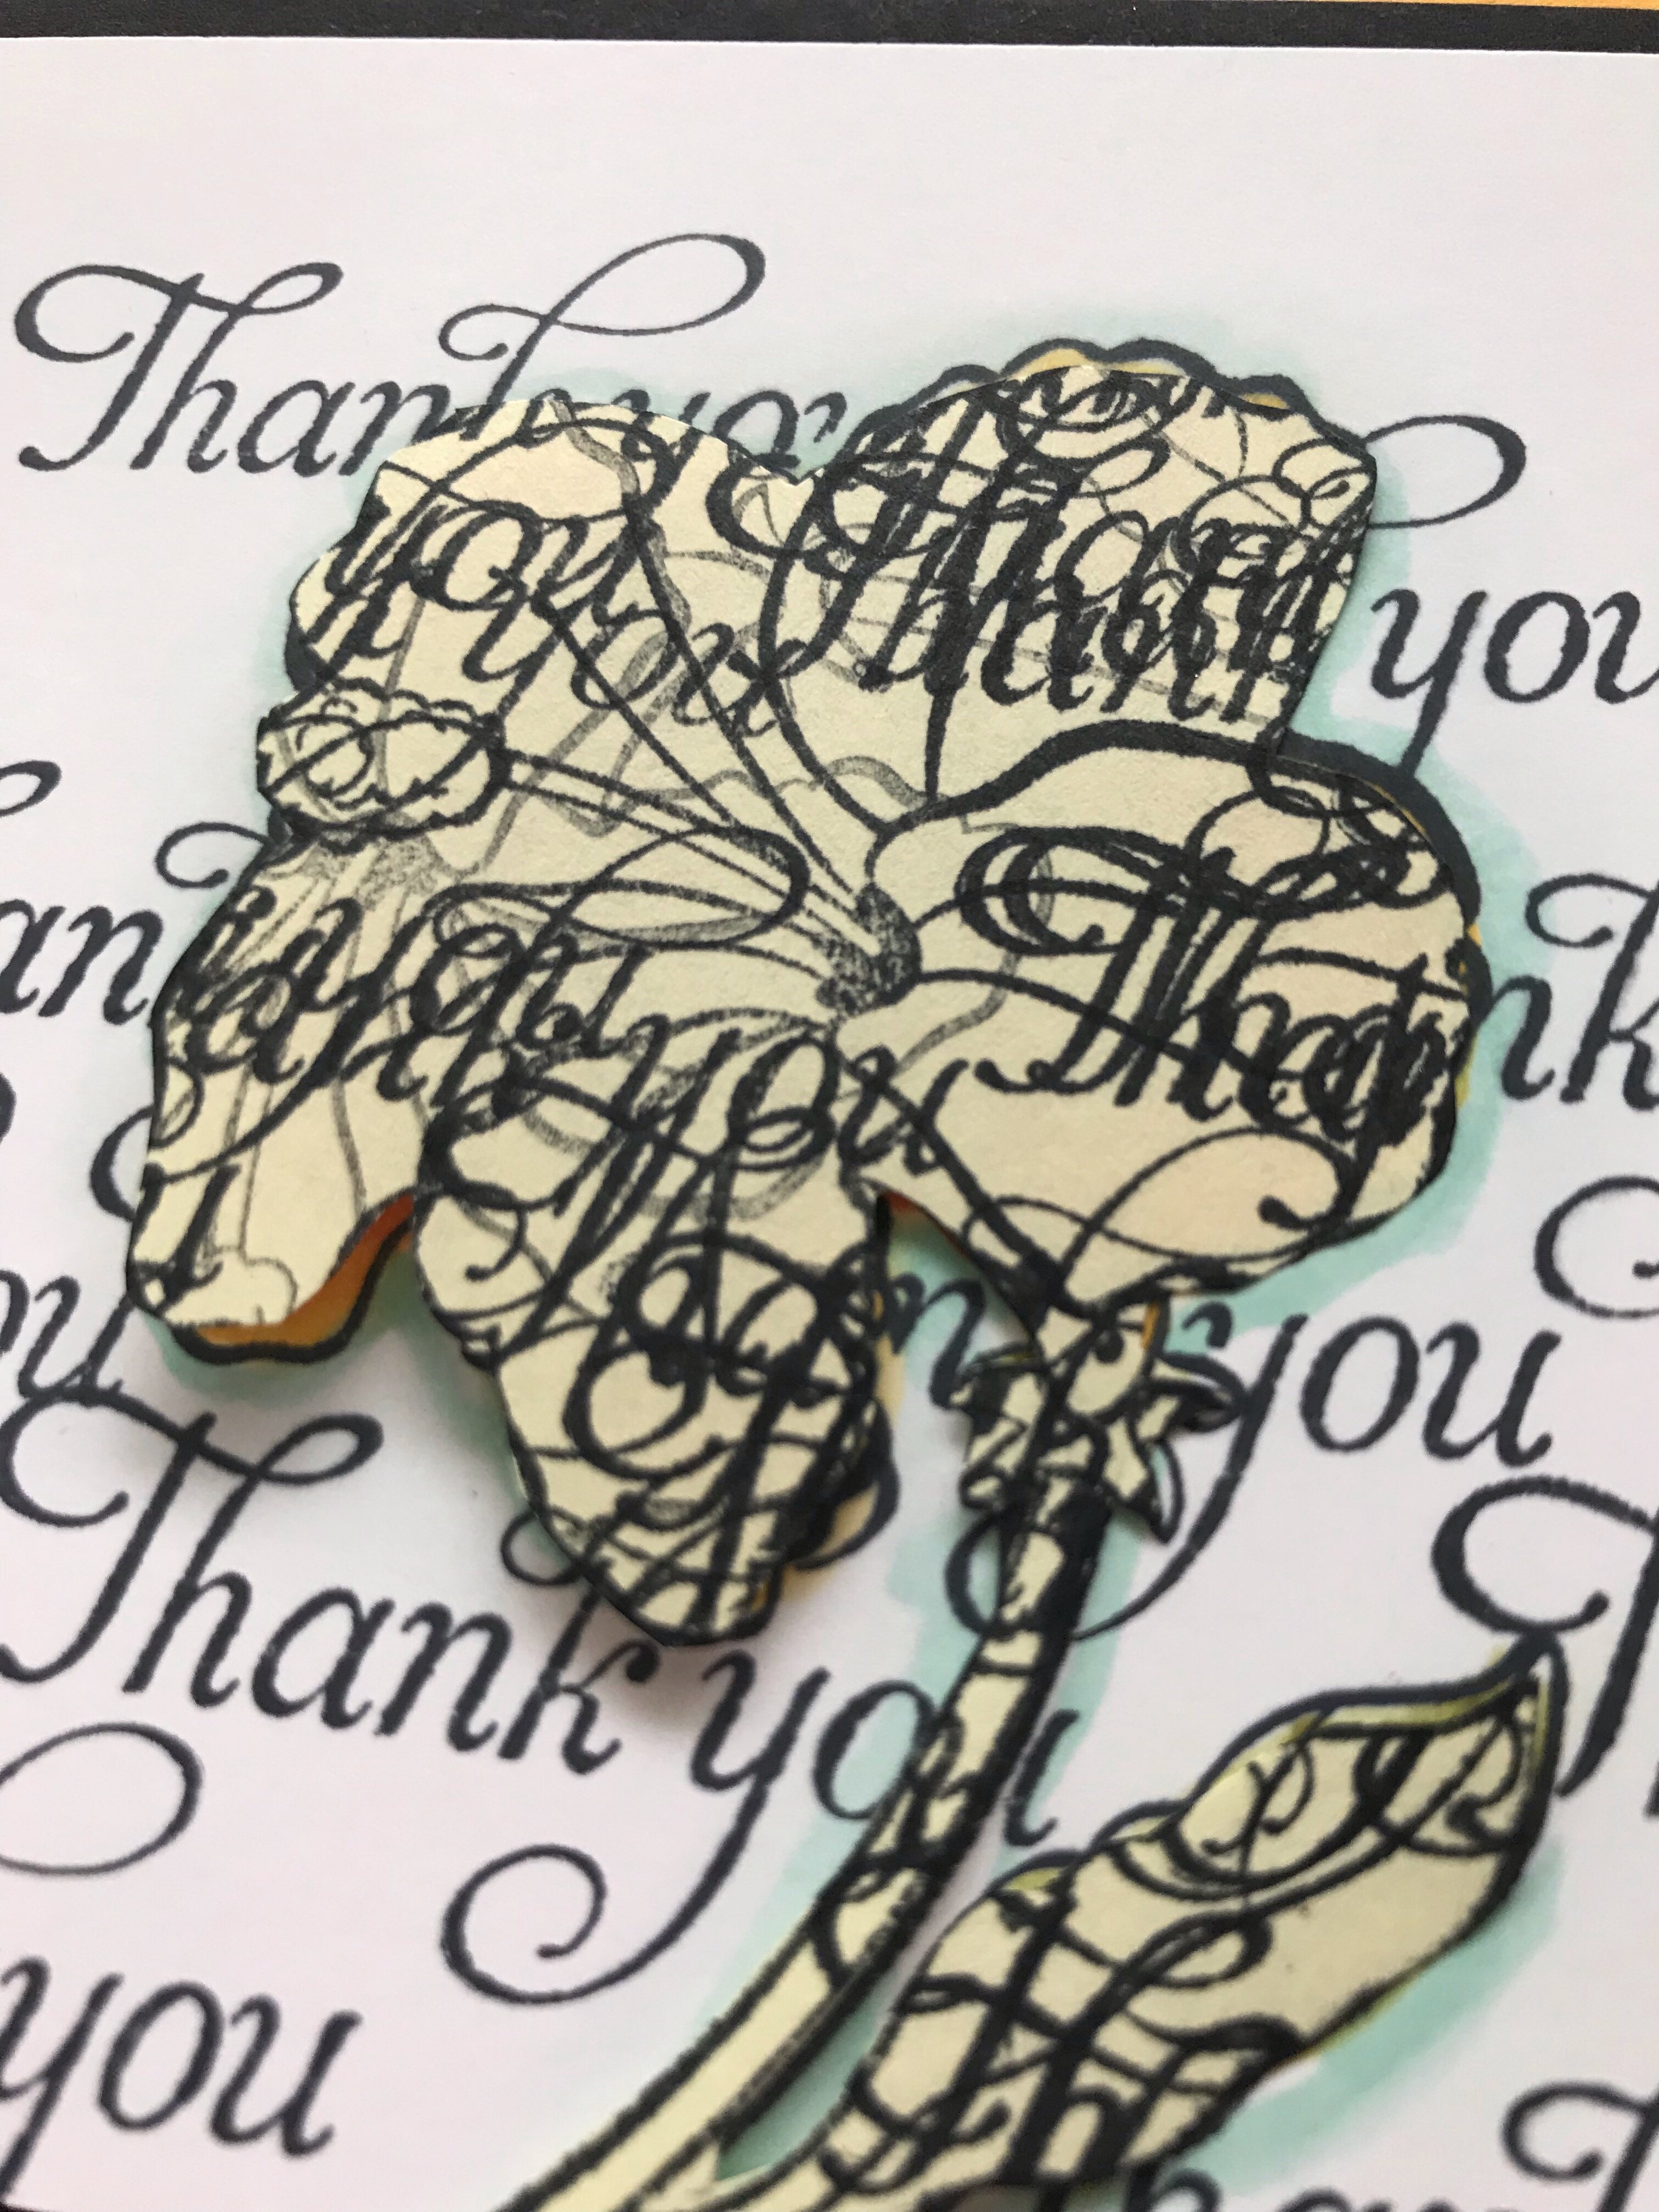
After using up a bunch of this pretty paper for cards to swap at StampFest, I had just a few long strips and edges left that seemed a shame to waste, so I came up with the Peek-a-Boo Pocket card:

Starting with a Basic White Envelope, I cut off one end to create a pocket, then punched a shape for my greeting to peek out of. To finish it off, I embellished with pieces fussy cut from the Designer Series Paper. I demonstrated this for my Monday Lunchtime Live project today:

While the Favored Flowers paper is only available through February 28, 2023 as a free gift option with qualifying order, you could create the Peek-a-Boo Pocket with any Designer Series Paper and punch, like I did with the Hues of Happiness and Heart Punch:

Try this in your craft room and you’ll feel fancy, fast!

Product List

PSSST! Sale-a-Bration ENDS TOMORROW, FEBRUARY 28th! Click below to shop & earn today!

Carried By Your Kindness

It’s been 2 1/2 months since my brother passed away unexpectedly and my mother had a heart attack on the same day (mom is doing well after they put in a stent), and I have been holding on to the beautiful cards, messages and thoughtful service rendered by my friends near and far.

You brought me homemade bread, soup, paper goods and flowers. You hugged me and physically held me up when I literally didn’t think I could stand. You visited with me and helped me laugh when it felt like all I could do was cry. You mailed me paper hugs and gift cards. You absolutely carried me through my first visit of grief, and I couldn’t forget to express my deepest gratitude for the love you offered!

I know there is life after death, thanks to the Atonement and Resurrection of Jesus Christ. This surety has helped me keep an eternal perspective through the most difficult days, knowing that I will see my brother- and other loved ones- again. You appeared as angels in your comfort and kindnesses to me. My heart is overflowing with appreciation for you.

Humming Along Thank You

This card was inspired by my friend and team-mate Amy Minson (a.ka. Lilypad Stamper): She had done some gorgeous coloring with the Stampin’ Blends markers and this flower from the Humming Along stamp set, so I wanted to try it too!

Watermarked(2019-01-15-1005).JPG

This is an example of the MASKING technique: You stamp your flower first, then stamp it onto a Post-It note, with a part of the flower over the sticky end. Cut out the Post-It flower along the lines of the image and place the flower over your flower stamped onto the white card stock (this is why you need some of the sticky part of the post-it…to keep it in place).

Next, you stamp the words ALL OVER THE FLOWER (covered in the post-it mask) and off the edge of your paper. Once you are done stamping the words, REMOVE the post-it note to reveal your clean flower that looks like it’s in front! Now you can color it and layer the card together.

watermarked(2019-01-15-1133)

COLORING TIP: Outline your image with the light Pool Party Stampin’ Blend marker to make it really pop!

I’ve created a tutorial for you to print: Get it HERE.ย 

If you would like to make your own, thank you for shopping for the supplies in my Stampin’ Storeย 

CREATE your happiness with stamps, ink and paper!

Thanks a Bunch Daisy Teacup

For my Hostess Appreciation Breakfast, I wanted to make my host friends a special gift, and this idea came to me in a dream (have you ever dreamed or crafting?!?):

IMG_4475

I picked up the glass cups at the thrift store and spray painted the inside of them and filled them with florist foam and “reindeer moss” (found at the dollar store!)IMG_4476

Once the cups were painted and filled, my daughter-in-law helped me punch daisies (love this new punch!) and cut leaves (from the Rose Garden Thinlit Dies) and we pinned them into the foam, creating a tiny bunch of happy flowers!ย IMG_4477

Finally I added a little tag to the handle of the teacup: The Wood Crate Framelits has the PERFECT size tag and the words are from the coordinating Wood Words stamp set: Get them HERE.

They are sure to brighten the day of a friend who has done something kind for you!

I {Heart} Hosts!

Because friends like you share your love of creating with others by inviting them into your home, Stampin’ Up! demonstrators like me are able to bring the joy of papercrafting to the world! Thank you from the bottom of my heart!

It’s our turn to thank you: You may earn MORE Stampin’ Rewards by hosting a party in June (in your home or online)!ย 

Last Saturday I held my annual Hostess Appreciation Breakfast (another reason to host a party!) and enjoyed spoiling some of my dearest friends and hosts:

FullSizeRender
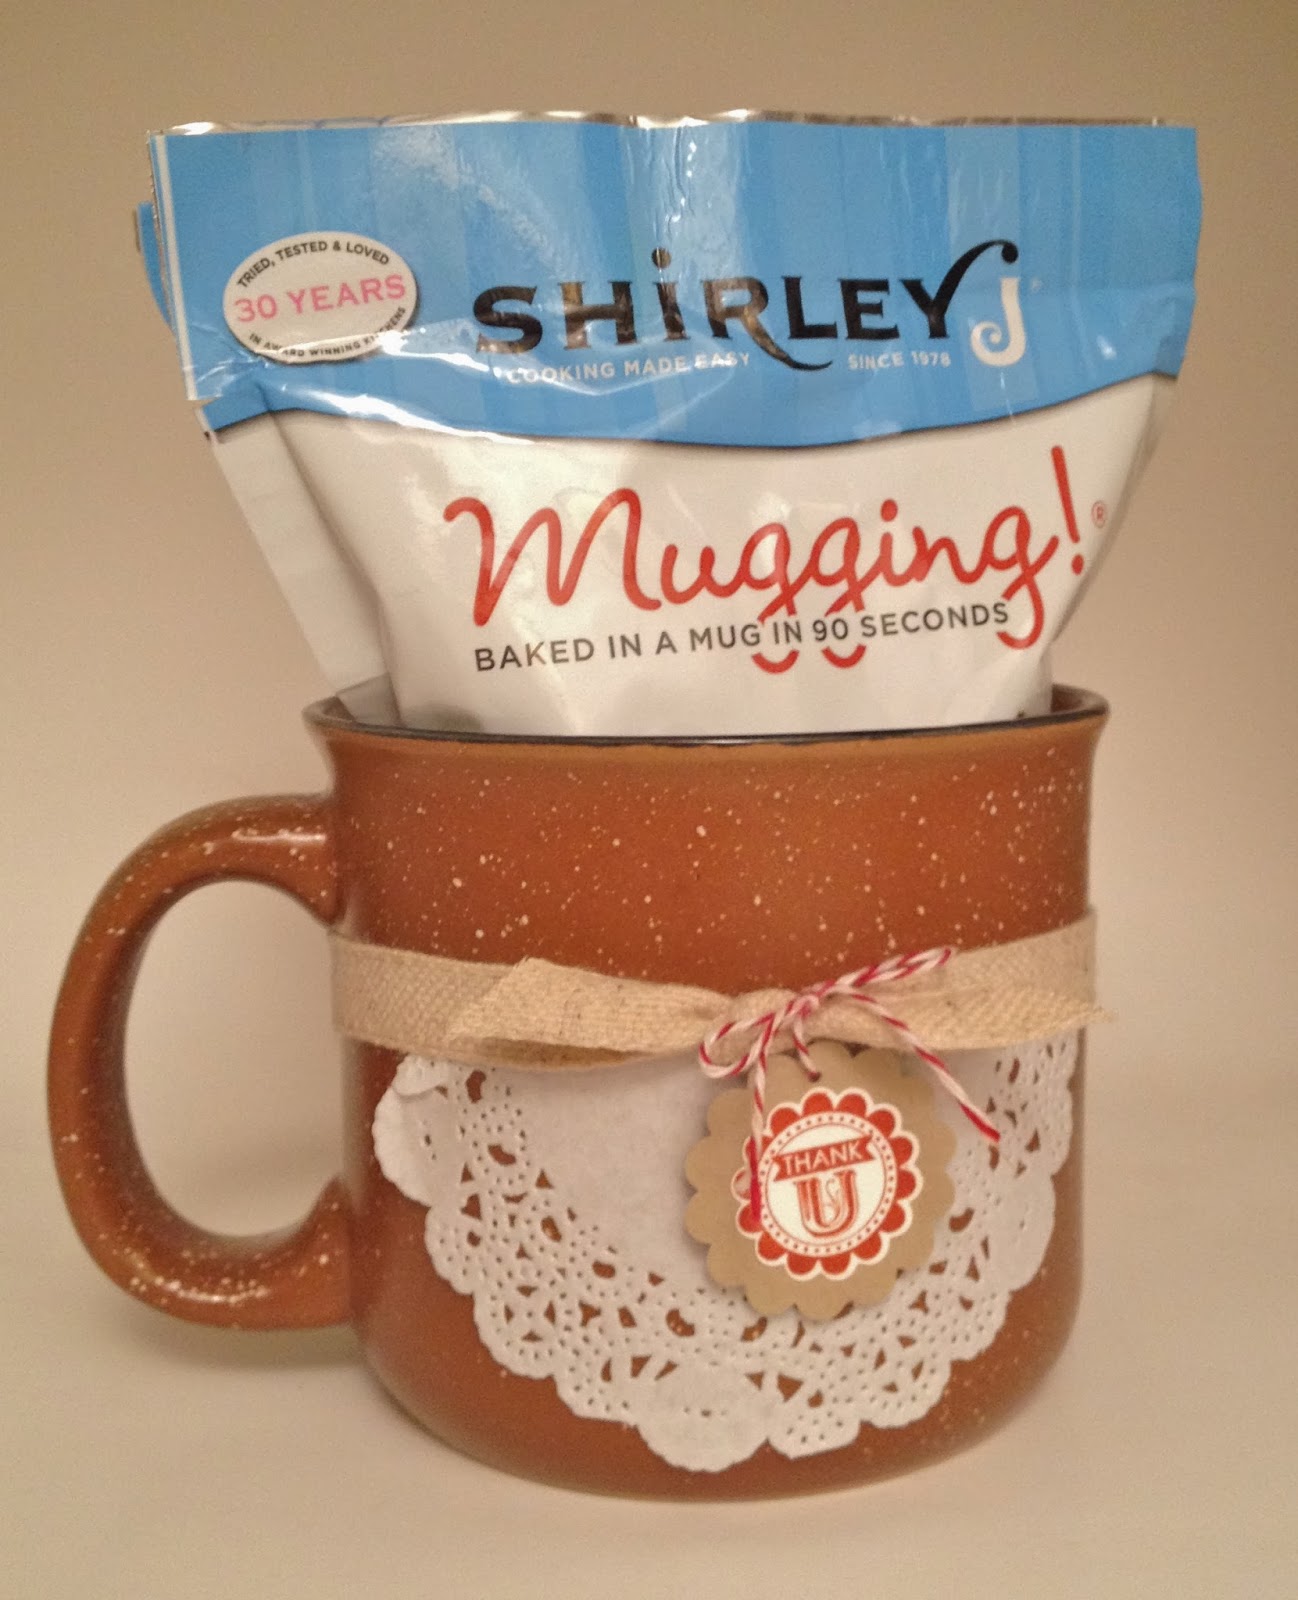
Pop in tomorrow to get a close-up the adorable gift I made them!

Meanwhile, contact me to schedule a party or join my Creative Juice Stamp Club and you’ll have the chance to host one time during the year (club starts in July).

Warm Thanks (and Blog Candy)

‘Tis the THANKS-GIVING season:
How adorably sweet is this “warm” gift of appreciation?

I’ve been looking forward to trying these new “Mugging” mixes from Shirley J and when I saw them at Macey’s today, I had to grab a few, along with this speckled Baked Brown Sugar mug. Add a few Stampin’ Up! supplies to decorate with~Tea Lace Paper Doilies (item 129399), A Round Array stamp set, 7/8″ and 1-1/4″ scallop circle punches (129404 and 127811), 7/16″ Natural Trim (129287), Baker’s Twine and some ink~ and you’ve got a quick gift!

The other sweet thing is that there are currently 8 flavors of Mugging Mixes:

  • Chocolate Brownie Cake
  • Gluten-Free Chocolate Brownie Cake
  • Old-Fashioned Yellow Cake and Cobbler
  • Country Style Cornbread
  • Pumpkin Spice Bread
  • Walnut Bread
  • Quiche in a Cup
  • No-Pan Pancake
All you have to do is add water, stir it up in a mug and microwave for less than 2 minutes!
I picked up two mixes and here’s today’s BLOG CANDY! The first person who guesses which two I bought will get ONE of the mixes and a package of doilies from Stampin’ Up! Make sure you leave your guess in the comments and check back to see the winner on November 15th ๐Ÿ™‚

WENDY: You are the winner! Thanks for all your comments and I’m sorry to post the winner so late, but I had to transfer to a new computer ๐Ÿ˜› Email me your address and I’ll send a Chocolate Brownie Cake and Pumpkin Spice Bread Mix to you!
post signature

Bottle Bib Pocket: Whip One Up In a Jiffy (Video Tutorial)

Waiting in line at the Cal Ranch store in Spanish Fork, I saw a display of awesome bottled pop. One that caught my eye was called, “Dang! That’s Good” Root Beer...even the bottle cap was cute!ย The colors effused FALL and the Stampin’ Up! Sweater Weather came to mind. So I grabbed a handful of bottles and decided I’d figure some way to use them ๐Ÿ™‚

Then I went shopping and saw the Caramel Apple bite by Russell Stover and if you know me well, I’m an even bigger sucker for CARAMEL than I am for chocolate (and that’s sayin’ something). So I put another handful in my cart and whistled all the way home!

My solution? What I call a “Bottle Bib Pocket”! It was actually inspired by a project made by my friend Pam Clyde, whose artistry is beautifully detailed. I’m more of a quick and easy crafter, but I think you’ll like both ๐Ÿ™‚

I made a video tutorial for the simple one…I’ll let Cal Ranch know they better stock up on “cute” soda pop ๐Ÿ˜€ I suspect it tastes as good as it looks, but I don’t know as I’ve been giving all mine away to my Stampin’ Up! hostesses as I demonstrate them! Want me to teach you and your friends? Book a party during October!

post signature