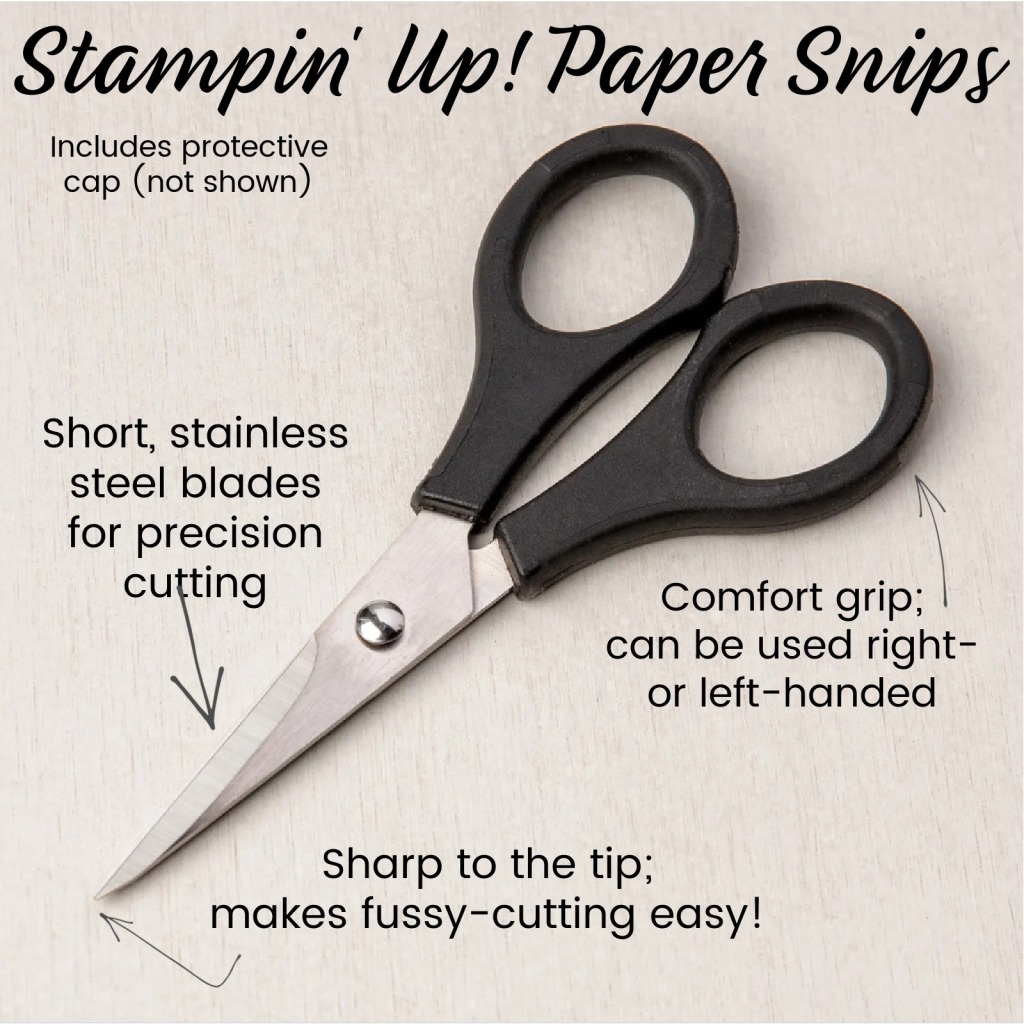
Just as bakers are always thrilled to receive a new spatula (my favorites are from Pampered Chef), CRAFTERS are delighted to add another set of scissors to their collection! The Paper Snips from Stampin’ Up! are essential for fussy cutting, plus you can make a second pair “ribbon only” scissors.
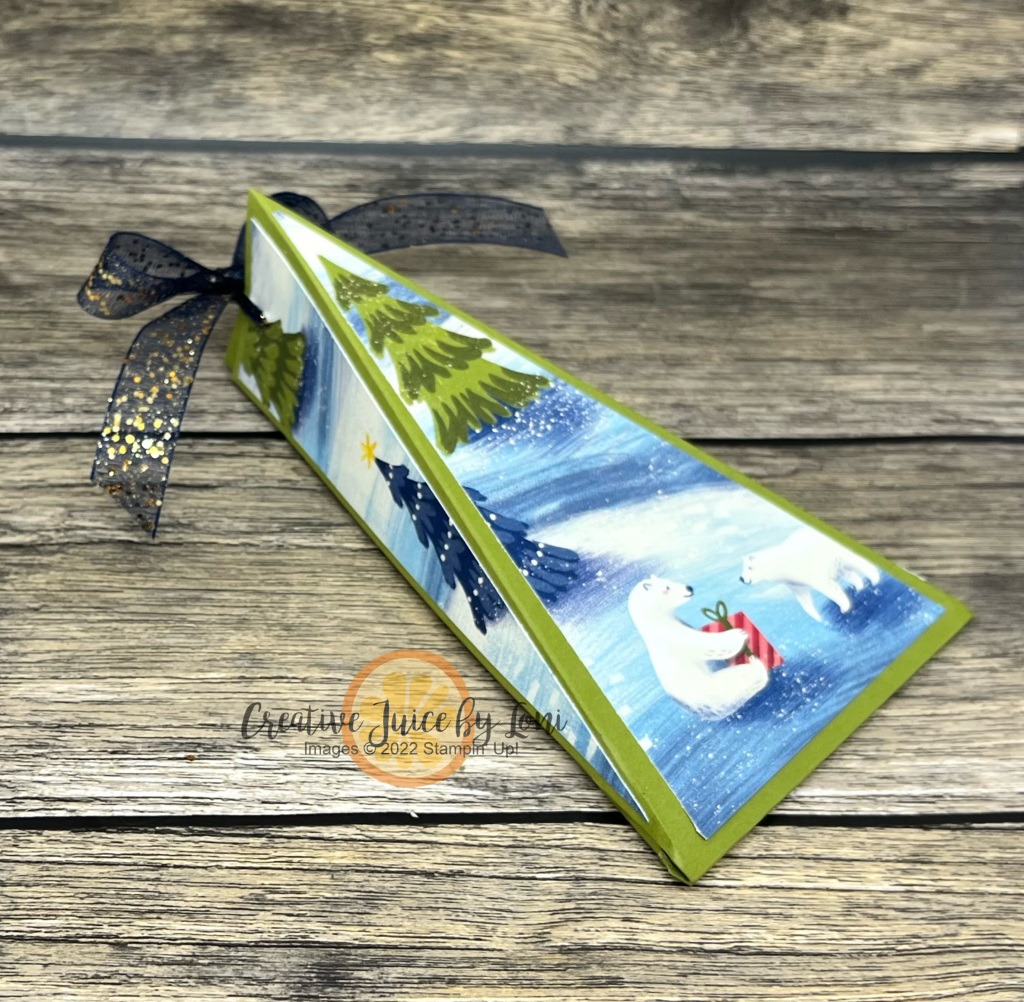
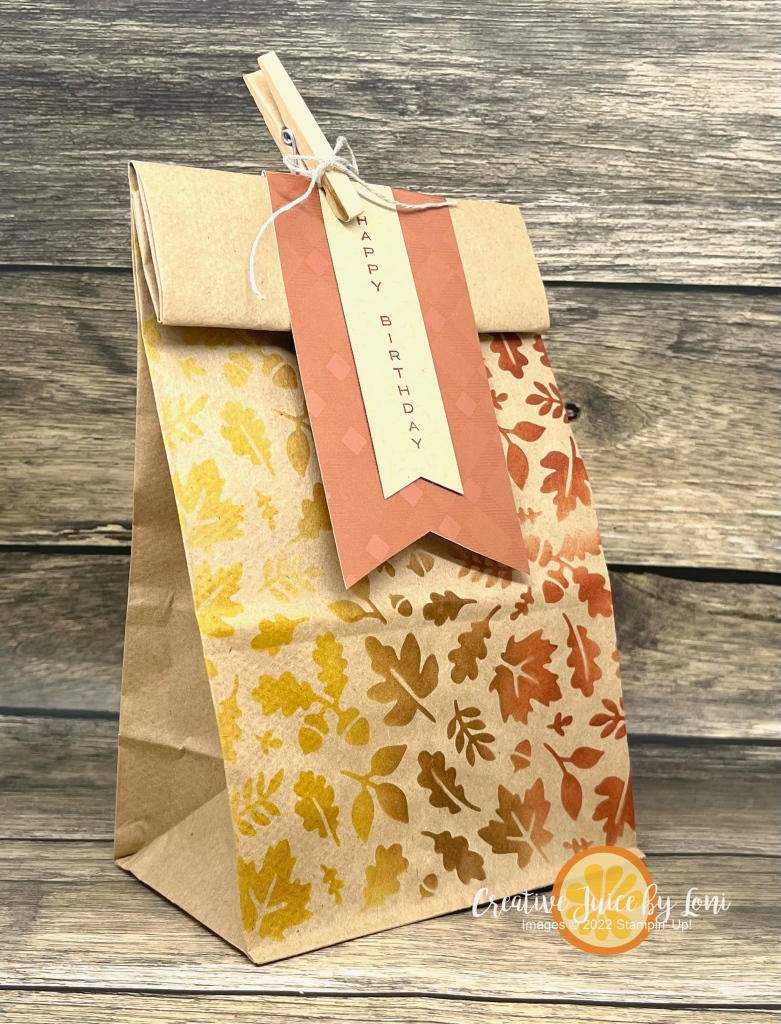
The trick is how to WRAP a gift that’s triangular shaped, and I have just the tutorial for you today!

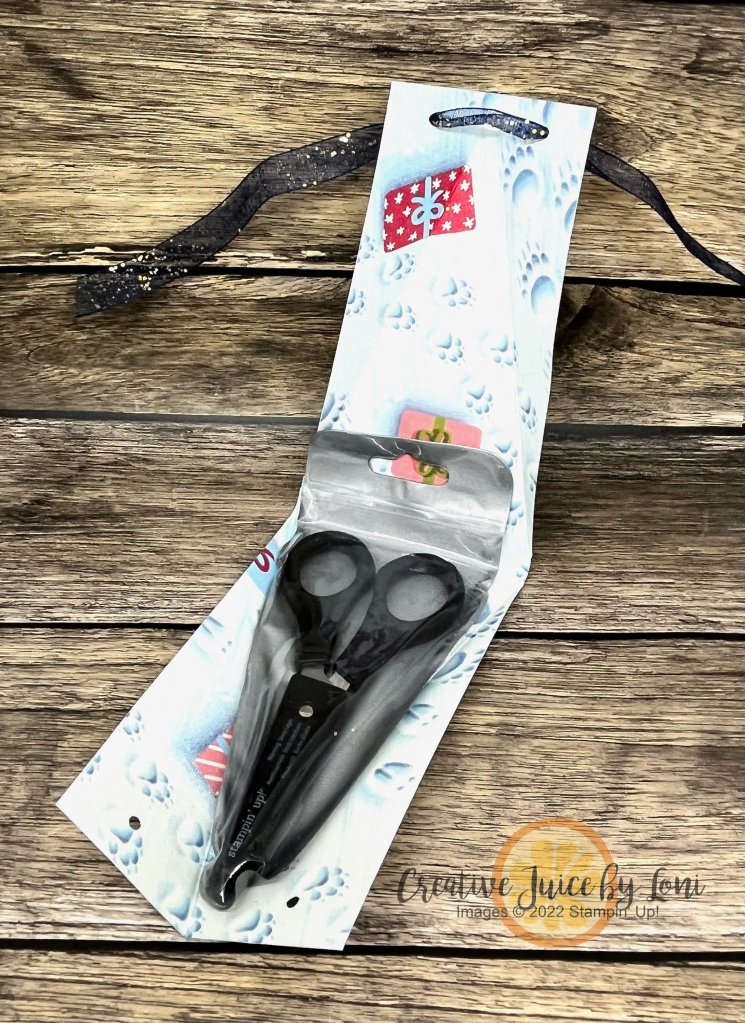
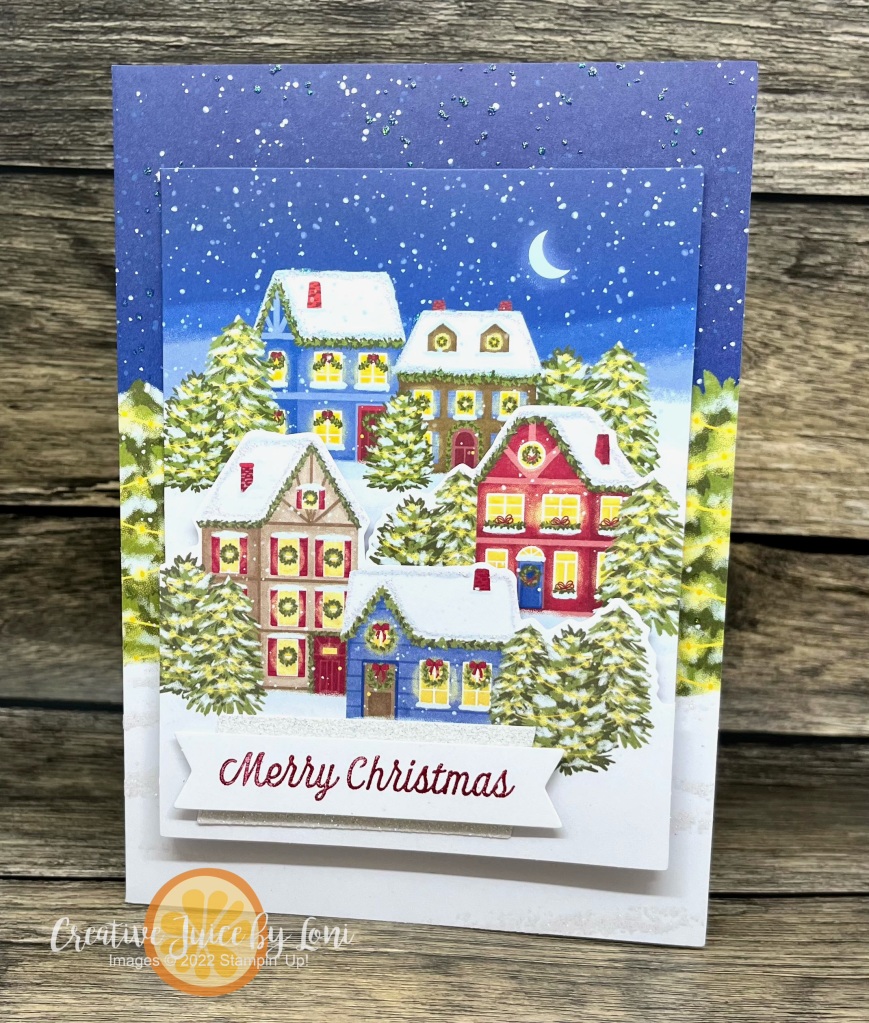
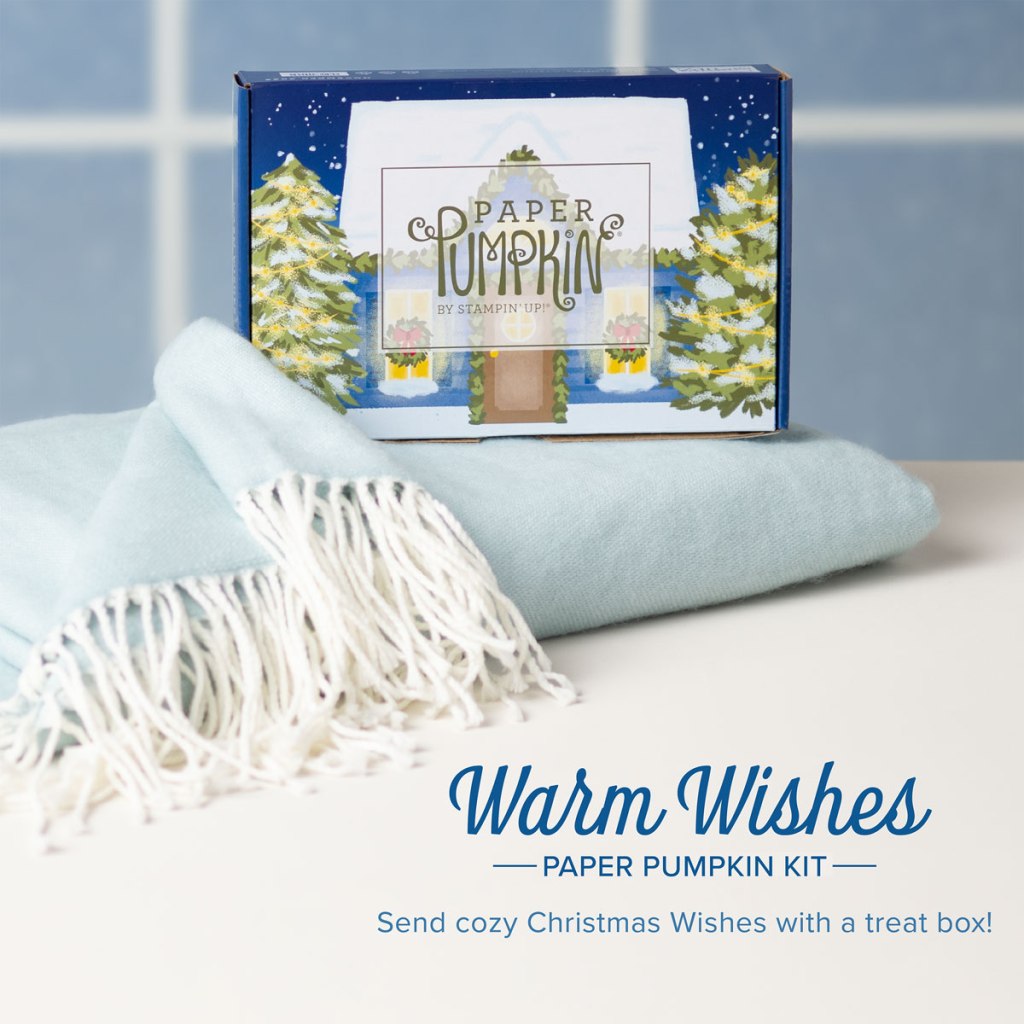
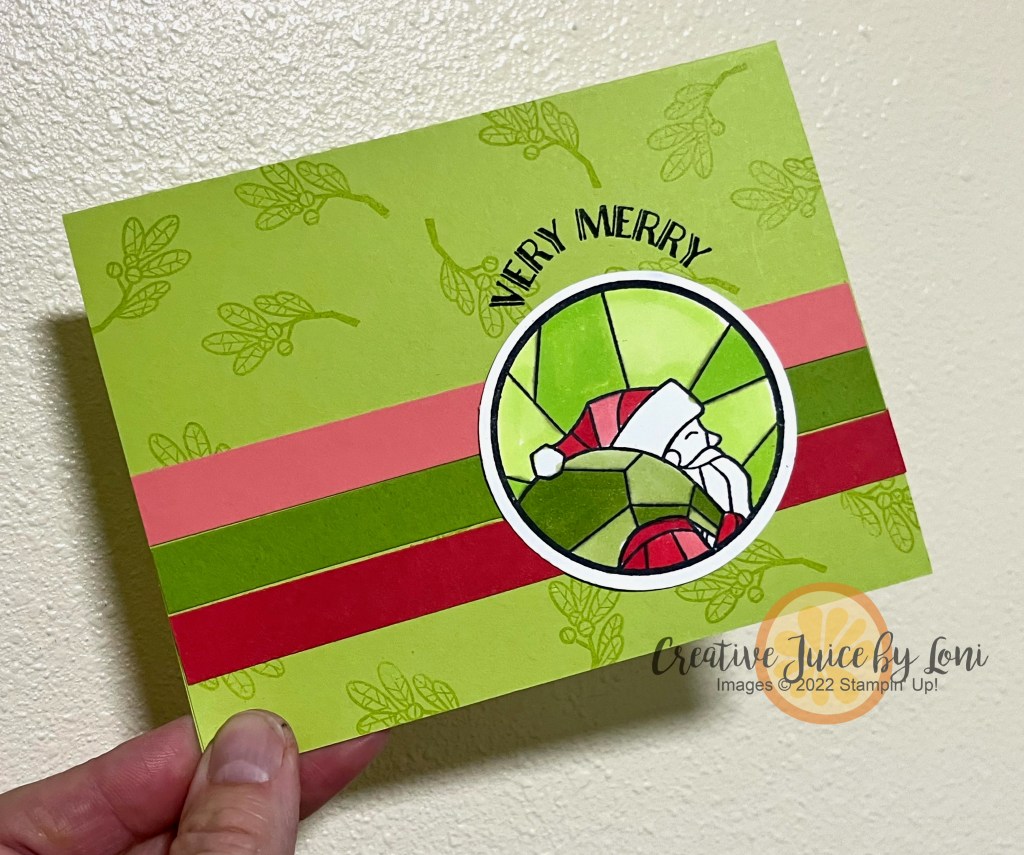
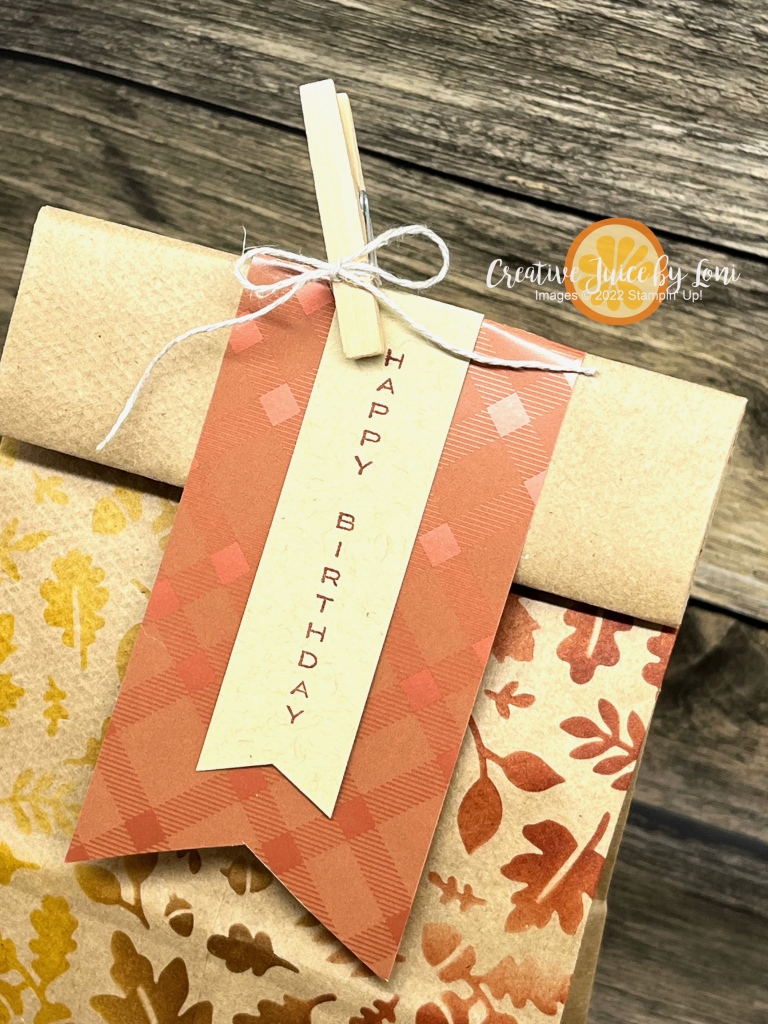
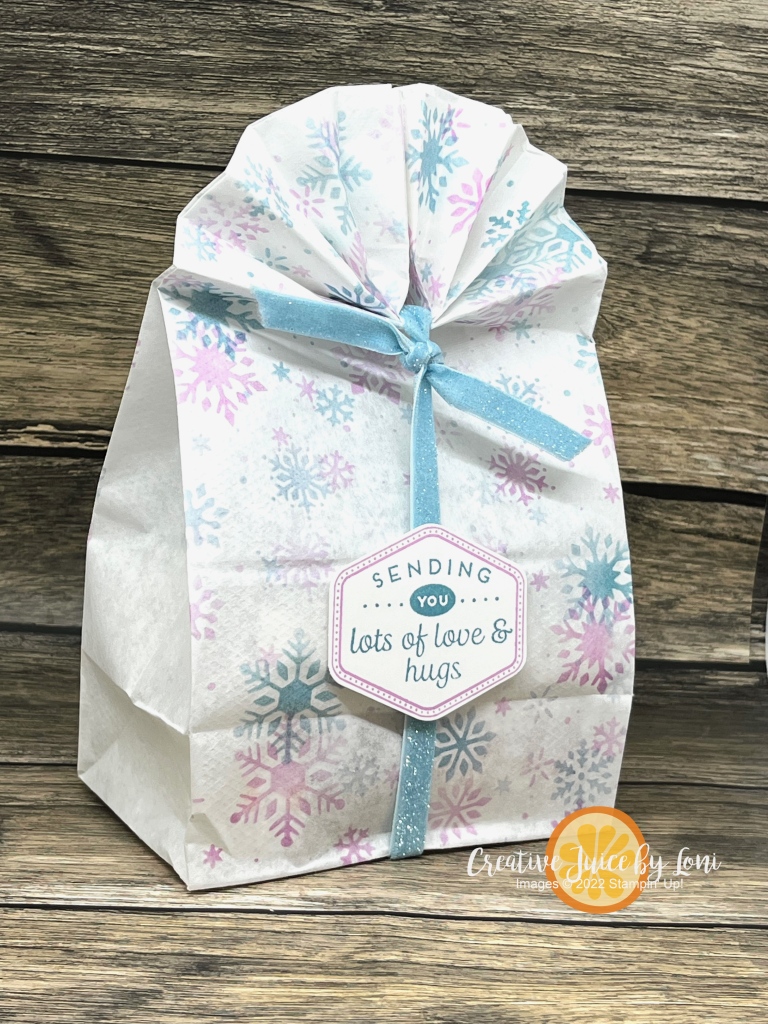
This box is PERFECT for SNIPS and can be created for the holiday season OR any other time of gifting.
Start with a 12″ x 3.5″ piece of card stock OR Designer Series Paper, then follow the instructions here (warning: I make a mistake at the 6 minute mark, but quickly get back on track!). The layer starts with a 5.5″ x 3″ piece of card stock or Designer Series Paper.
Tip to make this box for any size: Measure the triangular object you want to wrap and add 1/2″ to the length and double it, then add 1/2″ to the width. That’s how I got the size of paper to begin my box with!
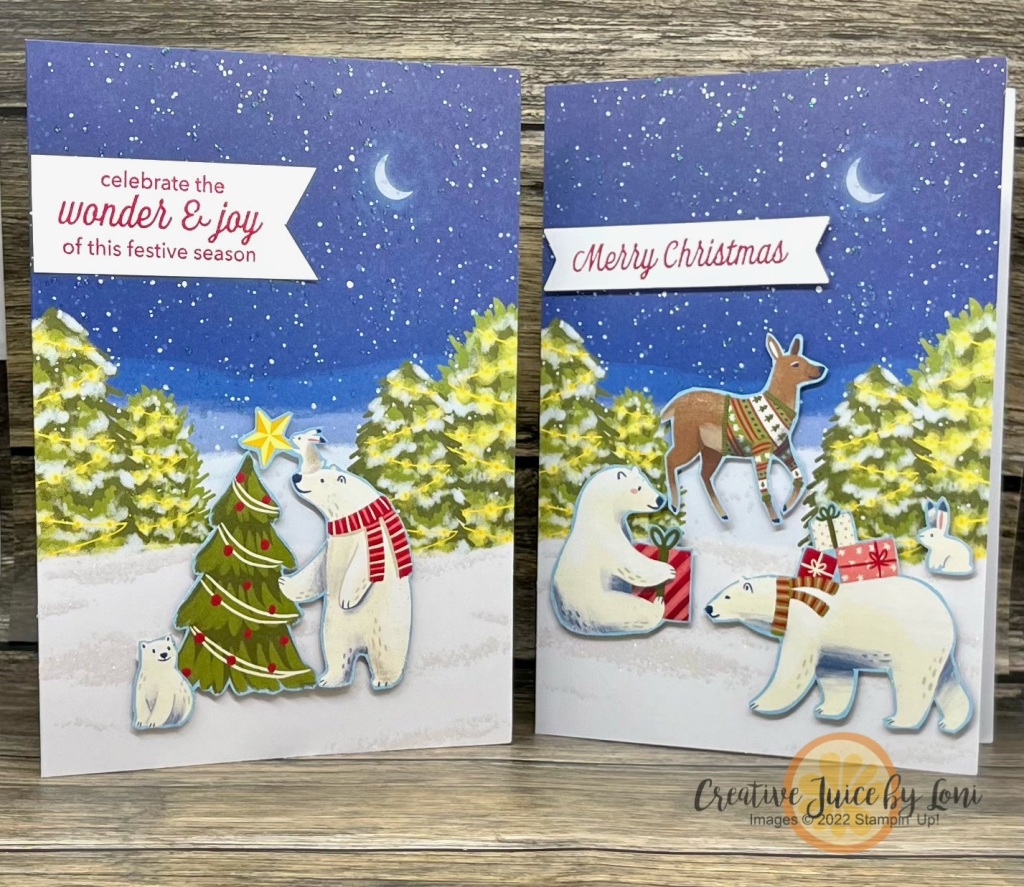
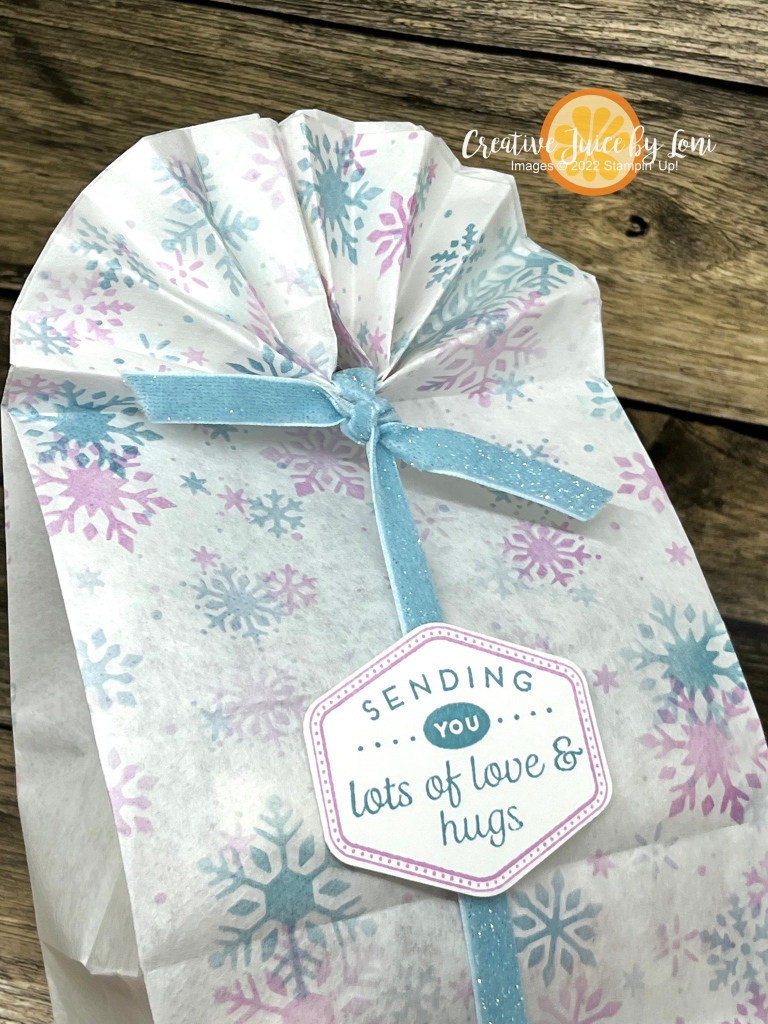
Here’s the box opened:
If you start with card stock and add Designer Series Paper, keep the two sides you trimmed off and layer them on the sides of the box- they fit perfectly and keep the “scene” wrapping around the edges:
I’d love to hear if you make these boxes- comment or tag me on social media @creativejuicebyloni on Facebook or Instagram.
Product List Designer Series Paper")
 Cardstock")

 Glittered Ribbon")
")
")
 Specialty Paper")


")
 Specialty Designer Series Paper")


")
")


 Dotted Ribbon")
 Satin Edged Ribbon")


")
 Designer Series Paper")


 Sheer Ribbon")


 Specialty Designer Series Paper")


")


 Sparkle Ribbon")


")