
Stampin’ Up! has the #bestcraftingkit (or kits) on the planet. Whether you just want to dip your fingers in the paper crafting ocean, or you want to commit to creativity each month…there’s a kit for you!
I wanted to showcase how amazing the July Paper Pumpkin kit “Painted Petals” was, and encourage you NOT TO WASTE A SECOND in subscribing for the August kit (and beyond).
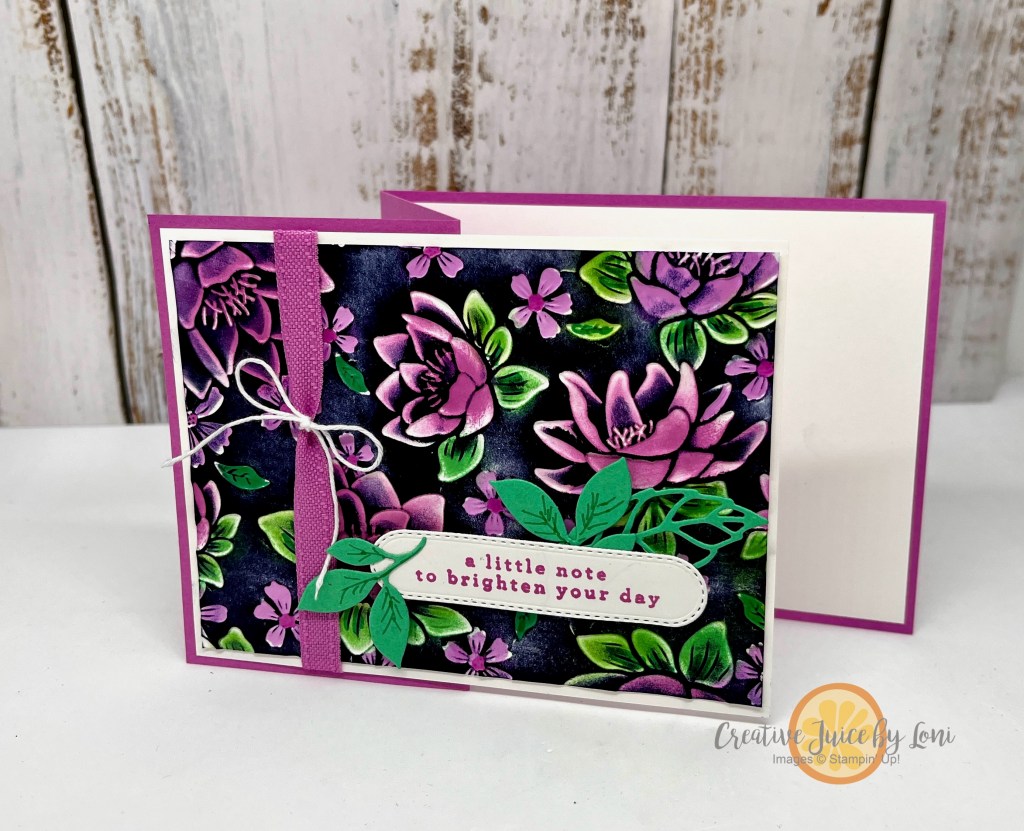
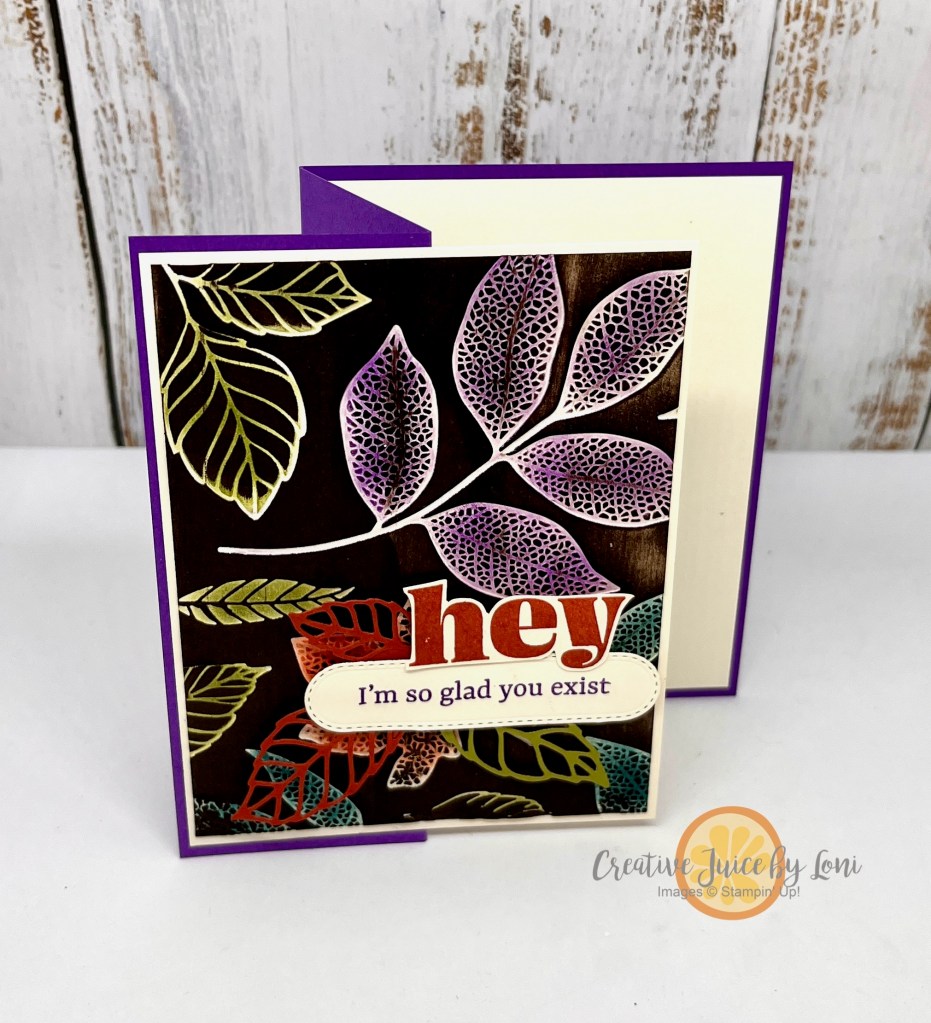
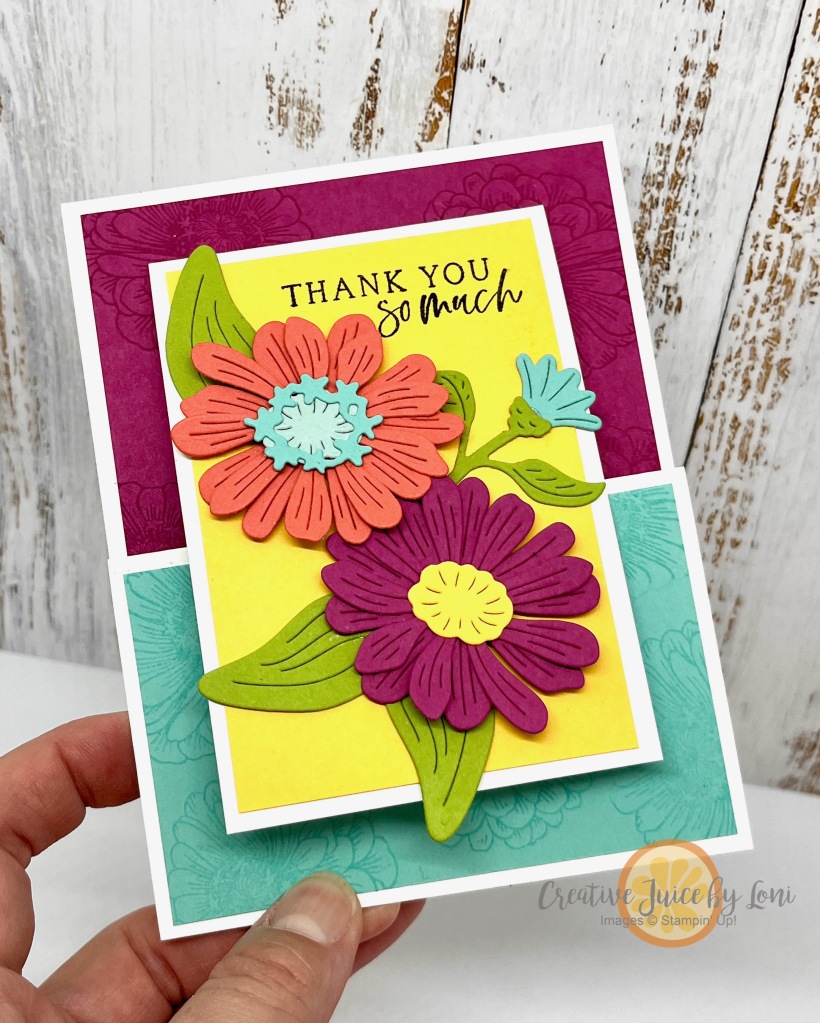
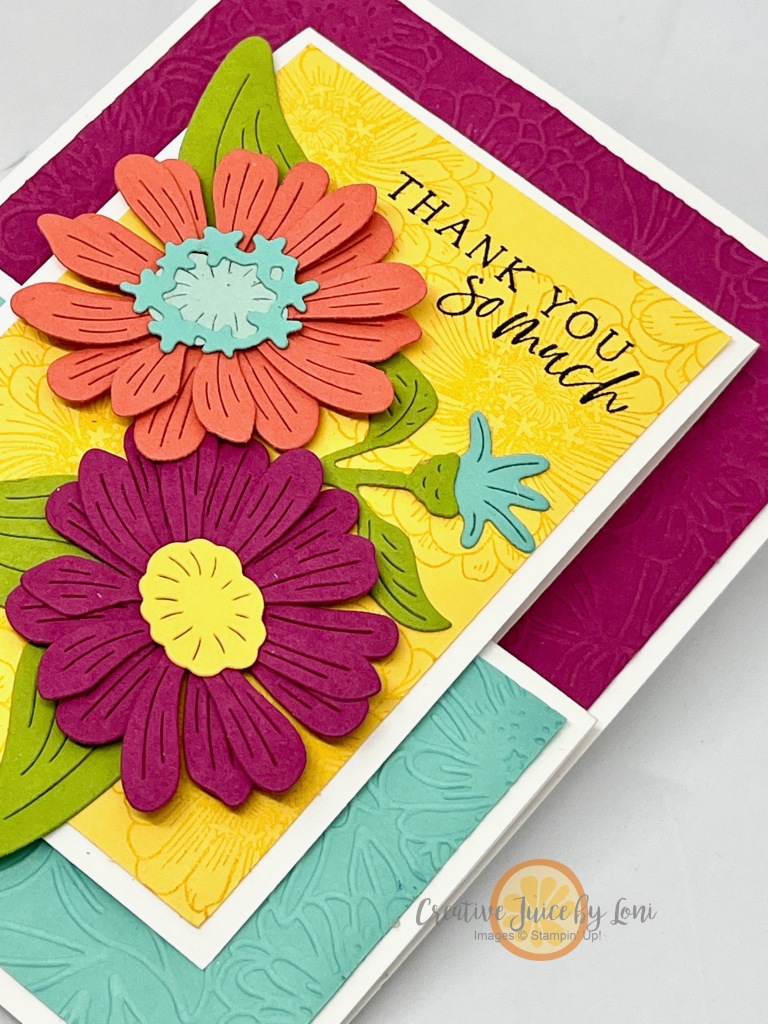
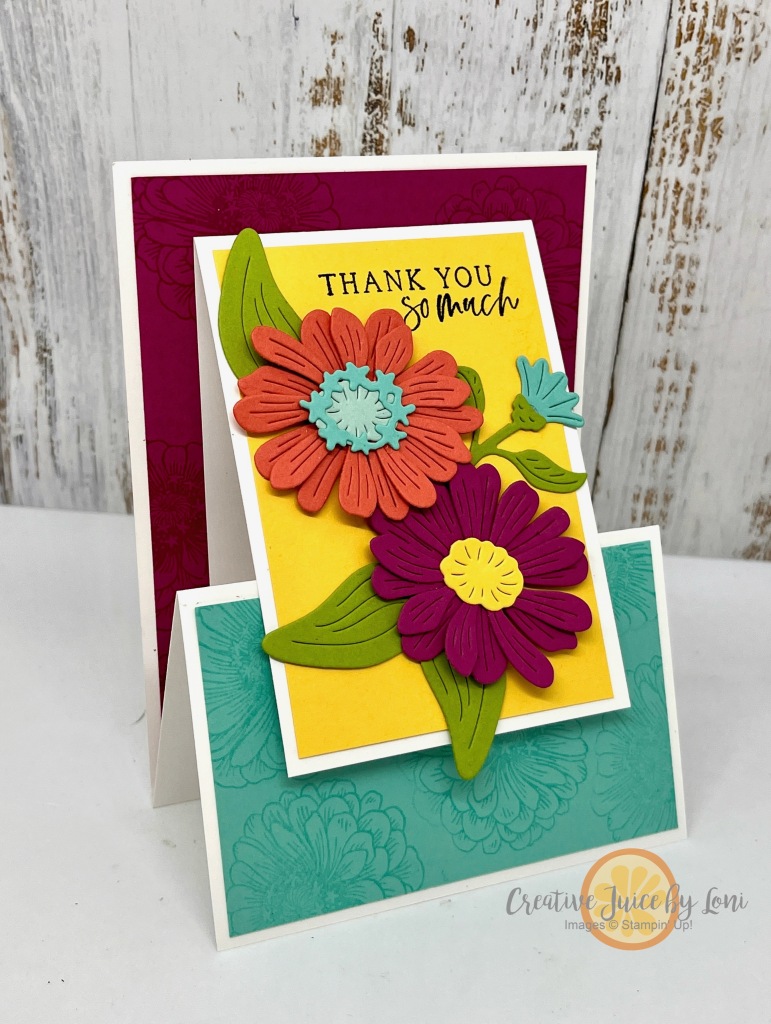
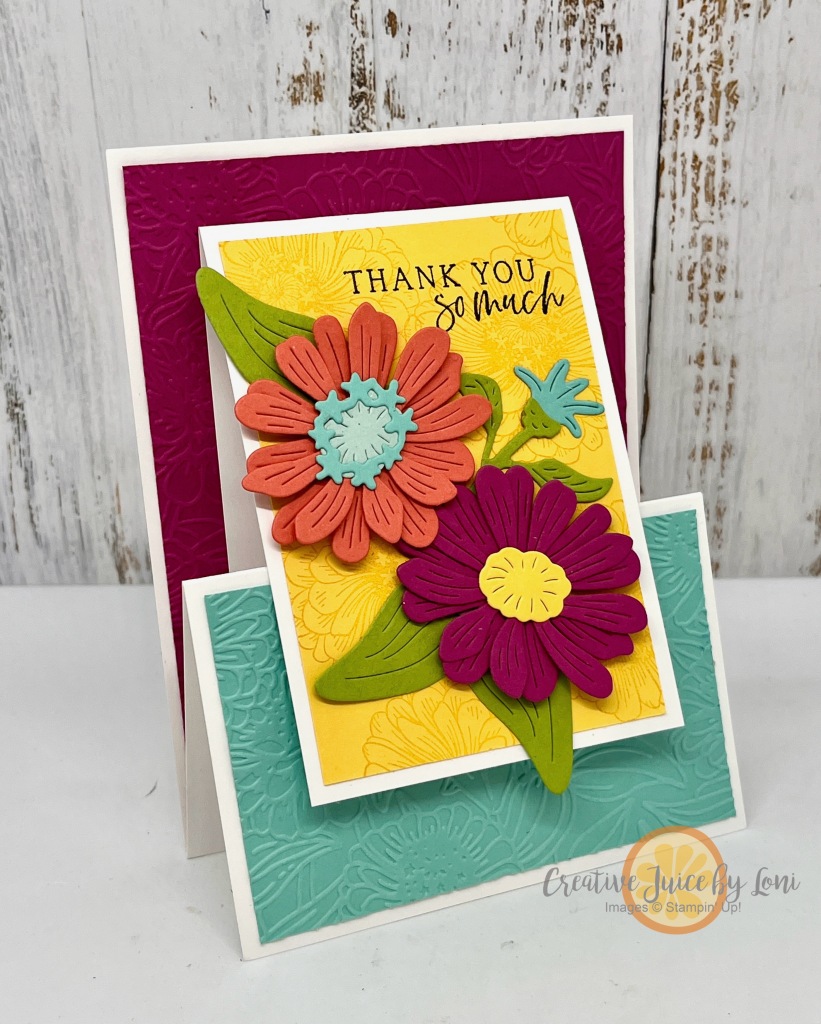
After assembling one of the cards as intended from the kit, I created an “alternate” card by just adding a bit of Basic Black card stock. You may enjoy simply following the instructions, but if you want to stretch your artistic muscles, kits are a superb starting spot:
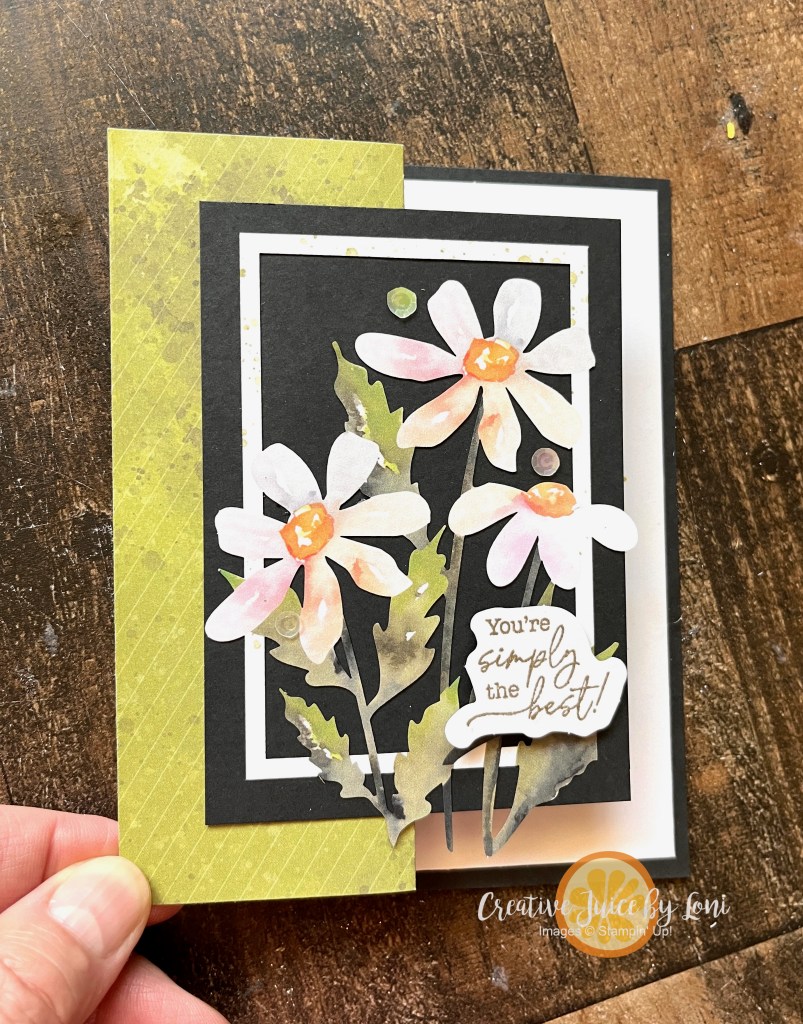
Fold the printed card base with the printed images INSIDE the card, then trim 1/4″ off the bottom and open side, making it 4″ x 8 1/4″ when open. Fold the front (colored) flap back on itself, add a 3″ x 4.25″ black card stock to the front left side of the card and attach your details. Adhere the card to a 5.5″ x 4.25″ black card stock base and voila:
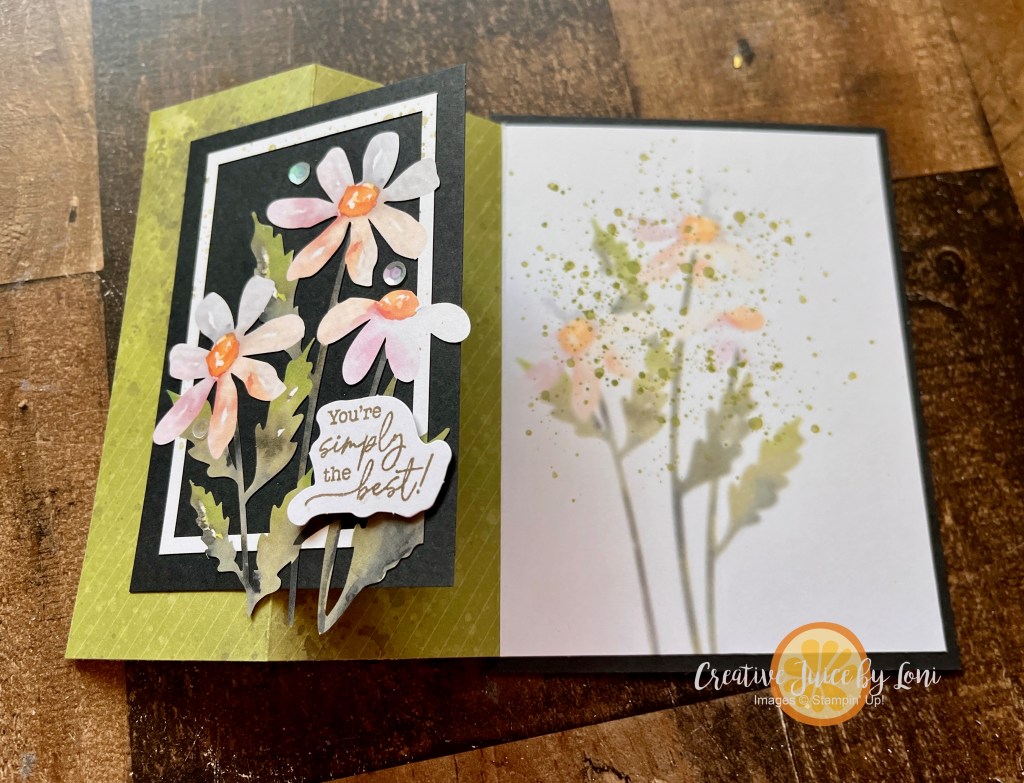
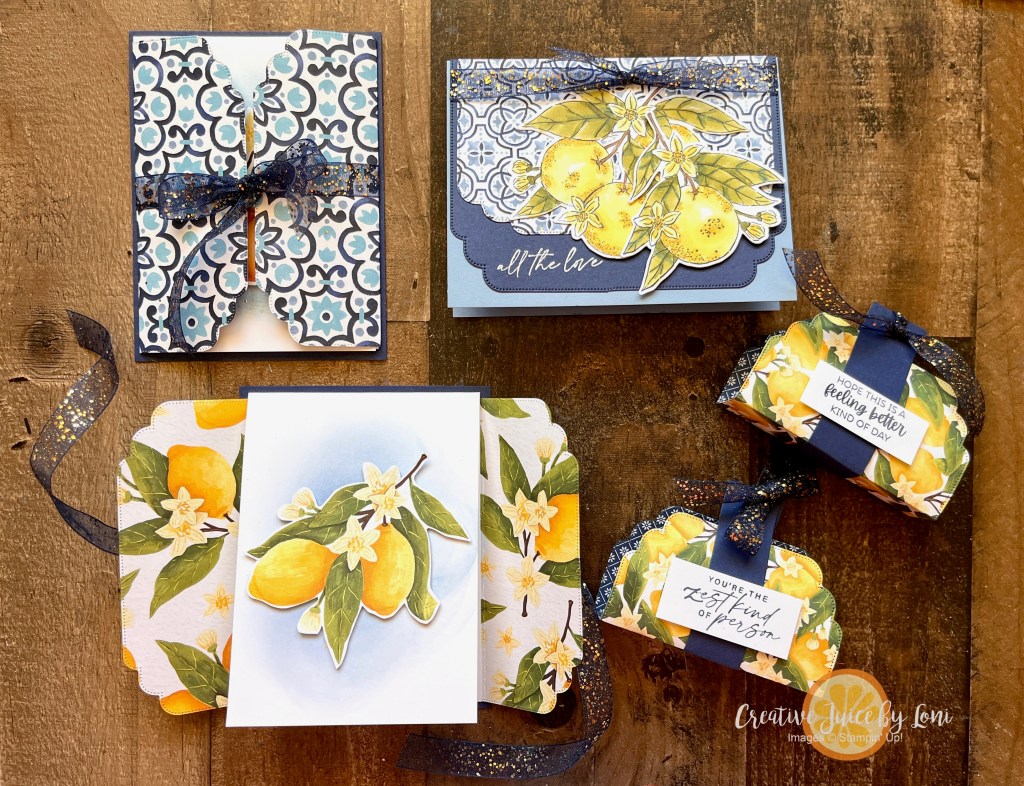
Try turning your kit into scrapbook pages for your memory albums! The back side of the card became a faux strip behind my photo mats, and I added a simple floral border at the bottom:

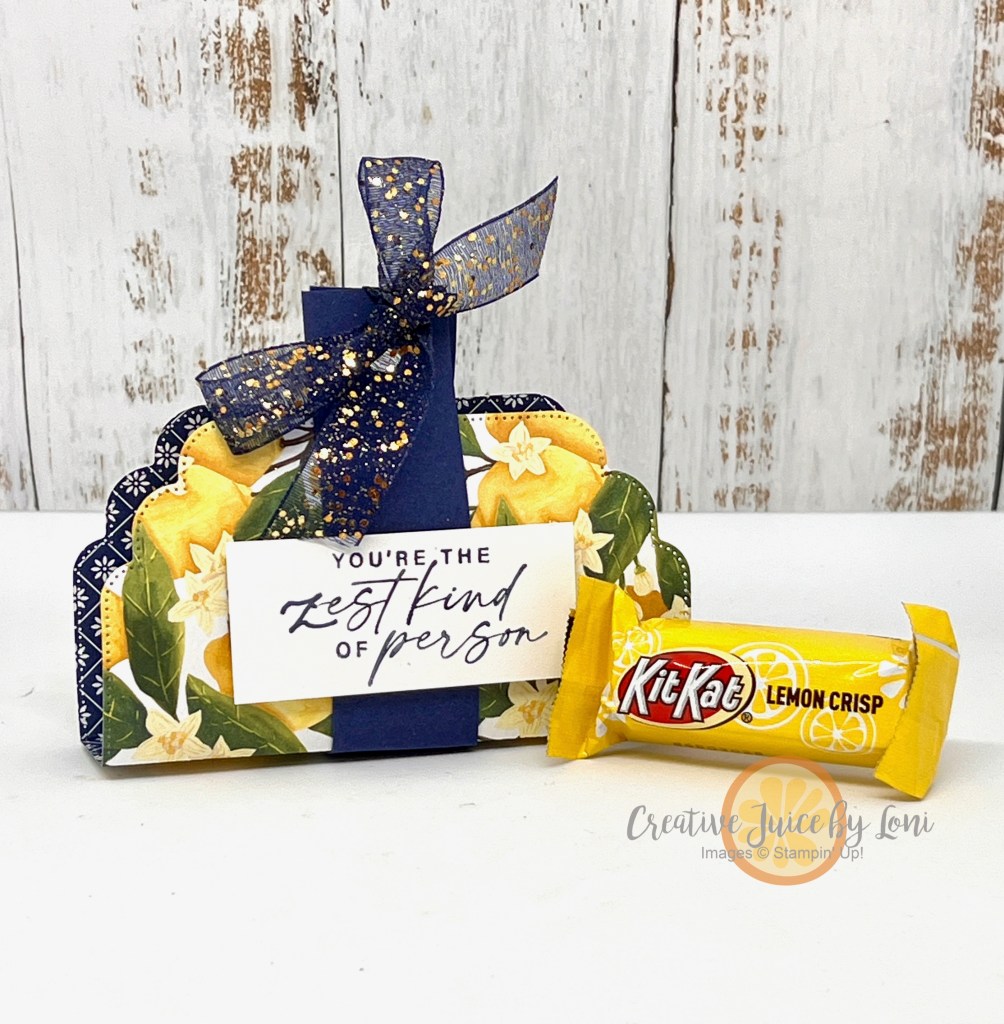
Finally, don’t forget the box! On the months when the box matches the contents (usually Paper Pumpkin kits arrive in Poppy Parade boxes), you may want to gussy it up and use it as gift wrapping:

For the box top, I used one of the envelopes and the special Add-On Every Celebration Dies, which coordinate with the July, August AND September Kits:

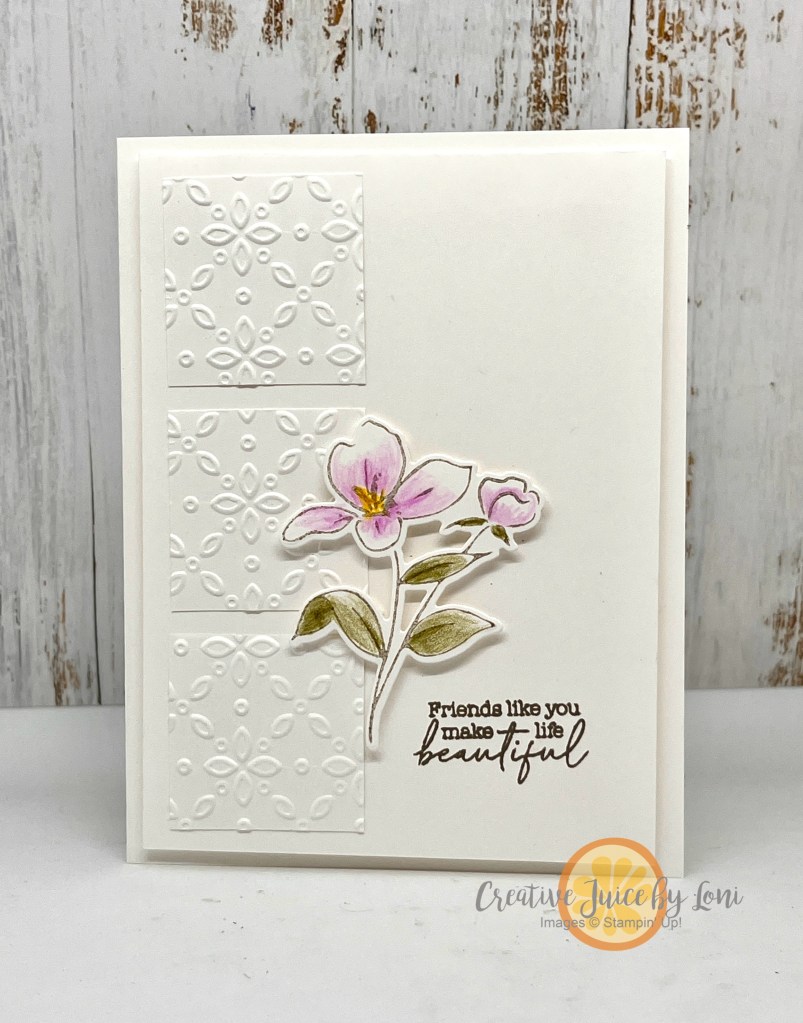
Once your kit is completed, you are left with a small ink spot and the photopolymer stamps. With some basic supplies, you can create more fantastic cards, tags, gifts, etc.

So what is the August 2024kit going to be? Birthday Cards!
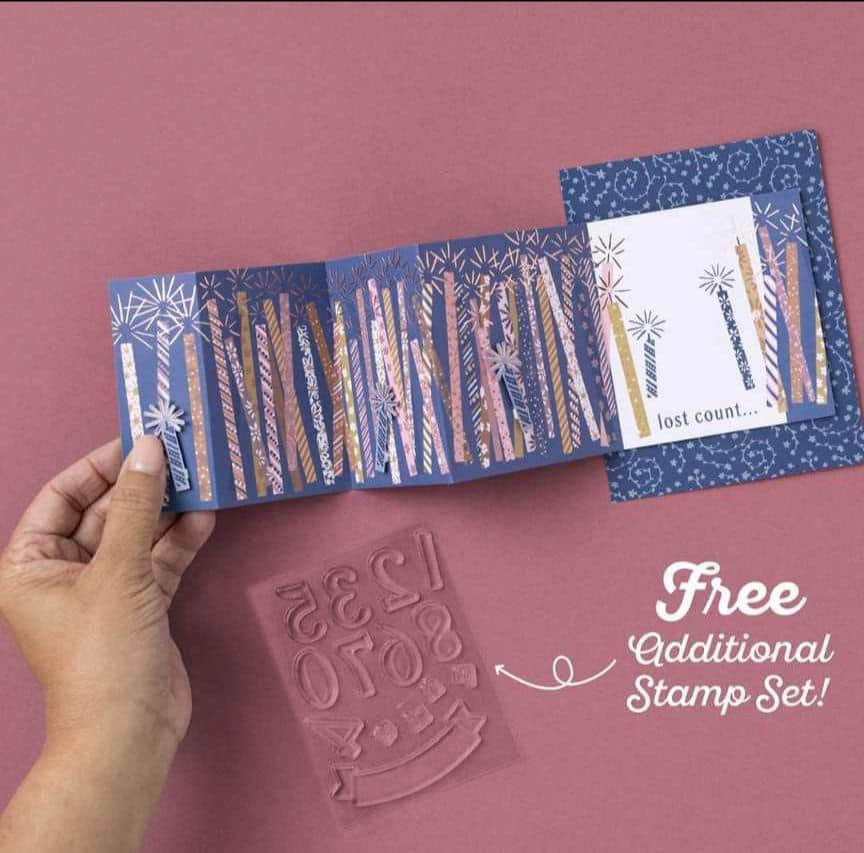
The “Time for Cake” craft kit will be shipped around the 15th and features the following, but you must subscribe by August 10th
![]() Rose gold foil
Rose gold foil![]() Accordion card folds
Accordion card folds![]() A festive color palette
A festive color palette![]() A birthday sentiment stamp set
A birthday sentiment stamp set
Subscribers will also receive a gift with their kit: an additional stamp set! ![]() Those number stamps will become an indispensable tool in your stamping arsenal.
Those number stamps will become an indispensable tool in your stamping arsenal.
We have MORE INCREDIBLE a la carte kits that you won’t want to miss – stock up for yourself, to make with friends, or to give as gifts! The selection is always growing, so check back every month to discover your inspiration.


")


 Bordered Ribbon")


")
 Designer Series Paper")

 Glittered Ribbon")


")


 Trim Combo Pack")


")


")
 Designer Series Paper")


")


")


 Designer Series Paper")
 Glimmer Specialty Paper")


 Circle Punch")
 Circle Punch")


")
 Designer Series Paper")


")


