

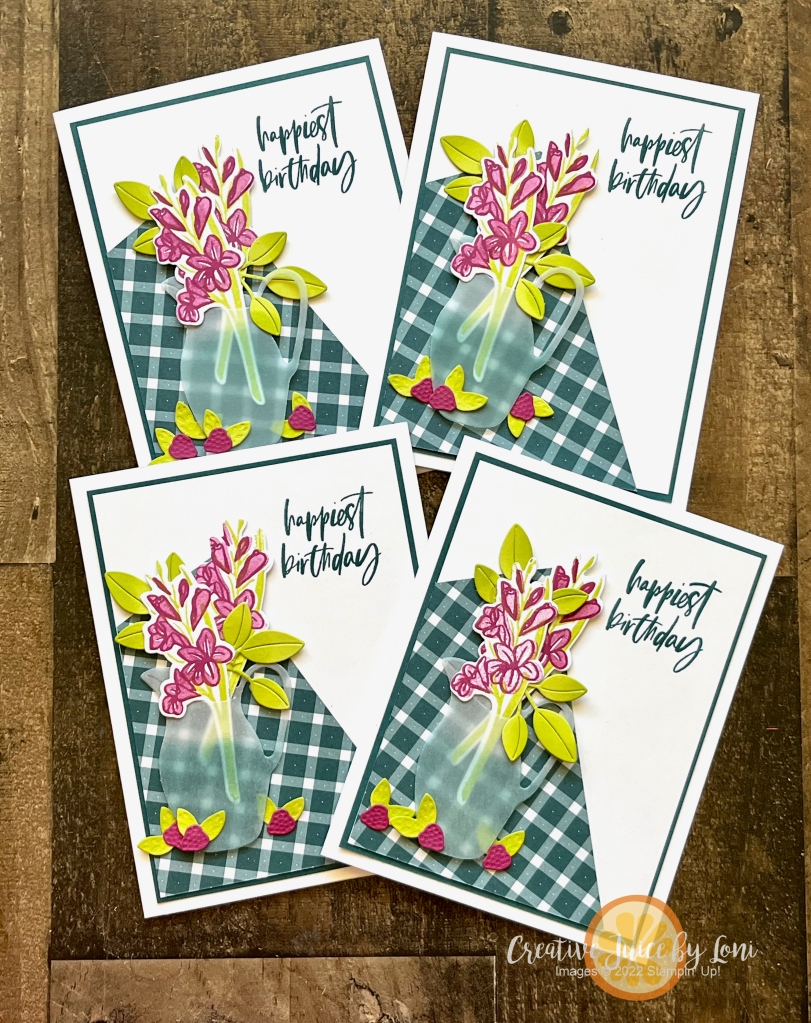
There’s been a bunch of FRESH products drop for March, so let’s create a pull-out card shaped like a jam jar from one of my favorites: the Homemade Sweetness products!
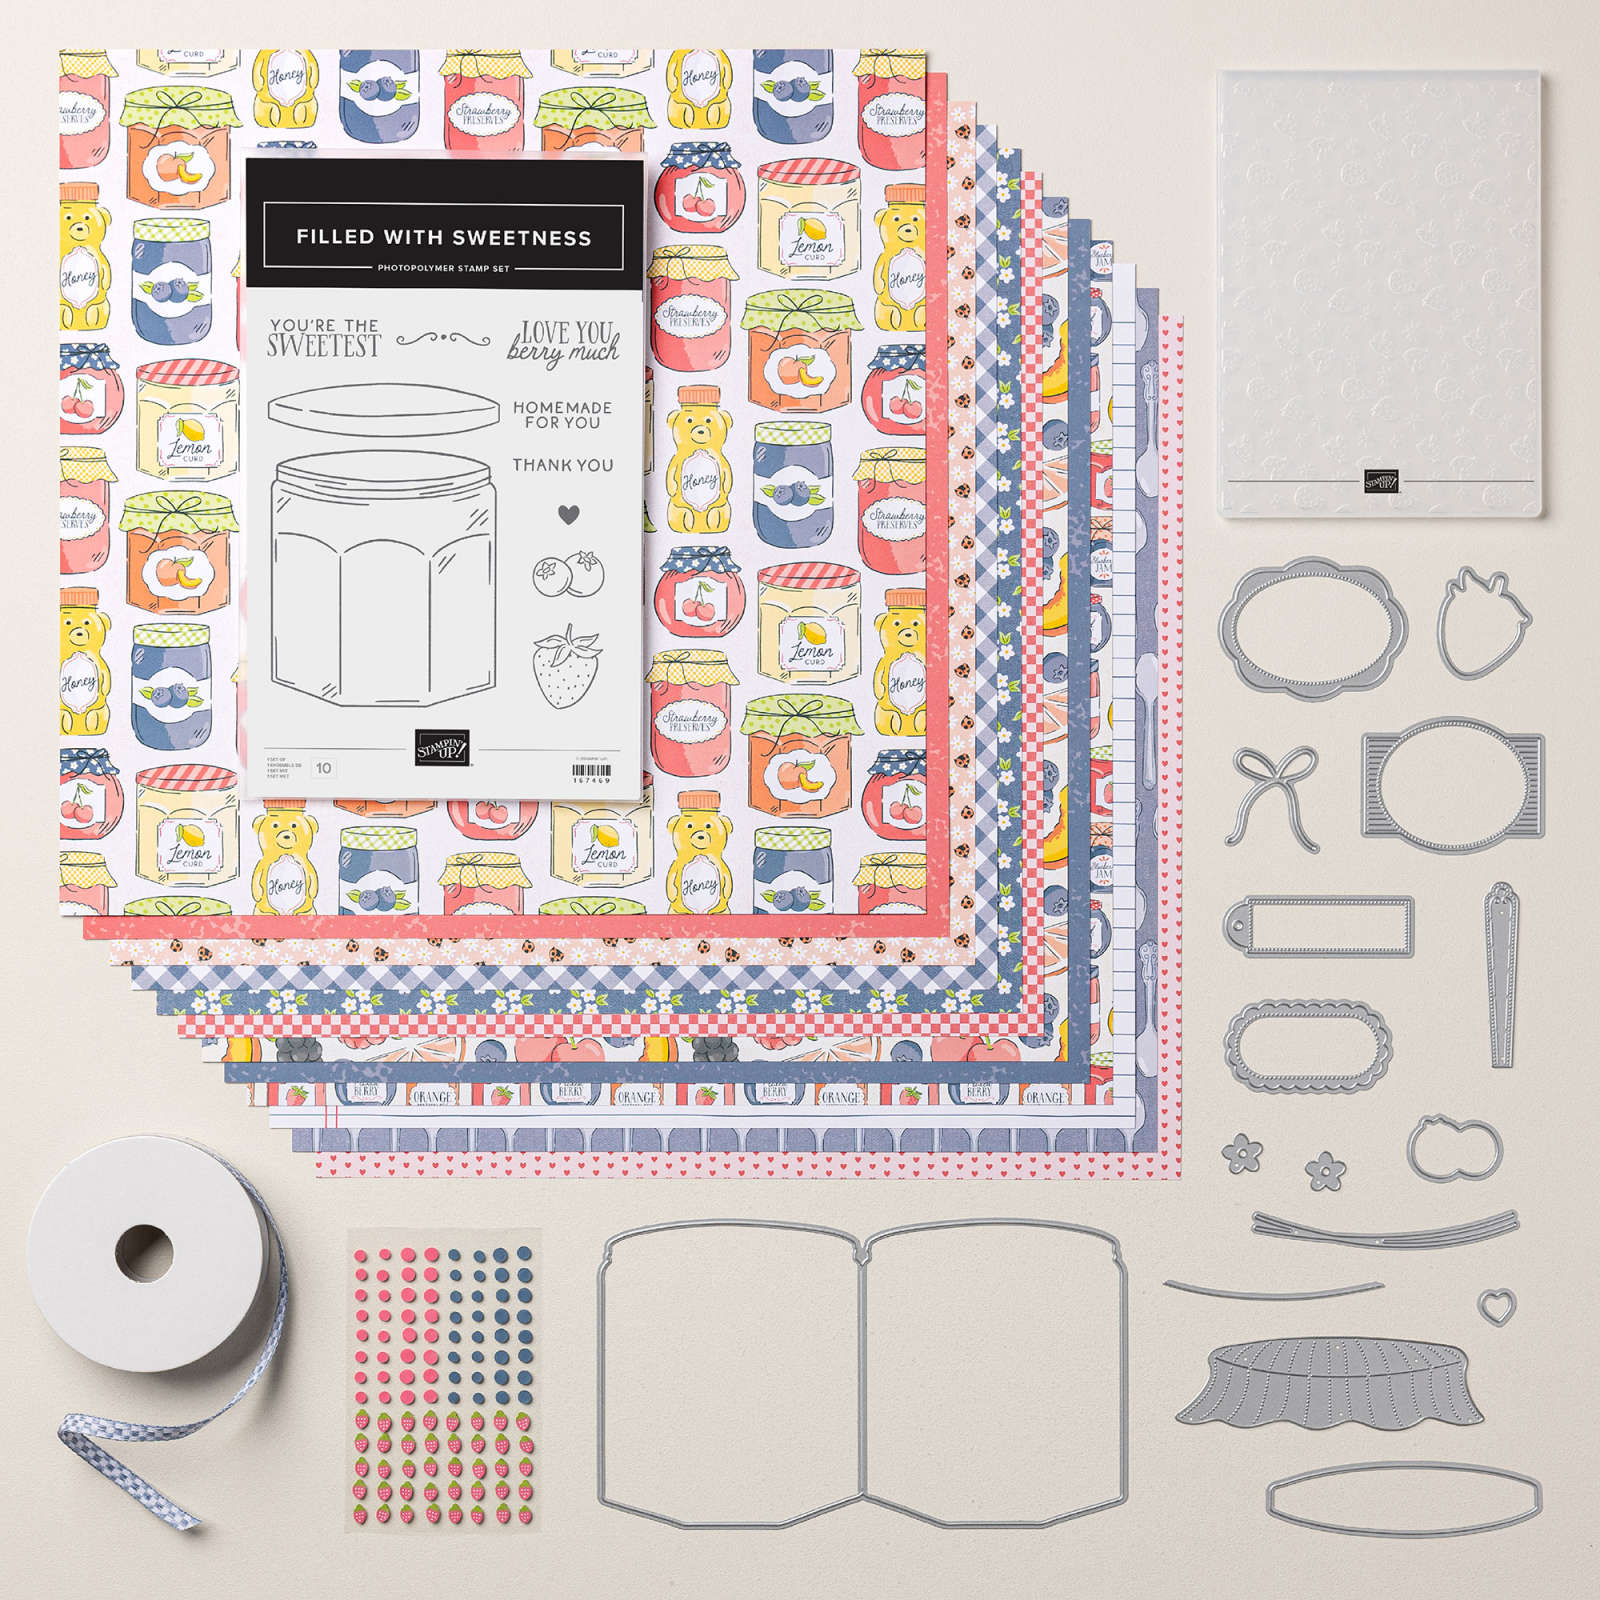
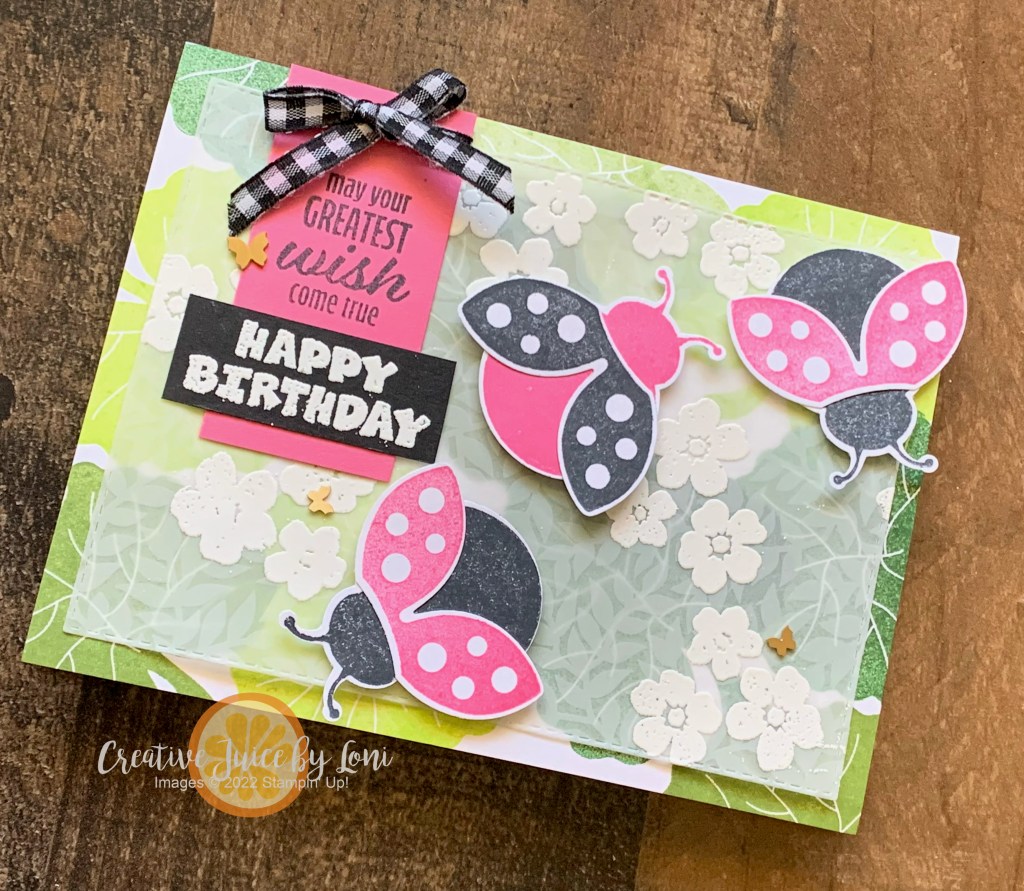
Just because the Ladybug Picnic embossing folder is backordered, don’t fret! The rest of the products ARE AVAILABLE: The Filled with Sweetness stamp and dies are bundled together to save you 10% and the Homemade Sweetness Designer Series Paper, ribbon and embellishments are all ready to come home to your craft room!
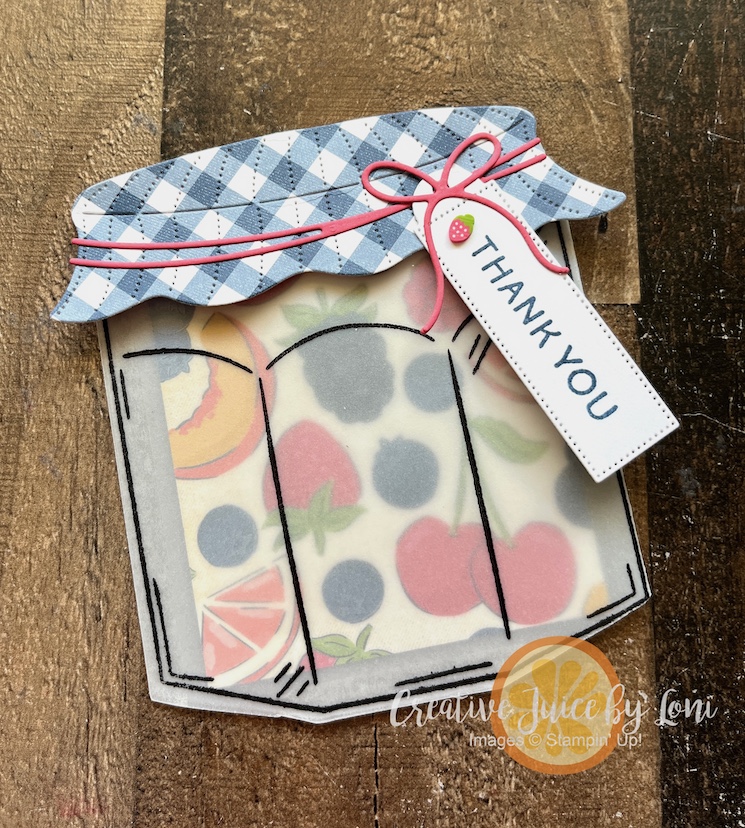
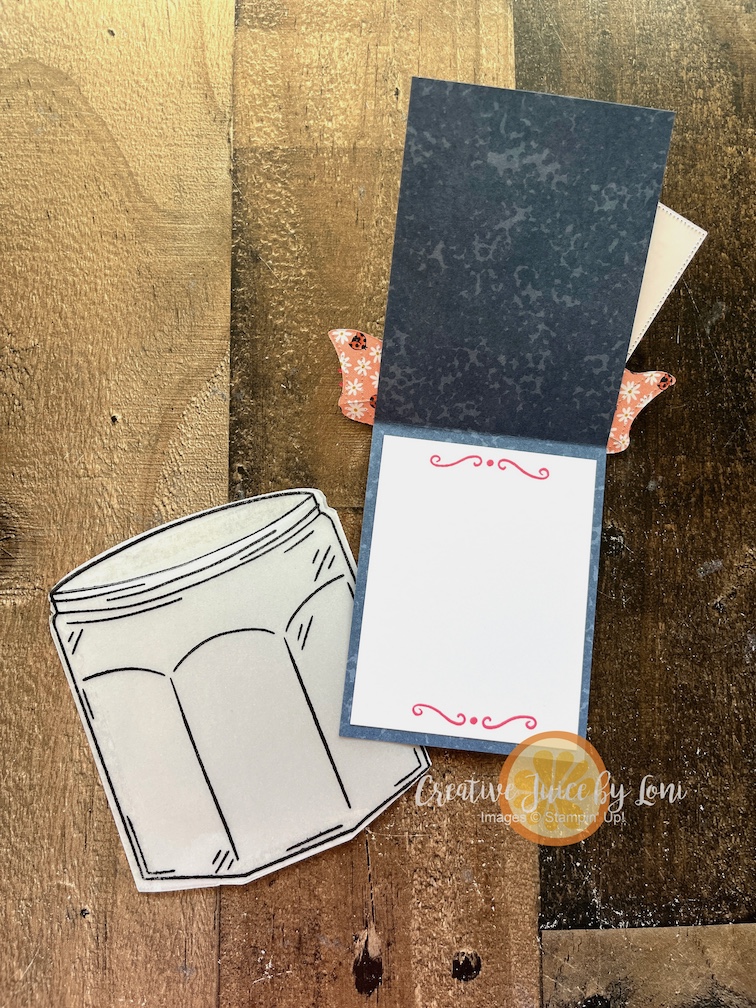
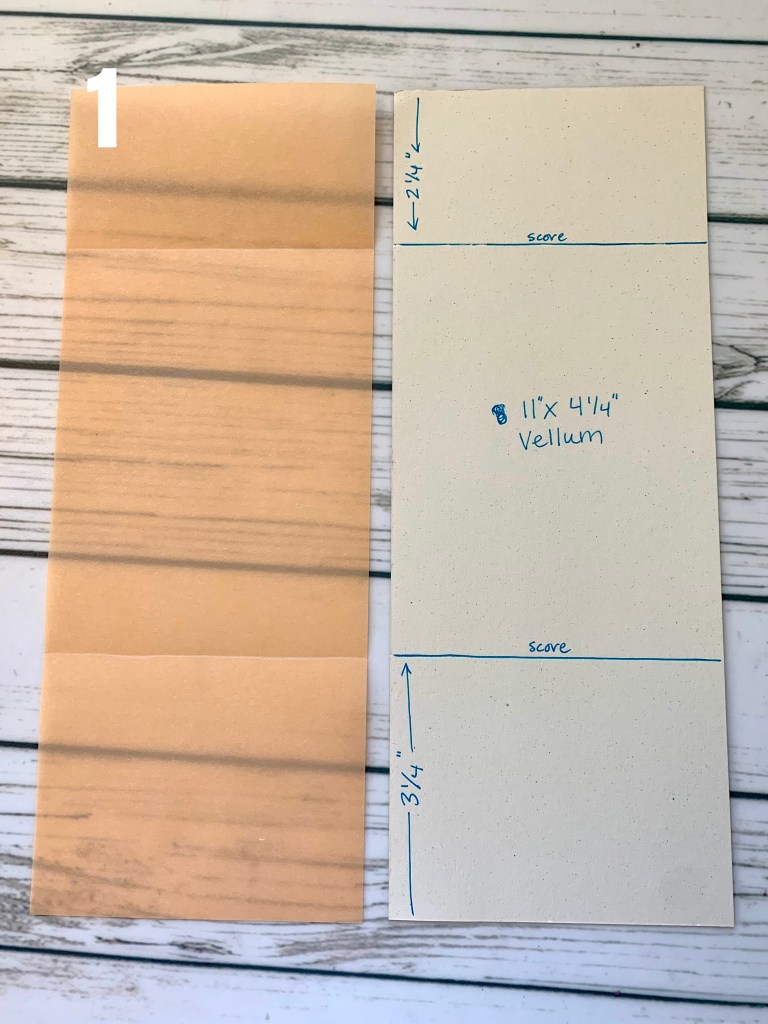
The jar is large enough to create a good sized card – this card is about 4-3/8″ square – and the die cuts a front and back of the card as the same time, with a fold in the middle, so you can make it into a card. I stamped the jar on vellum, die cut it out (including a slit in the top of the jar, and there is a die for that!) then sealed the open side and bottom with tear and tape to create a pocket.
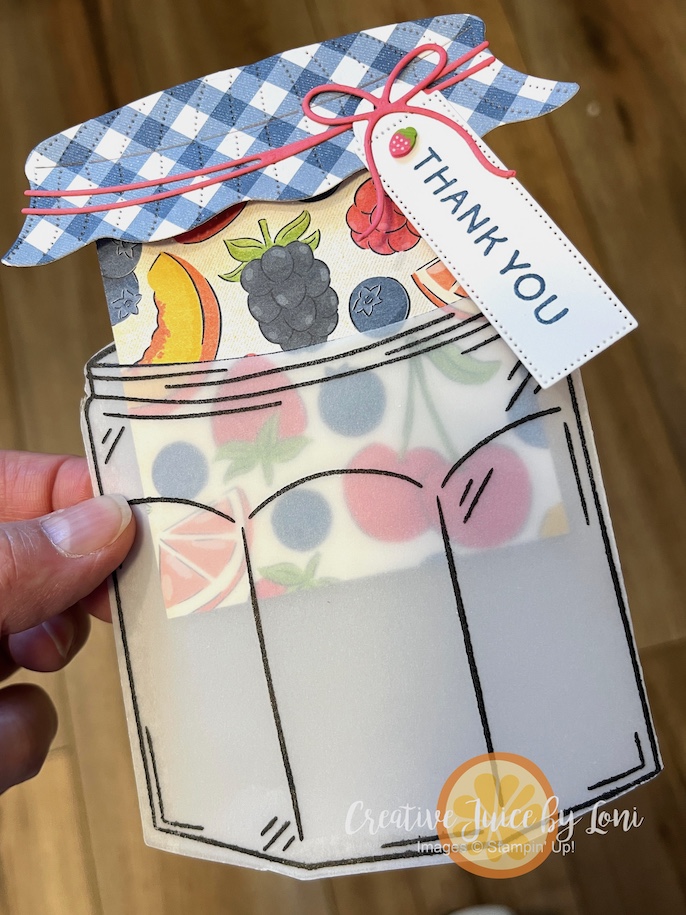
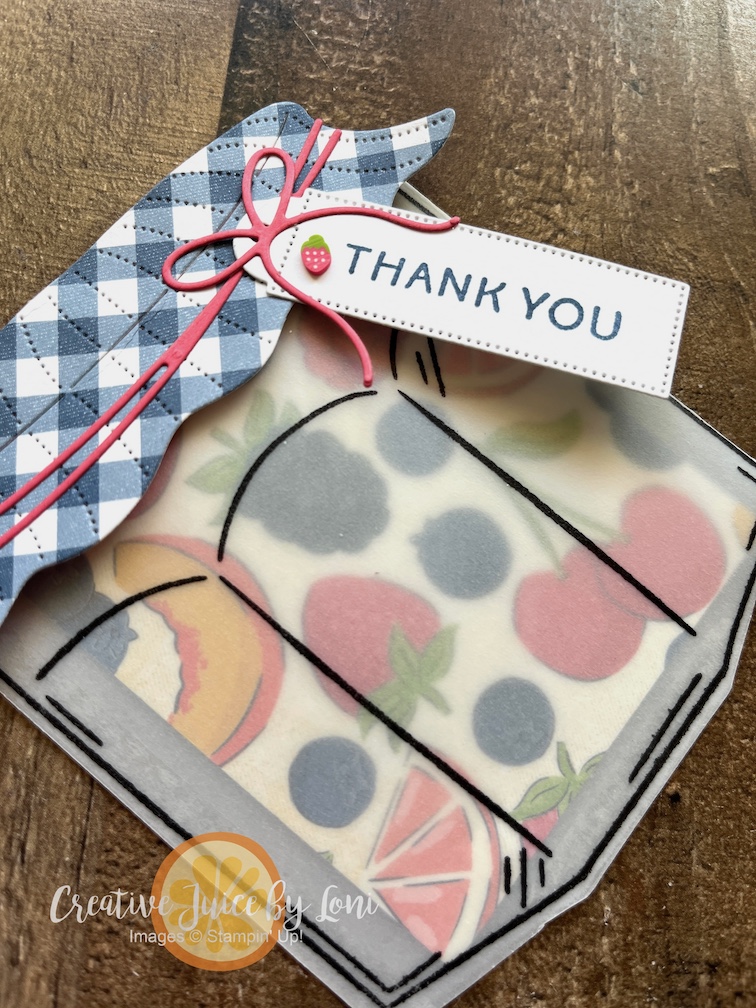
I stamped the jar on vellum with Jet Black StazOn ink (so it dries fast and doesn’t smear), and added the die that makes the slit in the top of the jar as I cut out the card. Fold it in half and seal the open side and bottom with Tear & Tape adhesive, and remember to adhere the top of the jar to the back so the card slides in easily – it’s the part that’s behind the fruit and tag at the top in the photo above!
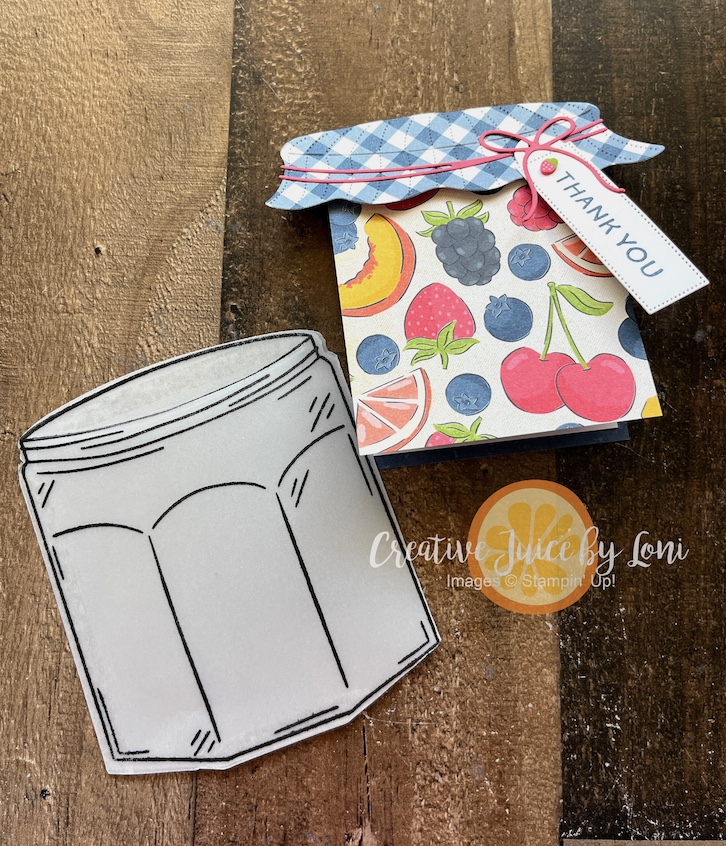
The Designer Series Paper is 2-7/8″ x 7-1/2″, folded in half and adhered to the checkered jar cover. When you open up the card, there is space to write your note of appreciation:
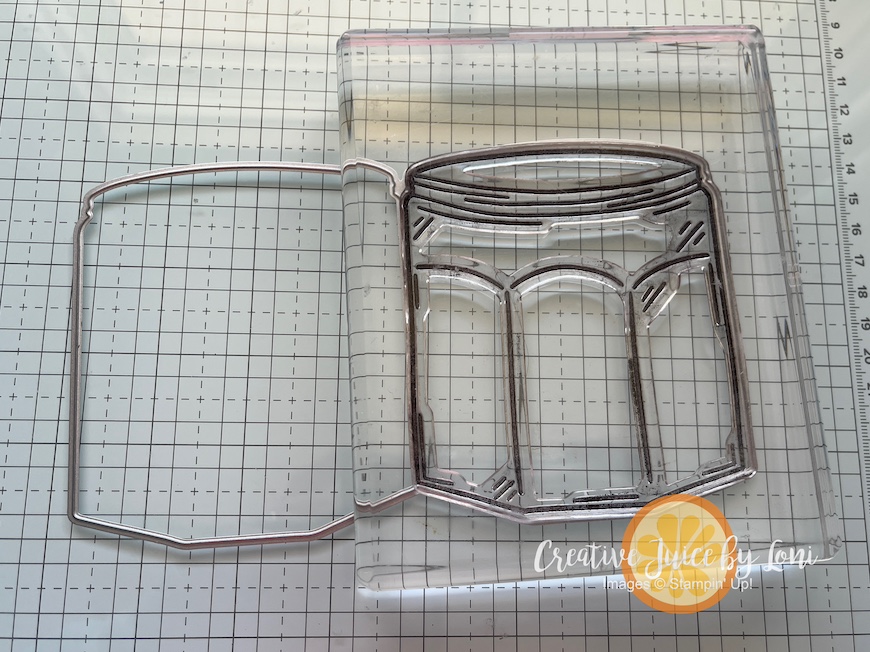
TIP: Because the jar stamp is so large, and can easily stretch out of shape, lay the die on your desktop and “fit” the stamp into it, then lay your clear F BLOCK on top. Then when you stamp, you know the die will cut it out properly!

Take a moment to explore all the NEW ARRIVALS and add the products to make this fun card to your card below!
Product List![Filled With Sweetness Bundle (English) [ 167475 ]](https://assets1.tamsnetwork.com/images/EC042017NF/167475s.jpg "Filled With Sweetness Bundle (English) [ 167475 ]")
![Homemade Sweetness 12" X 12" (30.5 X 30.5 Cm) Designer Series Paper [ 167467 ]](https://assets1.tamsnetwork.com/images/EC042017NF/167467s.jpg "Homemade Sweetness 12\" X 12\" (30.5 X 30.5 Cm) Designer Series Paper [ 167467 ]")
![Vellum 12" X 12" (30.5 X 30.5 Cm) Specialty Paper [ 167099 ]](https://assets1.tamsnetwork.com/images/EC042017NF/167099s.jpg "Vellum 12\" X 12\" (30.5 X 30.5 Cm) Specialty Paper [ 167099 ]")
![Basic White 12" X 12" (30.5 X 30.5 Cm) Thick Cardstock [ 166782 ]](https://assets1.tamsnetwork.com/images/EC042017NF/166782s.jpg "Basic White 12\" X 12\" (30.5 X 30.5 Cm) Thick Cardstock [ 166782 ]")
![Strawberry Slush 8 1/2" X 11" Cardstock [ 165625 ]](https://assets1.tamsnetwork.com/images/EC042017NF/165625s.jpg "Strawberry Slush 8 1/2\" X 11\" Cardstock [ 165625 ]")
![Jet Black Stāzon Ink Pad [ 101406 ]](https://assets1.tamsnetwork.com/images/EC042017NF/101406s.jpg "Jet Black Stāzon Ink Pad [ 101406 ]")
![Blueberry Bushel Classic Stampin' Pad [ 147138 ]](https://assets1.tamsnetwork.com/images/EC042017NF/147138s.jpg "Blueberry Bushel Classic Stampin' Pad [ 147138 ]")
![Strawberry Slush Classic Stampin' Pad [ 165286 ]](https://assets1.tamsnetwork.com/images/EC042017NF/165286s.jpg "Strawberry Slush Classic Stampin' Pad [ 165286 ]")
![Stampin' Cut & Emboss Machine [ 149653 ]](https://assets1.tamsnetwork.com/images/EC042017NF/149653s.jpg "Stampin' Cut & Emboss Machine [ 149653 ]")
![Stampin' Dimensionals [ 104430 ]](https://assets1.tamsnetwork.com/images/EC042017NF/104430s.jpg "Stampin' Dimensionals [ 104430 ]")
![Adhesive Sheets [ 152334 ]](https://assets1.tamsnetwork.com/images/EC042017NF/152334s.jpg "Adhesive Sheets [ 152334 ]")
![Tear & Tape Adhesive [ 154031 ]](https://assets1.tamsnetwork.com/images/EC042017NF/154031s.jpg "Tear & Tape Adhesive [ 154031 ]")
![Strawberries & Dots [ 167479 ]](https://assets1.tamsnetwork.com/images/EC042017NF/167479s.jpg "Strawberries & Dots [ 167479 ]")


 Designer Series Paper")


")
")

 Specialty Designer Series Paper")


")


 Gingham Ribbon")


")


")


")

 Designer Series Paper")


")
 Designer Series Paper")


 Crinkled Seam Binding Ribbon")


 Designer Series Paper")
")


 Open Weave Ribbon")


