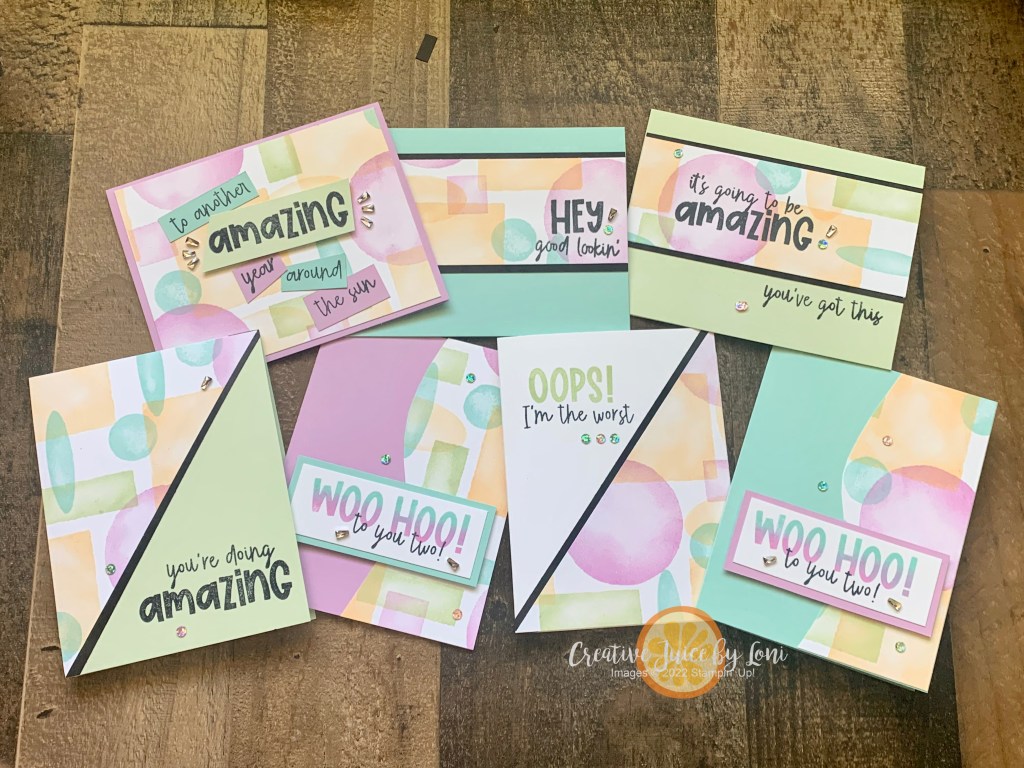
Do you say “I’m sorry” too much? Women are the worst at apologizing, even when we haven’t done anything wrong!
I’m working on replacing “Sorry” with “Thank You” and had the opportunity to practice on Sunday when my husband was waiting for to go to church while I finished handouts for my primary class. When I was done (we weren’t late), I said “Thank You for your patience!” instead of ”Sorry to make you wait” and he was more gracious about the wait.
Of course, an apology when I HAVE done something wrong is appropriate, but when I can use THANK YOU instead, it feels more validating for both parties: “Thank you for listening” rather than “I’m sorry I’ve been talking so much”!
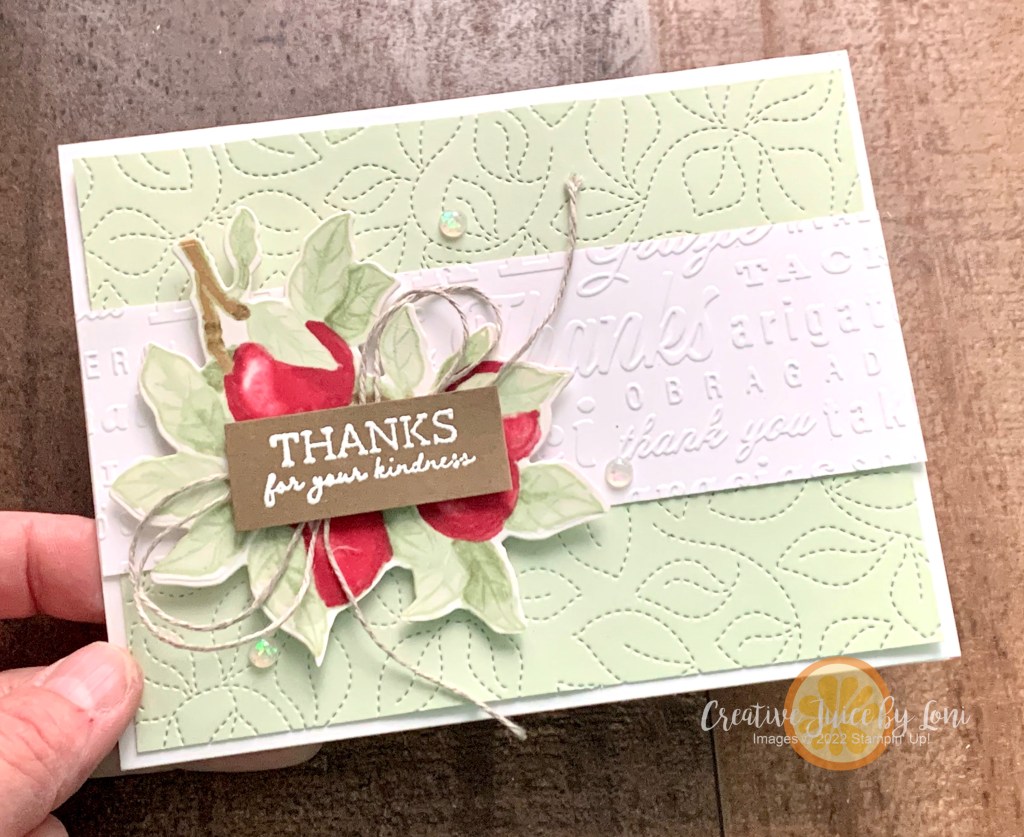
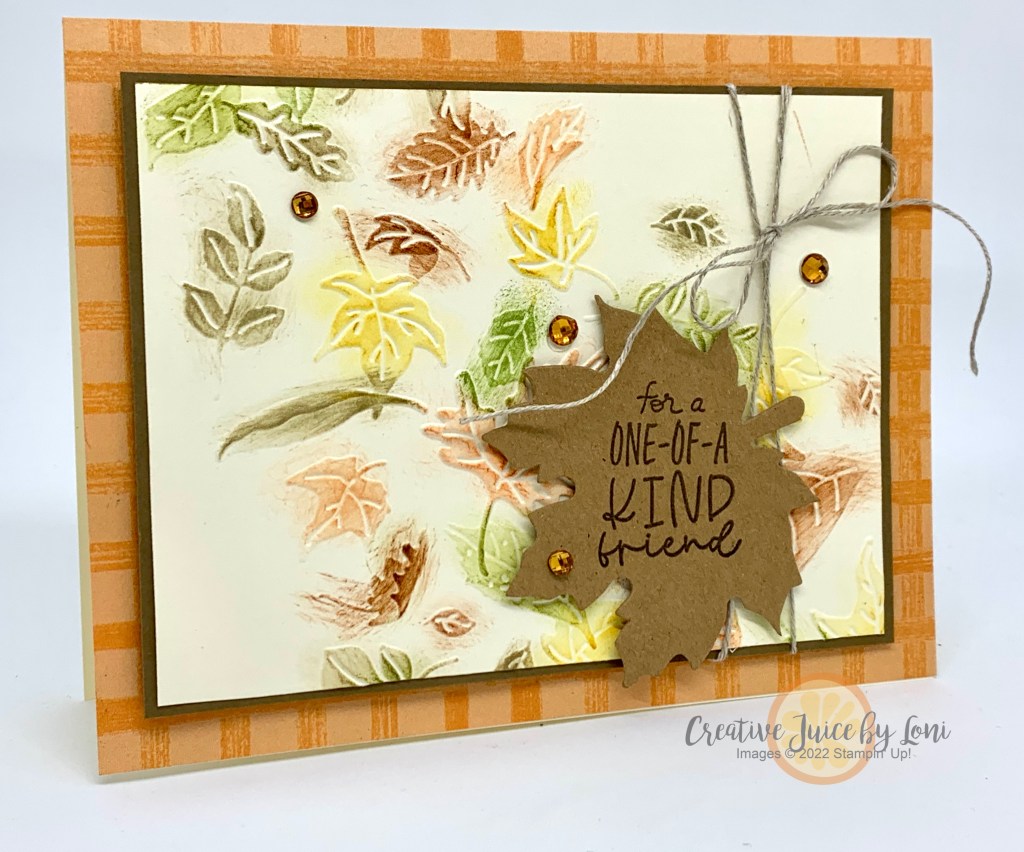
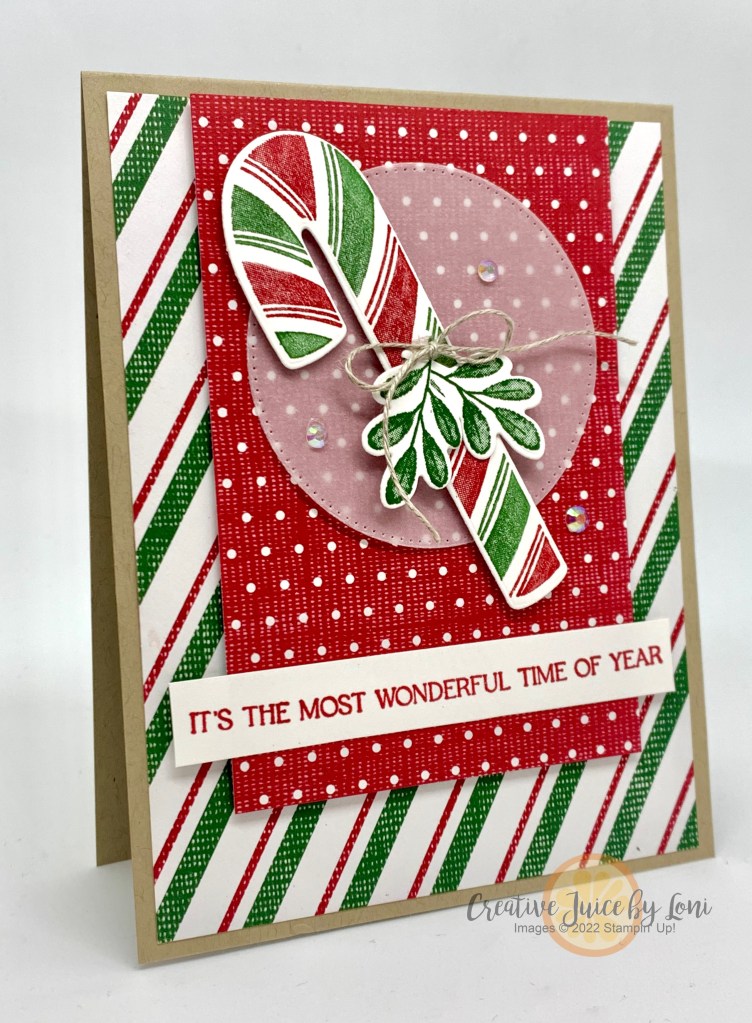
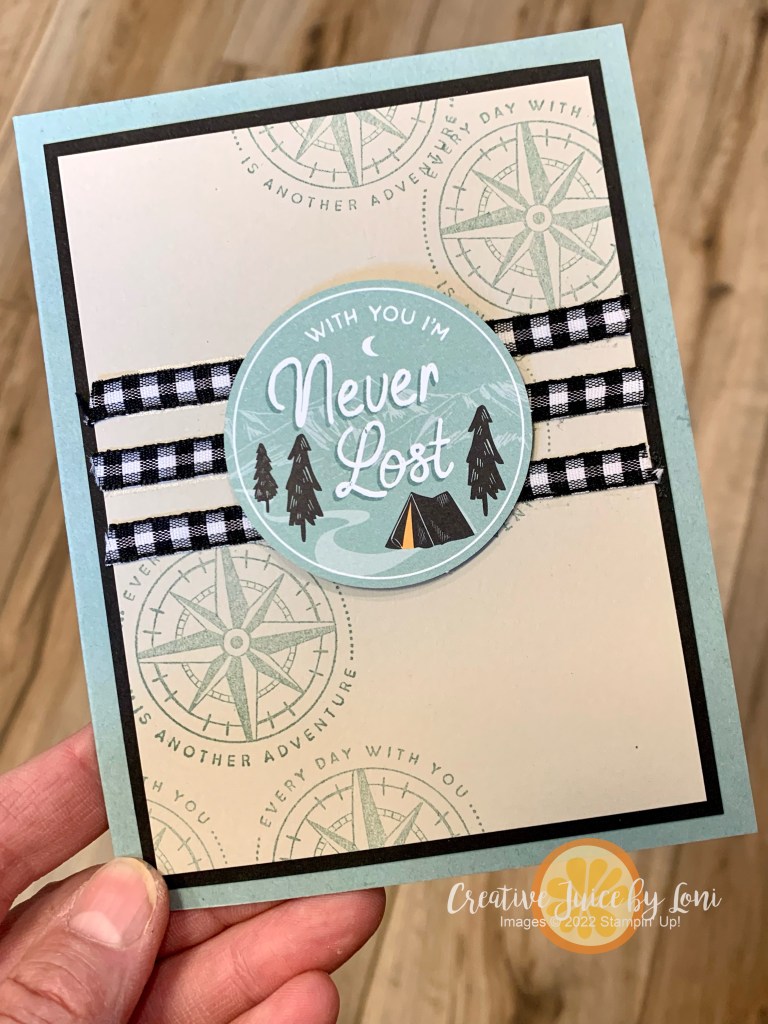
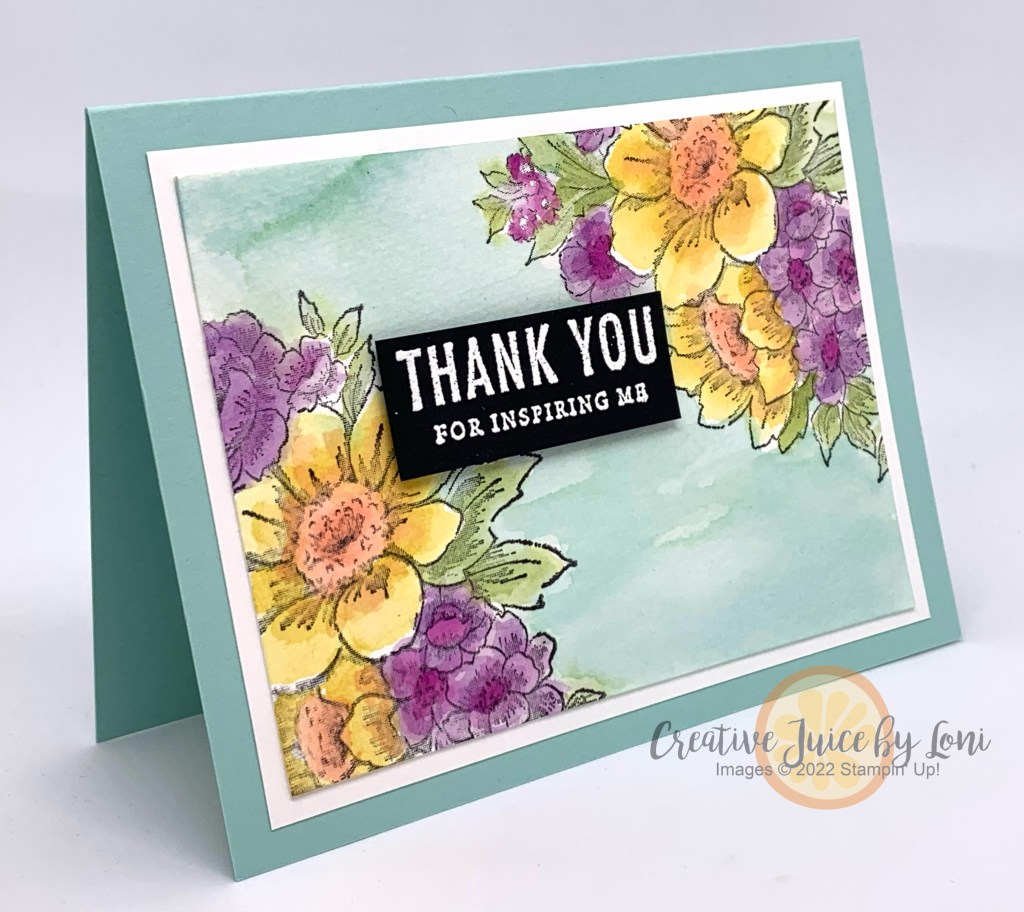
My card today is one I can use when someone has sacrificed their time to help me (and I have a friend in mind)…so instead of saying “Sorry I took your time” I can express my appreciation for their assistance!

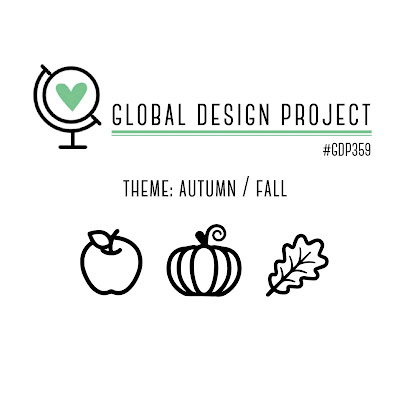
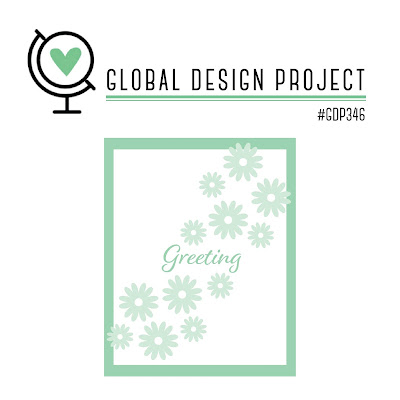
It’s also a #multicrafting project: I used the Global Design Project sketch #gdp366 , the Apple Harvest stamp set to participate in the Stampin’ Through the Catalog challenge on Instagram and the colors Soft Sea Foam and Cherry Cobbler so I could share it for a Red & Green creative challenge I gave my Sprinkled Ink team.
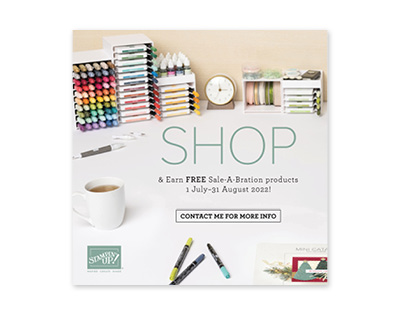
Speaking of my team…there are just a few days left to take advantage of the Starter Kit+ promotion…just in time to buy your Christmas gifts from yourself as a demonstrator, or jump start a business to earn extra during the holidays 🎁

It’s a risk-free opportunity to join my Sprinkled Ink team and see if your passion for rubber stamps, ink and paper could also be your purpose! Click here to get $30 extra in your starter kit (already an awesome value) and see if you like being a demonstrator.
Product List")


")


 Designer Series Paper")
 Designer Series Paper")

 Crinkled Seam Binding Ribbon")


")


")


 Cardstock")


")
 Designer Series Paper")


")

 Designer Series Paper")


")
 Designer Series Paper")


")


")
 Specialty Designer Series Paper")


 Gingham Ribbon")

")


